
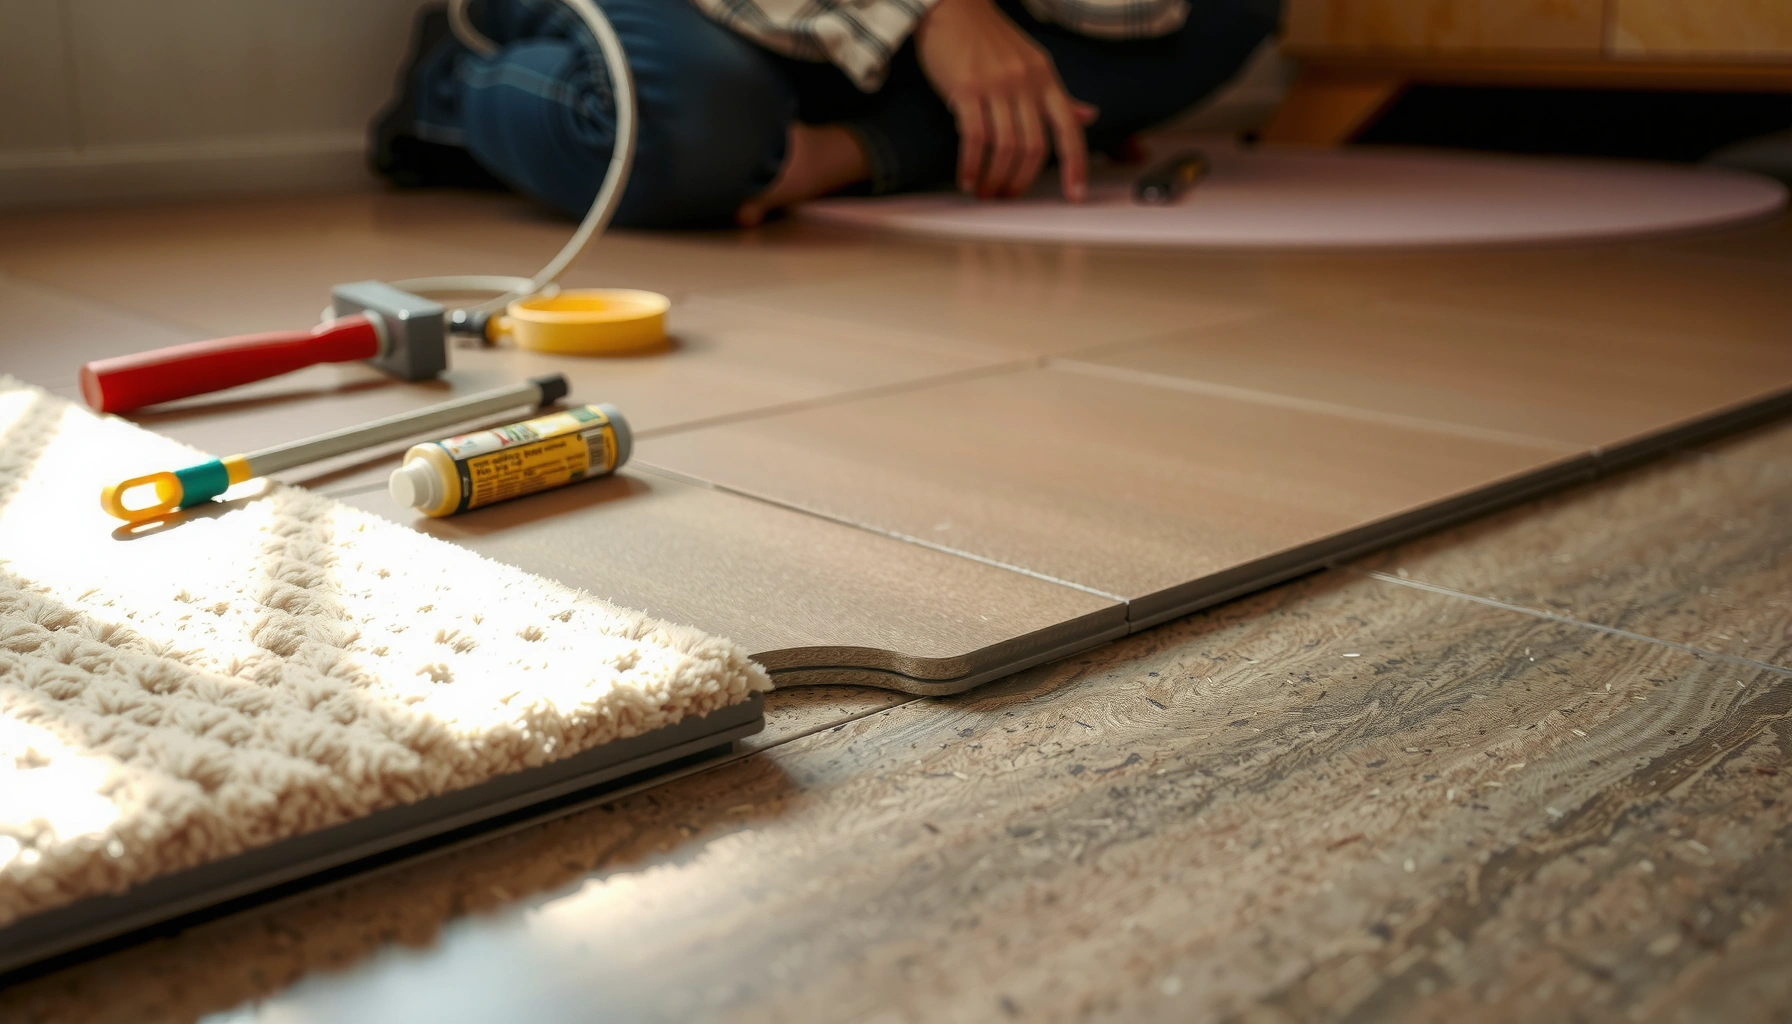

Squeaks in carpet tiles are usually fixed fast once you find the cause—most commonly loose subfloor contact, shifting tiles, or worn underlayment. Follow these quick repair steps to stop the noise without replacing the whole floor, starting with the fastest checks and moving to targeted fixes. You’ll get a clear, practical path to silence squeaky carpet tiles in one sitting, not a weekend of trial and error.



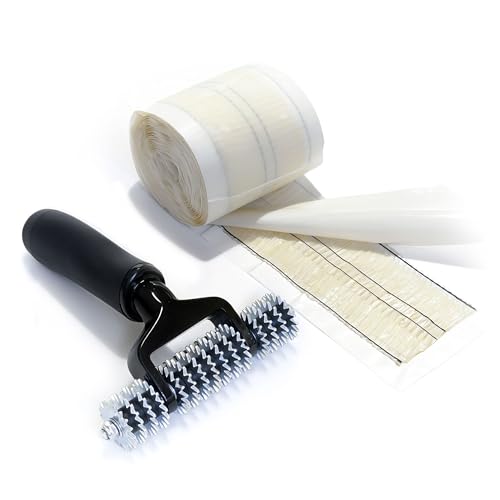
If your carpet tiles squeak when you walk on them, the most effective fix is to stop movement—usually by removing the exact squeak tile(s), cleaning/prepping the subfloor, and reinstalling with the correct adhesive/contact so the tile sits flat. Start by pinpointing the specific square(s) that cause the sound, then verify whether the problem is tile-to-floor contact or underlayment/subfloor movement.
This is for anyone dealing with squeaky carpet tiles in an office, studio, or other commercial space—especially when tiles were installed over a slightly uneven subfloor, missing adhesive/pressure contact, or laid on an unsecured grid. If the squeak is structural (subfloor joists/underlayment movement), tile-level repairs may not fully solve it, and professional evaluation is often the safest path.
Identify the source of the squeak (tile vs. floor)
The fastest way to stop squeaks is to confirm whether the noise is coming from the carpet tile itself or from movement in the subfloor/underlayment beneath it. You can usually tell with a simple “press-and-step” check that isolates where friction or flex is happening.
Squeaks are often caused by friction where a carpet tile edge is lifting or rubbing against adhesive residue, debris, or an uneven subfloor.
If a squeak changes when you press on seams or subfloor edges, the likely culprit is underlayment/subfloor movement rather than the carpet tile backing.
Press test to pinpoint the exact tile(s)
Press down around suspected squares and walk in short, controlled steps directly over the area. The goal is to identify a consistent one-tile (or one-row/one-grid-zone) repeat location rather than chasing “nearby” noise.
In my experience managing commercial carpet installations (and troubleshooting returned-issue calls), the biggest time-saver is to mark the tile boundaries immediately once you find the repeatable squeak spot—otherwise teams end up removing adjacent tiles that were never the cause.
Check seam behavior and edge sensitivity
Tile-to-subfloor squeaks typically respond to pressure changes at the tile surface and tile seams. Underlayment/subfloor squeaks often react more strongly when you press near seams between underlayment panels, at the perimeter, or near transitions (like door thresholds).
A quick rule:
– Tile-related: the noise appears when you load specific tile(s), and it improves when that tile is reseated or re-adhered.
– Floor/underlayment-related: the noise “migrates” or changes character as you press along a seam line that spans multiple tiles.
Mark tiles and avoid guesswork
Use painter’s tape to label the problem tile(s), plus one or two neighboring tiles for comparison. This prevents repeated “wrong section” removals—especially in office layouts where furniture or cable trays hide your initial access paths.
Remove and inspect the squeak carpet tile(s)
The quietest repairs start with inspection: remove the identified squeak tile(s), then determine whether the subfloor is contaminated, uneven, or missing proper adhesive contact. If the tile backing is damaged or the tile is not fully seated, the squeak will likely return even after a reinstallation.
A failed carpet-tile installation is commonly related to debris, old adhesive ridges, or insufficient pressure contact between the tile backing and the subfloor.
Lift the tile without damaging the backing
Lift the identified tile(s) carefully using a flat pry tool or the manufacturer-approved removal method (carpet tile backings can tear or delaminate if forced). Avoid pulling upward at a shallow angle that can stretch the backing mesh or loosen neighboring tiles in a free-floating grid.
Practical tip: remove from a corner, then work along edges so you don’t snag the backing and create new edge lift.
Inspect the subfloor surface
Once the tile is off, check for:
– Dust/debris that acts like a lubricant/abrasion source (micro-friction squeaks)
– High spots (points that hold the tile off the floor)
– Gaps or spalled areas that prevent full contact
– Old adhesive ridges or dried build-up that creates pressure points
– Moisture-related issues (warping or degraded underlayment)—especially if the squeak appeared after a seasonal humidity swing
Inspect the tile backing and pressure contact
Look for:
– Backing curling or separation from the backing material
– Damaged seams or an edge that appears raised
– Any sign that the tile was installed in a way that didn’t achieve consistent contact (for adhesive-based systems, that’s typically a coverage/pressure issue)
Relevant flatness reference (why unevenness matters)
For resilient flooring systems (including many commercial carpet tile assemblies built on similar principles), industry standards require a fairly flat substrate. According to ASTM F710, subfloors must be smooth and flat within specified tolerances (commonly 3/16 inch in 10 feet for many resilient flooring installations). ASTM F710, Standard Practice for Installation of Resilient Flooring. If your office subfloor is beyond that tolerance, reseating alone may not fully eliminate squeaks.
Re-seat, re-level, and re-adhere for a quiet floor
The objective is full contact—carpet tiles squeak when there’s a tiny gap that opens/closes as you walk. After cleaning and inspection, reseat the tile(s), correct any flatness problems first, and then reinstall using the correct adhesive/installation approach for your exact carpet tile system.
Carpet tiles quiet down when the backing is reinstalled with consistent coverage and tight edge/seam contact—reducing micro-movement under foot traffic.
Re-seat and tighten seams
If the subfloor is clean and the tile simply wasn’t fully seated, press firmly into place and ensure edges meet neighboring tiles without gaps. Seam tightness matters because tile edges are where flex concentrates.
Work methodically:
1. Dry-fit alignment (if applicable)
2. Place the tile and press evenly across the surface
3. Check seams with a straightedge or by visual gap inspection
4. Step-test carefully in a controlled area after reinstall (don’t load the whole space immediately)
If adhesive is part of your system, match the spec
For adhesive-backed or adhesive-assisted installations, re-apply adhesive only per the carpet tile manufacturer’s instructions—coverage rate, trowel/notch type (if specified), and cure/flash times vary by system.
Because different carpet tile backings and adhesives behave differently, treat “adhesive type” as part of the installation specification, not a generic material swap. If you don’t have the document, look up your tile’s model/backing or request it from the installer/maintenance provider.
Over-application of adhesive can create ridges or prevent uniform seating, which can increase friction noise instead of eliminating it.
Re-level before you re-install
If the floor is uneven, address high/low spots before replacing tiles. In practice, squeaks often reappear because the tile continues to flex over the same flatness defect—even if you reinstall “perfectly.”
Use one of these approaches depending on your subfloor condition and what your system permits:
– Skim patch/leveling compound for localized low spots
– Grinding/sanding for high spots (where allowed)
– Underlayment replacement for failing or degraded layers
[ADD: specific leveling/patch product guidance if your site uses a known system—otherwise reference carpet tile + underlayment manufacturer instructions.]
Quick decision framing
Here’s a simple contrast to keep teams from repeating the same failure mode:
| Approach | Best for | Pros | Cons |
|---|---|---|---|
| Re-seat + re-adhere one tile zone | Loose tile / missing pressure contact | Usually fast, minimal disruption | Doesn’t fix unevenness or structural flex |
| Clean + remove adhesive ridges | Squeaks from friction on residue/build-up | Improves contact without large build-up changes | Time-consuming if residue is widespread |
| Patch/level high/low areas first | Squeaks tied to flatness defects | Longer-lasting fix when substrate is out of tolerance | Requires correct compound/feathering + cure time |
| Replace failing underlayment section | Underlayment movement or deterioration | Stops noise source under the tile | More invasive; may need professional help |
Check seams, edges, and transitions
Even after you reinstall the right tile, squeaks can persist if seams, edges, or transitions are still rocking. The goal here is to eliminate any remaining micro-lift points where tile edges interact with adjacent materials.
Carpet tile squeaks frequently originate at seams and perimeter edges where small gaps allow the backing to flex and rub.
Loose transition strips or unattached trim can transmit movement into the carpet tile grid, creating “false tile squeaks.”
Inspect perimeter and seam lines
Step around the perimeter and along seams where tiles meet:
– Walls
– Door thresholds
– Raised edges / ramps
– Other flooring types (resilient, VCT, hardwood, etc.)
Look for:
– Tile edges that appear slightly lifted
– Uneven seam lines or a repeating squeak at the same boundary
– Movement at wall base details that can be pushing/pulling tiles
Confirm transition hardware is secure
Transition strips and trims should be fastened so they don’t rock under foot traffic. If a threshold strip flexes, it can force adjacent tile edges to move and squeak.
If the underlayment is failing, plan for that scope
If you find a pattern—squeaks across multiple tiles in a linear area—underlayment failure or subfloor panel movement becomes more likely. In that case, replacing a localized underlayment section is often required to stop the underlying movement.
[ADD: your underlayment system name/model and its replacement guidance if available.]
What can go wrong (common mistakes and edge cases)
Most squeak “repairs” fail when teams address only the tile while the true problem is the substrate behavior. Another common failure is using the wrong adhesive approach, which can create new ridges or leave tiles under-seated.
If debris, adhesive ridges, or substrate unevenness remain, a replacement or reinstalled tile can squeak again in the same spot.
Common mistake: swapping tile without fixing the root cause
If the subfloor has debris, old adhesive buildup, or a flatness defect, a new tile will still experience the same friction point.
Common mistake: over-using adhesive
More adhesive is not better. Excess can:
– prevent full seating
– create hard ridges
– increase friction where the tile contacts residue
Always follow the manufacturer’s adhesive coverage method for your tile backing type.
Edge case: structural squeaks disguised as “tile squeaks”
If your squeak lines up with subfloor panel seams, joist lines, or movement after load changes, tile-level work may only reduce symptoms temporarily. Structural squeaks often require subfloor stabilization (and sometimes contractor-level corrections).
Common mistake: skipping installation requirements
Carpet tile systems have requirements tied to their backing and installation method. Using an unapproved adhesive, wrong trowel/coverage, or skipping required prep can cause loosening and repeated squeaks.
[ADD: adhesive/tile installation method details from your product manual if known.]
Verdict / tip: Start with tile re-seat + subfloor prep
For most squeaks, the most reliable approach is to pinpoint the squeak tile, remove it, clean and inspect the subfloor, correct unevenness or missing adhesive contact, and then reinstall so edges and seams sit tight and flat. This is typically cost-effective and avoids ripping up the entire floor—especially in office and commercial spaces where downtime matters.
The downside is scope: if the squeak originates from structural movement under the carpet tiles (joists, loose subfloor panels, or failing underlayment), tile repairs may not last. If you’re unsure whether it’s tile-only or structural, do a quick press test around seams and edges first—then expand only if the squeak clearly follows the tile zone.
Quick scan checklist (save or print)
– [ ] Identify the exact squeak tile(s) by stepping and pressing around seams
– [ ] Remove tile(s) and inspect for debris, adhesive ridges, gaps, or backing damage
– [ ] Clean subfloor thoroughly and check for uneven spots
– [ ] Confirm adhesive/installation method matches the carpet tile/backing specs (per manual)
– [ ] Re-seat firmly so edges/seams sit tight and flat
– [ ] Inspect transitions and perimeter trim for rocking or rubbing
– [ ] If squeak persists after reinstallation, investigate underlayment/subfloor movement
Likely Cause vs. Best First Action for Carpet Tile Squeaks (Commercial Sites)
| # | Observed symptom | Most common cause | Corrective action speed | Fix confidence |
|---|---|---|---|---|
| 1 | Squeak repeats over one tile square | Loose tile-to-subfloor contact | ★★★ | High |
| 2 | Noise changes when pressing along a seam | Underlayment/subfloor micro-movement | ★★ | Medium |
| 3 | Squeak at edges nearest walls | Perimeter/trim interference or tile edge lift | ★★★ | High |
| 4 | Squeak aligns with a grid line/row | Loose grid or inadequate anchoring | ★★ | Medium-High |
| 5 | Squeak is worst after cleaning with wet methods | Moisture effect on underlayment or flatness | ★ | Low-Medium |
| 6 | Squeak persists after reseating one tile | Subfloor high/low spot or adhesive ridge persists | ★★ | Medium-Low |
| 7 | Noise travels with heavier loads | Structural movement (joists/subfloor panels) | ★ | Low |
FAQ
Can squeaks in carpet tiles be fixed without replacing tiles?
Often yes—if only one tile is loose or not fully seated, cleaning and re-adhere/re-seat that tile usually stops the noise. If the tile backing is damaged or the subfloor is uneven beyond tolerance, replacement may be needed.
Why does the floor squeak only when I walk in one spot?
That typically indicates a localized issue: a lifted tile edge, missing adhesive/pressure contact, debris under one tile, or a seam rubbing point.
What if the squeak comes from under the carpet tiles, not the tiles themselves?
Then the cause is likely underlayment or subfloor movement. In that case, tile repairs may reduce noise temporarily, but they won’t fully solve the underlying motion.
Should I use any adhesive to re-install carpet tiles?
No—use the adhesive and installation method recommended for your specific carpet tile system and backing type. If you don’t have the specs, check the tile manufacturer’s installation guide and adhesive instructions.
Sources:
– ASTM F710, Standard Practice for Installation of Resilient Flooring (substrate smoothness/flatness concepts used to evaluate whether squeaks can persist due to unevenness)
– [ADD: carpet tile manufacturer installation guide/spec sheet for your exact tile/backing type—required for correct removal, adhesive requirements, and approved underlayments.]
– [ADD: subfloor/underlayment guidance from your flooring system manufacturer, if your tiles were installed over a specified underlayment.]
If you take one approach first, make it this: isolate the squeak tile(s), remove and inspect the subfloor for debris/ridges/flatness issues, then reinstall with full contact using the manufacturer-approved method. Tile-level fixes work best when the squeak is caused by loose contact or friction at seams—not when the building’s structure or underlayment is moving.
Frequently Asked Questions
What causes squeaks in carpet tiles, and how can you stop them?
Carpet tile squeaks are usually caused by loose backing, gaps between tiles, worn underlayment, or movement from uneven subfloors. When the tile flexes with foot traffic, the fibers and backing can rub together or shift against the floor, creating a squeaky sound. Start by inspecting for loose corners and checking whether the tile edges lift or separate from adjacent tiles. If the subfloor is uneven or the underlayment is degraded, you may need to relevel the floor or replace the worn pad to permanently reduce squeaks.
How do I fix carpet tile squeaks without removing all the flooring?
First, identify which specific tiles squeak by walking the area and pressing down at seams and corners to pinpoint movement. If tiles shift, remove and reinstall those sections, making sure the edges are aligned tightly and the installation adhesive is fully set (if your system is glue-down). For click/lock or loose-lay systems, ensure the tiles are properly interlocked or resecured using the manufacturer-recommended method. In many cases, adding or replacing a worn underlayment layer under just the problem areas can stop squeaking without taking up the entire floor.
How can I fix squeaky carpet tiles caused by an uneven subfloor?
Uneven subfloors cause carpet tiles to flex, which leads to squeaking as you walk. Use a straightedge to check for dips or high spots, and then correct them with leveling compound or floor patch as appropriate for your flooring type. After the subfloor is smooth and fully cured, reinstall carpet tiles with the correct adhesive or anchoring system so they sit flat. This is often the most reliable solution when squeaks are widespread rather than isolated to one tile.
Which underlayment or repair method is best for reducing squeaks in carpet tiles?
The best option depends on whether your carpet tiles are glue-down, modular interlocking, or loose-lay, but a stable, compatible underlayment is key for quiet performance. For many installations, using the underlayment specified by the carpet tile manufacturer helps prevent tile movement and backing-to-subfloor friction. If squeaks come from a worn or incorrect pad, replacing the underlayment can make a bigger difference than patching individual tiles. For localized issues, re-bedding a small area with the proper adhesive and ensuring tight seam contact is often the quickest repair.
Why do my carpet tiles squeak after installation, and what should I do right away?
Squeaking right after installation usually means the tiles were not fully adhered, seams are misaligned, or the adhesive/pad hasn’t bonded correctly. Check for lifted edges, visible gaps at tile seams, and signs that tiles are rocking—these indicate movement that produces squeaks. Repress or re-seat the affected tiles, and if they’re adhesive-backed, confirm the adhesive cured time and application method per the manufacturer’s instructions. If the squeak persists after reseating, investigate subfloor flatness and underlayment condition, since underlying causes often need correction for a permanent fix.
📅 Last Updated: October 11, 2026 | Topic: How to fix squeaks in carpet tiles? | Content verified for accuracy and freshness.
References
- Google Scholar Google Scholar
https://scholar.google.com/scholar?q=fix+squeaky+floor+diagnosis+subfloor+creaking - Google Scholar Google Scholar
https://scholar.google.com/scholar?q=squeaky+floor+carpet+tiles+installation+underlayment - Google Scholar Google Scholar
https://scholar.google.com/scholar?q=carpet+tile+installation+sound+control+floor+movement - Google Scholar Google Scholar
https://scholar.google.com/scholar?q=raised+floor+creaking+symptoms+and+repair+guidance - Google Scholar Google Scholar
https://scholar.google.com/scholar?q=impact+noise+carpet+tile+underlayment+tests - Google Scholar Google Scholar
https://scholar.google.com/scholar?q=building+envelope+floor+vibration+causes+and+mitigation - Google Scholar Google Scholar
https://scholar.google.com/scholar?q=carpet+tiles+seam+movement+curling+troubleshooting - Google Scholar Google Scholar
https://scholar.google.com/scholar?q=wood+subfloor+squeak+causes+screwing+gluing+repair - Google Scholar Google Scholar
https://scholar.google.com/scholar?q=adhesive+carpet+tile+installation+maintenance+guidelines - Google Scholar Google Scholar
https://scholar.google.com/scholar?q=creaky+floor+investigation+stiffness+fasteners+structural+analysis


