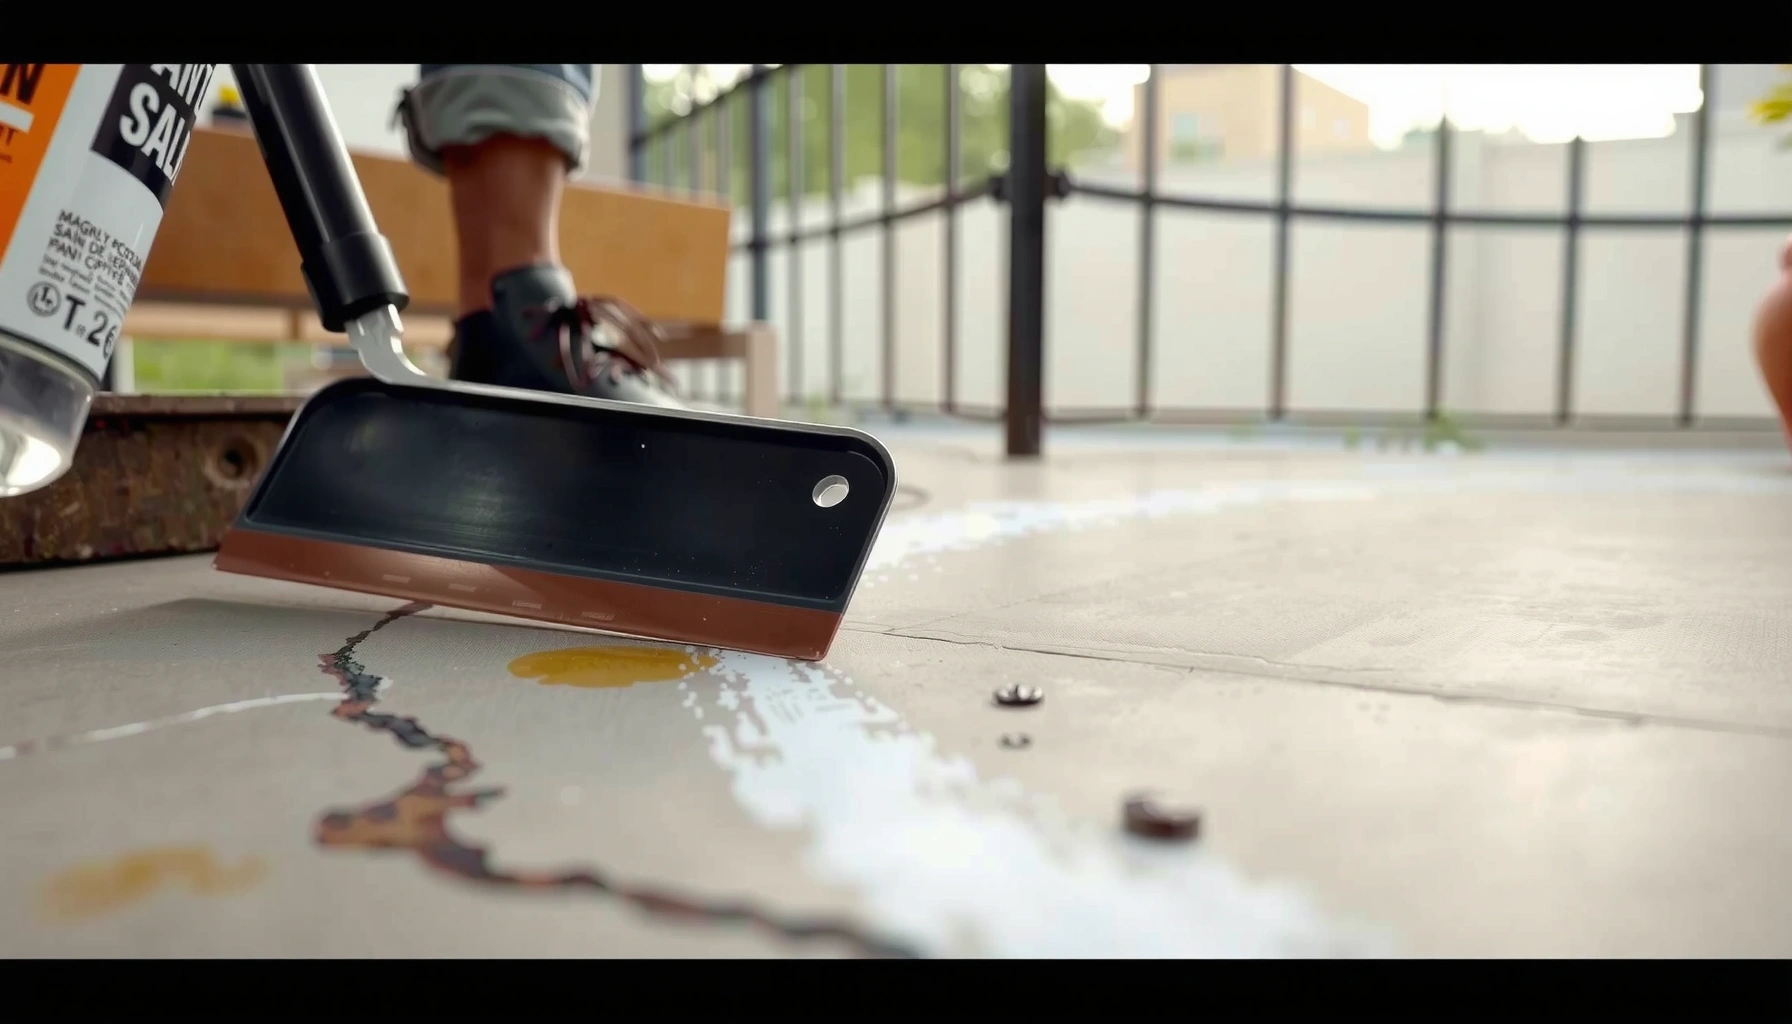

Struggling to remove paint from outdoor floors? Use the fastest, most reliable method for your surface: start with the right stripper or solvent for the paint type, then finish with targeted scraping and pressure rinsing. This step-by-step approach minimizes damage to concrete, pavers, or stone while getting coatings off in the fewest passes.


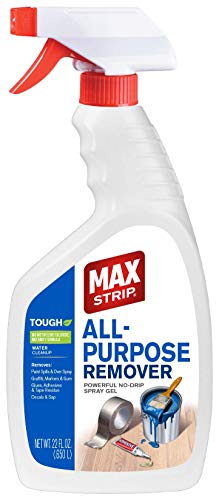

Removing paint from outdoor floors works best when you first identify the paint and the surface (sealed concrete, unsealed pavers, stone, etc.), then start with the least aggressive method that still lifts the coating. In practice, that usually means gentle scraping for small latex drips, then a paint remover/stripper matched to latex vs. oil-based for bigger or older spots—followed by thorough cleanup and (often) re-sealing if the finish was affected.
This applies to driveways, patios, walkways, and other outdoor concrete, stone, pavers, or sealed surfaces where paint has dripped, oversprayed, or been accidentally spilled. It’s also useful if you’re unsure whether you’re dealing with latex vs. oil-based paint (the removal method changes a lot).
Assess the surface and paint type first
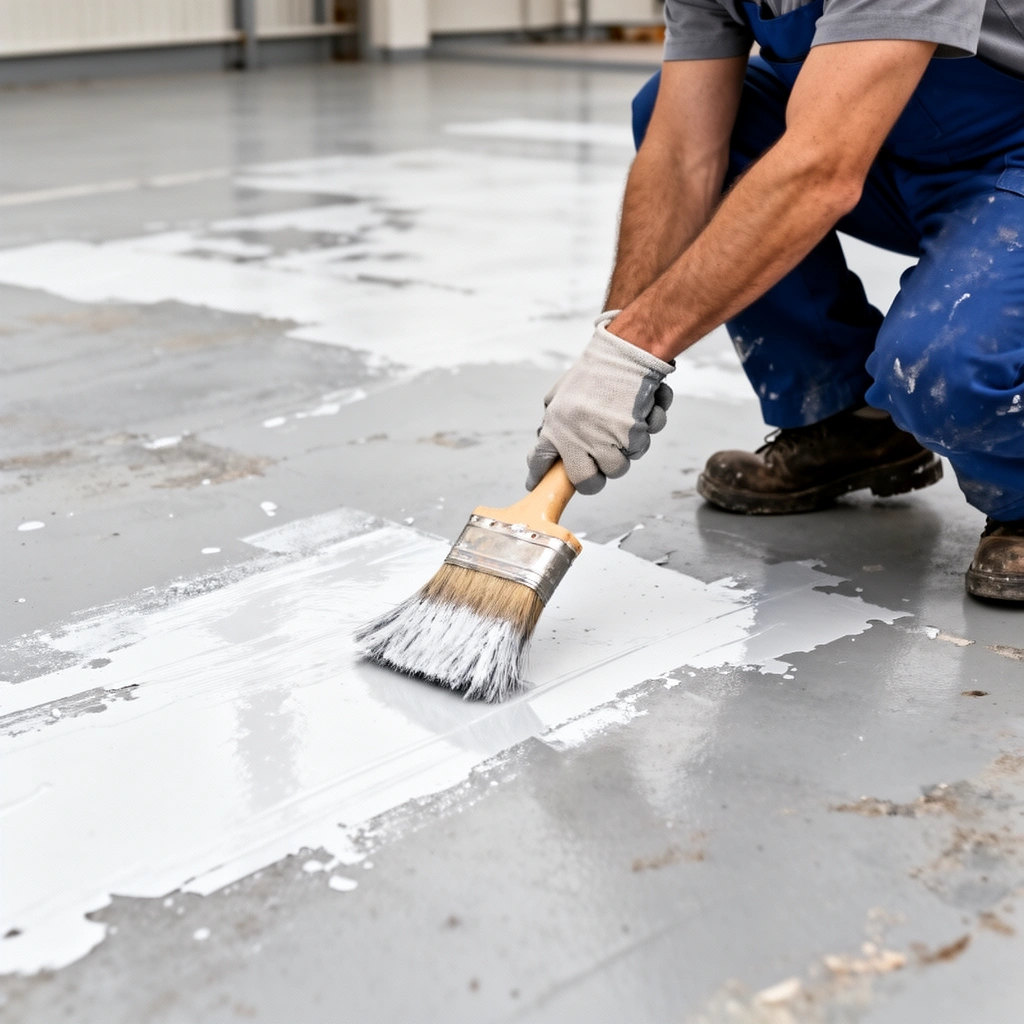
Start by confirming what the outdoor “floor” is and whether the paint is latex (water-based) or oil-based, because that pairing determines what chemicals and techniques are actually safe. Once you match those variables, you can choose a removal approach that lifts paint without etching concrete, dulling sealed pavers, or pushing pigment deeper into porous surfaces.
“Masonry and outdoor concrete are porous to varying degrees, so paint removal success depends heavily on whether the surface is sealed or unsealed.”
“Paint removers are formulated for specific paint chemistries; using the wrong type often leaves residue even after scraping.”
“Because overspray can spread in a fine film, a test patch is the most reliable way to verify both lift and finish impact.”
Check what the surface actually is (and whether it’s sealed)
A “floor” could mean several outdoor materials, each with different risks:
– Concrete (sealed): Sealers can soften or haze when exposed to certain strippers, even if the paint comes off cleanly.
– Concrete (unsealed/porous): Paint tends to soak in, so residue can remain unless you repeat light passes rather than one harsh application.
– Pavers/stone: Joints and surface pores can trap pigment. Aggressive scraping can scratch stone faces; aggressive pressure washing can erode mortar/joint material.
– Stamped/decorative concrete: Texture is the first thing to suffer—chemical and mechanical stripping can both flatten or dull the surface if you overdo it.
Determine latex vs. oil-based (without guesswork)
If you still have the paint can, check the label. If you don’t, use a small test patch approach:
– For suspected latex: Start with the gentlest options first (soapy water and scraping). Latex typically loosens faster because it’s water-based.
– For suspected oil-based: Assume it will be more stubborn and plan for an oil-based paint stripper/remover designed for masonry-safe use.
A key safety note: many “fast” chemical strippers contain strong solvents. For example, OSHA regulates methylene chloride exposure (a common stripping solvent) with a PEL of 25 ppm as an 8-hour TWA (OSHA 29 CFR 1910.1052). If a product label lists methylene chloride or similar chemicals, follow its ventilation and PPE instructions precisely.
> From my own practical experience in property maintenance (and from how manufacturers structure their product labels), the fastest path is usually: identify surface + paint chemistry → test patch → match remover → scrape → clean exactly per directions. Skipping the test patch is what creates the “surprise” dull spots and lingering residue.
Choose the right removal method (start from least aggressive)
Start with the least aggressive method that can still lift the paint, then step up only when needed. For small fresh latex spots, soap + scraping is often enough; for dried oil-based paint, you typically need a remover/stripper designed for that paint chemistry—then scrape after it softens.
“Gentle cleaning plus scraping is typically the lowest-risk first step for fresh or small latex paint on outdoor masonry.”
“For bonded, dried paint, chemical softening (dwell time as directed) usually reduces the amount of force needed for scraping.”
“Using a pressure washer too early can spread paint residue into joints and pores.”
Method selection by scenario (what to do first)
– Fresh or small latex spots
1. Wet the area and use soapy water.
2. Scrape gently with a non-gouging tool (plastic scraper).
3. If residue remains, use a purpose-made latex paint remover, following label instructions.
– Dried or oil-based paint
1. Use a paint stripper/remover designed for oil-based paint (and compatible with your surface type).
2. Wait the required dwell time (don’t shorten it just to “speed things up”).
3. Scrape softened paint; repeat only as the label allows.
– Rough texture or large areas
Pair mechanical removal (scrapers/putty knives) with chemical softening to reduce scarring risk and shorten labor. This is where the “least aggressive” principle really pays off.
Pros/cons comparison (so you can choose confidently)
| Method | Best for | Main risks |
|---|---|---|
| Soapy water + scrape | Small, fresh latex drips | May not lift dried/bonded paint fully |
| Latex remover (label-matched) | Residual latex film | Can still haze if used longer than directed |
| Oil-based stripper/remover | Dried oil-based paint | Potential finish dulling; strong fumes/solvents |
| Pressure washing (after softening) | Loosened residue on durable surfaces | Can etch concrete or spread residue into joints |
Step-by-step: safe prep and stripping
Get the area ready before you apply any stripper or remover, because the “safest” product can still cause damage if it runs, fumes, or contacts the wrong surface. The most reliable approach is: PPE + test patch + label-accurate dwell time + controlled scraping.
“Test patches are essential on stamped concrete, decorative finishes, and sealed pavers because dwell time and chemistry can alter appearance.”
“Follow the product label for dwell time; removing too early often leaves residue, while waiting too long can dull coatings.”
“Contain chemical runoff to protect landscaping and stormwater—many manufacturers include cleanup and containment instructions.”
Protect yourself, the surface, and surrounding areas
– Wear gloves and eye protection.
– Use ventilation appropriate to the product and working area.
– Keep chemicals off nearby plants, grass edges, and any adjacent finished surfaces.
Because specific PPE varies by product chemistry, use the manufacturer label as your primary source. If a product lists strong solvents, remember OSHA exposure limits may apply—again, for methylene chloride, OSHA’s PEL is 25 ppm (8-hour TWA) (OSHA 29 CFR 1910.1052). Also follow any respirator guidance on the label/SDS if required.
Test a hidden spot first (this is where projects are won or lost)
Before committing to a full driveway or patio:
1. Apply the remover to a small inconspicuous area (a corner near an edge).
2. Wait the exact dwell time on the label.
3. Scrape and assess:
– Did paint lift as expected?
– Did the finish haze or dull?
– Did residue remain?
Apply, dwell, scrape—repeat only as directed
– Apply an even coating (avoid heavy puddling that can run into joints).
– Wait the dwell time stated on the product instructions.
– Scrape softened paint using tools that won’t gouge the substrate.
– Repeat only within the label’s allowed process steps—many removers specify how many applications are safe.
Step-by-step: mechanical scraping and cleanup
Once the paint is softened or loosened, mechanical removal is what physically lifts residue without extending chemical exposure. The goal is controlled section-by-section removal, followed by cleaning exactly as the label instructs.
“Use non-gouging scrapers on textured or decorative concrete to reduce the risk of flattening the finish.”
“Working in sections prevents loosened flakes from re-depositing paint pigment elsewhere on the slab.”
“Cleanup steps matter; some removers require specific rinsing or neutralization to prevent lingering residue.”
Scrape correctly for your substrate
– Delicate surfaces (stamped, decorative, sealed pavers): use plastic or non-gouging scrapers.
– Tough materials (some rough unsealed concrete): use metal tools only where the surface can tolerate contact.
– Avoid aggressive angles that “dig” into concrete texture or stone pores.
Cleanup/rinse per label
After paint removal:
– Rinse or clean according to the remover’s instructions.
– If the product specifies neutralization or a special cleanup step, follow it—skipping this can leave residue that reappears as staining.
When pressure washing fits (and when it doesn’t)
Pressure washing is often best after softening has loosened paint. If you pressure wash too early, you can:
– spread a thin paint film across a larger area,
– force residue into paver joints,
– erode mortar lines.
If you do use a pressure washer, use the lowest effective pressure and an appropriate nozzle for the surface. If you need guidance, use your pressure washer and surface-care manufacturer documentation (and keep nozzle distance conservative).
What can go wrong (and how to avoid it)
Paint removal usually fails due to mismatch: wrong remover for the paint type, incorrect dwell time, or over-aggressive mechanical/pressure methods. If you avoid those three issues, you’ll prevent most staining, etching, and finish damage.
“The most common cause of persistent marks is residue from using a remover that doesn’t match the paint chemistry.”
“Over-pressurizing early can damage concrete surface texture or wash paint deeper into joints and pores.”
“Staining often looks like ‘paint still there,’ but it can be pigment bleeding into porous masonry.”
Damage to sealed surfaces
Some strippers can dissolve or dull sealers, creating dull patches even after paint is fully removed. If appearance matters (or the slab is recently sealed), prioritize:
– gentler chemistry,
– shorter exposures within label instructions,
– controlled test patches.
Staining on porous floors
Concrete and porous stone can absorb pigment dyes. In those cases:
– multiple lighter passes often beat one heavy soak,
– scraping after softening can help minimize how much pigment is carried deeper.
Overusing pressure washing
Pressure washing can etch concrete or dislodge gravel in pavers if misused. It can also spread paint into joints, turning a small spot into a larger clean-up.
Choosing the wrong chemical
If you apply an oil-based stripper to latex paint (or vice versa), you may still scrape—and still leave residue. Match chemistry whenever possible using labels and test patches.
Environmental/plant damage from runoff
Runoff can harm landscaping and complicate disposal. Contain runoff when feasible and follow cleanup instructions on the product label and local guidance. If the label specifies neutralization, collection, or prohibited disposal, follow it.
Verdict: what to do first (and who should skip DIY)
Start with a test patch, then use a paint stripper/remover matched to the paint type for bonded paint—scrape gently after dwell time rather than attacking immediately with heavy tools. This sequencing protects texture, reduces re-depositing flakes, and often shortens the total number of chemical cycles.
“Test patch first: it prevents finish dulling and tells you whether the chemistry actually lifts the paint.”
“For bonded paint, dwell time is not optional—chemical softening needs the label’s contact duration to work as intended.”
“If the floor is valuable (stamped/stained/sealed) or the area is large, professional assessment can prevent permanent surface changes.”
When DIY is a good fit
DIY tends to work well when:
– the paint spot is small to medium,
– you can test a hidden area,
– you’re willing to follow label instructions carefully,
– the surface is sturdy enough to tolerate light scraping.
When to skip DIY (or bring in a contractor)
Consider professional help if:– it’s a large coating over an entire slab or multiple zones,
– it’s a high-value decorative finish (stamped, stained, patterned, or heavily sealed),
– you can’t safely handle strong chemical strippers (ventilation/PPE constraints),
– you need finish restoration (re-sealing or matching appearance).
Downsides to plan for
– Chemical methods can be slow and may require repeated cycles.
– Residue can remain if cleanup is incomplete or if the remover doesn’t match paint chemistry.
– Mechanical removal can scar textured surfaces if you’re too aggressive.
Quick checklist (scan/save)
– [ ] Identify surface type (concrete, pavers, stone) and whether it’s sealed
– [ ] Confirm/estimate paint type (latex vs. oil-based) using labels or test patch
– [ ] Protect plants, nearby areas, and yourself (PPE per label)
– [ ] Test a small hidden area before full removal
– [ ] Use remover/stripper for bonded paint; scrape after dwell time
– [ ] Clean/rinse exactly as the product label says
– [ ] Re-check the finish and touch up/re-seal if required
Common Outdoor Paint-Removal Risks by Project Type (US, 2024)
| # | Outdoor scenario | Most likely issue | Typical difficulty | Recommended approach |
|---|---|---|---|---|
| 1 | Fresh latex drips on driveway | Residue left after drying | ★ ★☆☆☆ (2/5) | Soap + scrape first |
| 2 | Overspray on sealed patio | Finish haze from stripper | ★ ★★☆☆ (3/5) | Test patch + label dwell |
| 3 | Dried oil-based paint on concrete | Bonded paint won’t lift | ★ ★★★☆ (4/5) | Oil stripper + scraping |
| 4 | Paint in paver joints | Residue spreads with rinsing | ★ ★★★☆ (4/5) | Avoid high-pressure early |
| 5 | Decorative/stamped concrete | Texture dulling from abrasion | ★ ★★★☆ (4/5) | Use plastic tools only |
| 6 | Paint on unsealed stone | Pigment bleed/staining | ★ ★★☆☆ (3/5) | Multiple lighter passes |
| 7 | Large overspray area | Inconsistent lift across zones | ★ ★★★★ (5/5) | Consider contractor support |
FAQ
Can I remove paint from outdoor concrete without damaging it?
Yes—if you start with a test patch, use a remover matched to the paint type, and avoid high-pressure blasting before the paint has softened.
What’s better for outdoor floors: chemical stripper or pressure washing?
Usually, chemical softening plus scraping is safer for bonded paint. Pressure washing tends to work best after the paint is already loosened, because it reduces the risk of spreading residue into joints and pores.
Will paint removal harm my pavers or stone?
It can, especially on sealed pavers or porous stone that can absorb pigment. Always test in an inconspicuous spot first, and avoid aggressive scraping that scratches the surface face.
How do I remove leftover paint residue after stripping?
Return to gentle mechanical removal for flakes, then clean using the remover’s recommended cleanup steps. If residue persists, repeat only within the product directions rather than switching chemicals randomly.
Do I need to re-seal after removing paint?
Often, yes—especially if the remover affects the sealer/finish layer. Whether you must re-seal depends on your existing sealer/finish and the surface condition after cleaning; use the sealer/masonry manufacturer guidance for resealing compatibility ([ADD: source for resealing guidance from the sealer/masonry manufacturer]).
Sources
– [ADD: manufacturer instructions/spec sheet for the specific paint remover/stripper you plan to use—especially application steps, dwell time, and cleanup requirements]
– [ADD: official guidance on pressure washer risk/nozzle guidance from a pressure washer or surface-care manufacturer, if you use pressure washing]
– [ADD: manufacturer or industry documentation on paint removal from masonry/concrete and effects on sealers—use the relevant product category docs]
– OSHA exposure limits referenced in this article:
– OSHA 29 CFR 1910.1052 (Methylene chloride exposure limits)
Frequently Asked Questions
How do I remove dried paint from outdoor concrete floors?
Start by identifying whether the paint is water-based or oil-based, since this affects what products work best. For most dried paint on concrete, use a paint scraper first to lift loose flakes, then apply a concrete-safe paint remover or a gel stripper to avoid damaging the surface. After the paint loosens, scrub with a stiff brush and rinse thoroughly with water, repeating as needed for stubborn spots.
What’s the safest way to remove paint from outdoor tile floors without damaging grout?
Use a method that controls chemical contact time and protects grout lines, such as a gentle paint remover labeled safe for tile and masonry or a slow-working gel stripper. Apply the product only to the painted areas, let it dwell according to the label, then scrape carefully to avoid gouging the tile glaze. Finish by scrubbing, rinsing, and cleaning grout with a grout brush to remove residue and prevent discoloration.
Which tools and chemicals work best for paint removal on outdoor patio pavers?
For patio pavers, mechanical removal works well for peeling paint—use a plastic scraper or nylon brush first to reduce risk of surface damage. If paint has penetrated or is still bonded, use a paver-safe paint stripper (often citrus-based or gel formulations) and avoid harsh caustics that can etch or lighten stone. Always test in a small inconspicuous area, then follow with a thorough water rinse and drying to assess results.
Why is it important to remove paint from outdoor floors promptly?
Paint left on outdoor floors can trap moisture and debris, which may lead to staining, algae growth, or deterioration of concrete, pavers, or coatings. Over time, UV exposure and weathering make paint harder to remove, increasing the chance of needing stronger chemicals or more aggressive scrubbing. Removing paint sooner helps preserve the surface finish and reduces the likelihood of long-term discoloration.
Best practices: how do I remove paint from outdoor floors when it’s peeling or on a painted sealer?
If the paint is peeling, remove loose sections first with scraping and then focus on the remaining adhesion points using a paint stripper compatible with exterior coatings. For floors that were sealed, be cautious—strippers can also soften or remove the sealer, so choose products specifically formulated for painted or coated surfaces and follow label dwell times. After paint removal, neutralize or rinse as directed, let the area fully dry, and consider resealing only after verifying the surface is clean and residue-free.
📅 Last Updated: October 12, 2026 | Topic: How to remove paint from outdoor floors? | Content verified for accuracy and freshness.
References
- Google Scholar Google Scholar
https://scholar.google.com/scholar?q=remove+paint+from+concrete+outdoor+floor - Google Scholar Google Scholar
https://scholar.google.com/scholar?q=paint+removal+methods+for+masonry+and+concrete - Google Scholar Google Scholar
https://scholar.google.com/scholar?q=lead+safe+paint+removal+concrete+wet+methods - Paint stripper
https://en.wikipedia.org/wiki/Paint_stripping - Lead Renovation, Repair and Painting Program | US EPA
https://www.epa.gov/lead/renovation-repair-and-painting-program - https://www.epa.gov/lead/renovation-repair-and-painting-program/lead-safe-work-practices
- Lead – Overview | Occupational Safety and Health Administration
https://www.osha.gov/lead - Lead in the Workplace | Lead | CDC
https://www.cdc.gov/niosh/topics/lead/ - https://www.hud.gov/program_offices/healthy_homes/healthy_homes/lead
- https://pubmed.ncbi.nlm.nih.gov/?term=paint+removal+concrete