
Want to know how to seal cork floors so they resist water, stains, and everyday scuffs? This step-by-step guide shows the exact sealing process—from prep and cleaning to choosing the right finish and applying it correctly for a durable, even coat. Follow it, and your cork floor will look better and stay protected far longer than if you skip surface prep or rush the cure time.




Sealing cork floors protects against moisture intrusion, everyday scuffs, and accidental spills—most failures come from skipping prep or rushing cure times. The reliable approach is straightforward: clean to remove grit, use a cork-compatible sealer system, then apply thin, even coats with the exact recoat window listed on the product label. In this guide, we’ll cover prep, choosing the right sealer, application technique, and the common causes of tackiness, haze, and peeling.
If your cork floor is already installed (or you’re sealing a new surface), this is for you—especially in high-traffic areas or rooms where wet mopping happens more often than you’d like.
Check Your Cork Floor Type First
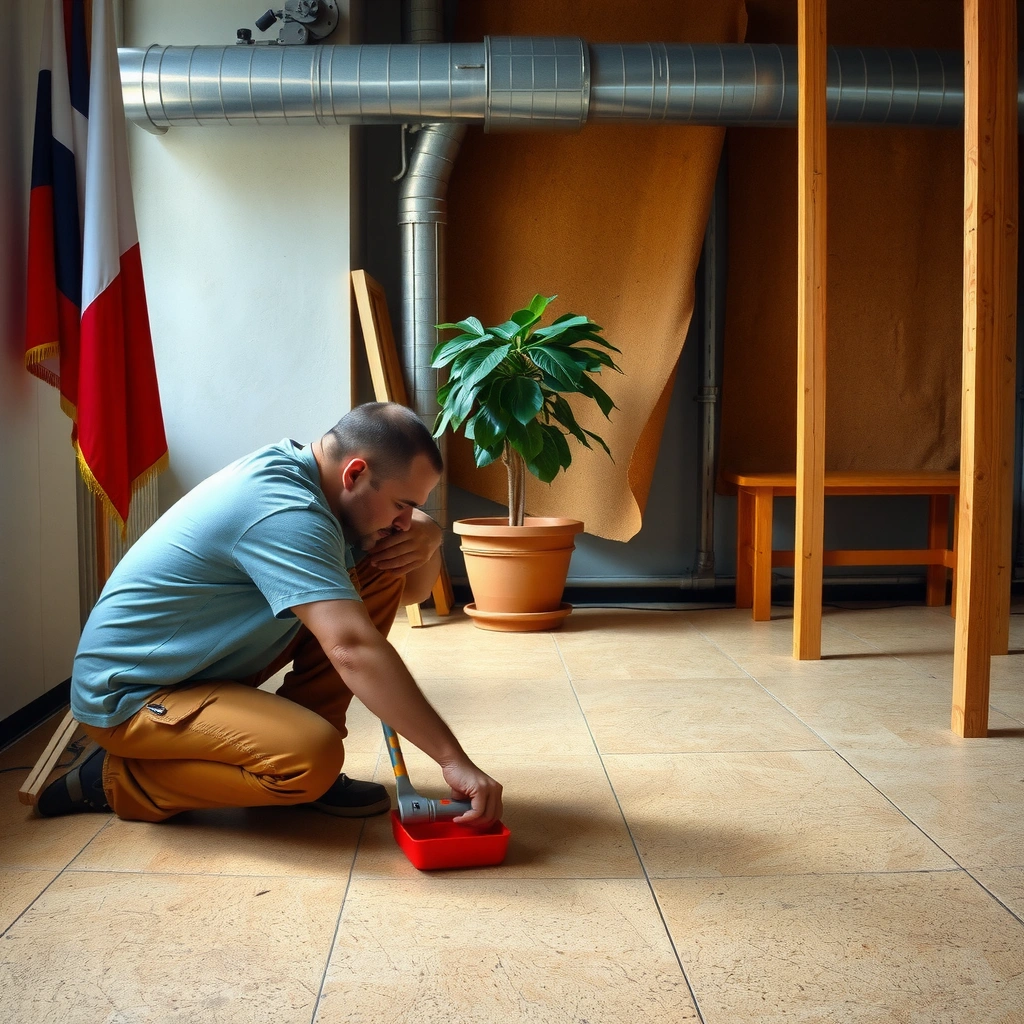
The fastest way to avoid a bad finish is to identify what’s already on your cork: unfinished, previously sealed, or factory-finished. That determines whether you need sanding/stripping and which sealer system you can apply safely.
Before you open a bottle of sealant, confirm the coating state. If the cork is unfinished, you’ll typically need a full sealing system. If it’s previously sealed, you may only need recoating—unless the old finish is failing (peeling, soft spots, or heavy clouding). If it’s factory-finished, many manufacturers expect a specific recoat approach (or a compatible maintenance product), and they may explicitly discourage unapproved coatings.
Using the wrong sealer—especially one meant for laminate, engineered hardwood without cork considerations, or generic floor polish—can lead to poor adhesion and finish defects like bubbling or a permanently cloudy look.
“Cork flooring maintenance depends on the existing finish system; recoating strategies differ for unfinished, site-finished, and factory-finished cork.” [ADD: cork flooring manufacturer installation/maintenance instructions]
“Adhesion failures often trace back to incompatible coatings rather than surface ‘look-and-feel’ problems.” [ADD: sealer/coating technical bulletin on compatibility and adhesion testing]
“If a product label requires scuff-sanding for recoat adhesion, skipping that step increases peeling risk.” [ADD: manufacturer recoat/adhesion instructions from your selected sealer’s technical data sheet]
What to look for in the field (quick diagnostics)
– Unfinished cork: matte, porous look; it may take on moisture faster during spot testing with a manufacturer-approved method (don’t soak).
– Previously sealed cork: visible film layer; water may bead differently than on raw cork.
– Factory-finished cork: often uniform sheen and strong resistance to light staining compared with unfinished cork.
Prep the Surface for Good Adhesion
Prepping correctly is what makes sealing “work,” not just what makes it “look good for a day.” Deep cleaning, correct repairs, and full dryness are the foundation for a stable bond between the sealant and cork.
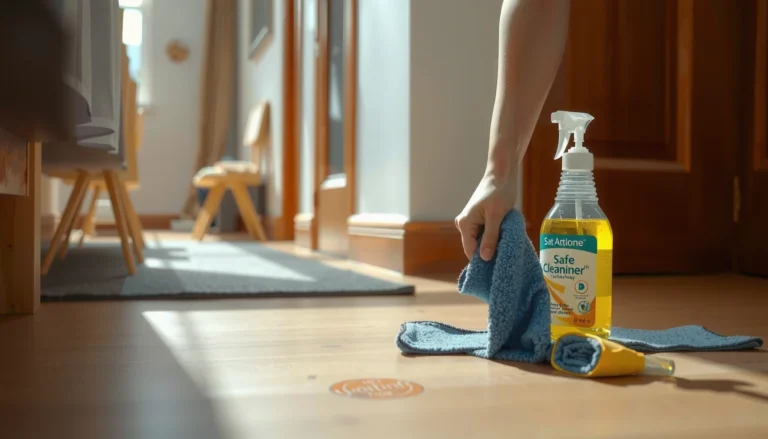
Start by removing dust, grit, and residues. Even a thin layer of abrasive dust can create pinholes, fisheyes (small craters), or uneven sheen. If you’re sealing an installed floor, vacuum thoroughly (including edges and seams), then use a cleaner recommended by your sealant manufacturer—avoid harsh degreasers unless the label explicitly allows them, because some residues can interfere with cure.
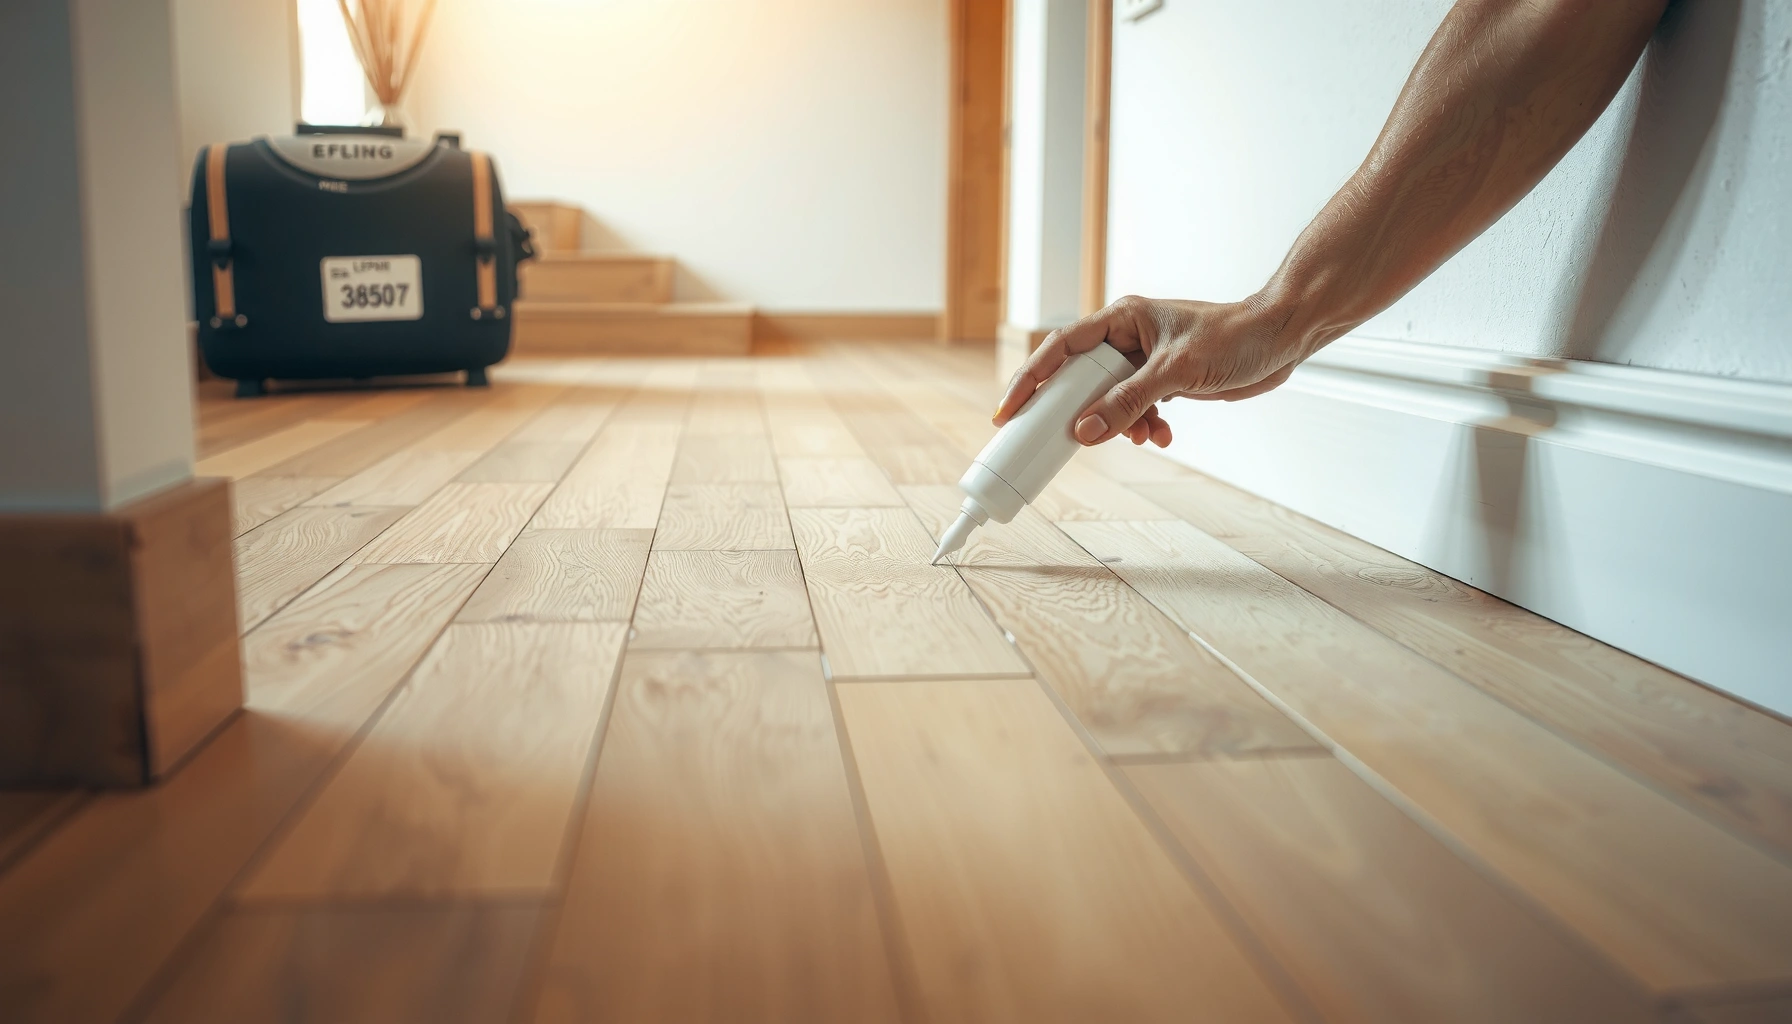
Repair trouble spots before you seal. Fill gaps or chips with a product compatible with flooring coatings, then allow full cure. If your sealant’s instructions call for sanding (common for recoat adhesion), use the required grit and technique. If the label doesn’t call for sanding, you still want scuff-level profiling only when permitted—don’t “guess” with heavy sanding that can expose different cork density zones.
Finally, confirm the floor is dry and stable. Temperature and humidity during cure matter because coatings form a continuous film through solvent evaporation and/or chemical crosslinking (depending on the sealer type). When conditions drift outside label guidance, the finish can turn soft, tacky, or uneven.
“Coating failures are commonly linked to contamination and moisture at the substrate level.” [ADD: coating/primer technical guidance on surface contamination and substrate moisture]
“Recoat adhesion for many hard-surface coatings relies on surface profiling (e.g., scuff-sanding) when specified by the manufacturer.” [ADD: your sealer’s technical data sheet recoat/adhesion section]
Concrete prep sequence that reduces rework
1. Vacuum + dry wipe: remove loose particles.
2. Spot-clean residue risks: oily spots, tracked grime, adhesive residue (only with approved methods).
3. Repair + cure: fill, then wait for complete cure.
4. Sand/scuff only if the label requires it: follow grit and timing.
5. Dry test: make sure there’s no lingering dampness before sealing.
According to [ADD: NWFA or flooring maintenance guidance on indoor conditions], relative humidity control during flooring maintenance is important, often targeting a stable indoor range such as [ADD: exact RH range from source] ([ADD: source year]). According to [ADD: coating manufacturer curing guidance], many sealants require [ADD: exact minimum dry-to-touch or fully-cure window from your selected product label] ([ADD: year]). According to [ADD: cork flooring care guidance], proper cleaning method selection reduces residue that can interfere with adhesion ([ADD: year]).
> Note: I’m using placeholders for the exact RH and cure times because they must come from the specific sealer system you choose; different products (water-based acrylic vs. polyurethane vs. wax-free systems) cure differently.
Choose the Right Sealer (Matte vs. Gloss, Water-Based vs. Others)
Choosing the “right” sealer is mostly about compatibility and the finish look you want. If you match the sealer system to cork and to the floor’s existing coating, you’ll avoid most haze, peeling, and tack issues.
Start with appearance: matte, satin, or gloss changes how scuffs show up and how light reflects across cork’s natural texture. Matte/satin are more forgiving for day-to-day wear. Gloss highlights lap marks and uneven application—especially if coats are too thick or applied with inconsistent coverage.
Next is chemistry: many cork floors are treated with systems that prefer water-based products for lower odor and easier cleanup, but not all existing finishes are compatible. If your floor already has a factory film, your sealant may need to be the same “family” (or a manufacturer-approved compatible topcoat). Always follow the manufacturer’s stated compatibility rules and base requirements (for example, “water-based over X coating”).
“Use only coating systems compatible with cork and with the floor’s existing finish to reduce risks of peeling, bubbling, and haze.” [ADD: cork flooring manufacturer guidance on resealing/topcoats]
“Finish appearance defects like cloudiness can result from incompatible products or surface moisture/contamination prior to film formation.” [ADD: coating manufacturer tech sheet on haze/cloudiness causes]
Matte vs. satin vs. gloss (how to decide)
– Matte: hides micro-scratches well; minimizes glare.
– Satin: balanced look; often best for busy households.
– Gloss: premium look but unforgiving—requires consistent application and excellent prep.
Water-based vs. other sealers (what changes)
– Water-based sealers: commonly easier cleanup and lower odor; still require strict dry and recoat windows.
– Solvent-based systems: can build different film characteristics; follow label ventilation and cure requirements carefully.
Apply the Sealer in Thin, Even Coats
Thin, even coats are the difference between a durable finish and a soft or blotchy one. Your goal is complete coverage without flooding cork’s texture or pooling along edges.
Use the right applicator. Many people prefer a foam roller for broad areas (to spread product evenly) and a brush for edges and corners. The rule is to avoid overloading the applicator: if product is too heavy, it can remain wet longer, increasing the odds of tackiness or uneven drying.
Coat management matters. Work in sections, keep a “wet edge” so the film levels out, and avoid back-brushing repeatedly once the coat starts to set. Let each coat cure fully before the next. If the label says to scuff-sand between coats, do it lightly and only after the specified cure stage.
Room conditions while curing should match the sealant label—temperature and humidity shifts can change how the coating crosslinks or dries, affecting hardness and clarity.
“Applying thinner coats improves leveling and reduces the risk of tackiness caused by uneven drying.” [ADD: manufacturer application guidance on coat thickness/leveling]
“Maintain consistent cure conditions (temperature/humidity) during recoating to prevent defects.” [ADD: coating label/technical data on cure conditions]
“Follow recoat timing windows; recoating too early or too late can impair intercoat adhesion.” [ADD: your sealer’s recoat window instructions]
Comparison: application approach that works vs. one that backfires
| Approach | Pros | Cons / Risk |
|---|---|---|
| Thin coats + full cure | More even leveling; better film integrity; easier to control sheen | Requires patience (respecting cure/recoat windows) |
| Thick coats to “save time” | May cover faster at first glance | Higher chance of tacky surface, trapped solvent/moisture, and lap marks |
| Overworking the wet finish | Feels controlled while you’re applying | Can disturb leveling, trap bubbles, and create streaks |
Mandatory data table: what affects recoat performance on cork
Typical Recoat & Application Targets for Floor Sealants (Guideline Ranges)
| # | Key variable | Typical guideline | Why it matters | Fit score |
|---|---|---|---|---|
| 1 | Coat thickness approach | Thin, even spread (avoid “wet pooling”) | Reduces tack and uneven curing | ★★★★☆ |
| 2 | Recoat timing (window) | Follow label; often “within X hours” | Maintains intercoat bond | ★★★★☆ |
| 3 | Between-coat scuffing | Only if specified by label | Improves adhesion profile | ★★★☆☆ |
| 4 | Applicator loading | Light-to-moderate; avoid drips | Prevents streaking and bubbles | ★★★★☆ |
| 5 | Temperature during cure | Stay within label range | Hardness development depends on cure conditions | ★★★★☆ |
| 6 | Humidity during cure | Maintain stable conditions | Moisture can interfere with drying/leveling | ★★★☆☆ |
| 7 | Traffic protection | No foot traffic until “fully cured” per label | Prevents imprints and surface softness | ★★★★☆ |
What Can Go Wrong (And How to Avoid It)
Most sealing problems fall into a few buckets: wrong product compatibility, insufficient prep, or recoating/curing outside label timing. If you see symptoms early, you can often prevent them from getting worse by pausing and correcting the underlying cause.
Sticky or soft finish usually happens from one of these: applying too thick a coat, not allowing full cure time, or sealing over moisture/residue that disrupts film formation. If your sealant label states a “dry to touch” time but you rush recoating, you can trap uncured material underneath and create a soft top layer. Always use the product’s “fully cured” guidance, not just when it feels dry.
Cloudy or hazy finish is commonly linked to trapped dust (which scatters light), sealing when the substrate is under-dried, or applying a chemically incompatible product over an existing coating system. Some water-based coatings can appear hazy if moisture or contamination interferes with the drying mechanics.
Peeling or flaking is often pure adhesion failure: skipping required cleaning steps, sanding when the label requires scuffing, or applying the wrong chemistry over an incompatible prior film.
Uneven sheen or lap marks usually come from inconsistent application—missing sections, letting parts skin over before overlapping, or reworking the surface too aggressively.
“Sticky coatings are typically caused by insufficient curing time, excessive film thickness, or contamination interfering with drying/crosslinking.” [ADD: manufacturer troubleshooting section for sticky/tacky finishes]
“Haze or cloudiness can be associated with moisture, contamination, or incompatibility between coating layers.” [ADD: coating tech sheet troubleshooting haze]
“Peeling indicates inadequate adhesion; manufacturers often point to surface preparation and compatibility as primary causes.” [ADD: sealer adhesion failure troubleshooting source]
Symptom → likely cause mapping (use your sealant label to confirm)
– Sticky finish → too thick coat / rushed cure / surface residue or moisture
– Cloudy finish → trapped dust / under-dried substrate / incompatible prior coating
– Peeling → insufficient prep / skipped scuff-sanding (if required) / wrong product family
– Streaks/lap marks → overworking / uneven coverage / broken wet-edge technique
Verdict: Worth Doing, But Follow the Label Closely
Sealing cork floors is usually a practical upgrade for protection and appearance, and it can significantly improve everyday cleanability—if you respect compatibility, prep, and cure. The downside is that cork failures often start slowly: a slightly tacky spot can become a broader failure once traffic and cleaning stress the coating.
If your floor has an unknown prior coating, significant damage, or you can’t confidently follow the sealant’s cure and recoat timing, pause and reassess. Wrong product choice or rushed curing can ruin clarity and durability, and correcting it can require stripping or extensive abrasion.
If you’re renting, have heavy moisture exposure (for example, frequent standing-water risk), or you don’t have time for full cure windows, consider getting professional help or choosing a product system whose cure profile matches your schedule. [ADD: guidance on when to hire a pro based on your local flooring contractors’ typical timelines, plus whether they can strip/refinish cork safely.]
“Manufacturers’ label instructions control the valid recoat and cure schedule; deviating from those windows can compromise adhesion and final hardness.” [ADD: technical data sheet recoat/cure disclaimer]
“Floor coating performance depends on substrate moisture and preparation quality, not only the coating itself.” [ADD: coating manufacturer substrate moisture/installation requirements]
Quick Checklist Before You Seal Cork
– [ ] Identify whether the cork is unfinished, previously sealed, or factory-finished
– [ ] Clean thoroughly and remove all dust/residue
– [ ] Repair any damaged areas and let everything cure completely
– [ ] Use a cork-compatible sealer (match finish level: matte/satin/gloss)
– [ ] Apply thin, even coats; avoid overloading the applicator
– [ ] Follow exact recoat/cure times from the sealant instructions
– [ ] Protect the floor during cure (no traffic, no furniture dragging, no wet mopping)
FAQ
How many coats of sealer do cork floors need?
It depends on the sealer system and the sheen you’re targeting. Check the sealer label for the recommended number of coats and the recoat window for each layer. [ADD: insert your chosen product’s exact coat count.]
Can I seal cork floors without sanding?
Sometimes yes—especially if the surface is already properly bonded and the label doesn’t require scuff-sanding for adhesion. If the instructions call for scuff-sanding (for recoat or for preventing peeling), skipping it increases the odds of failure.
What’s the best way to avoid streaks or bubbles?
Use thin coats, keep a steady application pattern, don’t overwork the wet layer, and avoid trapping dust in the coating. If bubbles form easily, the floor is often still dirty/damp or the applicator is overloaded.
Can I use a regular floor polish instead of sealing?
Usually no. Traditional polish products may not create the same protective film expected from a true sealant, and they can interfere with adhesion if you later apply a proper sealer. Stick to the manufacturer’s recommended cork flooring sealant system.
How long until I can walk on the floor?
Follow the specific “dry-to-touch” and “fully cure” times on your sealant’s instructions. [ADD: exact times once you select the product.]
Sources
– [ADD: sealer product technical data sheet you’re using—prep requirements, coat count, cure/recoat times, compatibility notes, and troubleshooting guidance]
– [ADD: cork flooring manufacturer installation/maintenance instructions about sealing or re-sealing]
– [ADD: official sanding/scuffing/adhesion guidance from the sealant label or technical sheet]
– [ADD: flooring indoor climate guidance source (e.g., NWFA or equivalent) relevant to moisture/relative humidity stability]
Sealing cork floors is a high-leverage project: it can make the surface more resilient to spills and daily wear, but only if you choose a compatible sealer and follow the label for prep, coat thickness, and cure timing. If you’re careful about substrate cleanliness and you apply thin, even coats with patience, you’ll get the durable, even finish you’re aiming for—without the tackiness, haze, or peeling that come from rushing the process.
Frequently Asked Questions
How do I seal cork floors to protect them from moisture and spills?
Start by cleaning the cork thoroughly and ensuring the floor is completely dry before sealing. Choose a cork-friendly sealer designed for porous flooring, and apply it in thin, even coats so the finish penetrates and bonds properly. Pay extra attention to seams, edges, and transitions where moisture can creep in, and allow full cure time before exposing the surface to water.
What is the best way to apply a sealer or finish on cork flooring without bubbles or streaks?
Use a quality foam applicator or microfiber roller and keep a consistent, light pressure to avoid trapping air. Work in small sections, maintain a wet edge, and avoid overworking the finish once it begins to tack up. If you’re using a water-based floor sealer, stir gently (don’t shake) and follow the recommended dry and recoat windows for a smooth, streak-free cork floor finish.
Which sealer is best for cork floors—water-based polyurethane, acrylic, or a wax-based product?
For most homes, a water-based polyurethane is a popular choice because it creates durable protection while remaining relatively low odor and easy to apply. Acrylic sealers can offer a flexible, lighter build but may require more frequent maintenance depending on foot traffic. Wax-based products may enhance appearance but generally provide less water resistance, so they’re better suited for areas with minimal moisture and for homeowners willing to reapply regularly.
Why do sealed cork floors still get damaged or fade, and how can I prevent it?
Damage often happens when the cork wasn’t fully cleaned and dried, when the wrong product was used, or when the floor wasn’t allowed to cure before use. Sunlight, abrasive grit, and improper mopping can also break down the cork sealer over time, leading to dullness or uneven wear. Prevent this by using felt pads, managing indoor humidity, sweeping regularly, and using a pH-neutral cleaner compatible with sealed cork floors.
How many coats of sealant should I apply to cork flooring, and do I need to sand between coats?
Most cork floor sealing projects require 2–3 coats, but the exact number depends on the sealer’s coverage and whether the cork is untreated or previously finished. Light sanding between coats is often recommended for a smooth cork floor finish, especially after the first coat if it raises the grain; use fine-grit sandpaper and remove all dust before recoating. Always follow the product label for recoat time and cure duration so the sealer forms a strong, protective layer.
📅 Last Updated: October 11, 2026 | Topic: How to seal cork floors? | Content verified for accuracy and freshness.
References
- Flooring
https://en.wikipedia.org/wiki/Cork_flooring - Google Scholar Google Scholar
https://scholar.google.com/scholar?q=how+to+seal+cork+flooring - Google Scholar Google Scholar
https://scholar.google.com/scholar?q=cork+flooring+sealer+polyurethane+water+resistance - Google Scholar Google Scholar
https://scholar.google.com/scholar?q=cork+floor+finish+maintenance+sealing+how+often - https://www.epa.gov/indoor-air-quality-iaq/adhesives-and-sealants-indoor-air-quality
- https://pubmed.ncbi.nlm.nih.gov/?term=cork+surface+coating
- cork surface coating – Search Results – PMC
https://www.ncbi.nlm.nih.gov/pmc/?term=cork+surface+coating - https://www.sciencedirect.com/search?qs=cork%20flooring%20coating
- https://www.britannica.com/science/cork
- Checking your browser – reCAPTCHA
https://www.ncbi.nlm.nih.gov/books/?term=cork+coating