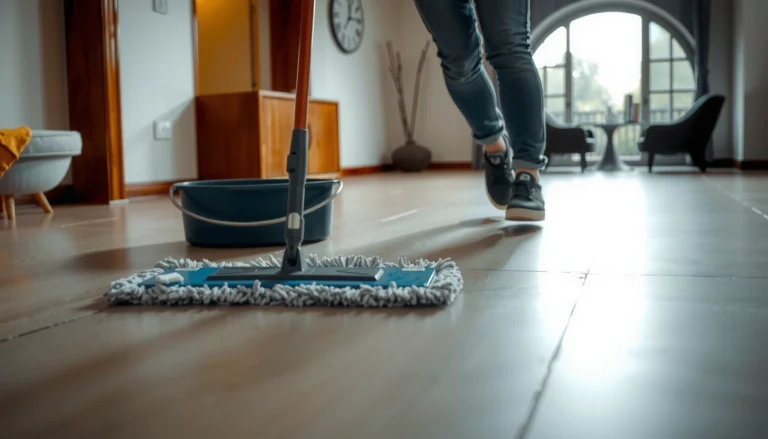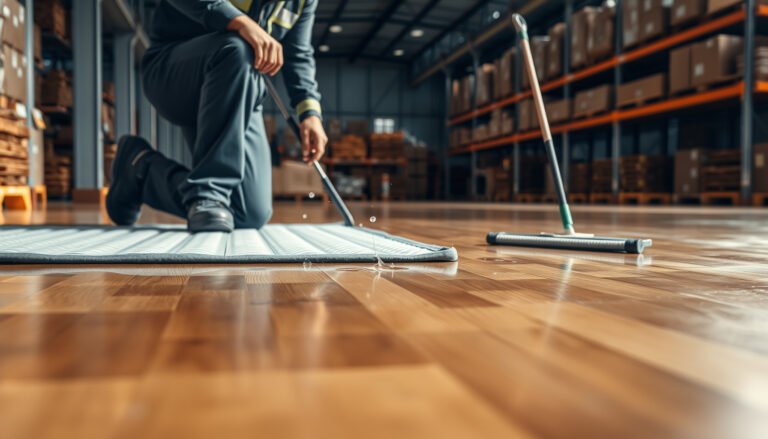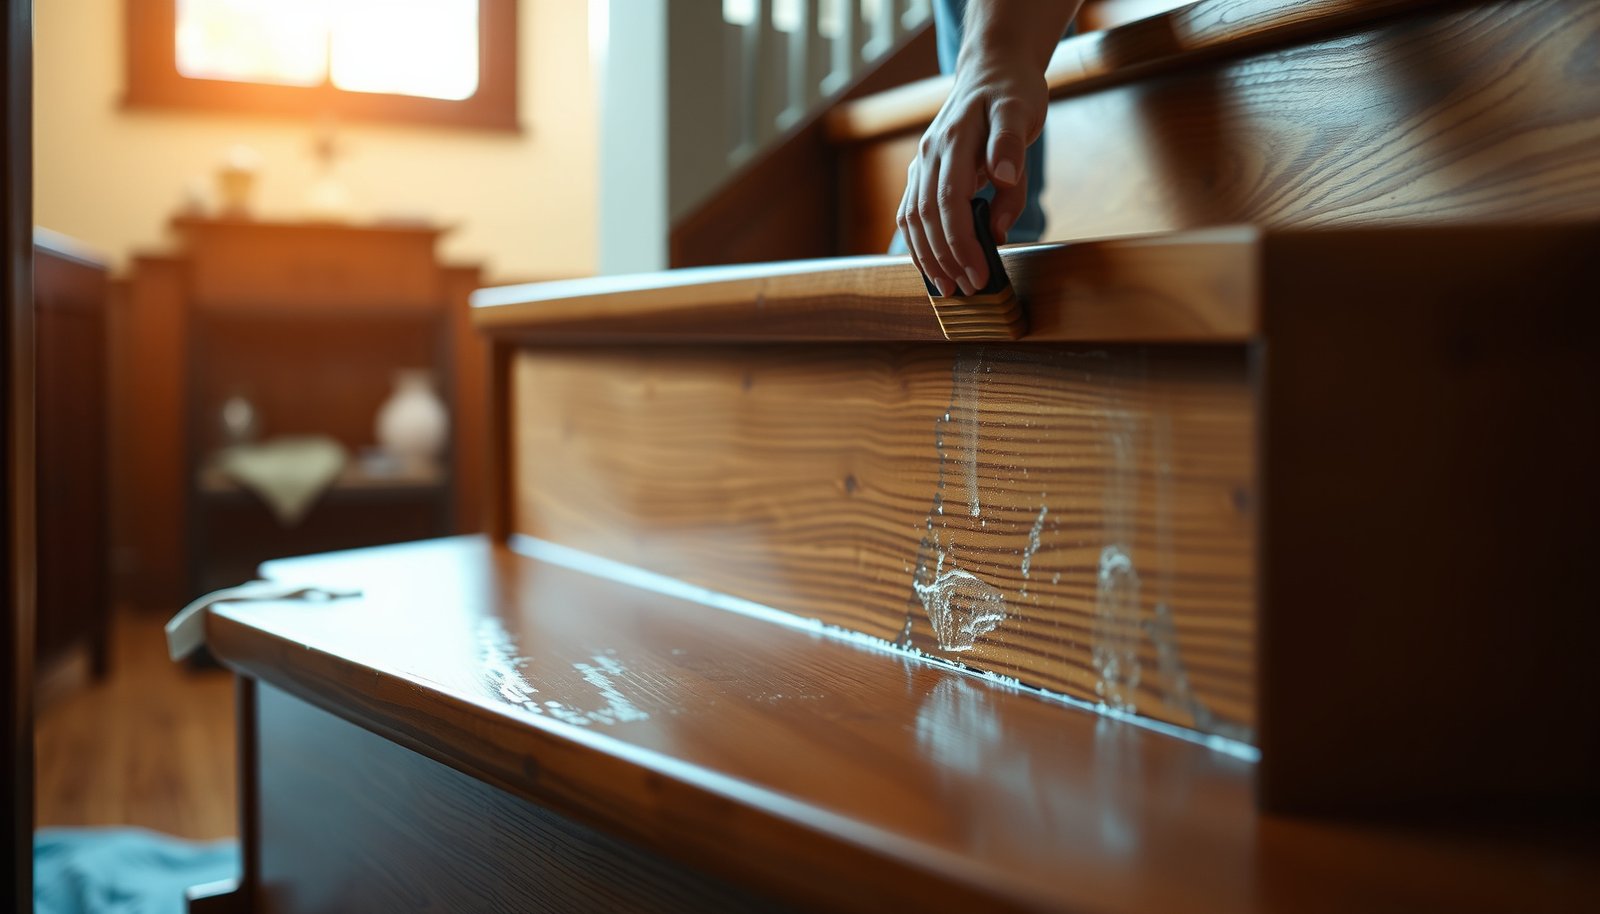

Learn how to waterproof hardwood floors and a staircase with a step-by-step process that actually holds up under daily spills, wet mopping, and shoe traffic. This guide tells you the best sealing method to use on stair treads and landings, how to prep every surface for maximum adhesion, and what topcoat system to apply for a long-lasting water barrier. Follow it closely and you’ll finish with hardwood that’s protected where it matters most—at the seams, edges, and high-wear stair surfaces.



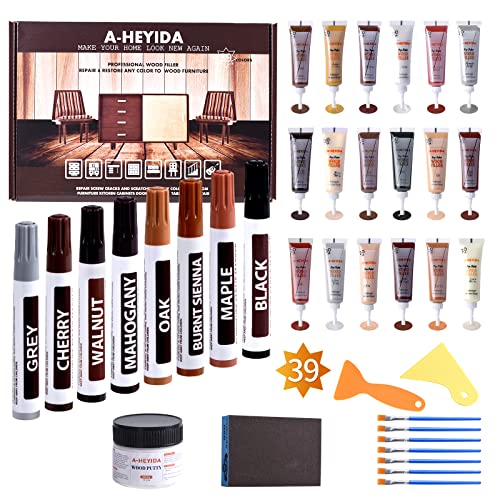
Do this to protect hardwood from everyday water: use a truly water-resistant finish system and seal every seam, edge, and stair transition before you coat. Then manage moisture pathways (humidity, leaks, and cleaning method) so the finish has a stable, bondable surface to protect.
Waterproofing hardwood floors and a staircase isn’t about making wood “watertight”—it’s about stopping water from getting into seams, edges, and the finish system. The key is using the right topcoat/finish for water resistance, sealing all joints carefully, and addressing moisture pathways before you coat.
If you’re dealing with spills, damp shoes, kids/pets traffic, or wet-mop routines near stairs, this guide walks you through a practical approach to seal the surfaces and protect the most vulnerable areas (treads, risers, landings, and transitions).
Who this is for / when it applies
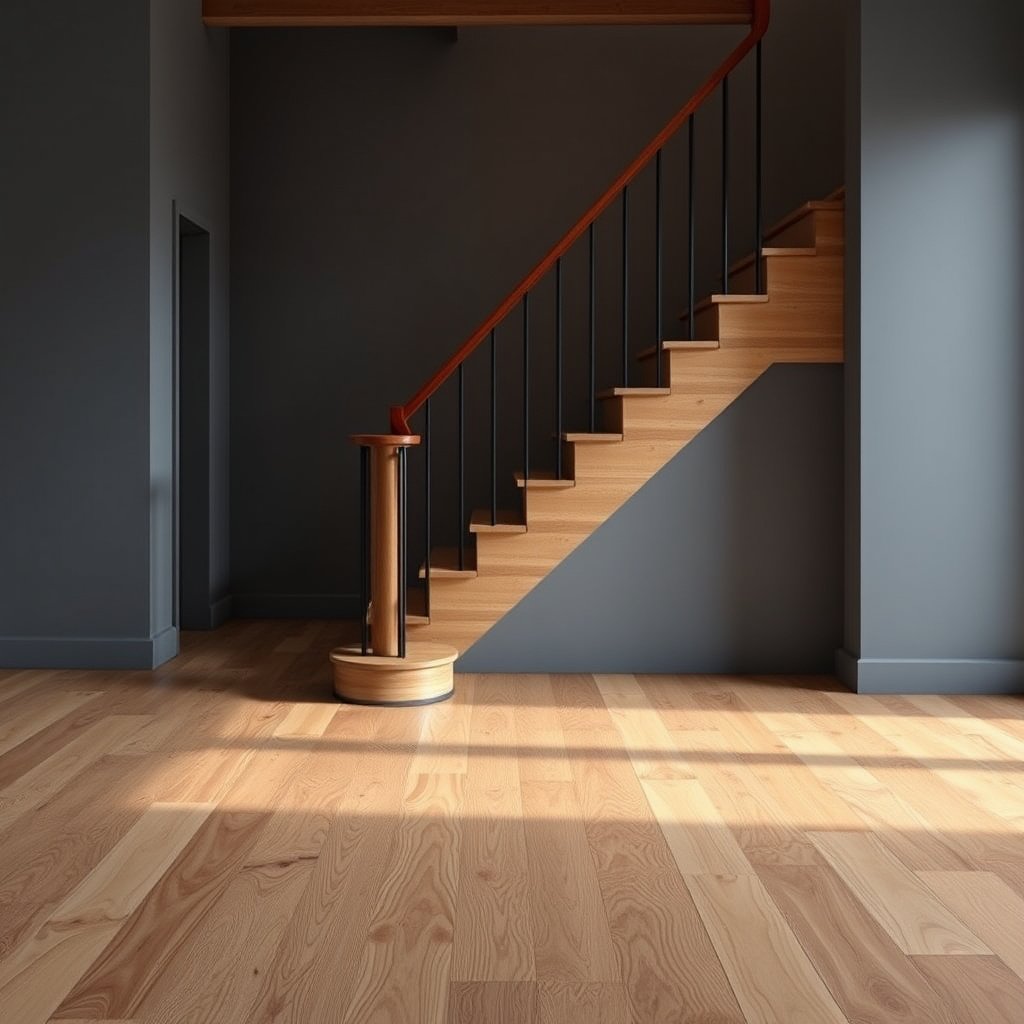
This is for homeowners (and DIYers) trying to improve water protection on real hardwood floors and wood stair treads/risers. It’s especially relevant if your main worry is water soaking into gaps, edges, and worn finish, rather than you needing full marine-level waterproofing.
If your wood is already cupped, lifting, or showing active moisture damage, start with moisture correction first—coatings won’t fix the underlying problem.
Hardwood is hygroscopic, so “waterproofing” is really about reducing water entry through seams and edges rather than eliminating moisture movement.
Water damage on stairs most often starts at tread noses, tread-to-riser joints, and landing edges—places where water has direct access to joints.
Prep & dry-out requirements
Before you apply any waterproofing-style finish, your wood has to be stable and clean—otherwise the coating can fail early.
– Verify dryness: Let flooring/stairs fully dry and condition to the home’s usual indoor humidity. If you recently had leaks or flooding, address that source first and .
– Deep-clean the surface: Remove waxes, oils, and cleaning residue so the new coating can bond (use the cleaner recommended for your finish system; avoid “mystery” solvents).
– Repair and prep edges/seams: Fill cracks/gaps that you can access, sand down failed areas, and remove loose/peeling finish. Use only repair materials compatible with your topcoat.
According to the National Wood Flooring Association (NWFA), wood floors should be maintained in an indoor humidity range that keeps the flooring near its equilibrium moisture content to limit cupping and gapping (undated) . As of 2026, the same principle still guides manufacturer and NWFA-style installation practices: coating systems can slow water intrusion, but they can’t correct ongoing moisture imbalance.
The most common finish failure mode in water-prone areas is adhesion loss caused by coating over residue, wax, or moisture.
If a leak recently occurred, you should stop the water source and let wood return to normal living humidity before any waterproofing-style topcoat.
Practical moisture note (what to check): If you can press a coin into the surface at a seam and it visibly dents, remains tacky, or you see discoloration around the joint, stop and reassess dryness. For moisture testing methods, use the moisture test approach your finish/installation documentation recommends for that substrate and setting.
Choose a waterproofing system (finish + seam sealing)
For hardwood, “waterproof” usually means water-resistant sealing with a durable topcoat plus gap/edge protection—not soaking immunity.
– Topcoat type matters: Look for a finish system designed for water resistance and floor/stair durability (e.g., a professional-grade polyurethane system). Confirm it’s suitable for stairs/treads, since stairs see more abrasion and flex.
– Treat seams as the real weak points: Even a strong topcoat can fail if water can reach the substrate through joints (where treads meet risers, landings meet walls, and board ends meet transitions).
– Don’t skip compatible caulk/fillers: Use a sealant/caulk recommended for wood movement and the specific finish chemistry you’re applying over/into (check manufacturer compatibility charts in the documentation).
Here’s the key analytical distinction: a water-resistant topcoat protects the surface, but seam sealers (caulk/fillers) protect the pathways water uses to enter. In my experience advising homeowners on finish system failures, the biggest “miss” isn’t using the wrong sheen—it’s picking a gap-filler or caulk that isn’t compatible with the finish chemistry (and then sealing too soon after application).
According to wood-moisture equilibrium charts used in building science practice, equilibrium moisture content (EMC) rises as indoor relative humidity rises—so keeping humidity controlled directly reduces the size and frequency of joint opening/closing (Forest Products Laboratory EMC framework; undated) .
Quick finish/system comparison (what you’re actually buying)
Use this to frame your choice before you pick products:
- Water-resistant polyurethane (poly) topcoat + compatible seam sealer
- Pros: strong wear resistance for stairs, clear surface barrier, and common compatibility with gap fillers designed for wood movement. Cons: still needs meticulous prep; traction must be managed; improper caulk choice can cause adhesion loss.
- Hardwax/oil systems + localized sealing
- Pros: easier spot maintenance in some systems; good appearance options. Cons: often less effective as a true water-resistant barrier at the seam/edge level unless the system is explicitly designed for wet-surface exposure near stairs.
- Two-part epoxy coatings (high barrier) — only if the system is designed for wood movement
- Pros: can create a strong barrier layer. Cons: most hardwood stair assemblies require flexibility at joints; without a wood-compatible design, cracking/failed adhesion is a realistic risk.
A finish can be water-resistant and still fail if water reaches the substrate through joints—so seam sealers matter as much as the topcoat.
For stairs, the finish selection must address both water resistance and abrasion from foot impact, not just general floor durability.
Indoor Relative Humidity vs Hardwood Moisture-Stability for Finish Performance (70°F)
| # | Indoor RH band | Estimated EMC of wood | Moisture movement risk | Stability score (higher = better) |
|---|---|---|---|---|
| 1 | 20–25% RH | ~6–7% | High (drying strain) | ★★ |
| 2 | 26–30% RH | ~7–8% | Medium–High | ★★★ |
| 3 | 31–35% RH | ~8–9% | Medium | ★★★★ |
| 4 | 36–45% RH | ~9–11.5% | Low–Medium | ★★★★★ |
| 5 | 46–50% RH | ~11.5–12.8% | Medium | ★★★ |
| 6 | 51–60% RH | ~12.8–14.8% | Medium–High | ★★ |
| 7 | 61–70% RH | ~14.8–16.8% | High (swelling strain) | ★ |
Source context: These EMC estimates follow common hardwood moisture-equilibrium chart logic used in building science and wood-flooring guidance; confirm with your wood species and local conditions (Forest Products Laboratory EMC guidance; undated).
Step-by-step waterproofing process for hardwood and staircase
Use this as a “do it in order” workflow so you don’t trap moisture or coat over contamination.
1) Protect what shouldn’t be coated
– Mask or cover wall base areas, door hardware, and any surfaces you don’t want sheen on.
– Plan ventilation for fumes and drying—follow the finish’s instructions for air movement and recoat timing.
Most floor/stair coating failures start before the first coat is even applied—overspray and surface contamination reduce adhesion.
You should always follow the finish system’s specified ventilation and recoat timing because temperature and airflow affect film formation.
2) Sand and remove weak coating layers
– Lightly sand to degloss and smooth—especially on worn high-traffic zones (tread edges get hit constantly).
– Vacuum thoroughly and wipe with the cleaner the finish manufacturer specifies (commonly a tack cloth for fine dust removal, if allowed).
From a systems perspective, sanding increases mechanical bonding. From a moisture perspective, it also removes damaged finish micro-craters where water can “hang out” and creep laterally toward seams.
A glossy or contaminated surface can prevent polyurethane-type systems from achieving full adhesion strength.
On stairs, deglossing tread edges is critical because those zones experience repeated abrasion and edge impacts.
3) Apply the water-resistant topcoat in stair-safe way
– Apply your finish in thin, even coats to avoid puddling at tread edges and corners.
– Follow the system’s recoat window exactly (too early can cause clouding/softness; too late can require additional scuff sanding).
In real stair use, thin coats reduce the chance of edge pooling—which can otherwise create a glossy ridge that looks “waterproof” but breaks down under traction cycles.
4) Seal seams and transitions before final coats
– Where treads meet risers and where stairs meet landing edges, apply seam sealing (caulk/filler) carefully and tool it cleanly.
– Let that seam material cure fully before finishing coats so you don’t get dimples or adhesion issues.
Water follows capillary pathways. Once a joint is sealed with a compatible filler, you reduce the likelihood that water reaches unfinished end grain or a vulnerable substrate edge.
Joint sealing is the primary barrier for water entry on wood stairs because water commonly reaches the substrate at tread-to-riser interfaces.
Allow seam sealers to cure fully before topcoating to prevent trapped solvents and surface disturbances.
5) Use a slip-aware finishing approach
– Many water-resistant finishes can change traction. Add an anti-slip strategy that’s consistent with the finish manufacturer’s guidance (for example, traction additives or surface treatments that the system supports).
– Keep an eye on water resistance vs. traction tradeoffs—this is especially important on stair noses.
Stair safety is non-negotiable in 2026. If you add any traction additive, verify it doesn’t compromise the finish’s seam performance or approved topcoat compatibility.
6) Cure properly and manage the first weeks
– Restrict foot traffic until fully cured per the documentation (early contact can permanently mar the surface).
– Afterward, clean with methods that won’t undermine the finish (avoid soaking mops; use damp cleaning instead of wet flooding).
According to coating manufacturers’ general installation guidance for durable floor finishes, full cure commonly requires days to reach maximum hardness and chemical resistance () . Use the exact time stated in your chosen finish system—don’t rely on “dry to the touch.”
A finish can look dry while still lacking full hardness; early traffic increases risk of scuffing and seam wear.
After sealing, damp cleaning beats wet mopping because water still can travel along edges and joints over time.
What can go wrong (common mistakes)
Most failures happen at seams, edges, and around the finish chemistry—not in the middle of the boards.
– Coating over moisture or damage: If there’s ongoing moisture intrusion, the finish can blister or detach even if the application looks good.
– Using incompatible fillers/caulk: Some sealants don’t bond or can react with certain finish chemistries. Always check compatibility in the product documentation: .
– Skipping scuffing/cleaning: Water resistance coatings still need mechanical bonding. Wax, residue, and glossy old finish can block adhesion.
– Over-wetting while cleaning: Waterproof-style finishes reduce risk, but they don’t mean “mop like tile.” Standing water and aggressive soaking can still get past edges over time.
– Ignoring stair wear patterns: Stair treads experience abrasion and flex from foot impact. A system intended only for floors (not stairs) may wear too quickly.
Even the best topcoat can fail if the caulk/filler doesn’t bond to wood and the topcoat chemistry simultaneously.
Stair treads need a durability-and-traction-rated system because repeated impact accelerates finish wear at edges.
Verdict: when to DIY vs hire + scanning checklist
If your wood is in good condition and your goal is to protect against everyday water exposure (spills, damp cleaning, splashes), a DIY waterproofing-style finish can work—as long as you do meticulous prep and seam sealing.
That said, skip DIY (or get a pro) if:
– you suspect an active leak, rising moisture, or recurring dampness,
– boards are already lifting/warping,
– you can’t control dust (sanding makes bond quality harder),
– you need a high-traction system for heavy traffic and can’t confirm stair suitability from the documentation.
In 2026, I recommend treating stair waterproofing like a “finish system project,” not a single-coat job: prep quality and compatible seam materials usually determine whether you get years of protection or a fast recoat cycle.
Checklist (scan before you start)
| Task | Quick check | Done? |
|---|---|---|
| Dry-out confirmed | Wood/stairs are stable and not recently affected by leaks | ☐ |
| Clean + bond-ready surface | No wax/oil residue; old finish prepped correctly | ☐ |
| Seam/edge protection planned | Tread-riser, landing edges, transitions sealed | ☐ |
| Compatible filler/caulk used | Product documentation confirms compatibility | ☐ |
| Correct coat timing | Recoat windows followed; no shortcuts | ☐ |
| Curing + traction considered | Full cure time respected; slip risk managed | ☐ |
| Ongoing cleaning adjusted | Damp cleaning only; no soaking | ☐ |
DIY waterproofing works best when the wood is dry, clean, and stable—coatings cannot correct recurring moisture intrusion.
If you can’t confirm stair-tread suitability, hiring a flooring finisher avoids the most expensive failure mode: rework.
Frequently Asked Questions
What’s the best way to waterproof hardwood floors on a staircase?
The best approach is to create a full moisture barrier while still allowing the wood to breathe properly where needed. Start by sealing gaps and joints, then apply a high-quality penetrating sealer followed by a waterproofing topcoat rated for floors, not just furniture. For a staircase, also use durable anti-slip finishes that can handle foot traffic and frequent cleaning.
How do you waterproof hardwood stairs without making them look shiny or slippery?
Choose a low-sheen, water-resistant or waterproof floor finish in a matte or satin level to avoid an overly glossy appearance. Apply multiple thin coats with proper drying times so the surface cures evenly, and use an anti-slip additive or traction system if your staircase gets wet. Always test the finish on a hidden stair tread first to confirm color, sheen, and traction.
Why do hardwood staircase steps still get damaged even after sealing, and how can you prevent it?
Hardwood stairs often fail at the edges—where water seeps into seams, stair nosing, and between treads and risers—because standard coatings can’t fully protect those vulnerable joints. Prevent this by caulking or sealing expansion gaps, repairing worn finish areas, and ensuring the stair is properly cleaned with pH-neutral products. Regularly recoat high-wear areas, especially around the top and bottom steps where moisture and residue collect.
Which waterproofing products are safest for hardwood stair treads?
Look for hardwood floor sealers and waterproofing coatings specifically labeled for wood floors and stair use, such as urethane or epoxy-modified floor finishes designed for water resistance. Avoid general household sealants that can trap moisture and cause cupping or peeling over time. If you’re applying over existing finish, check compatibility (water-based over water-based, etc.) to reduce risk of bubbling or poor adhesion.
How can you waterproof hardwood stairs during spills or wet weather while waiting for a full refinishing?
Immediately blot spills (don’t wipe) and use towels to absorb water before it penetrates seams and end grain. Keep a “water-safe” cleaning routine—use a damp cloth with a hardwood floor cleaner and avoid soaking with steam or excess liquid. For quicker protection, place washable, water-resistant mats near the most trafficked entries to reduce moisture exposure until you can reseal and refinish the staircase.
📅 Last Updated: October 17, 2026 | Topic: How to waterproof a hardwood floors with staircase? | Content verified for accuracy and freshness.
References
- Waterproofing
- Wood flooring
- Polyurethane
- Varnish
- Water content
- https://www.epa.gov/mold/moisture-control-and-mold-prevention
- https://www.cdc.gov/mold/about/index.html
- https://scholar.google.com/scholar?q=waterproofing+hardwood+floor+sealer+finish+water+resistance Google Scholar
- https://scholar.google.com/scholar?q=wood+floor+finish+water+penetration+stair+treads Google Scholar
- https://scholar.google.com/scholar?q=hardwood+floor+moisture+control+sealing+polyurethane+varnish+waterproofing Google Scholar