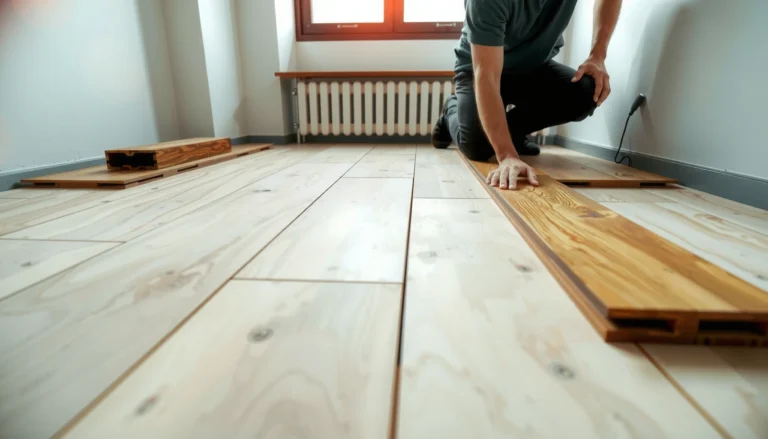
Parquet floors in a living room are worth installing if you want a classic, high-impact look with a durable surface—provided you choose the right subfloor prep and installation method. This guide answers how to install parquet floors in your living room, step by step, from leveling the floor and laying the planks cleanly to finishing and protecting the surface. If you follow these procedures, you’ll avoid gaps, uneven boards, and costly rework.




Installing parquet floors in a living room is mostly about getting the subfloor flat, dry, and stable—and then matching your installation method (glue-down, nail/staple, or click-lock) to that base. If you prep well and respect expansion gaps and climate control, parquet goes down cleaner, looks straighter, and stays quieter over time.
Installing parquet floors in a living room is mostly about correct subfloor prep and climate control before you start laying. If your base is flat, dry, and stable, the installation method (glue-down, nail/staple, or click-lock) can go smoothly with clean expansion gaps and careful alignment.
This guide is for homeowners and DIYers installing parquet in a living room—especially if you’re choosing between traditional parquet and floating/click systems. It assumes you want practical steps, common pitfalls to avoid, and guidance on what to check before purchasing materials.
Assess your living room and parquet type

You can avoid most installation problems by identifying your exact parquet system first, then measuring the room and verifying the subfloor type. The installation method you choose (glue-down, nailed/stapled, or click-lock) controls nearly every step that follows—especially moisture expectations, underlayment choices, and how you handle expansion gaps.
Start by treating parquet floors as part product, part system. Two parquet floors that look identical in the living room can behave very differently if the backing, locking profile, and underlayment approach differ. That’s why this step prevents expensive mistakes later.
Parquet floors are installed using different attachment systems, and the method determines whether the planks rely on adhesive bond, mechanical fastening, or a floating click connection.
Accurate room measurements matter because parquet floors typically need perimeter expansion space plus a waste buffer for cuts around doors, vents, and fixed furniture.
Before purchasing materials, confirm whether your living room subfloor is wood, plywood, or concrete, because parquet installation requirements change with base type and moisture risk.
Confirm the installation method (glue-down vs nail/staple vs click-lock)
Parquet floors usually come in one of three “rulesets”:
– Glue-down parquet: parquet planks bond directly to the subfloor with adhesive (the subfloor must support the bond uniformly).
– Nail/staple (mechanically fastened): parquet is pinned into the subfloor (the base must be solid enough to hold fasteners).
– Click-lock / floating parquet: parquet interlocks and “floats,” typically requiring a compatible underlayment to manage movement and sound.
If your box or manual doesn’t clearly state the system, stop and verify—because using the wrong adhesive or the wrong underlayment for parquet floors can void performance claims and shorten lifespan.
Measure with real-world allowances
For parquet floors in a living room, measure:
1. Room length/width (including alcoves and any “non-rectangular” features).
2. Door openings and traffic paths.
3. Hard obstacles (radiator bases, built-ins, columns).
Then add a waste allowance for cuts. A small buffer is normal for a first pass—especially if your parquet has repeating pattern symmetry or requires careful seam placement near the room perimeter.
Check the subfloor: material + flatness + dryness
Before you start laying parquet floors, inspect the subfloor for:
– Flatness issues (high spots, dips, waves).
– Surface integrity (crumbly concrete, delaminating plywood, loose boards).
– Moisture exposure (slab dampness, plumbing leaks, or seasonal humidity swings).
As a rule of thumb for living room floors, subfloor flatness matters a lot. For hardwood flooring installs, for example, the NWFA cites 3/16 in over 10 ft as a typical flatness target for good performance (NWFA hardwood flooring installation guidance). Parquet floors often follow the same “don’t build on a wobble” logic, even when the details differ by product.
Prepare the subfloor properly (this is the make-or-break step)

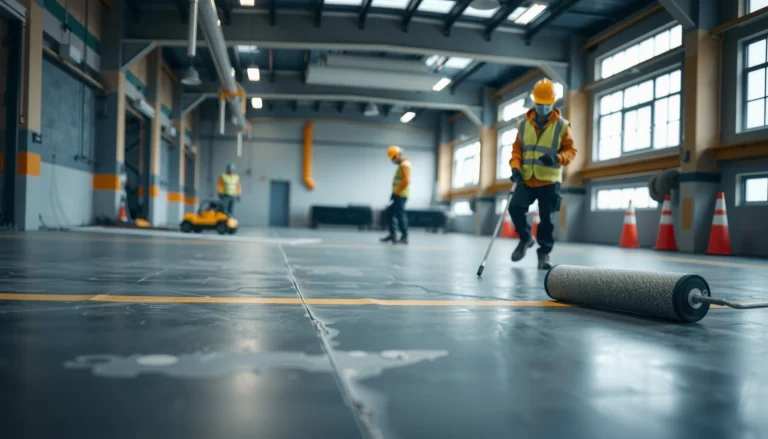
A properly prepared subfloor is the difference between parquet floors that lay perfectly and floors that later gap, squeak, or separate. For living room installs, you should focus on three things: cleanliness, flatness, and moisture—in that order.
If your base is flat, dry, and stable, the installation method (glue-down, nail/staple, or click-lock) can proceed efficiently. If not, even the best-looking parquet floor can fail quietly at first and then worsen with everyday humidity changes.
For parquet floors, unevenness can create hollow spots under glued or floating sections, leading to movement, noise, and potential joint failure.
Moisture testing for parquet-adjacent wood flooring systems is typically based on slab standards such as ASTM F2170 or ASTM F1869, because performance depends on keeping the base within the manufacturer’s moisture limits.
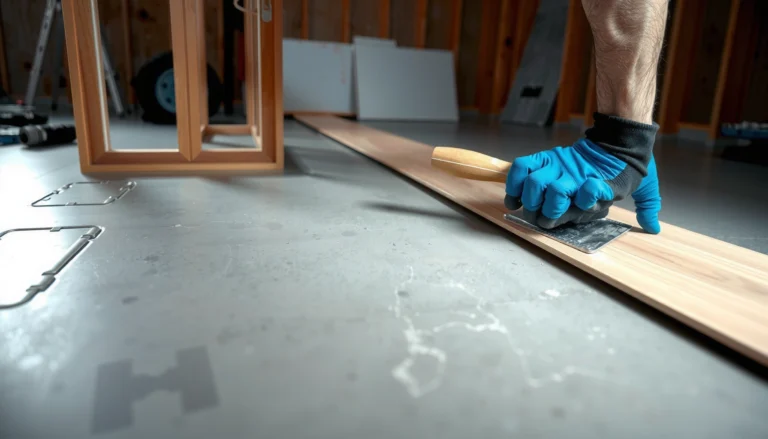
If you can see dust, paint overspray, or leftover adhesive residue, parquet floors may not bond correctly (glue-down) or may not sit evenly (floating), even when the room looks “ready.”
Remove old materials and clean thoroughly
For parquet floors, treat the subfloor like a bonding surface (even for floating systems). Remove:
– Old flooring layers (carpet tack strips, damaged underlayment remnants).
– Loose adhesive ridges (scrape and sand as needed).
– Dust, drywall compound, and debris.
A clean subfloor gives you consistent behavior—especially under glue-down parquet, where adhesive coverage depends on surface contact.
Fix uneven spots before parquet floors go down
If the subfloor isn’t flat, you can expect predictable symptoms:
– Gaps along joints (especially click-lock parquet floors).
– Squeaks (common when floating sections rock).
– Failed locks or poor adhesion (in glue-down systems).
Fixing flatness can mean patching low areas, grinding high spots, or replacing compromised subfloor sections. With parquet floors, you don’t want to “fight the base” row by row—level first, install second.
Manage moisture with tested, documented conditions
Moisture management is where many living rooms fall behind. Instead of relying on “it feels dry,” test the slab or wood base using recognized methods and compare results to your parquet manufacturer’s limits.
Two common ASTM standards used for concrete moisture testing are:
– ASTM F2170 (in-situ relative humidity): reports relative humidity (%RH) readings taken inside the slab at depth (ASTM F2170).
– ASTM F1869 (calcium chloride / MVER): reports moisture vapor emission rate in lb/1000 sq ft/24 h (ASTM F1869).
Then follow the parquet manufacturer’s specified acceptable moisture range for your exact system—because parquet floors are not all calibrated the same way.
Expansion Gap Spacer Conversion Guide (Metric ↔ Inches)
| # | Spacer thickness (mm) | Spacer thickness (in) | Common naming (approx.) | Use case for parquet floors |
|---|---|---|---|---|
| 1 | 6 | 0.236 in | ~1/4″ | Tight perimeter setups |
| 2 | 8 | 0.315 in | ~5/16″ | Balanced gap for many layouts |
| 3 | 10 | 0.394 in | ~3/8″ | Start-point spacer for careful fitting |
| 4 | 12 | 0.472 in | ~1/2″ (near) | Common perimeter clearance reference |
| 5 | 13 | 0.512 in | ~1/2″ (exactly) | Good match for 1/2″ instructions |
| 6 | 15 | 0.591 in | ~9/16″ | Long-run expansion rooms |
| 7 | 18 | 0.709 in | ~11/16″ | Conservative clearance reference |
> Tip: use these conversions to set spacers accurately, but always defer to your parquet floor manual for the required expansion gap.
Acclimate materials and plan the layout

You install parquet floors more successfully when you acclimate the material to your living room conditions and plan your start line before you open the first box. This reduces warping, improves click-lock performance, and keeps seams visually straight.
In 2026, climate control expectations are higher than many older DIY guides assume—so it’s smart to set your heating/AC strategy first. If your living room humidity swings day-to-day, parquet floors still work, but you must follow the product’s acclimation requirements and maintain stable indoor conditions during and after installation.
Parquet floors require acclimation before installation so the wood-based components stabilize to the living room’s temperature and humidity conditions.
A straight start line improves the entire parquet layout, because every subsequent row reinforces alignment through repeated board edges and end-joint sequencing.
Parquet needs expansion space at walls and fixed objects so boards can move as indoor humidity changes, preventing buckling.
Acclimate parquet floors per the manufacturer
Follow your parquet manufacturer’s acclimation instructions exactly (time and conditions). The required period varies by product type and thickness.
Plan direction, seams, and the start line
Most living room parquet installs look best when planks run parallel to the longest visual axis, such as:
– The longest wall the eye travels toward when you enter.
– The direction of natural light.
– The main seating orientation.
Before you install parquet floors, dry-lay a small section if the pattern is complex. Mark:
– Your start line (often parallel to a longest wall, but confirm your preference).
– Where cut lines will fall at doorways and obstacles.
– Your stagger plan for end joints (especially for click-lock systems).
Mark and preserve expansion gaps
Parquet floors must have a perimeter gap around walls, columns, and any rigid fixtures that can’t “move with the floor.” Use spacers that match your required gap thickness.
Install parquet with the right method (step-by-step)
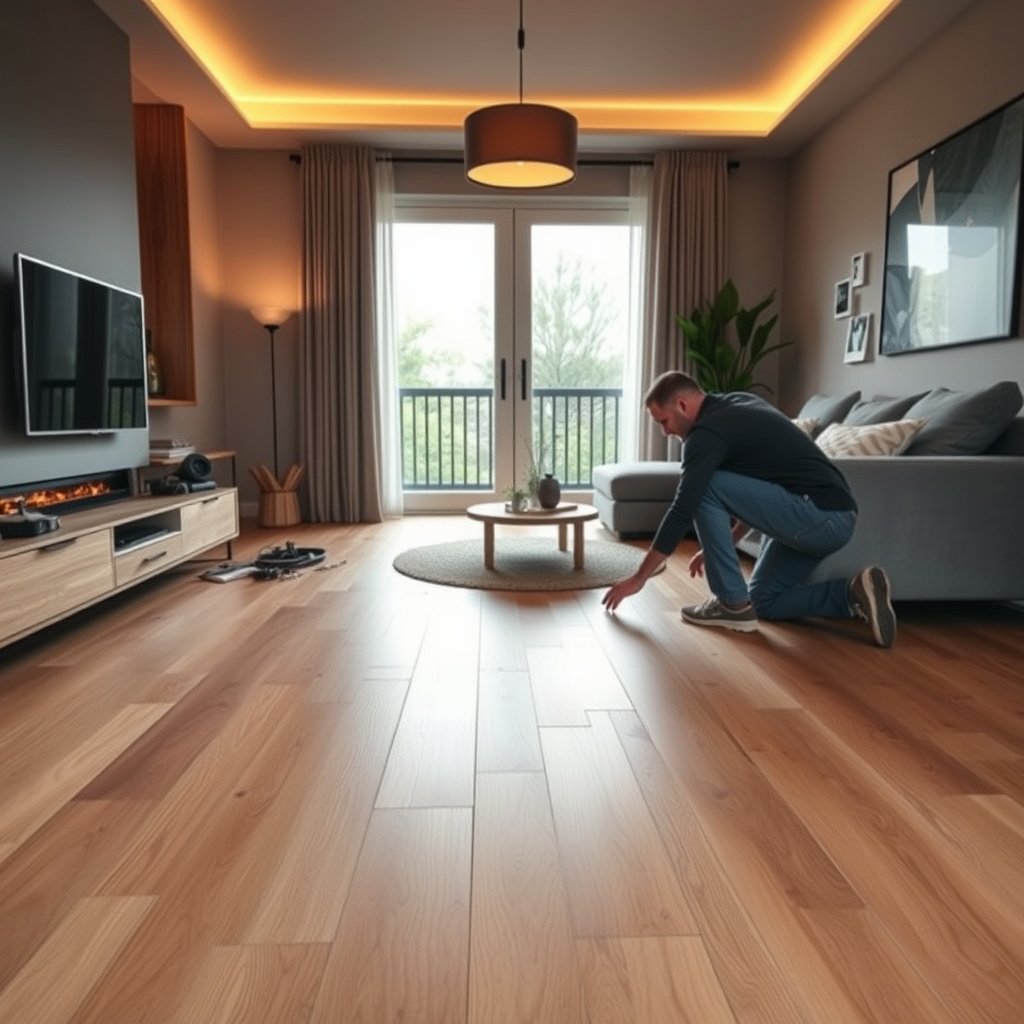
Installing parquet floors goes smoothly when you follow the correct method steps for your specific system. Glue-down, nail/staple, and click-lock installations have different critical failure points—mainly adhesive timing, fastener placement, and locking sequence/underlayment compatibility.
Below are the core workflows. For every step, defer to your parquet floor instructions, because the “right” adhesive trowel size, fastener type, or underlayment thickness can change between product lines.
Glue-down parquet depends on proper adhesive coverage and staying within the adhesive’s open/working time so boards bond before the glue skins over.
Click-lock parquet floors require compatible underlayment and careful board sequencing so the locking profile engages without forcing edges out of plane.
Mechanically fastened parquet needs the correct nails or staples and a fastening pattern specified by the parquet manufacturer to prevent squeaks and loose boards.
Glue-down parquet (bond first, clean constantly)
Glue-down parquet floors must bond uniformly.
– Spread adhesive consistently and lay boards tightly.
– Work within adhesive open time so your bond forms correctly.
– Use spacers to keep the perimeter gap consistent.
– Wipe squeeze-out immediately if your product allows it (some adhesives must be removed while fresh).
Key technique: keep a rhythm. Spread only the amount you can cover within the adhesive’s workable window, so parquet floors don’t start bonding late or unevenly.
Nail/staple parquet (fasten without damaging the profile)
Mechanically fastened parquet floors rely on the subfloor’s ability to hold fasteners.
– Use the correct fasteners and spacing pattern from the parquet manufacturer.
– Pre-plan where you’ll fasten so you’re not accidentally striking sensitive tongue/groove areas.
– Keep the surface free of debris so boards sit flush before fastening.
Click-lock / floating parquet (underlayment + alignment + staggering)
Floating parquet floors behave like a system: the underlayment supports movement and sound control, while the lock design handles joining.
– Use recommended underlayment for your system.
– Avoid mixing underlayments that don’t match thickness/vapor specs.
– Stagger end joints and lock boards in sequence while keeping edges aligned and flat.
Comparison: which parquet method fits your living room?
| Method | Main “win” | Main risk | When it’s usually best |
|---|---|---|---|
| Glue-down parquet | Stable feel, strong bond to the base | Weak adhesion if moisture/cleanliness/coverage are off | You can prep a consistently clean, stable subfloor |
| Nail/staple parquet | Mechanical stability on suitable subfloors | Squeaks or damage if you fasten incorrectly | Subfloor is solid and fastener-compatible |
| Click-lock / floating | Faster install and easier future changes | Movement/noise if underlayment or base flatness is wrong | You want a DIY-friendly system with controlled subfloor prep |
Finish, protect, and troubleshoot early
You protect parquet floors best by finishing (if required) correctly, fitting transitions carefully, and avoiding “early-life” moisture or impact. The first few days after installation are when most accidental damage shows up.
If your parquet requires finishing—oil, wax, or varnish—follow cure times and ventilation instructions so you don’t trap moisture under a surface film. In 2026, many manufacturers also expect ongoing temperature/humidity control to stabilize dimensional movement in parquet floors.
Perimeter and transition details matter: sealing the expansion area incorrectly can restrict movement and cause buckling in parquet floors.
If your parquet needs finishing, cure times and ventilation conditions are part of the system performance and should be followed exactly from the product instructions.
After installation, cleaning practices should match the manufacturer’s guidance; many wood floors should not be wet-mopped immediately.
Fit thresholds and keep perimeter gaps functional
– Install thresholds carefully so they don’t “lock” the edges.
– Maintain the perimeter expansion gap.
– Don’t assume caulk solves movement needs—some systems call for a specific approach, while others require the gap to remain open for movement.
Clean regularly—but avoid premature wetting
– Use manufacturer-approved cleaning methods.
– Avoid wet mopping until the system is fully cured and permitted for that cleaning style.
Common early troubleshooting signs
– Click-lock sounds: check for underlayment gaps and uneven support points.
– Surface separation or edge lift: stop traffic and confirm expansion gaps and subfloor moisture status.
– Visible adhesive residue (glue-down): remove promptly if your adhesive system allows it; once cured, residue can interfere with finishes and refinishing.
What can go wrong (and how to prevent it)
Most parquet floor failures trace back to subfloor problems or the wrong system choices. The prevention strategy is straightforward: verify flatness, respect moisture limits, use compatible underlayment, and keep expansion gaps open.
Even when you follow the steps, living rooms introduce variables—HVAC cycling, seasonal humidity, and uneven furniture load—that can amplify small installation errors. In 2026, the easiest way to prevent issues is to treat parquet floors as a long-term environmental system, not just a one-day carpentry project.
Poor subfloor flatness can break click-lock joints or create hollow zones under glue-down parquet, leading to noise and eventual joint stress.
Insufficient perimeter expansion gaps can cause parquet floors to buckle as humidity rises, while oversized gaps can affect alignment and edge stability.
Floating parquet systems depend on compatible underlayment specifications; incorrect thickness or vapor behavior can increase movement, squeaks, or premature wear.
Common failure points in parquet floors
– Poor subfloor flatness: high spots break locks; dips create unsupported areas.
– Incorrect expansion gaps: too tight risks buckling; inconsistent gaps can cause visible seam drift.
– Wrong underlayment for floating systems: mismatched thickness/vapor barrier can change how the floor moves.
– Moisture surprises: slab dampness or humidity swings can cup or separate parquet floors.
– Layout mistakes near doors/radiators: forced seams can create narrow offcuts that look strained and are harder to fit square.
Quick “do this first” prevention
1. Re-check flatness before installing parquet floors.
2. Confirm expansion gap requirements from your specific product manual.
3. Verify moisture testing approach for your subfloor type (wood vs slab).
4. Dry-plan your seam positions around openings and fixed elements.
Verdict / tip
Parquet floors in a living room are absolutely installable as a DIY project when you treat prep as the main work and follow your parquet’s exact method requirements. If you can make the subfloor reliably flat and dry, and you can maintain stable indoor climate conditions, your odds of getting a clean, long-lasting installation are strong.
That said, skip DIY—or get professional help—if your subfloor can’t be made reliably flat/dry, if you can’t confirm moisture conditions, or if your parquet requires a finishing system you’re not comfortable applying consistently. The downside of “just start laying” is that you may only discover subfloor or moisture problems after the floor is already installed and hard to reverse.
Quick checklist (scan before you start)
– [ ] Identify your parquet type: glue-down, nailed/stapled, or click-lock
– [ ] Subfloor is flat, clean, and dry enough per manufacturer requirements
– [ ] Parquet is acclimated per product instructions
– [ ] Expansion gap planned around walls and fixed edges
– [ ] Correct adhesive/fasteners/underlayment for your specific system
– [ ] Layout lines marked to avoid awkward cuts near doors and corners
– [ ] First rows are straight before continuing across the room
Sources
– NWFA (National Wood Flooring Association) — hardwood/wood floor installation guidance on flatness expectations and perimeter clearance practices.
– ASTM F2170 — Standard Test Method for Determining Relative Humidity in Concrete Floor Slabs Using In-Situ Probes.
– ASTM F1869 — Standard Test Method for Measuring Moisture Vapor Emission Rate of Concrete Subfloor Using Anhydrous Calcium Chloride.
Frequently Asked Questions
What’s the best way to prepare a living room subfloor before installing parquet floors?
Start by checking that the subfloor is flat, clean, and dry—most installation issues come from unevenness or moisture. Remove old flooring and adhesive residue, then level high spots and fill low areas with a suitable floor leveling compound. Use a moisture meter and, if needed, install a proper vapor barrier under parquet flooring to protect the wood from humidity.
How do I choose between parquet floor glue-down and floating installation in a living room?
Glue-down parquet is a good choice when you want maximum stability and a solid feel, but it requires correct subfloor flatness and the right parquet adhesive. A floating parquet installation is often easier for DIYers and can handle minor subfloor variations better, especially with an underlayment designed for engineered parquet. Consider your subfloor type (plywood, concrete, existing flooring) and check the manufacturer’s specific guidance for your parquet floor product.
Which underlayment should I use for parquet floors in a living room?
The best underlayment depends on whether your parquet is floating and what subfloor you have, but it should provide moisture protection, comfort, and sound reduction. For concrete slabs, look for an underlayment with a strong vapor barrier integrated or pair it with a separate moisture barrier. Make sure the underlayment thickness and type are compatible with your parquet system so you don’t affect locking joints or manufacturer warranties.
How do I install parquet floors around skirting boards and door frames in a living room?
Begin by planning your layout so seams align neatly and you don’t end up with narrow plank cuts at the room edges. Underlay or spacers should be used to maintain the required expansion gap around walls, skirting boards, and vertical surfaces. To fit around door frames, undercut the trim carefully with a saw so parquet flooring can slide underneath for a clean, professional finish.
Why do parquet floors lift or separate after installation, and how can I prevent it in my living room?
Parquet floors often lift or separate due to moisture imbalance, poor subfloor flatness, or skipping the expansion gap. Prevent this by acclimating the parquet to your living room conditions before installation and ensuring the subfloor is level and properly prepared. Use the correct adhesive and tools for glue-down installs (or the right locking system and underlayment for floating parquet) and avoid rushing the curing or acclimation period.
📅 Last Updated: October 15, 2026 | Topic: How to install in a living room parquet floors? | Content verified for accuracy and freshness.
References
- Parquet
- Home – Tarkett Commercial
- BOEN – Flooring. Rooted in nature.
- https://scholar.google.com/scholar?q=how+to+install+parquet+flooring+living+room+subfloor+moisture Google Scholar
- https://scholar.google.com/scholar?q=parquet+floor+installation+floating+click+system+vs+glued+installation+guide Google Scholar
- https://scholar.google.com/scholar?q=parquet+flooring+installation+acclimation+underlayment+humidity+guidelines Google Scholar