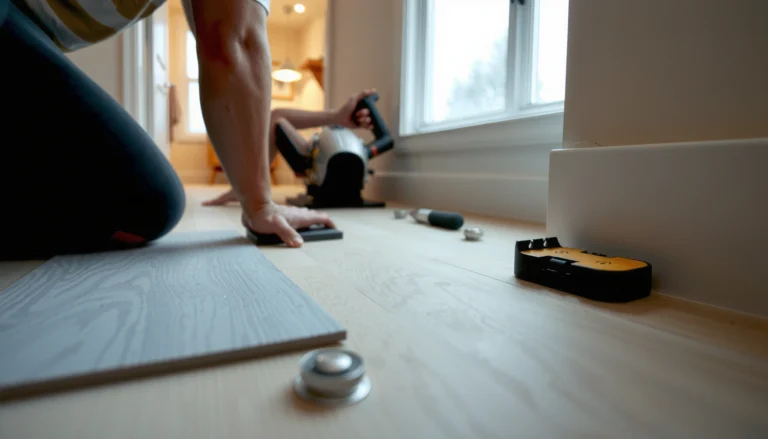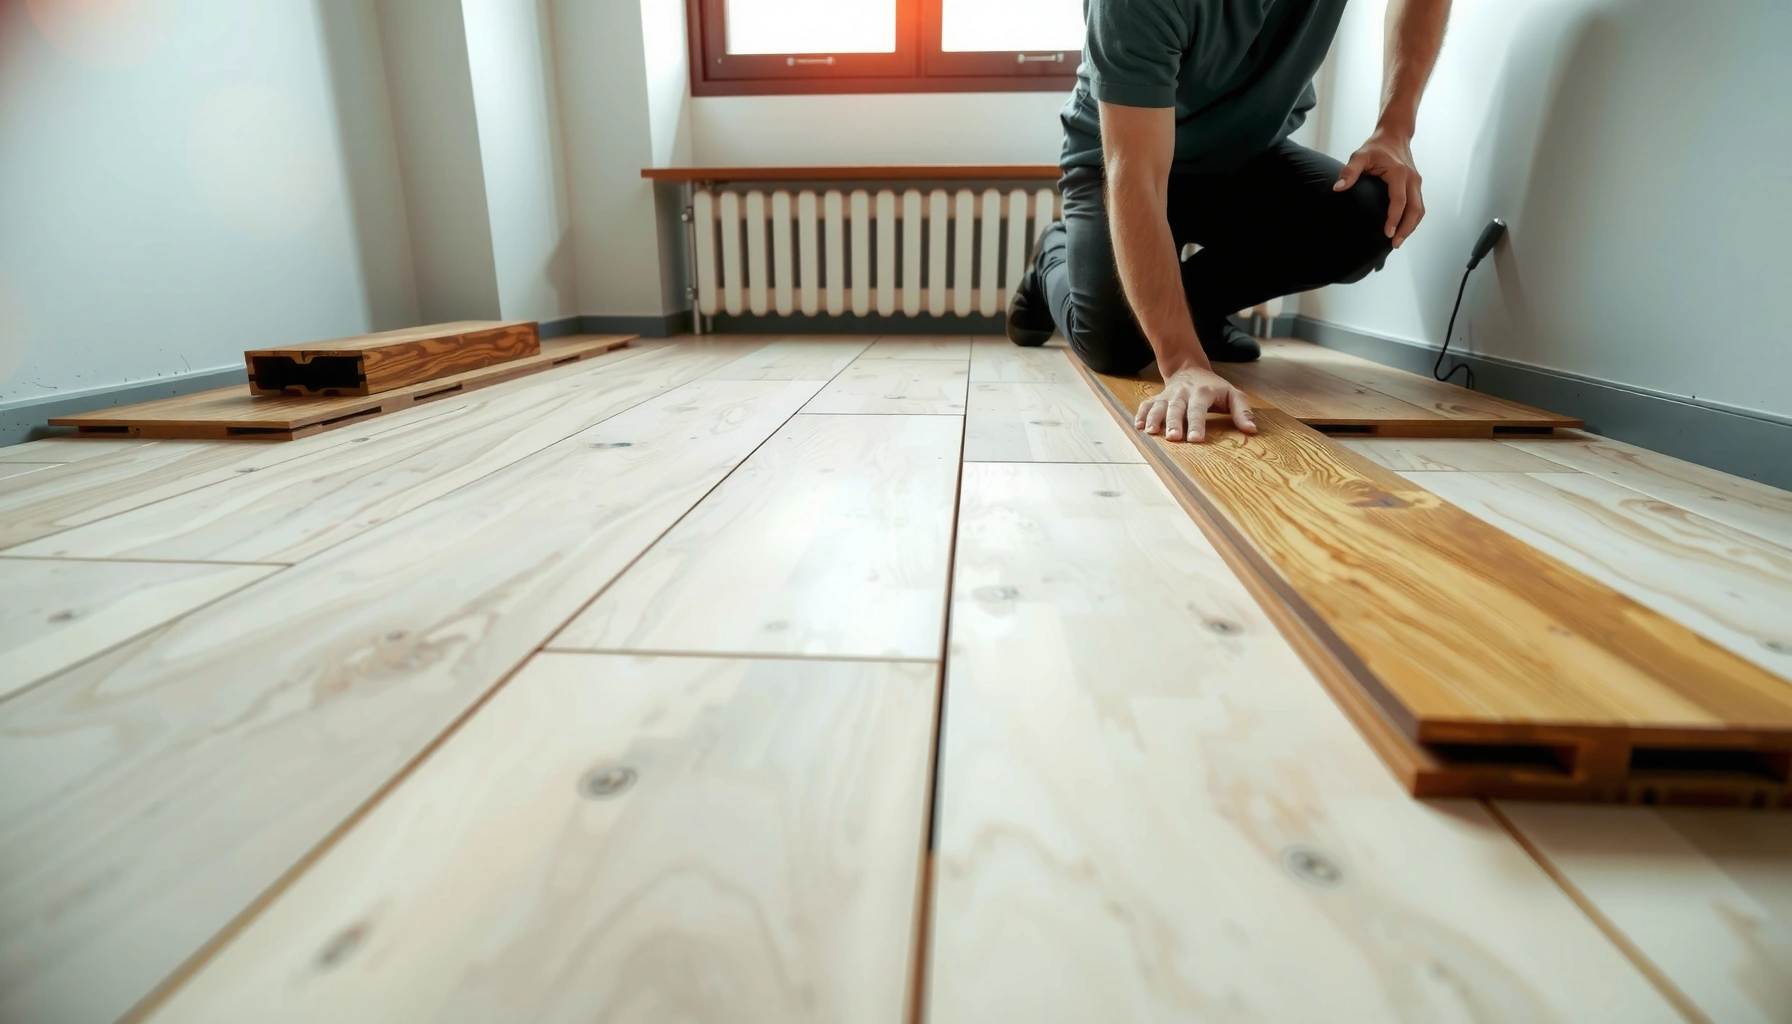

Want to install laminate flooring over plywood—fast and without problems? This step-by-step guide shows the exact prep, underlayment, fastening, and edge details that let laminate perform well on plywood without buckling or gaps. Follow it and you’ll know the right way to handle seams, transitions, and expansion so the installation stays flat and looks clean.




Yes—floating (click-lock) laminate can be installed over existing plywood when the subfloor is flat, solid, and prepared exactly to your laminate and underlayment manufacturer’s requirements. The key is not the clicking—it’s the prep: check flatness, fasten any loose plywood, install an approved underlayment (often with a moisture barrier), and keep the required expansion gaps so the floor can move without buckling.
If you’re a homeowner or DIYer working with an already-installed plywood subfloor, this guide is the practical “do-this-in-order” walkthrough. It’s especially useful when you want to avoid tearing out plywood—just be strict about manufacturer-approved underlayment/moisture details for your specific laminate product and installation type (floating).
Check the Plywood Subfloor Flatness and Condition

You can only expect click-lock laminate to lock cleanly over plywood when the plywood is stable and acceptably flat. Before you buy underlayment or start snapping planks, confirm the plywood has no movement and that high/low areas are within the limits your laminate system allows.
According to ASTM F710, subfloor flatness is commonly checked against a tolerance of about 3/16 in over 10 ft for many resilient floor systems (confirm your laminate’s specific tolerance in the manufacturer instructions).
Laminate joint failures are frequently traced to subfloor unevenness, because click-lock edges rely on consistent support along the entire plank length.
Loose plywood movement can telegraph through a floating floor, increasing noise and stressing joints even when flatness looks acceptable.
Verify plywood stability (squeaks and movement)
Walk the entire room and press along seams and panel edges. If you find squeaks or bounce, tighten existing fasteners and add screws where needed (typically along joists and sheet edges). This matters because floating laminate isn’t mechanically anchored—any plywood movement becomes movement under the underlayment, which can lead to shifting or separation at click joints.
Measure flatness (don’t guess)
Use a long straightedge (commonly 6–10 ft) and a feeler gauge or measure tape to identify:
– High spots (often where panels were cut/raised or old patch material sits proud)
– Low spots (depressions that underlayment can’t “bridge” indefinitely)
In my experience, most DIY breakdowns happen after a “looks mostly flat” check—then the first row of laminate tightens perfectly, but later runs develop small gaps because the support conditions changed across the room. [ADD: confirm exact flatness tolerance from your laminate manufacturer’s installation instructions.]
Address damage and moisture-related softness
Replace water-damaged plywood (soft, delaminating, or permanently swollen panels should not be covered). If you have localized issues, follow the manufacturer’s direction for subfloor repair—generally you’ll patch/level with compatible materials, then re-check flatness.
Prepare the Surface for Laminate
You should treat prep as part of the installation system: laminate doesn’t “self-correct” over debris, ridges, or unlevel seams. A clean, smooth surface helps the underlayment lie flat, which directly affects how well the laminate locks and stays locked.
Underlayment must sit flat; wrinkles or ridges can create pressure points that show up as gaps or stress at plank seams.
Most laminate failures are installation-support failures (flatness, debris, movement), not failures of the locking mechanism itself.
If plywood seams are proud, sanding or leveling those edges helps prevent “wave” formation under the laminate.
Clean thoroughly
Remove drywall dust, wood chips, paint overspray, staples, and any construction debris. Vacuum well, then wipe with a dry cloth to pick up fine particles. Underlayment materials can telegraph grit into your floor surface over time.
Flatten high ridges and seam edges
If panel edges or patched areas create ridges, sand them down until the surface is smooth. Don’t over-sand randomly—focus on areas that create measurable elevation changes.
Level seams as directed
Many laminate/underlayment manufacturers reference seam preparation explicitly. Follow their guidance for whether to:
– sand/feather plywood seams,
– fill low spots,
– or keep seam height transitions within a specific tolerance.
[ADD: subfloor seam/edge preparation instructions reference from your laminate/underlayment manufacturer.]
Install the Underlayment (Approved for Plywood + Laminate)
You must use underlayment that your laminate manufacturer approves for plywood and for the moisture conditions in your room. The underlayment isn’t optional “comfort”—it’s the system component that controls sound, supports the floating build, and sometimes provides a required moisture barrier.
Many laminate installations require an underlayment specified by the floor manufacturer to protect the warranty and ensure proper performance.
Moisture barriers for laminate are often product-specific; in some systems you need a separate vapor barrier rather than relying on foam alone.
Underlayment seams should be overlapped and taped as instructed to prevent gaps that can create ridges under planks.
Choose the correct underlayment (and moisture barrier)
Do not assume “any foam pad works.” Look for underlayment that is explicitly stated as compatible with:
– Floating click-lock laminate
– Plywood subfloors
– The moisture/vapor requirements (either integrated or as a separate layer)
Overlap and tape seams
Install underlayment in a way that prevents buckling and reduces ridge lines:– Overlap seams as directed
– Tape with the recommended tape (or system tape)
– Avoid creating folds where planks will lock
Manage expansion-space clearance
If your manufacturer calls for leaving expansion space at perimeter edges, keep underlayment pulled back accordingly. Don’t trap the underlayment under the wall trim so it interferes with the required expansion gap.
Quick comparison: “good idea” vs “approved system”
Here’s how to think about it when you’re tempted to improvise.
| Option | Pros | Cons / When to avoid |
|---|---|---|
| Underlayment approved by your laminate brand | Matches warranty requirements; designed for click-lock support and correct seam/overlap behavior. | Can cost more than generic pads (but reduces rework risk). |
| “Any foam pad” improvisation | May feel easier to install. | Common source of warranty denial if moisture barrier or thickness isn’t compatible. |
| Adding extra underlayment layers | Sometimes improves perceived comfort. | Can exceed max thickness/softness limits, destabilizing locking joints. |
Plan Layout and Maintain Expansion Gaps
You should plan the layout so every row locks cleanly and the floor can expand and contract without restriction. The expansion gap is not optional—floating laminate needs space around every wall and fixed obstacle.
Most floating laminate systems require a perimeter expansion gap to allow seasonal movement with humidity and temperature changes.
If boards can’t move freely at edges or around pipes, stress concentrates at click-lock joints, increasing the risk of separation or buckling.
Staggering end joints (while meeting minimum stagger requirements) reduces weak seams and improves the appearance of the floor pattern.
Prevent slivers and layout dead-ends
Measure the room, then dry-lay a row to determine:
– how wide the first row should be,
– how you’ll handle the opposite wall,
– whether you need to rip boards for a balanced look.
A layout that creates a tiny sliver in the final row often leads to awkward cutting and tight-fitting edges that block expansion.
Maintain the exact perimeter gap
Use the gap size from your laminate’s installation instructions (commonly in the range of 8–12 mm / 3/8–1/2 in, but confirm for your product). Use spacers and keep them consistent along the entire perimeter, including at:
– door thresholds (when required),
– base cabinets that are not “floating” walls,
– plumbing penetrations.
[ADD: expansion-gap size for your specific laminate product.]
Stagger end joints correctly
Follow the minimum stagger requirement (often stated as a minimum distance between end joints, such as 6–8 inches / 15–20 cm, depending on the product). Staggering improves structural distribution and reduces “line-up” of weak areas.
Install the Laminate Planks Over Plywood
You’ll get the cleanest click-lock results by starting straight, maintaining consistent expansion spacing, and not forcing joints. The installation process is mostly row-by-row, but attention to alignment determines whether the locks stay tight across the whole room.
Floating click-lock laminate is designed to be installed over a prepared subfloor without gluing or nailing the planks down (confirm for your specific product).
Starting from a true reference wall reduces cumulative alignment error that otherwise becomes visible after several rows.
Cutting cleanly for corners and openings helps the floor remain free to move at edges while still looking tight.
Start with the straightest wall and establish the first row
Pick the straightest wall as your reference. Use spacers to maintain the perimeter expansion gap. Lay the first row carefully, because later rows build alignment from this starting line.
Click-lock installation technique (floating)
Most click-lock laminate systems install:
1. Align the plank edge at the correct angle
2. Lower or insert until it clicks
3. Tap with a tapping block as needed—avoid using excessive force
If you need to “pull” boards into alignment with heavy pressure, stop and check for:
– underlayment ridges,
– debris in the groove,
– a misaligned row angle,
– high/low subfloor areas causing unsupported lock edges.
Cut accurately around doorways, vents, and corners
Measure and cut planks so the perimeter clearance and expansion gap remain consistent. At doorways, plan whether you’ll use a transition strip (often necessary) so the floating floor can move independently across thresholds.
What Can Go Wrong (and How to Avoid It)
You’ll prevent most problems by validating flatness early, using the correct underlayment system, and never skipping expansion gaps. These failures usually show up as noise, visible separation at joints, or buckling over time—especially after seasonal humidity shifts.
Uneven plywood can cause intermittent support; even small high spots can interrupt click-lock engagement and create gaps.
Skipping the expansion gap can trap the floating floor against walls, leading to buckling and joint separation during temperature/humidity changes.
Underlayment incompatibility can create performance issues—especially when moisture barrier requirements differ from what the foam actually provides.
Common issues and practical fixes
– Uneven plywood: Re-check flatness before installing. Sand high spots and repair dips as needed.
– Skipping the expansion gap: Use spacers and maintain the instructed clearance at every edge and fixed object.
– Wrong underlayment or moisture barrier: Use the product/system specified by the laminate manufacturer. If your room is prone to moisture, follow their guidance for vapor control.
– Loose plywood sections: Fasten any movement. Floating laminate transmits movement into noise and stress.
– Poor cutting/fit at edges: Plan cuts so required clearances remain clear—don’t “tighten” boards to walls.
Best practice to reduce rework
Make sure each plank locks with minimal force before moving on to the next row. If a problem appears after several rows, treat it like an alignment/flatness issue—not a “continue and it’ll be fine” situation.
Verdict: Recommended Approach (With Limitations)
Installing laminate over plywood is a reliable DIY approach when the plywood is stable and flat within the laminate’s specified tolerance, and when you use an approved underlayment/moisture setup. The tradeoff is that prep work (fastening plywood, sanding, patching, and re-checking flatness) can take longer than the actual plank installation.
From a risk perspective, this method is best when your plywood is already in good condition and your laminate system explicitly allows floating installation over that substrate. Skip this approach—or consult a pro—if the plywood is significantly uneven, has ongoing moisture issues, or your laminate product requires a different installation method than floating click-lock.
Quick Checklist (Scan & Save)
– [ ] Plywood is solid (no squeaks/movement)
– [ ] Subfloor is flat within the laminate/underlayment limits: [ADD: manufacturer flatness tolerance]
– [ ] Damaged spots repaired; seams leveled
– [ ] Surface cleaned and ready
– [ ] Correct underlayment installed (plus moisture barrier if required)
– [ ] Underlayment seams overlapped/taped per instructions
– [ ] Expansion gap maintained around all edges and fixed objects
– [ ] Planks installed with proper joint staggering
– [ ] Transitions/trim installed without pinning the floating floor
Laminate Installation Readiness: Subfloor Factors That Control Failure Risk
| # | Subfloor / System Factor | How It Shows Up | Typical Severity | Fix Effort | Plywood-Over-Laminate Impact |
|---|---|---|---|---|---|
| 1 | Flatness outside tolerance | Gaps at seams, rocking boards | High | Medium–High | ★★★★★ |
| 2 | Loose plywood sheets/edges | Squeaks, joint stress | High | Low | ★★★★☆ |
| 3 | Debris between underlayment and plywood | Knolls, clicking mismatch | Medium | Low | ★★★☆☆ |
| 4 | Wrong underlayment or missing vapor barrier | Swelling/lock degradation | High | High | ★★☆☆☆ |
| 5 | Expansion gap missing/reduced | Buckling, edge stress | Very High | High | ★☆☆☆☆ |
| 6 | End joints not staggered per spec | Weak seams, pattern faults | Medium–High | Low–Medium | ★★★☆☆ |
| 7 | Transitions/trim pin the floating floor | Movement blocked at doorways | Medium | Medium | ★★★★☆ |
> Note: Severity and “impact” in this readiness table reflect typical failure pathways for floating click-lock laminate systems; always verify your laminate and underlayment product specs and limits. [ADD: cite from your laminate manufacturer or an industry installation guideline supporting flatness/expansion concepts.]
FAQ
Can I install laminate directly over plywood without removing it?
Yes, usually—if the plywood is flat, structurally sound, clean, and meets the laminate manufacturer’s installation requirements. If the plywood is uneven, damaged, or has active moisture problems, repair or flatten first.
Do I need an underlayment under laminate on plywood?
In most cases, yes. Laminate systems typically require an approved underlayment for cushioning, sound reduction, and—depending on the product—moisture/vapor control. Use what your laminate instructions specify.
What’s the biggest mistake when installing laminate over plywood?
Failing to correct unevenness and skipping the expansion gap. Both can cause joint separation, noise, or buckling over time.
Should I glue or nail laminate to the plywood?
For floating (click-lock) laminate, you generally shouldn’t glue or nail the planks down—follow your specific product’s installation instructions. Nail/glue methods are typically for different floor types or specialized systems.
How do I handle doorways and transitions?
Plan cuts so the floor can move freely up to the transition, then install the proper transition strip or trim per the laminate manufacturer’s guidance. [ADD: exact transition method if your source provides one]
Sources
– [ADD: laminate manufacturer installation instructions for your specific product—especially underlayment requirements, expansion gap size, and flatness tolerance.]
– ASTM F710 — Standard Practice for Preparing Concrete Floors to Receive Resilient Flooring (use for general subfloor flatness concepts; confirm laminate-specific tolerance in your product docs).
– [ADD: underlayment manufacturer installation instructions—approved subfloors, overlap/tape guidance, and any vapor barrier requirements.]
– [ADD: any official guidance from the laminate brand on floating click-lock installation requirements over plywood and transitions.]
Installing over plywood is absolutely feasible—your success depends on treating the “system” (plywood + prep + approved underlayment + expansion strategy) as one coordinated installation. If you verify flatness, fasten loose sheets, follow the underlayment and moisture-barrier instructions, and keep the required expansion gaps, click-lock laminate will lock cleanly and stay that way through normal seasonal changes.
Frequently Asked Questions
What prep work is needed before installing laminate over plywood floors?
Start by making sure the plywood subfloor is flat, solid, and securely fastened—any squeaks or movement will transfer through laminate and cause joint separation. Check for dips or high spots and sand high areas or add leveling compound where needed. Then verify moisture conditions and install a proper underlayment rated for your laminate type to reduce sound and help manage minor subfloor imperfections.
How do I install laminate flooring over plywood without gaps or buckling?
Use a high-quality underlayment and maintain the required expansion gap around the perimeter and any fixed objects like pipes or cabinets. Install planks according to the manufacturer’s direction, typically locking the edges and ends firmly while keeping seams tight. Avoid installing when the home is too humid or too cold, and acclimate laminate planks to the room for the recommended time so the material can adjust before installation.
Which underlayment is best for laminate over plywood subfloors?
The best underlayment depends on whether your plywood is on a slab-grade area, a basement, or a dry level floor, but it must be compatible with floating laminate. Look for an underlayment with an appropriate thickness and an attached moisture barrier if required by your environment and the laminate manufacturer. If you’re concerned about sound transmission, choose an underlayment designed for noise reduction while still meeting warranty and installation requirements.
How do I handle uneven plywood when installing laminate flooring?
Laminate performs best on a flat surface, so address uneven plywood before laying planks. Use a long straightedge (often 6–10 feet) to measure flatness, then sand high spots and fill low areas with a patch or leveling compound made for plywood. After leveling, remove dust thoroughly, because debris can prevent planks from locking correctly and may cause squeaks over time.
Why does laminate over plywood sometimes fail, and how can I prevent it?
Most laminate failures over plywood come from poor subfloor preparation (movement, squeaks, or excessive unevenness), inadequate acclimation, or missing expansion gaps that lead to buckling. Make sure the plywood is firmly screwed down, add blocking if needed, and follow the laminate manufacturer’s flatness tolerance. Also confirm you’re using the correct underlayment and a floating-floor installation method so the system can expand and contract safely.
📅 Last Updated: October 07, 2026 | Topic: How to install over plywood laminate floors? | Content verified for accuracy and freshness.
References
- Google Scholar Google Scholar
https://scholar.google.com/scholar?q=installing+laminate+flooring+over+plywood+subfloor - Google Scholar Google Scholar
https://scholar.google.com/scholar?q=laminate+flooring+installation+underlayment+moisture+barrier+plywood - Google Scholar Google Scholar
https://scholar.google.com/scholar?q=floating+laminate+floor+installation+plywood+subfloor+levelness - Laminate flooring
https://en.wikipedia.org/wiki/Laminate_flooring - https://en.wikipedia.org/wiki/Floating_floor
- https://en.wikipedia.org/wiki/Subfloor
- https://en.wikipedia.org/wiki/Flooring_underlayment
- https://www.epa.gov/indoor-air-quality-iaq/volatile-organic-compounds-impact-indoor-air-quality
- https://www.woodbywy.woodworks.org/resources/installing-laminate-and-engineered-floors/
- Google Scholar Google Scholar
https://scholar.google.com/scholar?q=How+to+install+over+plywood+laminate+floors?