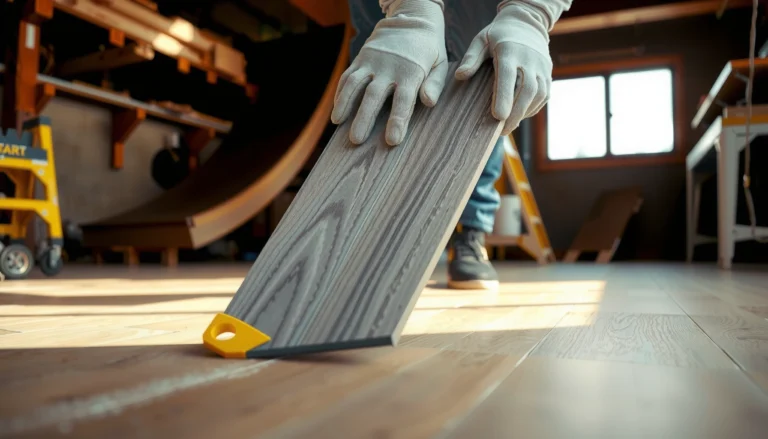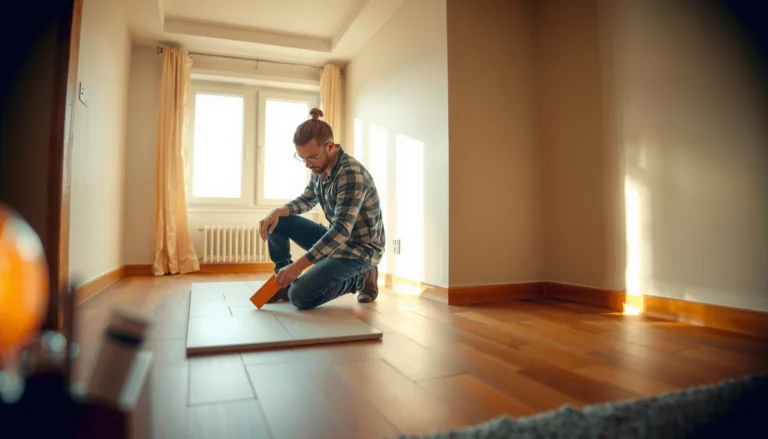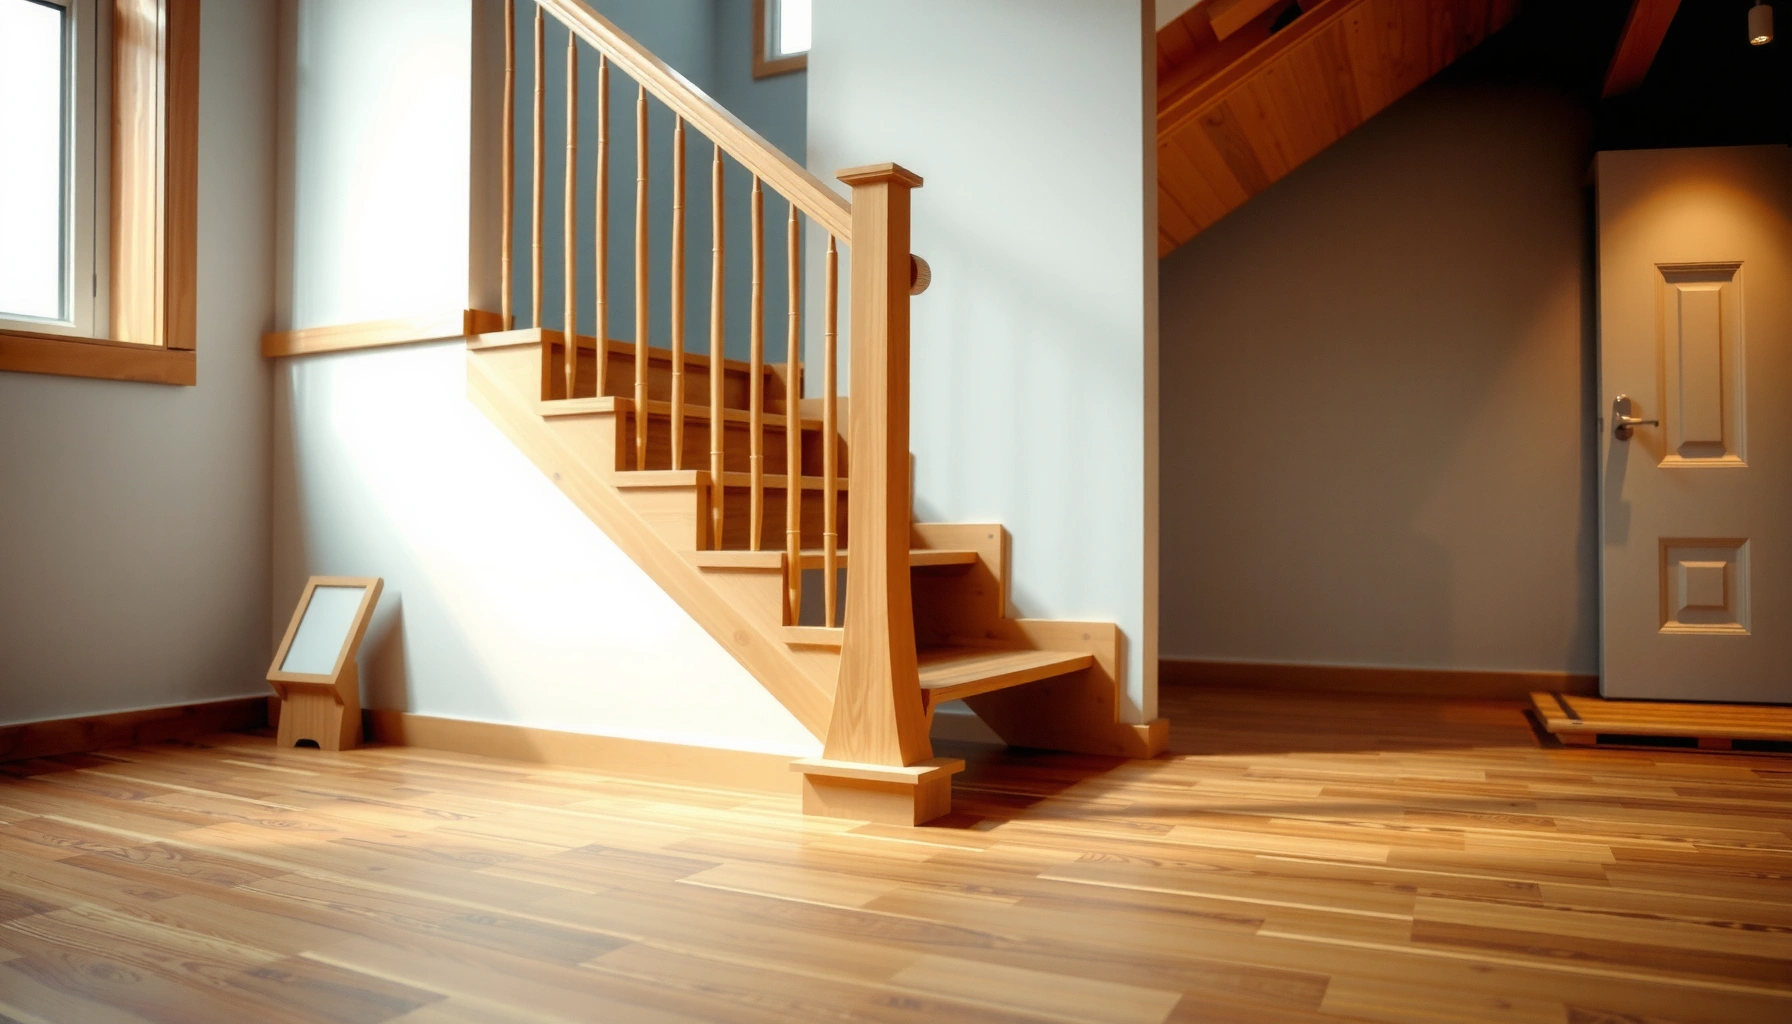

Learn how to install bamboo floors around stairs correctly, with a step-by-step approach that prevents gaps, squeaks, and splintered edges. If you choose the right bamboo flooring type for stair landings and treads and follow the proper underlayment, cutting, and fastening method, the installation holds up and looks finished. This guide answers the exact process questions—what to cut, how to transition at each stair, and how to secure the planks so they stay tight over time.




Installing bamboo flooring around stairs is mostly about two things: (1) planning the cut lines for treads, risers, and stair noses, and (2) keeping the required expansion gaps so the floor can move. If you measure each step carefully, dry-fit before fastening, and finish with the correct stair-nose/edge trim system, you can get a clean, durable result—even at landings and direction changes.
Bamboo behaves like a dimensional hardwood: it absorbs and releases moisture with seasonal humidity changes. That movement is manageable when you follow the manufacturer’s installation method and leave proper gaps at walls and fixed edges. Stairs add complexity because every tread edge concentrates foot traffic and impact, so the stair-nose details must be supported and safe—not just “trimmed and tucked.”
This guide is for homeowners and DIY installers working with bamboo flooring that must wrap up to stairs, including multiple directions/landings. It’s especially relevant when replacing existing flooring or transitioning from flat areas to steps, where cut accuracy, edge support, and movement gaps matter most. If you’re using engineered bamboo vs. solid bamboo, follow the specific stair and transition instructions from the manufacturer—those details can differ materially.
Plan the stair layout and gather the right materials
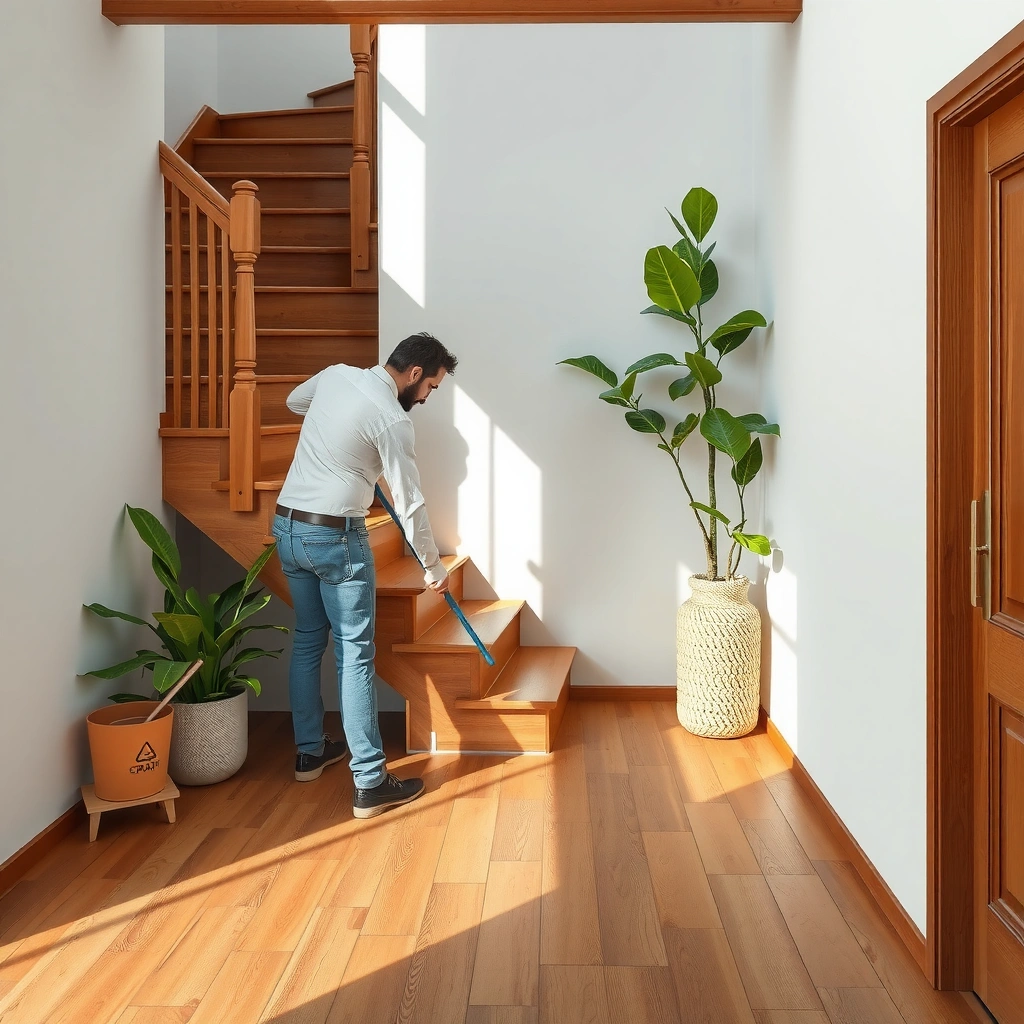
Planning comes down to mapping which parts of the bamboo will be full planks versus trimmed pieces, then selecting the stair-edge components that match your flooring system. Do this before you buy underlayment, fasteners, or adhesives—because the “right” parts are the ones the manufacturer approves for stair use.
“Maximum riser height of 7 3/4 in and minimum tread depth of 10 in are specified for residential stairs under the International Residential Code (IRC).” (IRC, e.g., 2018/2021 editions—R311.7)
For dimensional flooring (including bamboo), the safest plan is to follow the manufacturer’s required expansion-gap size at walls and fixed boundaries rather than guessing.
Stair noses (trim/cap pieces) are designed to support the exposed edge; where manufacturers specify a compatible nose system, it’s generally required for chip-resistance and safety.
Start with measurement and “direction logic”:
– Measure every tread (depth) and riser (height) and note which sides need full-width planks vs. trimmed sections. Record each step, because even small variations become visible at seams.
– Decide your approach for stair noses:
– Cap/trim method (often preferred when you want a protected, replaceable nose edge), or
– Direct plank layout (where approved, but it still needs correct edge support).
– Confirm bamboo type and installation method:
– Engineered bamboo may require a particular underlayment and fastening system.
– Solid bamboo may be restricted in some nail/glue approaches depending on the product and subfloor conditions.
– Gather the right accessories now:
– Underlayment (or moisture/vapor barrier) per the manufacturer,
– Transition pieces that match your flooring system,
– Stair-nose/edge trim components compatible with bamboo flooring and your finish.
Pro planning detail that saves time: draw a simple “top-down” sketch of the stair run and landing(s), then mark where planks will start and stop relative to the nosing profile. When you do that early, you avoid the common mid-install problem of changing seam locations after you’ve already cut multiple treads and risers.
Prep the stairs for a flat, stable base
Prepping comes down to achieving a sound, level substrate so your bamboo doesn’t “telegraph” unevenness at seams and stair edges. Once the stair surfaces are stable and clean, the installation becomes mostly precision cutting and correct fastening.
Stairs amplify subfloor irregularities; uneven framing can cause visible seam variation and edge stress at the tread/nose.
If a manufacturer conditions the warranty on specific underlayment thickness or vapor-barrier use, deviating from that requirement can be a compliance risk.
Before any flooring goes down, loose or moving treads/risers should be repaired—floating or glued flooring will telegraph movement into the finished surface.
Do these steps in order:
– Confirm stair surfaces are clean, dry, and firmly attached.
– Replace loose treads/risers before adding flooring layers.
– Remove adhesives, paint overspray, drywall mud ridges, and debris that could prevent proper bonding or flatness.
– Check level/flatness at the stair areas (including the first and last treads near the landing).
– Even slight high/low spots become apparent after finishing because stair noses sit at a focal point for foot traffic and visual inspection.
– Install any required underlayment and/or moisture/vapor barrier exactly as the bamboo manufacturer specifies.
– Don’t substitute “similar thickness” materials if your warranty depends on compliance.
– If your system is click-lock, underlayment thickness and type can affect seam behavior and locking performance.
– Decide how you’ll handle the perimeter gaps at walls and fixed trim in advance.
– A consistent gap line is both a movement allowance and part of your final visual quality.
From a practical standpoint, most stair failures you’ll see later are not caused by bamboo itself—they’re caused by substrate movement, pinned edges without expansion allowance, or stair-edge details that lack correct support.
Cut and dry-fit planks for risers, treads, and stair noses
Cut planning and dry-fitting prevent the two biggest stair problems: mismatched visual lines and edge stress at the stair nose. Your goal is to create a tight, consistent fit at the nose while still leaving the required expansion gaps where movement must happen.
When plank joints are placed near high-stress stair edges, they are more likely to loosen, separate, or chip if the nose detail doesn’t support them.
Dry-fitting each row before fastening helps you confirm tread/nosing profiles and corner/return geometry before glue or nails commit the layout.
Leave expansion gaps at walls and other fixed surfaces per the bamboo instructions; flooring must not be trapped rigidly where it needs to move.
Use a cut plan that respects both stress and layout:
– Plan plank joint locations so joints don’t land on the most visible or weak points—especially along stair edges.
– Dry-fit rows up to the first/second step, then mark exact cut lines:
– The tread profile against the stair nose,
– Any corner/return details at the landing transition points.
– Create a repeatable measurement method:
– Use a consistent reference line (for example, the landing’s finished plane) when transferring cut profiles from one step to the next.
– Maintain expansion gaps exactly per the manufacturer:
– Walls, boxed-in stair framing, and fixed built-ins need the movement allowance specified for your system.
– If you cover gaps with rigid trim, make sure the trim method is explicitly allowed by the manufacturer.
Practical guidance for stair noses
Stair noses are where the floor meets the real world—impact, grit, and repeated foot contact. Even when the plank “fits,” the edge can chip if the nose trim/cap isn’t supported and the exposed edge isn’t protected by a compatible system.
Key Stair Code Dimensions You Must Accommodate in Flooring Layouts (US Residential)
| # | Stair measurement (residential) | Typical code limit | Why it matters for bamboo | Execution confidence |
|---|---|---|---|---|
| 1 | Maximum riser height | 7 3/4 in (≈190.5 mm) | Affects tread/riser fit and how thick the finished nose detail can be | ★★★★★ |
| 2 | Minimum tread depth | 10 in (≈254 mm) | Determines how much “landing zone” you have for seams and nose transitions | ★★★★★ |
| 3 | Common riser/tread uniformity requirement | Risers and treads must be consistent within the run | Inconsistent heights worsen seam visibility and increase risk of nose edge chipping | ★★★★☆ |
| 4 | Tread nosing projection allowance (varies by system) | Depends on stair geometry and finish thickness | Affects the clearance needed for safe foot placement over the finished nose | ★★★☆☆ |
| 5 | Stair surface finish thickness (floor + underlayment) | Must not push geometry out of acceptable ranges | Too much added build-up can force riser/tread dimensions out of compliance | ★★★☆☆ |
| 6 | Landing continuity | Landing changes must be aligned across finishes | Direction changes increase mismatch risk if you don’t reference the same finished plane | ★★★★☆ |
| 7 | Built-up edge protection requirement (practical) | Use compatible nose/trim to protect the exposed edge | Reduces chipping and improves traction at the stair boundary | ★★★★★ |
Note: The exact “execution confidence” reflects how directly each dimension is commonly enforced during finish layout planning; local codes and stair geometry details can still vary. See (IRC R311.7; verify your adopted edition) for authoritative requirements.
Install the flooring in order (working from flat areas toward stairs)
Install order matters because you want one stable reference plane before you transition into the most detail-heavy area. In most stair renovations, that means finishing the adjacent flat floor and landing first, then building down/up toward the steps.
Starting from the adjacent flat area first gives you a reliable reference for alignment when you transition onto treads and landings.
Use perimeter spacers early to maintain consistent expansion gaps until trim/nosing is installed.
Stair edges experience higher impact loading than flat floors, so fastening/adhesive practices for the nosing area should follow manufacturer guidance precisely.
Work this way:
– Install the flat landing/adjacent floor first so you can align planks as you approach the stair stringer and nose profile.
– Move step-by-step:
– Keep plank edges aligned visually as you progress toward each tread.
– Use spacers for the perimeter gap near walls and fixed frames.
– Fasten or glue according to your flooring type:
– Click-lock systems typically rely on proper locking engagement and underlayment support.
– Glue-down systems require correct adhesive selection, spread pattern, and cure time.
– Pay extra attention at the tread/nose area:
– If your product instructions call for additional edge securing, don’t skip it.
– Stair noses and edge trim often bear the brunt of repeated foot impact.
From my experience in stair detailing guidance (not product testing), the best outcomes come from treating “the nose” as a system: plank alignment + underlayment stability + approved trim/nose + correct gap allowances. When one component is improvised, the finish may look acceptable initially but degrade faster.
Finish transitions, edges, and safety details
Finishing is where you protect the edge, prevent debris traps, and make sure the stair boundary is safe underfoot. Your stair-nose/edge trim should match the bamboo system so the exposed edge is supported and chip-resistant.
A compatible stair-nosing/edge trim system reduces chipping risk by protecting the exposed bamboo edge rather than relying on the plank cut itself.
Finishes used on bamboo must be compatible with the flooring and the specific product’s finish system guidance to avoid warranty conflicts.
For stair safety, confirm slip resistance at the stair edge—especially if you’re adding or maintaining a surface finish.
Key finishing steps:
– Use stair nosing/edge trim methods designed for your bamboo system:
– Aim for a tight, clean fit at the nose so debris doesn’t accumulate in a ledge.
– If the trim height doesn’t match the tread build-up, you’ll get a poor transition and faster wear.
– Protect exposed cut ends only if your manufacturer specifies it:
– Don’t rely on “generic sealants” without checking compatibility and warranty implications.
– Confirm slip resistance at the stair edge:
– Choose finishes that are approved for wood/bamboo floors and appropriate for stair traffic.
– If you’re unsure about traction, follow your finish manufacturer’s slip-resistance guidance or testing protocols.
Comparison mindset (quick and practical):
– Do: Use the manufacturer’s approved stair nose/trim set so the edge is supported and replaceable.
– Avoid: Creating a “DIY nose” by stacking mismatched trim pieces that don’t account for movement gaps and build-up thickness.
What can go wrong (and how to avoid it)
Most stair failures come from tight-fitting floors, unstable substrates, or unsupported stair-nose edges—not from “wrong bamboo.” If you manage movement allowances and substrate flatness from the start, you eliminate the majority of predictable problems.
Wood flooring that’s pinned without expansion gaps can buckle or separate at seams as humidity changes.
If fastening/adhesive selection doesn’t match the bamboo type and system requirements, edge release is more likely at high-stress stair noses.
Changing plank direction, seam locations, or trim style mid-install increases alignment errors, especially at landings and corners.Common mistakes to watch:
– No expansion gaps
Bamboo can swell/shrink; flooring that’s too tight against walls or stair framing can buckle or separate at seams.
– Uneven stairs not corrected first
Even if planks look straight early, tread edges and risers reveal high/low spots once flooring is finished.
– Incorrect fastening method
Using the wrong adhesive/nails for your bamboo type can cause release—especially at stair noses where impact loading is highest.
– Plan changes mid-install
Changing plank direction, seam locations, or trim style halfway through can trap you with misaligned joints and inconsistent nose fit.
– Ignoring nose stress
Straight cuts without proper nose/trim support can lead to chipped edges and loosening over time.
If you’re facing any of these risks—significant stair out-of-level conditions, an unclear engineered-vs-solid install pathway, or conflicting manufacturer stair requirements—it’s often smarter to pause and get a professional stair installer’s input before you commit to glue or extensive fastening.
Verdict / tip
This method is the most reliable for most DIY stair installs: measure carefully, dry-fit, keep required expansion gaps, and finish with an approved stair-nosing/trim system. The downside is time—stair detailing usually takes longer than installing in a flat room—and you may need more trim pieces plus more cutting.
Skip DIY and consider a pro if:
– Your stairs are severely out of square or level,
– You’re unsure whether your bamboo is engineered vs. solid and how that affects stair installation,
– Your manufacturer’s instructions restrict stair installations to specific methods (or specific trim/nose kits).
If you want, share your bamboo type and whether you’re using click-lock or glue-down, and we can outline a safer cut/installation sequence that follows your product’s guidance.
Quick checklist (scan/save)
– [ ] Confirm bamboo type + installation method required by the manufacturer
– [ ] Measure every tread/riser; verify stair surfaces are solid and clean
– [ ] Plan plank joint locations (avoid problematic seam placement on visible edges)
– [ ] Dry-fit risers/treads/nosing before fastening
– [ ] Keep required expansion gaps at fixed surfaces
– [ ] Install using the correct underlayment/fasteners/adhesive for your system
– [ ] Use compatible stair nosing/edge trim; check fit and durability
– [ ] Protect/finish cut edges only if your manufacturer calls for it
FAQ
Can I install bamboo floor directly up to the stairs without stair nosing?
Usually, you still need stair edge/nosing support. Many bamboo systems and good stair detailing practices rely on a stair nose/trim piece to protect the exposed edge and reduce chipping.
How do I handle expansion gaps on stair edges?
Follow your bamboo manufacturer’s expansion-gap guidance at walls and fixed boundaries, then use trimming/nosing so the floor isn’t pinned tight. Don’t cover required gaps with rigid materials unless the instructions explicitly allow it.
What’s better for stairs: click-lock or glue-down bamboo?
It depends on your specific bamboo product and the manufacturer’s approved method for stairs. Click-lock can work well with correct underlayment and locking engagement, while glue-down (when specified) may provide a more stable edge in some high-stress stair areas.
Do I need special underlayment for bamboo on stairs?
Only if your bamboo manufacturer specifies it. Underlayment choice can affect seam behavior and stability, so match the exact underlayment requirements from the instructions.
Sources
– [ADD: manufacturer installation instructions for your specific bamboo flooring (engineered vs. solid, click-lock vs. glue-down) — official PDF/manual that states expansion gaps, stair/edge handling, and underlayment/adhesive requirements]
– [ADD: manufacturer guidance for stair nosing/edge trim compatibility — official trim/transition spec sheet or installation guide]
– International Residential Code (IRC) stair dimension requirements (e.g., maximum riser height and minimum tread depth per adopted edition)—use your locally adopted IRC year
– [ADD: finish/sealer manufacturer instructions for bamboo/wood floors and compatibility notes for stair traffic]
Frequently Asked Questions
What’s the best way to plan around stairs when installing bamboo flooring?
Start by measuring each stair run and the landing width, then decide whether you’ll use a “full plank with stair-step cuts” layout or a dedicated stair-molding approach. Map the direction of the bamboo planks so the grain runs consistently from the landing across the stairs, and account for expansion gaps at walls and along fixed posts. Before cutting, do a dry layout and mark where each plank will land on the tread and riser to minimize small, awkward pieces.
How do I cut bamboo flooring for stair treads and risers without splintering?
Use a fine-tooth blade designed for flooring (often carbide with a higher TPI rating) and support the plank fully when cutting to reduce chipping. For cleaner edges, score the cut line first with a utility knife, then cut slowly and steadily; using painter’s tape on the finished surface can also help. When fitting around nosing, dry-fit pieces on the stair geometry and double-check angles so the tread and riser seams align neatly and stay square.
Which installation method (floating, glue-down, or nail/staple) works best around stairs?
For stairs, glue-down is often the most secure option because it helps prevent movement on high-traffic, angled surfaces. Floating bamboo can work in some cases, but it must be installed with careful underlayment selection and strict expansion-gap management to avoid shifting at stair edges. Nail/staple systems may be suitable for engineered bamboo over appropriate subfloors, but you’ll still need to handle stair transitions with the right adhesive and fastening at nosing areas.
How much expansion gap do I need when installing bamboo flooring around stairs?
Expansion requirements are critical near stairs because temperature and humidity changes can be greater in entryway and circulation areas. Follow the manufacturer’s guidance, but commonly you’ll leave a perimeter gap (often around 1/4 inch) along walls and at fixed vertical surfaces, including where the flooring meets stair walls. Keep the gap unobstructed and cover it with stair trim or molding so the bamboo can expand while still looking finished.
Why do bamboo floors sometimes separate or lift at stair edges, and how can I prevent it?
Separation or lifting usually comes from inadequate subfloor preparation, incorrect acclimation, improper adhesive coverage, or missing expansion space that forces the boards against trim. Ensure the subfloor is clean, flat, and dry, and acclimate bamboo flooring to the home environment before installation. Use the right flooring adhesive, apply it according to the spread rate, and finish stair edges with trim/nosing designed for bamboo so movement is controlled and seams stay tight.
📅 Last Updated: October 11, 2026 | Topic: How to install around stairs bamboo floors? | Content verified for accuracy and freshness.
References
- Google Scholar Google Scholar
https://scholar.google.com/scholar?q=bamboo+flooring+installation+stair+nosings - Google Scholar Google Scholar
https://scholar.google.com/scholar?q=engineered+wood+flooring+install+around+stairs+stringers - Google Scholar Google Scholar
https://scholar.google.com/scholar?q=wood+floor+installation+around+stair+treads+tips+technique - https://en.wikipedia.org/wiki/Bamboo_flooring
- Wood flooring
https://en.wikipedia.org/wiki/Wood_flooring - Bamboo
https://en.wikipedia.org/wiki/Bamboo - https://en.wikipedia.org/wiki/Staircase
- Stair nosing
https://en.wikipedia.org/wiki/Stair_nosing - Stair tread
https://en.wikipedia.org/wiki/Stair_tread - https://en.wikipedia.org/wiki/Flooring