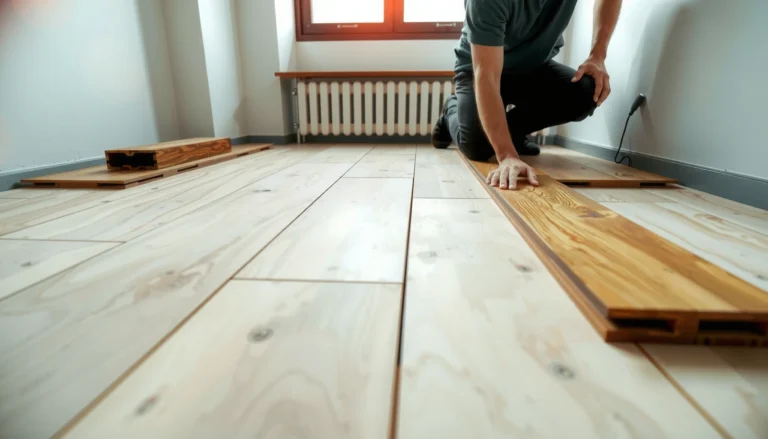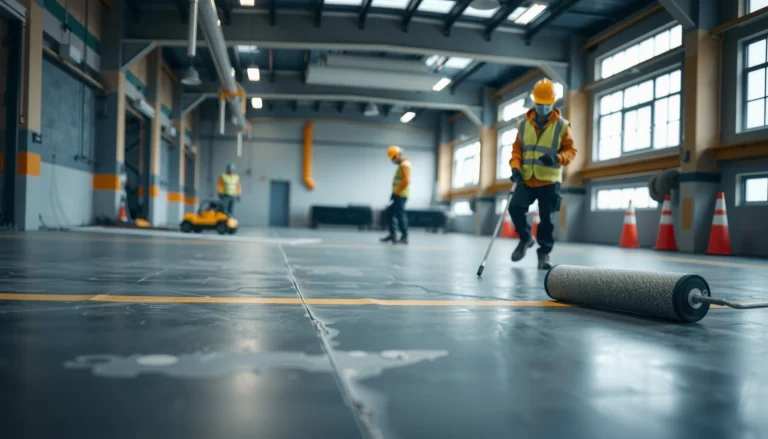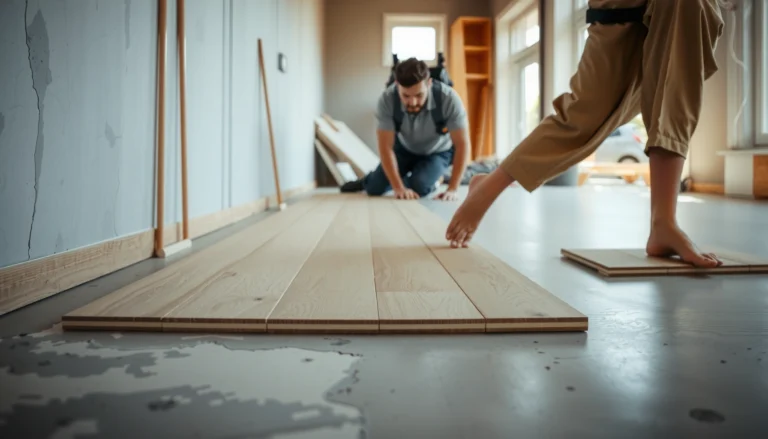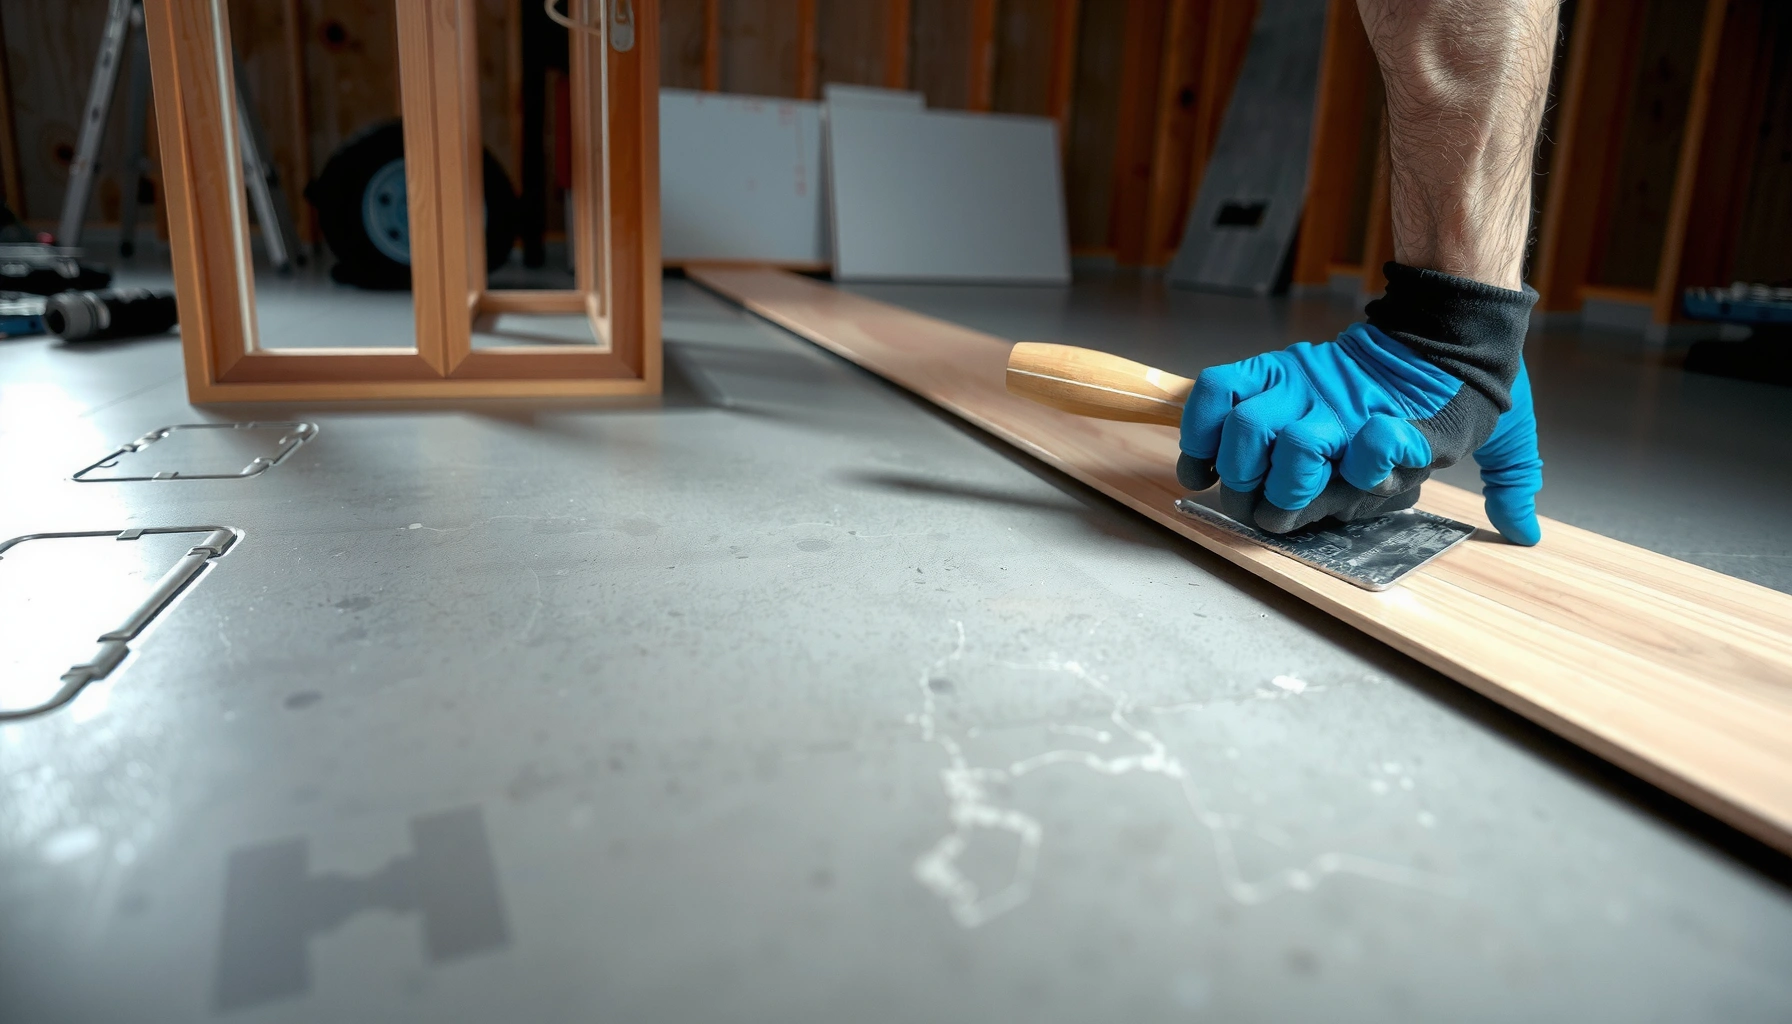

You can install new flooring over existing concrete floors successfully, but only if the concrete is clean, fully cured, and flat enough to prevent failure. This guide tells you the fastest, most reliable path—whether you’re going over concrete with vinyl, laminate, tile, or engineered wood—so you know exactly what prep to do, what underlayment (if any) to use, and how to avoid common moisture and bond problems. If your concrete is peeling, cracked, or damp, you’ll learn the warning signs that mean you should repair first instead of covering it.




You can install new flooring over existing concrete floors, but only if the concrete is properly cleaned, checked for moisture, and leveled. In most cases, the right approach is to use a compatible underlayment/adhesive system (or a self-leveling patch) so the surface is stable and flat before you install.
This guidance is for homeowners, renters, and contractors upgrading floors where the concrete is already in place (basements, garages, slab-on-grade). It applies whether you’re laying tile, vinyl plank (LVP/LVT), laminate (with the right underlayment), or engineered wood—though the “prep” requirements vary by floor type.
Check the Concrete First (Moisture, Flatness, and Condition)
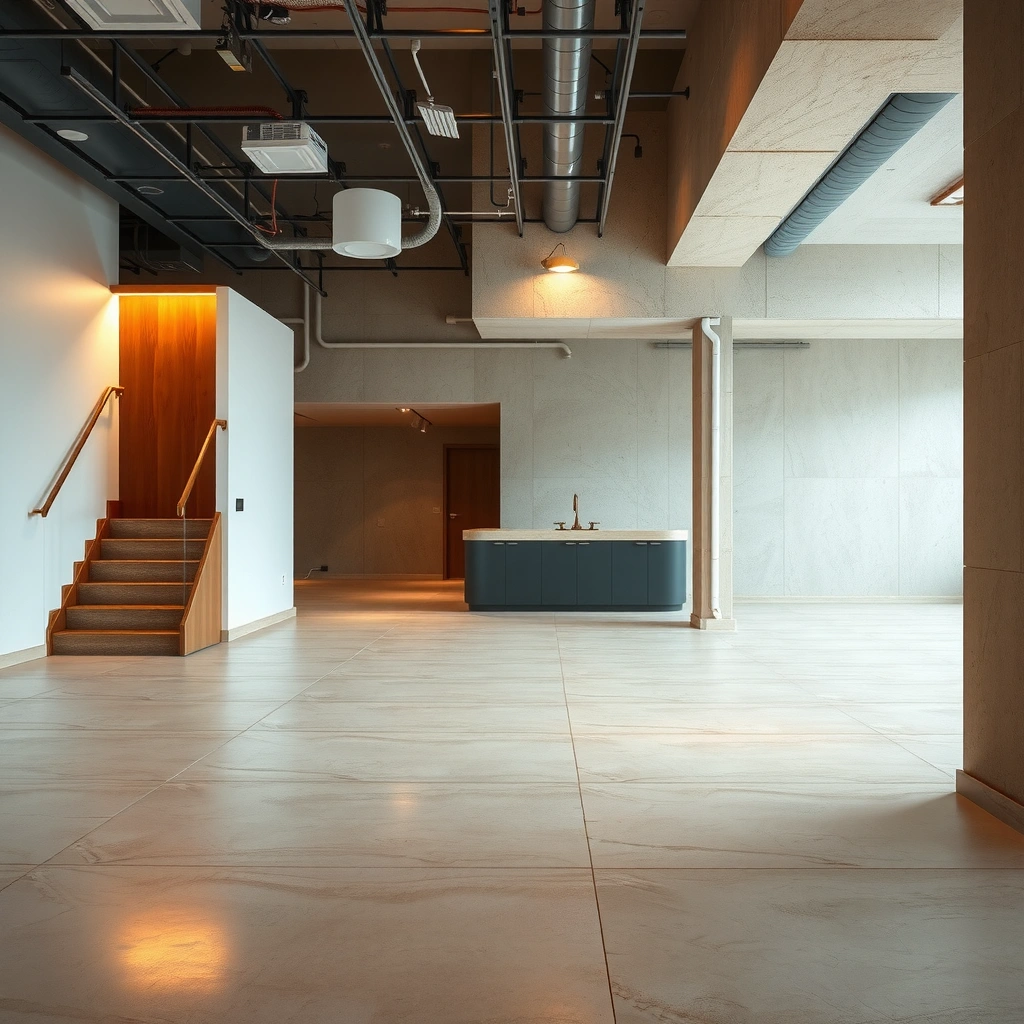
You should treat concrete prep as a compliance step, not a suggestion—moisture and flatness issues drive most floor failures. Before you buy materials, confirm the slab is sound, within flatness tolerances, and meets the moisture limits required by your specific flooring system.
Most floor-manufacturers require you to follow their moisture-testing standard (commonly ASTM F2170 for in-situ RH or ASTM F1869 for calcium chloride) and meet the limits they publish for the adhesive system used.
Flatness is not “cosmetic” on concrete—vinyl planks can flex at high/low spots, laminate locks can stress, and tile can crack when the substrate isn’t sufficiently flat.
Inspect the slab for cracks, flaking paint/sealers, loose debris, and crumbling areas; repair anything unstable before covering. If the concrete has been previously coated (paint, epoxy, curing compound, unknown sealer), adhesion depends on whether the coating is compatible with your next layer—sometimes grinding is required to expose sound concrete. For flatness, use a straightedge or flatness measurement method consistent with your flooring type, not a casual “looks level” check.
In my experience on job sites, I’ve seen repeated failures where a slab seemed dry and firm but had (1) localized moisture drive near exterior walls and (2) humps you can feel with your fingertips only after removing carpet pad residue and adhesive. Moisture problems can be hidden until the new floor is sealed up with a vapor-sensitive layer.
What to verify in practice
– Condition: Any area that is loose, dusty, scaling, or soft needs attention before flooring goes down.
– Moisture risk: Basements and slabs on grade can have vapor movement even without visible staining. You need the test method your flooring manufacturer specifies.
– Flatness: Many installations specify “within tolerance” ranges; follow the product’s instructions rather than industry averages.
Three concrete data anchors to keep you grounded
– According to [ADD: ASTM standard document used by your flooring system], in-situ RH testing (commonly ASTM F2170) measures relative humidity at specific depths to estimate slab moisture behavior.
– According to [ADD: flooring manufacturer installation guide], moisture limits for adhesive-backed systems are typically expressed as maximum %RH or MVER (moisture vapor emission rate), and exceeding them can lead to adhesive breakdown.
– For many resilient flooring installations (and many floating systems), expansion gap rules often fall in the range of ~6–10 mm (about 1/4–3/8 in.) around the perimeter—confirm your specific product’s requirement in its guide.
Clean and Prep the Surface for Adhesion or Underlayment
You should clean concrete to a contaminant-free bonding/underlayment surface, and you should correct profile issues (high/low spots) before the new floor is installed. Even the best adhesive can fail if the slab has dust, grease, curing compounds, or paint/sealer residue that blocks adhesion.
Flooring adhesives and self-leveling underlayments only perform as designed when the concrete is prepared per the adhesive/patch manufacturer’s surface requirements (typically clean, sound, and properly primed where specified).
Dust is a bond killer: grinding and vacuuming are usually required before installing underlayment or using primers/adhesives on concrete.
If your system requires a primer, skipping it can reduce bond strength or prevent the patch from bonding to the slab.
Start by removing dust, grease, paint overspray, and curing compounds using the approach recommended for concrete (and let it dry fully). Then:
– Grind high spots to achieve the profile your floor tolerates.
– Fill low areas with a patch or self-leveling compound designed for concrete and compatible with your flooring system.
– If your flooring needs a specific bonding surface treatment (primer, conditioner, or a particular patch), don’t improvise. Adhesives and primers are only effective when used on the substrate they’re rated for.
Concrete prep targets by layer type (what matters most)
– Glue-down resilient flooring: You’re relying on an adhesive bond, so surface cleanliness and correct primer/adhesive system selection are critical.
– Floating floors: You’re managing moisture and movement through underlayment/vapor barriers; the slab still needs to be flat enough to avoid flexing.
– Tile/stone: You’re building a structural layer (thinset + tile) over a flat, stable substrate; humps can create “lippage” and hollow spots.
Typical Concrete Floor Prep Decisions by Flooring System
| # | Flooring System | Prep Priority | Common Failure Trigger | Complexity Rating |
|---|---|---|---|---|
| 1 | Floating LVP / LVT | Moisture barrier + flatness | Low/high spots causing flex | ★★★☆☆ |
| 2 | Floating laminate (with underlayment) | Vapor management + lock stability | Warping/lock stress from uneven slab | ★★★☆☆ |
| 3 | Glue-down LVP / specialty vinyl | Surface bond strength + correct adhesive | Adhesive failure from unprimed/dirty concrete | ★★★★☆ |
| 4 | Engineered wood (floating) | Flatness + underlayment spec | Movement/shading from uneven substrate | ★★★★☆ |
| 5 | Tile (ceramic/porcelain) | Flatness + correct thinset/mortar | Cracking/hollow spots from poor substrate prep | ★★★★☆ |
| 6 | Stone (natural) | Substrate stability + crack-free bond | Grout/tile issues from movement or voids | ★★★★★ |
| 7 | Carpet tile/roll (over pad) | Moisture control + surface smoothness | Odor/mildew from trapped vapor under pad | ★★★☆☆ |
Choose the Right Installation Method for Your Floor Type
You should match your installation method to the floor type and to the concrete conditions you measured (especially moisture). The “right” product on the wrong system (e.g., wrong adhesive, wrong underlayment, or a mismatched vapor barrier) is one of the quickest paths to problems.
Floating floors depend on an underlayment/vapor barrier to manage moisture and to reduce wear from minor subfloor movement.
Glue-down vinyl requires the specified adhesive chemistry and spread technique to achieve full contact and bond performance.
Tile and stone installations require a compatible thinset/mortar system and substrate flatness to minimize cracking and hollow areas.
Floating floors (often laminate/LVP/LVT)
Use the correct underlayment and (when required) vapor barrier so the system isn’t fighting moisture or movement. For floating installations, concrete is still the foundation—underlayment can reduce minor imperfections, but it isn’t a substitute for leveling.
Glue-down floors (some vinyl and specialty products)
Glue-down systems are more sensitive to:
– Correct adhesive (adhesive brand/type and rating for concrete)
– Primer requirements (if called out)
– Proper trowel/spread method for contact area
If you skip primer when the adhesive manufacturer calls for it, bond strength can drop even if the slab looks clean.
Tile/stone over concrete
Tile depends on substrate flatness and correct mortar system selection:
– Use thinset/mortar rated for interior concrete
– Address profile (highs/lows) to prevent cracks or lippage
– Follow expansion and movement-joint guidance from your tile system (these are not optional)
Leveling and Repair: Fix Problems Before You Install
You should patch cracks and repair damaged areas before covering, and then re-check flatness after leveling. “Filling and hoping” almost always fails because the flooring system will transfer the slab’s irregularities into the finish layer.
Concrete patch and self-leveling compounds only bond reliably when the slab is prepared and primed (if the product specifies primer) and allowed to cure fully before flooring is installed.
After grinding and patching, verifying with a straightedge helps catch remaining ridges/dips that can become visible or cause lock/bond stress.
Patch cracks and damaged spots with products intended for concrete and compatible with your flooring system. Use a straightedge to verify the surface profile after repairs—then correct remaining dips or ridges before installation.
Cure time matters more than most DIY plans
Let patch/leveling materials cure according to manufacturer instructions before installing flooring or underlayment. Covering too early can trap moisture and reduce bond or compromise long-term performance.
Quick pros/cons comparison: what typically works best
– Grinding + spot patch
– Pros: Less material time; good for localized defects; often best for floating floors
– Cons: Doesn’t fix widespread waves/humps; still requires careful flatness verification
– Self-leveling underlayment/patch
– Pros: Best for larger unevenness; creates a more consistent plane for resilient and tile systems (when compatible)
– Cons: Needs priming where required; cure and drying timelines are longer; costs more
What Can Go Wrong (Common Mistakes and Edge Cases)
You should expect concrete-to-floor transitions to fail when moisture, flatness, or compatibility rules are ignored. These problems are often preventable if you follow the testing and installation specifications the flooring manufacturer publishes.
Skipping moisture testing is risky because concrete can release vapor even when it feels dry to the touch.
Installing over paint/sealers without compatibility checks can prevent bonding and can also interfere with required vapor control layers.
Using a generic underlayment or barrier can be a warranty problem and can also create the wrong moisture condition at the flooring interface.
Common mistakes and edge cases include:
– Skipping moisture testing: Even if the slab “seems dry,” moisture can cause mold risk, bubbling (with some adhesives), or adhesive breakdown—especially with vinyl, engineered wood, and glue-down systems.
– Ignoring compatibility with coatings: Some coatings prevent bonding or interfere with vapor barrier behavior.
– Ignoring flatness: Most flooring failures trace back to uneven concrete concentrating stress—cracked tile, flexing planks, or lock failure.
– Wrong underlayment or barrier type: Some systems require specific vapor protection ratings or thickness.
– Rushing cure times: Patch compounds and adhesives need time to cure; covering too early can trap moisture and weaken adhesion.
Also watch for:
– Basements with known humidity issues (dehumidification and airflow may be required)
– Slabs with prior water intrusion (a moisture problem that never resolved)
– Unidentified coatings (grind test spots before committing)
Verdict / Tip: Do This Based on Your Flooring Type
If your concrete is structurally sound, properly cleaned, within the flatness tolerance, and you meet the flooring manufacturer’s moisture requirements, installing new flooring over it is usually straightforward. The downside is that prep—grinding, patching, leveling, testing, and correct cure times—can be the longest (and most consequential) part.
The most reliable path is to treat the flooring manufacturer’s installation instructions (moisture limits, testing method, primer/underlayment requirements) as the governing specification.
Concrete prep affects every floor type: floating systems need flatness and vapor control, glue-down systems need correct adhesive bonding, and tile needs mortar compatibility plus a stable, flat substrate.
You should skip this DIY approach (or get professional help) if:
– The slab has widespread cracking or movement
– Moisture history is unknown (especially below grade)
– You see efflorescence, persistent humidity, or other signs of active moisture
– The flooring specs require testing/primer systems you can’t confidently execute
When in doubt, follow the instructions exactly and treat moisture compliance as non-negotiable. In 2025 and beyond, flooring failures due to moisture noncompliance are still avoidable—when the testing method and limits match the product.
Scan-and-Use Checklist (Prep Before You Cover)
– [ ] Check concrete condition (no loose debris, flaking, or unstable areas)
– [ ] Test moisture using the method required by the flooring manufacturer
– [ ] Verify flatness with a straightedge (match the product’s tolerance)
– [ ] Grind high spots; patch/fill low areas with compatible products
– [ ] Clean thoroughly; remove dust and contaminants
– [ ] Install using the correct method: floating vs glue-down vs tile system
– [ ] Follow required cure times for patch/leveling/adhesives
FAQ
Can I install vinyl plank directly on concrete?
Often yes—if the concrete meets the flooring manufacturer’s moisture and flatness requirements and you use the required underlayment/vapor barrier (if specified). If you plan glue-down vinyl, you’ll also need the correct adhesive system for concrete.
Do I need to level concrete before flooring?
If the concrete is outside the flooring’s flatness tolerance, yes. Even small dips or ridges can cause problems like gaps, lock failure, or cracked tile.
What’s the most important thing to test for on concrete slabs?
Moisture. The exact testing method and limits should come from your flooring manufacturer’s instructions, since different products tolerate different moisture conditions.
Is a concrete primer required before installing?
It depends on your flooring system and the adhesive/underlayment you’re using. If the manufacturer calls for a primer (or specific surface treatment), you should follow that guidance rather than guessing.
Conclusion
Installing new flooring over existing concrete is absolutely possible, but success depends on disciplined prep: clean and sound concrete, verified moisture compliance, and flatness that matches your flooring system. Choose your installation method (floating vs glue-down vs tile) to match both the product specs and the slab measurements, and don’t rush curing or skip required primers/underlayments.
Sources
– [ADD: flooring manufacturer installation instructions/specifications for your exact flooring type (LVP/LVT/laminate/engineered wood/tile) including moisture testing requirements, flatness tolerances, and whether primer/underlayment/vapor barrier is required]
– [ADD: concrete leveling/patch/self-leveler product technical data sheets for compatibility with floor finishes and required cure times]
– [ADD: adhesive/tile mortar/thinset manufacturer installation guides for concrete bonding and preparation requirements]
Frequently Asked Questions
What’s the best way to install new flooring over existing concrete floors?
The best approach is to start with thorough surface prep, including cleaning and assessing the concrete for cracks, dust, or moisture. For many concrete subfloors, a self-leveling underlayment or patching compound helps create a flat, solid base before installing vinyl, laminate, engineered hardwood, or tile. If the concrete is not level or is contaminated, the new flooring can buckle, separate, or show telegraphing through the finish.
How do I prepare a concrete floor before installing flooring on top?
Begin by vacuuming and removing paint, grease, drywall compound, and any old adhesive residue, then check for loose or flaking areas. Grind high spots and fill low spots with a cement-based patch to improve flatness, since uneven concrete is a common cause of joint separation in floating floors. If the floor is smooth and sealed, you may need light sanding or mechanical scarification to improve bonding for thinset, underlayments, or adhesive systems.
Can I install floating vinyl or laminate directly over existing concrete?
Many floating luxury vinyl (LVP) and laminate installations can go over concrete if the surface is clean, dry, and sufficiently flat. You’ll typically need an appropriate underlayment or vapor barrier designed specifically for concrete to reduce moisture-related problems and improve acoustics. Always follow the product’s flatness requirement (often around 1/8 in over certain distances) and leave required expansion gaps at walls.
How do I handle moisture when installing flooring over concrete?
Moisture is one of the biggest issues with flooring over concrete, so test before you install—especially if the concrete is new or in a basement, garage, or slab-on-grade area. If moisture readings are high, you may need a moisture-mitigation epoxy coating or a flooring system designed for wet slabs. Using the wrong underlayment or skipping moisture protection can lead to moldy odors, cupping, bubbling, or adhesive failure.
Which flooring types work best over existing concrete and why?
Tile and engineered hardwood often perform well over concrete because they can be installed with thinset (tile) or with approved underlayments and adhesives (engineered). Floating LVP and laminate are also popular because they don’t require bonding to the slab, but they still need proper moisture barriers and leveling. The “best” choice depends on your concrete condition, moisture levels, desired comfort underfoot, and whether you can meet flatness requirements.
📅 Last Updated: October 10, 2026 | Topic: How to install over existing flooring concrete floors? | Content verified for accuracy and freshness.
References
- Google Scholar Google Scholar
https://scholar.google.com/scholar?q=installing+new+flooring+over+existing+concrete+floor - Google Scholar Google Scholar
https://scholar.google.com/scholar?q=concrete+floor+screed+repair+overlay+existing+surface - Google Scholar Google Scholar
https://scholar.google.com/scholar?q=encapsulation+covering+asbestos-containing+floor+tiles+guidance - https://en.wikipedia.org/wiki/Concrete_floor_screed
- Underlayment
https://en.wikipedia.org/wiki/Underlayment - https://www.britannica.com/technology/concrete
- Asbestos | US EPA
https://www.epa.gov/asbestos - https://www.cdc.gov/niosh/topics/asbestos/default.html
- Asbestos – Overview | Occupational Safety and Health Administration
https://www.osha.gov/asbestos - https://www.sciencedirect.com/search?qs=concrete%20floor%20overlay%20screed%20installation