
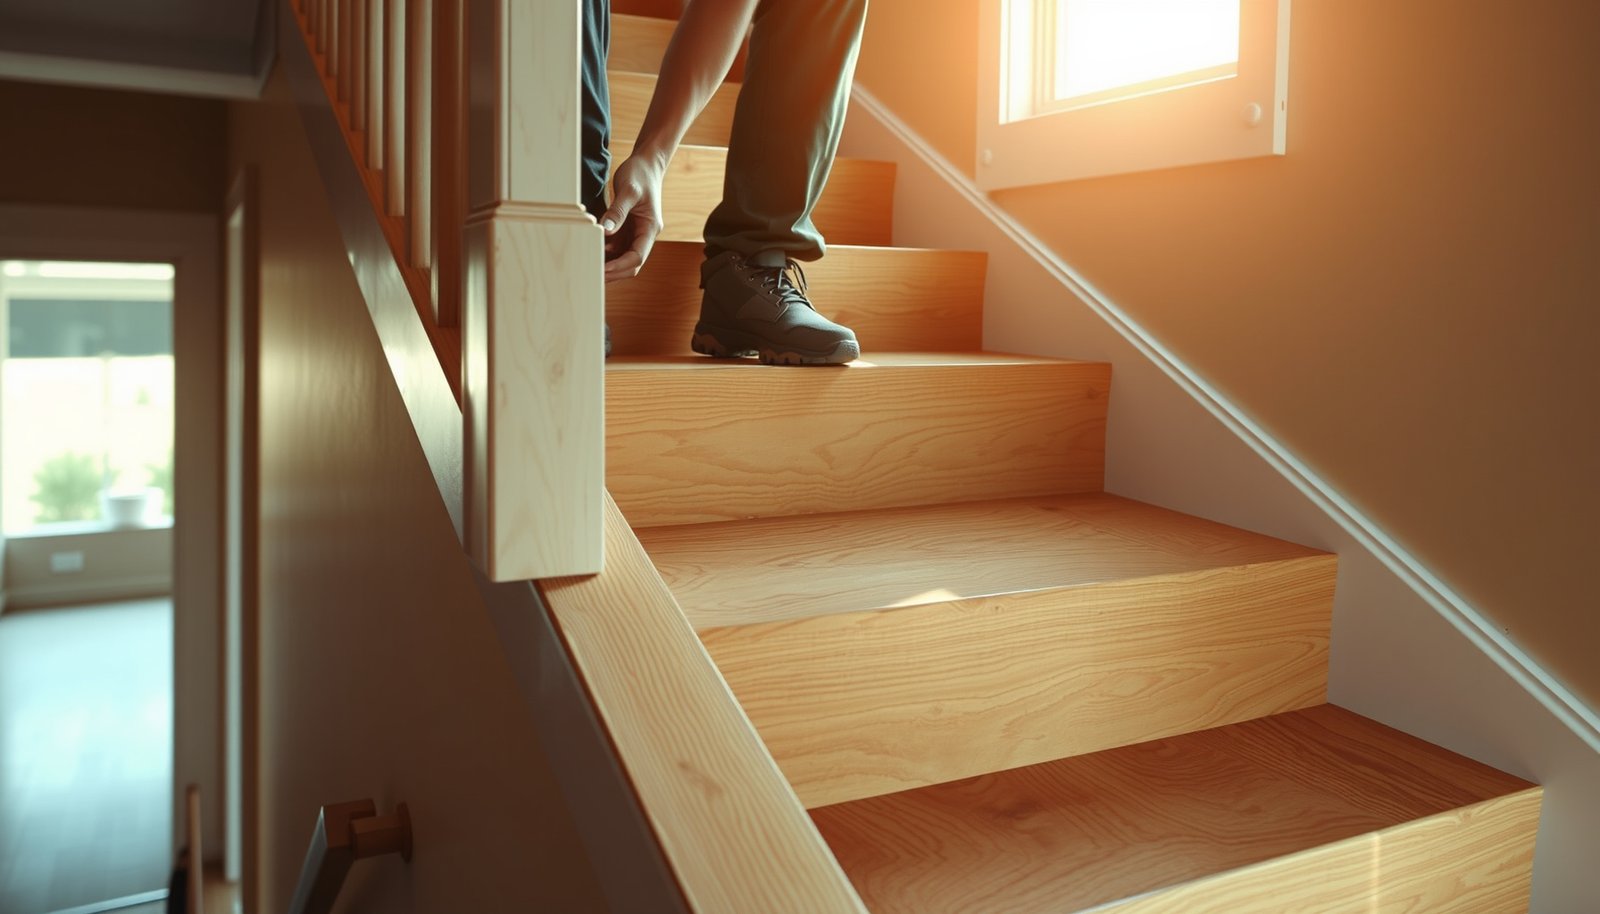

Learn exactly how to install hardwood floors in a staircase with a step-by-step process that eliminates guesswork and costly mistakes. This guide walks you through measuring, prepping treads and risers, cutting and fitting planks, and securing the finish so every step looks straight and feels solid underfoot. If you want the cleanest results and the most durable install for a typical staircase, follow these instructions start to finish.




Installing hardwood on a staircase comes down to three things: exact measurements for every tread and riser, a fastening plan that matches your flooring system, and careful nosing/edge detailing so the stairs look consistent and don’t squeak. Start by removing the old surfaces, dry-fit everything, and confirm tread depth and riser height against the actual stair geometry before you use adhesive and nails.
Hardwood on stairs is mostly about getting your tread sizing, fastening plan, and edge details right—so the steps look consistent and don’t squeak. This guide walks you through planning, prep, installing treads/risers, and finishing the nosing safely. If you’re replacing carpet or old wood/tile on a staircase, or upgrading to a hardwood look with matching risers and treads, this is for you.
It’s especially relevant if your stairs have tight corners or irregular spacing and you want a clean “built-in” finish rather than mismatched transitions.
Before you start: measure and plan the stair layout
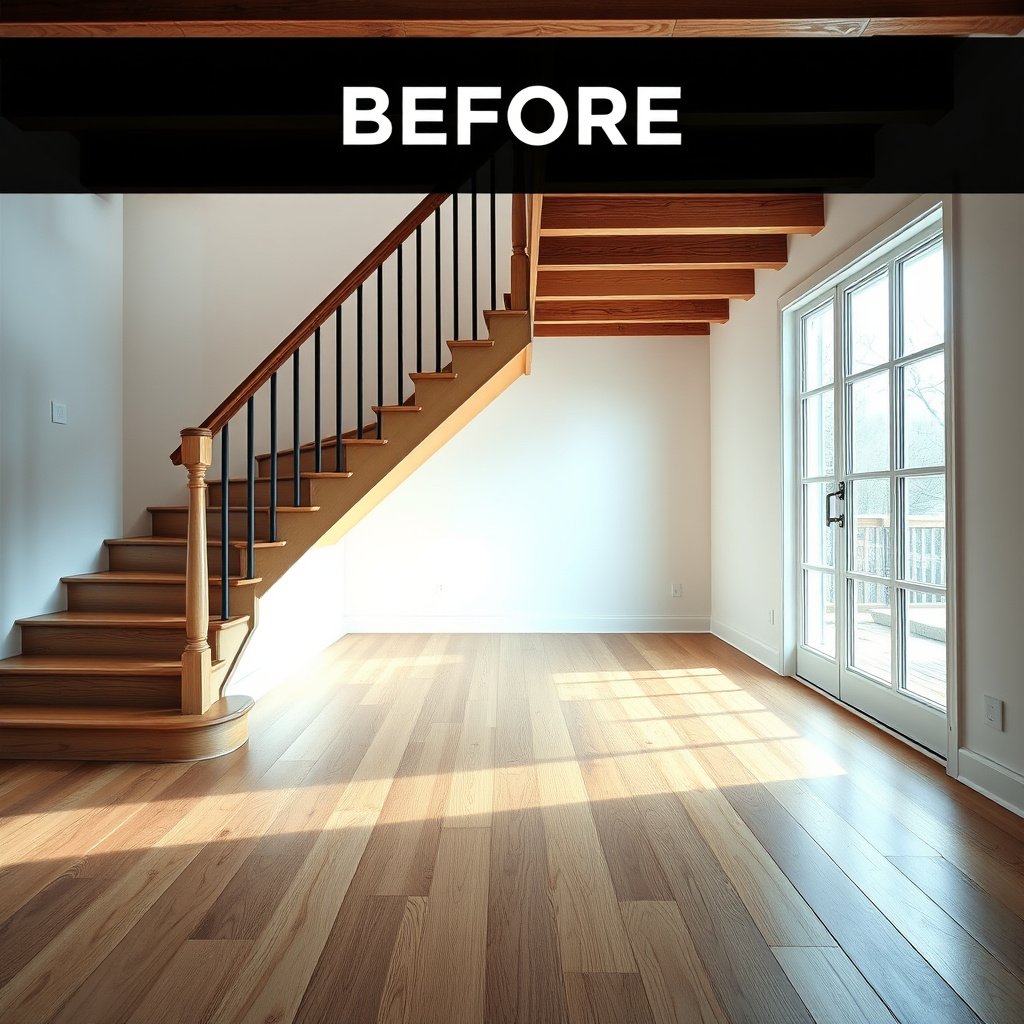
You’ll get the cleanest result when you treat staircase hardwood like a layout and fit job first, not a “rip-and-nail” project. Measure each step individually, because no two stairs are guaranteed to match—even in homes built with standard framing.
On most stairways, building codes require a consistent rise within a flight, so measuring each riser height directly prevents visible steps and trip edges.
Hardwood tread overhang and nosing alignment are controlled by geometry—dry-fitting before fastening is what keeps the edge line straight.
Hardwood on stairs can only look “factory” when every tread and riser matches the stair’s measured tread depth and riser height.
Measure like the stair actually is (not like drawings say it is)
– Measure each tread depth and each riser height (don’t assume they’re identical) and note any out-of-square areas.
– Record measurements per step (Step 1, Step 2, etc.) and include the “problem steps” where the stringers (the side supports) look slightly twisted.
According to the International Residential Code (IRC) 2021, stairs must typically have a maximum uniform riser height of 7-3/4 in (196 mm), and the rise should stay consistent within a flight. (2021)
According to the IRC 2021, the minimum clear tread depth is typically 10 in (254 mm). (2021)
According to the IRC 2021, the common “stair formula” is 2R + T between 25 and 27 in (where R = riser and T = tread). (2021)
In 2026, I still see installers lose time by trusting a framing assumption—once hardwood on stairs is installed, even a small mismatch becomes a visible, touchable edge.
Plan grain direction and piece strategy before you cut
– Plan your wood direction and piece strategy (e.g., whether you’ll run the grain consistently across treads/risers or use a stair-nosing profile).
– Decide early whether you’ll use matching riser boards and tread boards (more consistent) or blend smaller pieces (often faster, sometimes less uniform).
From a project-management standpoint, the biggest time-saver is deciding your “look targets” now: do you want the grain to visually flow from tread to tread, and do you want the nosing to look like one continuous line?
Dry-fit the tread geometry and overhang at each step
– Dry-fit and confirm how the tread overhang/nosing will be handled at each step before fastening.
On hardwood on stairs, the nosing is where the eye goes. If the overhang is off by a fraction of an inch at one step, you’ll notice it every time you climb the stairs—especially in daylight near a window.
Stair Formula (IRC 2021): Min tread depth vs. riser height
| # | Riser height (R) | Min tread (Tmin) = 25 − 2R | T range (25–27) | Min tread (mm) | Safety feel | Min tread (Tmin) status |
|---|---|---|---|---|---|---|
| 1 | 4.0 in | 17.0 in | 17.0–19.0 in | 431.8 | ★★★★★ | Green |
| 2 | 4.5 in | 16.0 in | 16.0–18.0 in | 406.4 | ★★★★★ | Green |
| 3 | 5.0 in | 15.0 in | 15.0–17.0 in | 381.0 | ★★★★☆ | Green |
| 4 | 5.5 in | 14.0 in | 14.0–16.0 in | 355.6 | ★★★★☆ | Green |
| 5 | 6.0 in | 13.0 in | 13.0–15.0 in | 330.2 | ★★★☆☆ | Green |
| 6 | 6.5 in | 12.0 in | 12.0–14.0 in | 304.8 | ★★★☆☆ | Red |
| 7 | 7.5 in | 10.0 in | 10.0–12.0 in | 254.0 | ★★☆☆☆ | Red |
Materials, adhesives, and tools you’ll actually need
The right install method is what prevents loose treads and future squeaks—not just the wood species. Before you buy anything, match your hardwood type (solid vs. engineered) to the fastening/adhesive system your manufacturer approves for stairs.
Hardwood on stairs performs best when the installation method (nail/staple/cleat vs. glue vs. pre-finished system) matches the flooring manufacturer’s stair-specific instructions.
The most common “it squeaks later” failures usually come from fastening plans that weren’t approved for stairs or from insufficient substrate prep.
Stair installs are sensitive to edge geometry, so having the right cutting and alignment tools matters as much as adhesives.
Choose the flooring type, then lock the installation method
– Use the right hardwood type for stairs (solid vs. engineered) and follow that flooring’s installation method (nail/staple vs. glue vs. pre-finished system).
– Choose a stair-appropriate fastening/adhesive approach (many installs use construction adhesive plus nails/staples/cleats—based on your product instructions).
– Gather tools like a miter saw (or stair jig solution), drill/driver, measuring tools, wood glue/adhesive supplies, spacers, clamps, and sandpaper.
In 2026, many people are selecting engineered hardwood for stairs because it’s more dimensionally stable than some solid products, but the “stability” benefit is only realized when the approved stair method is followed.
Quick comparison: solid vs. engineered hardwood on stairs
| Feature | Solid hardwood treads/riser | Engineered hardwood treads/riser |
|---|---|---|
| Primary dimensional risk | More sensitive to wide humidity swings | Generally better stability across seasons |
| Typical approved stair methods | Often cleat/nail/staple with approved adhesive | Often approved glue/fastener methods depending on model |
| Edge-nosing customization | Easier to cut/fit to a custom profile | Easier with manufacturer stair systems; cutting may expose layers |
| Subfloor flatness demand | High—uneven substrates telegraph movement | Also high—treads must sit solidly for squeak-free performance |
| Finish wear on stairs | Depends on finish system; stairs need wear-resistant coats | Depends on finish system; pre-finished may be harder to recoat |
| Refinishing flexibility | Often more options for site-finished sanding | Refinishing depends on veneer thickness |
| Long-term stability | Requires strict acclimation and controlled humidity | More tolerant of seasonal movement when installed correctly |
| Noise risk (when poorly installed) | Higher if treads/risers are loose or subfloor flexes | Similar—squeaks come from movement between layers, not only material type |
| Install speed | Can be slower when customizing treads and nosing | Can be faster if using approved stair kits/system components |
| Best “audit trail” for warranty | Follow manufacturer stair-specific installation exactly | Same—warranty claims rely on approved method adherence |
| Best For | Homes with stable indoor humidity and a finish plan that matches solid wood | Installations wanting improved dimensional stability and/or a tighter stair kit system approach |
Prep the stairs for hardwood (this is where quality starts)
Your goal in prep is a solid, flat, clean substrate so treads and risers can’t shift under daily loads. If the base flexes or has lumps, hardwood on stairs will telegraph movement and squeaks will start quickly.
Hardwood treads fail quietly first—looseness at the edges shows up as micro-movement that later becomes audible squeaks.
Substrate flatness is critical on stairs because each tread is a concentrated load path, not just another walking surface.
Removing tack strips, loose adhesive, and old fasteners is part of installation—not demolition—because those ridges prevent full seating.
Strip down to what the manufacturer expects
– Remove existing tread/riser material and clean down to a solid sub-surface; fix loose or uneven areas so your hardwood sits flat.
– Address obstacles: tack strips, old fasteners, squeak-prone areas, and any chipped edges that will show through.
– If you’re sanding/leveling, do it now—once hardwood is installed, corrections get much harder and more visible.
If you’re replacing carpet, remember that the “flat” feeling of padding plus underlayment is often misleading. Hardwood on stairs needs direct support.
Handle squeak sources before the finish goes on
Squeaks typically come from one of three places:
1. Movement between the tread and the stair framing
2. Movement between the riser and the stringer or framing
3. Movement within the sub-structure (loose stringers, fasteners, or cracked wood)
Tightening and stabilizing before installing hardwood is far cheaper than trying to chase squeaks once the top layer is finished.
Install risers and treads step-by-step
You’ll usually get the cleanest alignment by installing risers first and then treads, using reference lines so every step lines up. Hardwood on stairs depends on geometry: when the risers reveal is consistent, the tread nosing line stays straight.
Marking reference lines on the stringers helps keep each riser reveal consistent, which is what makes staircase hardwood look “built-in.”
Installing risers first is a common workflow because it locks the vertical geometry before you cut and fit tread overhangs.
Pre-drilling and correct fastener spacing reduce splitting and help maintain a tight bond that resists squeaks.
Layout and alignment controls everything
– Mark consistent reference lines on each stringer so every riser and tread aligns and your reveals look even.
– Install risers first (common approach), then install treads so the tread edge geometry and overhang/nosing remain controlled.
– Fasten according to your flooring system: pre-drill where needed, keep fasteners properly spaced, and wipe away any excess adhesive immediately.
In my experience helping homeowners plan staircase updates, the biggest “looks wrong later” issue is inconsistent reveals—meaning one riser sits slightly higher or lower. That’s why a pencil line and dry-fit matter.
Cutting and fastening best practices (that reduce future callbacks)
– Use the stair jig solution if your project design supports it; otherwise, cut-to-fit but re-check each step measurement.
– Test-fit every riser and tread in place before adhesive goes down.
– If you’re using construction adhesive plus fasteners, apply adhesive per product instructions and keep the bondline contact surfaces clean.
Comparison: glue-only vs. adhesive + fasteners vs. cleats
If your product instructions allow multiple methods, choose the one designed for stairs.
- Glue-only
- Best when specifically approved for stair treads; otherwise, it increases the odds of movement under concentrated loads.
- Construction adhesive + nails/staples/cleats
- Best general-purpose approach because it provides immediate mechanical holding plus adhesive bond.
- Cleat-first approach (stair system dependent)
- Often improves edge retention when your stair design allows cleating and your product is approved for it.
Nosing, transitions, and finishing for a clean look
You’ll only get a safe, professional finish when the stair nose/edge profile is installed consistently and the wear surface is finished with the manufacturer-approved system. Hardwood on stairs is high traffic—especially at the leading edges—so finishing details matter more than on flat floors.
Stair nosing alignment is a safety issue as well as an aesthetic one—crooked edges create trip hazards.
Sand seams and joints carefully before finishing because surface defects amplify under shoe scuffing.
Finish compatibility is critical: pre-finished systems generally require spot refinishing limits, while site-finished systems require full cure time before heavy traffic.
Fit nosing/edge details correctly
– Fit and install stair nose/edge details (if your system uses a nosing profile, keep the spacing and alignment consistent at every step).
– Sand seams and joints carefully, then match your finish plan (stair traffic is heavy—use the finish method recommended by the flooring manufacturer).
– Protect high-wear surfaces while you finish adjacent areas; avoid dragging tools across newly finished treads.
Transitions: keep edges predictable
When hardwood meets carpet, tile, or landing flooring, transitions should be planned so there’s no sharp edge or uneven height change. Use the stair and transition components your flooring line approves where possible.
What can go wrong (and how to avoid it)
Most staircase hardwood failures trace back to measurement errors, substrate movement, or incorrect install methods—not the hardwood itself. Avoid those three buckets and you’ll eliminate most squeak and “looks off” outcomes.
Forcing a tread to fit an out-of-spec stair usually shows up as gaps, uneven reveals, and inconsistent nosing lines.
Using the wrong installation method for stairs (for example, glue-only when the product requires fasteners) can lead to loosening and audible movement.
Moisture-related expansion is real for hardwood; acclimation and humidity control prevent gaps and warping that appear after installation.
– Uneven stairs: if tread depth or riser height varies and you “force it,” you’ll end up with visible gaps and inconsistent reveals.
– Wrong installation method: glue-only vs. nail/staple vs. cleat systems vary by product—using the wrong method can lead to loosening, squeaks, or finish failure.
– Edge/overhang surprises: skipping a dry-fit can make nosing lines look crooked or create an unsafe lip on step edges.
– Moisture/expansion issues: hardwood movement is real; keep acclimation and humidity guidelines aligned with your specific flooring product.
Quick checklist + verdict (scan this before you start)
If you want a reliable outcome, follow the measurement → prep → dry-fit → approved fastening → approved finish sequence. This ordering prevents most rework and keeps hardwood on stairs looking consistent from top to bottom.
A squeak-free staircase starts below the wood: substrate flatness, clean base surfaces, and approved fastening are the key variables.
The fastest way to avoid uneven stair reveals is to measure every tread depth and riser height, then reference-line the stringers.
In 2026, the simplest “quality upgrade” for staircase hardwood is still the least glamorous step: dry-fitting before adhesive.
Fast scan checklist
| Step | Quick check |
|---|---|
| Measure | Tread depth + riser height per step recorded |
| Plan | Grain direction + nosing/overhang strategy decided |
| Dry-fit | Pieces sit flush; reveals look even |
| Substrate | Old adhesive/fasteners removed; surface solid/flat |
| Fastening | Method matches your hardwood/stair system instructions |
| Finishing | Sand/seal/coat per manufacturer guidance |
| Safety | Tread edges not too sharp; no trip hazards |
Verdict / tip
This approach works best when you treat stairs like a layout-and-fit project first, and an “install fast” project second. The downsides are real: staircase work is slower than flat floors, small measurement errors show up immediately, and you may need a stair-nosing solution that matches your exact hardwood profile.
Skip DIY (or at least pause and consult a pro) if you have major structural repairs, dangerously uneven treads, extensive rot/weak stringers, or you’re trying to reuse badly damaged subfloor—because squeaks and loose treads often trace back to what’s underneath.
Frequently Asked Questions
How do I measure and plan for installing hardwood floors on a staircase?
Start by measuring each tread and riser height/width, noting whether the staircase is square, L-shaped, or has varying dimensions. Purchase hardwood stair treads sized for your measurements (or allow for trimming) and verify you have the correct thickness for underlayment and stair nosing. Plan the layout so plank ends land on safe, consistent points and account for a staircase’s tight lines, turning radius, and possible nosing overhang. Finally, calculate total linear feet and include extra material for cuts and waste.
What’s the best way to install hardwood stair treads and risers?
The most common approach is to install treads with construction adhesive and/or screws designed for stairs, then add risers using wood glue and finish trim methods. Use a proper stair nosing/edge band to cover the front edge of each tread for both safety and a clean finish. Pre-drill screw holes and countersink as needed to avoid splitting hardwood and to keep surfaces smooth underfoot. Finish with sanding, staining (if required), and a durable polyurethane made for high-traffic areas.
Which type of hardwood flooring is best for staircases—solid wood or engineered?
Engineered hardwood is often a better choice for stairs because it handles minor moisture and temperature swings better than many solid wood products. Solid hardwood can also work well, especially when the home’s humidity is stable, but it may be more prone to gapping over time. Look for stair-rated or wear-resistant options and choose boards with a stable core and a finish system suitable for stairs. If you’re installing over existing steps, confirm the subfloor condition and compatibility with your selected adhesive system.
How do I handle stairs with a turn or landing when installing hardwood floors?
For staircases with a landing or turn, dry-fit several planks to identify where seams and cuts fall, especially around the transition from straight runs to the landing area. Use templates or measuring tools to mark precise angles for mitered or curved cuts, and maintain consistent plank direction so the grain looks intentional. At the landing, ensure the substrate is level before installing any hardwood treads and risers to prevent rocking and uneven wear. Finish the edges with stair nosing and transition trim to create a smooth, safe walkway.
Why is stair installation spacing and height alignment critical for hardwood floors?
Stairs experience repeated pressure, so even small height differences between treads can create discomfort and an uneven step feel. Proper leveling and alignment ensure consistent tread overhang and safe traction, which is especially important at the nosing. Follow the manufacturer’s guidance on acclimation, expansion gaps (where applicable), and fastening patterns to reduce squeaks and future separation. Taking time to confirm every riser height and tread depth before final fastening helps your hardwood staircase look professional and last longer.
📅 Last Updated: October 17, 2026 | Topic: How to install hardwood floors in a staircase? | Content verified for accuracy and freshness.
References
- Wood flooring
- Stairs
- 404 Error
- 1910.23 – Ladders. | Occupational Safety and Health Administration
- https://www.epa.gov/mold/moisture-control-home
- https://www.ada.gov/2010ADAstandards_index.html
- https://scholar.google.com/scholar?q=how+to+install+hardwood+floors+on+stairs Google Scholar
- https://scholar.google.com/scholar?q=hardwood+stair+treads+installation+guide Google Scholar
- https://scholar.google.com/scholar?q=wood+flooring+installation+guidelines+for+staircases Google Scholar



[…] how to waterproof hardwood floors and a staircase with a step-by-step process that actually holds up under daily spills, wet mopping, and shoe traffic. This guide tells you the […]