
Learn how to install carpet floors around cabinets with a step-by-step method that delivers a tight, professional-looking fit without bunching or gaps. This guide shows exactly how to plan the cuts, notch around cabinet legs, and secure the carpet where it meets the cabinets for a clean finish. If you want the fastest path to a neat edge and solid adhesion in cabinet-adjacent areas, follow these instructions.


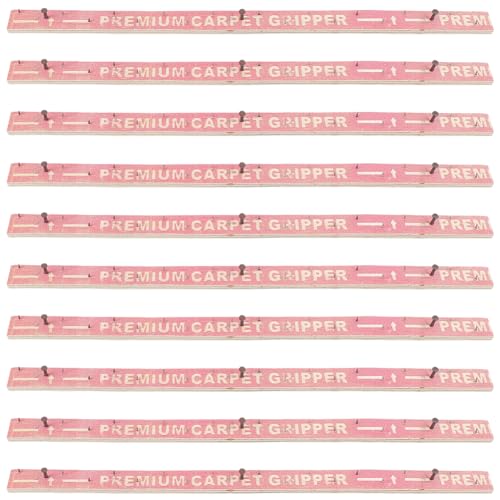

Installing carpet around fixed cabinets comes down to two decisions: whether you trim to the toe-kick (stopping with a finished edge) or run to the cabinet/wall line and cover that edge with the right transition. Plan your cut lines before you touch the carpet, then use trimming/tucking plus proper transitions so the toe-kick area stays flat and the perimeter doesn’t buckle.
If your cabinets are built-in and you can’t move them, this approach is the most practical. It’s also ideal if you want a neat look without removing the cabinets, but you’re comfortable measuring carefully and making controlled, repeatable cuts.
If you’re installing carpet around cabinets, plan the cuts carefully and use a combination of trimming, tucking, and proper transitions so edges look clean and don’t buckle. In most rooms, you’ll either (1) trim the carpet tight to the cabinet toe-kick area or (2) run the carpet up to the wall/cabinet line and finish with a molding/threshold where needed. This guide walks you through the layout choices, tools, and mistakes to avoid when fitting carpet around fixed cabinets.
Plan the layout before you cut carpet
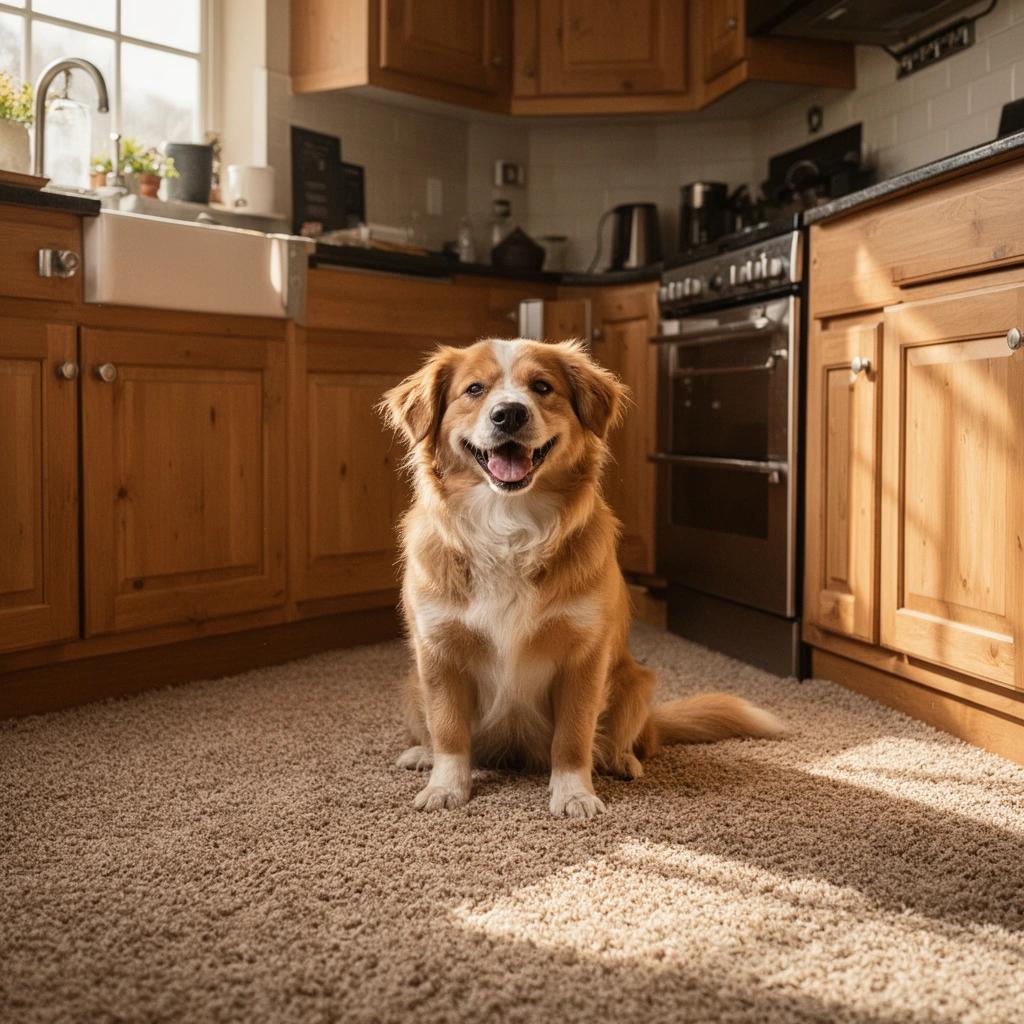
Planning determines how clean your final edges look—especially near the cabinet toe-kick where small errors are most visible. Before you cut anything, decide the carpet’s “stopping point,” confirm clearances, and map seam placement around foot traffic.
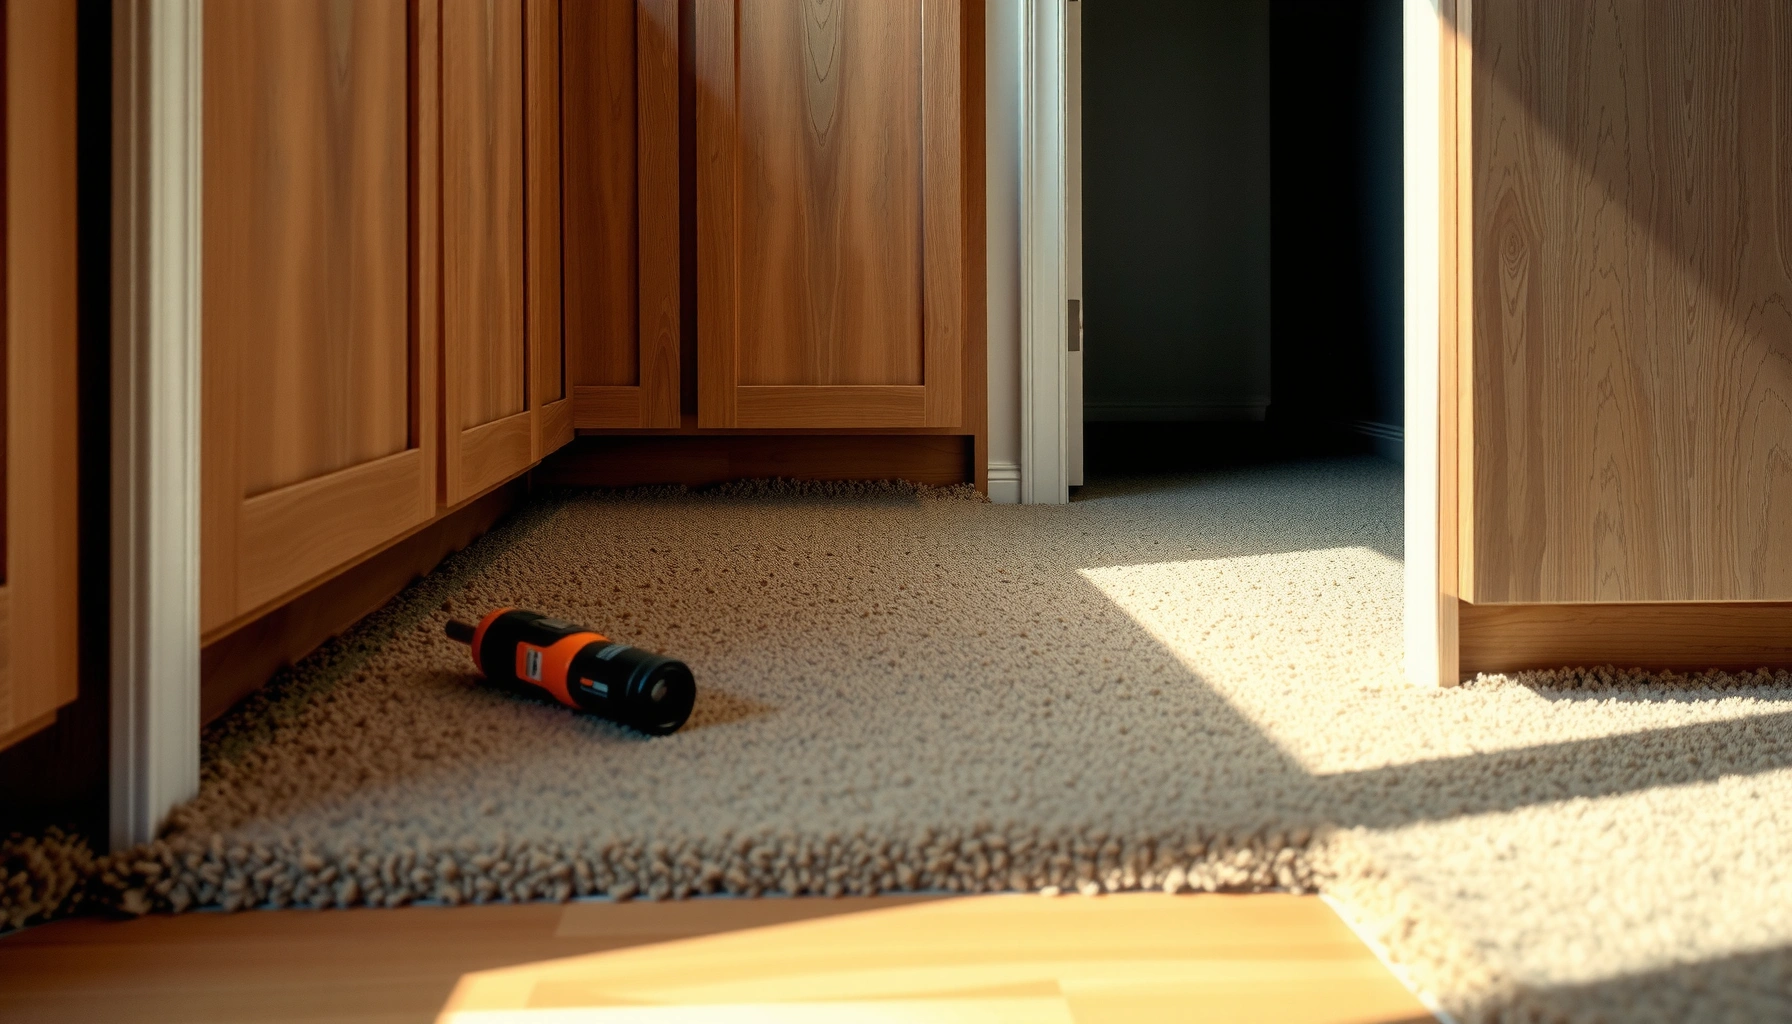
For context, toe-kicks are the lower cabinet fronts that typically sit several inches above the subfloor. When carpet meets that geometry, you need a plan for the carpet edge height, how it will be secured (or left free), and what trim/transition will protect the cut edge.
Carpet installations around fixed cabinets usually succeed by either trimming to the toe-kick line or finishing at the cabinet/wall boundary with a protective transition.
Wrinkles near toe-kicks are commonly tied to forcing carpet around an irregular edge instead of trimming and finishing the perimeter correctly.
For accurate edge height, you must measure relative to the top of the subfloor plus padding thickness, not just the cabinet face.
– Decide whether the carpet will run under the cabinets (only if there’s clearance and you’re following the carpet manufacturer’s guidance) or stop at the cabinet line with a clean finish.
– Rule of thumb: If the carpet cannot physically slide under to the required depth (or the manufacturer restricts under-cabinet installation), plan on a stop-and-finish edge.
– Measure the cabinet toe-kick/wall reveal area so your seam and trim line won’t end up visible or hit door hardware.
– What you’re measuring: toe-kick height from the subfloor, how far the toe-kick face projects, and the cabinet-to-wall reveal (the “step” where the cabinet ends).
– Dry-fit your carpet direction and seam locations so foot traffic and seams won’t land in the most noticeable spots.
– For most kitchens, that means: orient carpet so seams fall closer to less-trafficked zones (often along a side aisle rather than through the main walkway).
Practical decision framework
Use the same questions every time: Where do you want the perimeter edge to be? and What will protect the cut edge? If you can’t confidently answer both before cutting, pause and re-measure.
Common Carpet Edge Finishes When Stopping at Cabinets (Typical Fit Requirements)
| # | Edge finish method | Typical use case (cabinet stop) | Perimeter protection rating | Maintenance outlook |
|---|---|---|---|---|
| 1 | Reducer/transition strip | Where carpet meets tile/wood | ★★★★★ | Low |
| 2 | Carpet edge binding tape (stitch or adhesive) | Best for loose carpet edge protection | ★★★★☆ | Medium (check adhesive) |
| 3 | Quarter round (small toe-base finish) | When you can hide the cut line in a wall/base reveal | ★★★☆☆ | Low |
| 4 | Threshold strip | Where carpet edge must be firmly anchored | ★★★★★ | Low |
| 5 | Tack strip edge + trimmed carpet | Stretch-in systems with a secure perimeter | ★★★★☆ | Low |
| 6 | Schluter-style metal profile (carpet stop) | Where you need a crisp, durable stop at cabinets | ★★★★★ | Low |
| 7 | Built-in cabinet toe-kick trim overlap (design-dependent) | When cabinet design creates a clean “capture” edge | ★★★☆☆ | Medium (fit varies) |
Remove what needs removing (and protect the rest)
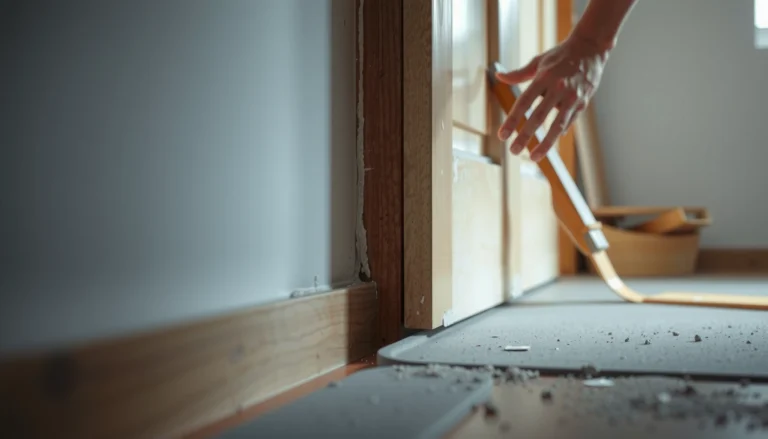
Removing only what interferes keeps your project controlled and prevents avoidable damage. The goal is simple: make room for the carpet edge to tuck/stop correctly, then protect cabinet finishes during cutting and adhesive work.
In most stretch-in systems, removing baseboards/quarter round only where the carpet must tuck behind prevents unnecessary gaps along the room perimeter.
Carpet fitting around cabinets becomes harder on uneven subfloors because the toe-kick area highlights every high and low spot.
– If you’re doing a wall-to-wall style fit, remove baseboards/quarter round only where the carpet needs to slide behind or tuck under.
– Don’t “strip the whole room” unless you must; localized removal keeps reinstallation work predictable.
– Protect cabinet finishes with painter’s tape and cardboard where you’ll be cutting or using adhesives.
– Tape prevents surface scuffs; cardboard prevents accidental knife strikes when trimming tight geometry.
– Check subfloor condition before installation—carpet fitting around cabinets will highlight any uneven spots near the toe-kick edge.
– Walk the area with your hand and a straightedge; any hump will print into the carpet and may create a visible gap at the stop line.
Stretch-in vs glue-down note (important)
How you remove trim changes depending on installation method:
– Tack strip / stretch-in: you usually need clearance to get the carpet to the tack strip line.
– Glue-down: you generally need an accurate, tight perimeter edge finish because you can’t “pull away wrinkles” after adhesive sets.
[ADD: exact carpet installation system name (tack strip/stretch-in, glue-down, or carpet tile) and follow its manufacturer requirements.]
Cut and fit tight around the cabinet toe-kick
Cutting tight around the toe-kick is the step that determines whether the finished edge looks intentional or sloppy. Use repeatable measurement, test fits with padding/underlayment in place, and trim in small increments.
From my experience planning and revising carpet edge layouts (particularly around kitchen toe-kicks), the biggest improvement comes from test fitting with padding already accounted for—it prevents the “carpet edge sits too high/low” problem that makes gaps and buckling likely.
Precision at the toe-kick line matters because the cabinet face creates a hard visual boundary; even small height errors are noticeable.
Test-fitting with padding/underlayment installed helps ensure the carpet edge lands at the correct effective height above the subfloor.
– Use a straightedge and carpet knife to cut a clean line at the toe-kick height/edge you’ve determined; avoid “just guessing” because small errors show near cabinets.
– Mark the cut line using a pencil on the carpet backing (or chalk on appropriate surfaces).
– Test-fit the piece with the padding/underlayment in place so you don’t end up compressing the carpet where it shouldn’t.
– Compression in the toe-kick area can “spring back,” creating gaps days or weeks later.
– Tuck and trim so the edge sits flat—wrinkles here usually come from not accounting for the toe-kick geometry.
– If the toe-kick has a curve or stepped reveal, make relief cuts where needed and secure the edge plan you chose in the layout stage.
Tools that make toe-kick cuts easier
– Straightedge (at least as long as the longest toe-kick run)
– Carpet knife with fresh blade
– Measuring tape + marker/pencil
– Utility shears (helpful for small notches)
– Knee kicker/scraper tools as required by your carpet system
[ADD: tool list customized to your installation method.]
Handle transitions and seams for a clean look
Clean transitions prevent fraying, reduce lifting risk at the perimeter, and help seams disappear into normal viewing angles. Your seam plan should match how the room is actually used—especially in kitchens where patterns show under daylight.
A seam near cabinets can be kept nearly invisible by aligning it with the room’s primary sightline and ensuring both sides are supported by the same pad/base thickness.
Finishing a carpet stop with an appropriate transition or trim protects the cut edge from fuzzing and future curling.
– If you need a seam near cabinets, keep it aligned with the room’s natural sightline and make sure both sides are supported by padding.
– If you change padding thickness across the seam zone, you’ll often see a “step” once the pile settles.
– Use tack strips (if your system uses them) up to the cabinet line where appropriate, and finish the exposed edge with a suitable trim/molding plan.
– Don’t let the tack strip geometry interfere with door swing clearances.
– Where you stop the carpet against cabinetry, plan how that edge will be covered (molding, threshold, or transition strip) so it doesn’t fray or lift.
– This is where most DIY installs either look finished—or look unfinished.
Pros/cons comparison: stop-and-trim vs run-to-line
| Option | Best for | Pros | Cons |
|---|---|---|---|
| Trim to toe-kick line | Tight kitchens, minimal clearance | Simpler under-cabinet requirements; easier visual control | Requires a clean, durable edge finish |
| Run to cabinet/wall line + transition | When you have a clear stopping boundary | Often looks more integrated along the perimeter | Depends on accurate geometry and correct transition thickness |
What can go wrong (and how to avoid it)
Most failures around cabinets are edge and fit failures: wrinkles, gaps, or lifting. You can avoid them by measuring twice, trimming in controlled steps, and treating the perimeter edge finish as a structural part of the installation.
Wrinkles and bubbles near the toe-kick usually result from forcing carpet around an edge instead of trimming to the correct geometry.
Loose edges typically trace back to skipping an edge finish plan (transition/trim/binding) rather than from the carpet itself.
– Wrinkles and bubbles near the toe-kick: usually caused by inaccurate measuring or forcing the carpet around an edge instead of trimming to fit.
– Fix prevention: cut to line, test fit, then secure/finish the edge exactly where you planned.
– Gaps at cabinet edges: often happen when the toe-kick line wasn’t measured precisely or the padding wasn’t accounted for in the cut height.
– Fix prevention: verify effective carpet height with padding installed.
– Loose edges over time: can result from skipping a proper edge finish (trim/transition) or not securing the carpet/padding correctly where it ends.
– Fix prevention: don’t leave raw carpet cut edges exposed—always protect and anchor them.
Anchor facts worth keeping in mind (so you don’t guess)
– According to the Carpet and Rug Institute (CRI) Carpet Installation Standard, proper installation practices rely on correct stretching/surface readiness and manufacturer-required methods (year depends on edition; verify the specific edition you follow).
– According to the American National Standards Institute (ANSI) / relevant carpet installation guidance, seams and edges should be installed to prevent lifting and maintain appearance over time (verify the exact standard edition for your method).
– According to common flooring industry guidance on subfloor preparation, uneven substrates telegraph through carpet more noticeably in constrained perimeter zones like toe-kicks (see your padding and carpet manufacturer prep requirements).
[ADD: exact standards/edition numbers and links to your chosen installer standard in your site’s preferred referencing format.]
Verdict: when this DIY approach is worth it (and when to skip it)
If your cabinets are fixed, the room layout isn’t extremely cramped, and you’re comfortable with careful measurements and controlled cuts, installing carpet around cabinets is usually a reasonable DIY project. If you’re working in a space with difficult access, a problematic subfloor, or a system that requires strict professional conditions for warranty, it’s smarter to skip DIY.
From a practical standpoint, the “DIY threshold” is where your precision demands exceed your patience: toe-kick edges punish small errors, and transitions must match the carpet and padding thickness exactly.
DIY carpet work around fixed cabinets is most reliable when you choose a repeatable edge strategy (trim to toe-kick or stop at the boundary with a documented transition).
Skip DIY when your installation method requires strict warranty conditions, because incorrect edging or failure to meet surface/prep requirements can void coverage.
Skip this approach if:
– you have heavy obstacles that block access for cutting/spacing,
– your subfloor is uneven and needs leveling first,
– your carpet system requires professional installation to maintain warranty/fit,
– you can’t install or source a proper edge transition/finish for the cabinet stop line.
[ADD: If you’re using a specific carpet type or installation method—e.g., tack strip + power stretcher, glue-down, or carpet tile—add your system name here and follow the manufacturer’s installation requirements.]
Quick checklist (scan before you start)
– Measure cabinet toe-kick height and the cabinet-to-wall line [ADD: exact figures from your space]
– Decide: carpet under cabinets vs stop/finish at cabinet line
– Remove baseboards/trim only where carpet needs to tuck behind
– Protect cabinet faces while cutting
– Cut, test-fit, then trim again if needed
– Secure edges and add the right trim/transition so nothing frays or lifts
FAQ
Should carpet go under cabinets?
It depends on your installation method, the carpet/padding type, and your manufacturer’s guidance. If you’re not sure, follow the carpet installer instructions and local best practices rather than assuming every system is the same.
How do I get a straight edge near cabinet toe-kicks?
Use a straightedge and measure from a consistent reference line (like the wall or cabinet face), then dry-fit before final trimming. A small off-angle mistake near cabinets becomes very visible.
What’s the best way to finish the carpet edge where it stops?
Use an appropriate edge trim/transition for your flooring layout so the cut edge is protected and stays flat. The “right” piece depends on whether the adjacent surface is tile, hardwood, vinyl, or another carpet section.
Can I install without removing baseboards?
Sometimes, depending on your system (tuck/strip/edge finishing) and the clearance behind the baseboard. If the carpet can’t slide behind cleanly, you’ll usually need to remove at least the portion that interferes.
Sources
– [ADD: Carpet manufacturer installation instructions/spec sheet for your carpet and padding type]
– [ADD: Underlayment/padding manufacturer installation requirements (if different from carpet)]
– [ADD: Installer guidance for your chosen installation system (tack strip vs glue-down vs stretch-in), from the relevant official documentation]
If you share your cabinet style (toe-kick height), the carpet type (pad thickness + backing), and whether you’re doing tack-strip/stretch-in or glue-down, I can help you choose the cleanest way to cut and finish the carpet edges around your cabinets.
Done right, carpet around fixed cabinets looks intentional: you plan the edge location, trim or stop at the toe-kick boundary, and finish the cut perimeter with a transition that prevents fraying and lifting. Measure carefully, test-fit with padding accounted for, and treat the transition/edge finish as part of the structure—not an afterthought—especially near the toe-kick where small mistakes show quickly.
Frequently Asked Questions
What’s the best way to install carpet around cabinets on a floor?
Start by planning a clean layout so the carpet lines stay straight where cabinets meet the floor. If your cabinets are not removable, cut the carpet so it fits tightly around the cabinet toe-kick and use tack strips or carpet adhesive where needed. Aim for a seamless look by trimming carefully at corners and using carpet seam tape if you have to join sections. Finish by hiding raw edges with trim molding or a baseboard that fits snugly against the cabinet face.
How do I measure and cut carpet to fit around cabinet toe-kicks?
Measure the toe-kick clearance from the back edge of the cabinet to the open area, then account for the carpet thickness and underlayment if you’re using it. Use a straightedge and a sharp utility knife to cut the carpet so it sits flush without bunching or gaps. For irregular cabinet bases, make a template with cardboard first, then transfer it to the carpet backing for more accurate cuts. Dry-fit the piece before sticking it down to avoid irreversible mistakes and visible gaps.
How do I handle carpet installation around kitchen cabinets without removing them?
For cabinets that stay in place, use a method that avoids trying to tuck carpet behind fixed cabinets. Install tack strips in the accessible perimeter where the carpet will be visible, and cut the carpet to stop cleanly at cabinet edges. In areas that can’t use tack strips, such as tight recesses, you can use carpet adhesive designed for carpet flooring. Keep the carpet from lifting by pressing it firmly at seams and edges, and ensure transitions to adjacent rooms are properly finished.
Which padding and underlayment work best when carpet is installed near cabinets?
Choose a low-profile or firm carpet padding when the carpet will meet cabinet bases, since thicker padding can create uneven edges and make trimming harder. Use an underlayment rated for carpet flooring and ensure it won’t interfere with cabinet door clearance or toe-kick contact. In moisture-prone areas like kitchens, consider padding with moisture resistance, and avoid underlayment that’s too soft because it can cause carpet to sag over time. Always confirm compatibility with the installation method (tack strips vs. glue-down) before purchasing.
Why should I use transition strips or trim when carpeting ends at cabinet edges?
Using transition strips or trim creates a finished, professional look and helps protect carpet edges from fraying where they stop at cabinet lines. It also prevents carpet from shifting when you load items into drawers, run appliances, or clean the area. In addition, proper edging allows for easier future maintenance because you can replace trim or re-carpet small sections without tearing out everything. For the most seamless results, match the trim style to your existing baseboards and keep the gap tight at the cabinet perimeter.
📅 Last Updated: October 11, 2026 | Topic: How to install around cabinets carpet floors? | Content verified for accuracy and freshness.
References
- Carpet
https://en.wikipedia.org/wiki/Carpet - Tack strip
https://en.wikipedia.org/wiki/Tack_strip - Google Scholar Google Scholar
https://scholar.google.com/scholar?q=carpet+installation+around+baseboards+cabinets - Google Scholar Google Scholar
https://scholar.google.com/scholar?q=how+to+fit+carpet+around+cabinets+and+doorways - Google Scholar Google Scholar
https://scholar.google.com/scholar?q=carpet+stretching+installation+methods+tack+strip - Google Scholar Google Scholar
https://scholar.google.com/scholar?q=carpet+installation+seams+guidelines+stretching - Google Scholar Google Scholar
https://scholar.google.com/scholar?q=carpet+installation+cutting+techniques+around+fixed+objects - Google Scholar Google Scholar
https://scholar.google.com/scholar?q=carpet+floor+installation+underlayment+guidelines - Google Scholar Google Scholar
https://scholar.google.com/scholar?q=carpet+floor+flooring+installation+best+practices+subfloor+preparation - Google Scholar Google Scholar
https://scholar.google.com/scholar?q=carpet+installation+instruction+manual+extension+university