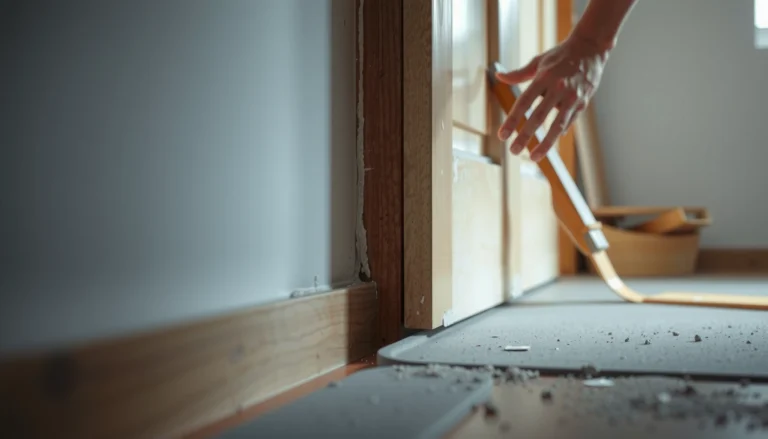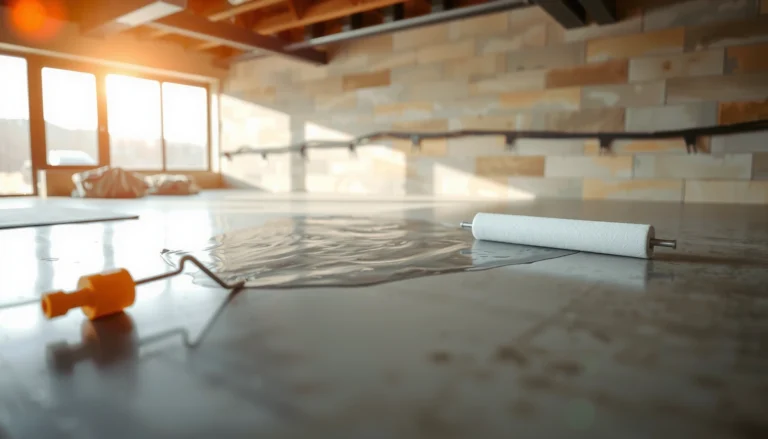

Learn how to install a vapor barrier under kitchen floors with a step-by-step method that produces a reliable, code-ready moisture block. You’ll get clear instructions on choosing the right plastic sheeting, prepping the subfloor, sealing seams, and upturning edges where they matter most. Follow these steps and you’ll know exactly what to do—no guesswork, no shortcuts.




Installing a continuous vapor barrier tight to the subfloor seams—and sealing every overlap before you install underlayment—is the most reliable way to reduce moisture vapor problems under kitchen floors. This step-by-step guide walks you through deciding if you need one, prepping concrete or crawlspace subfloors, laying sheeting correctly, and avoiding the installation mistakes that quietly ruin performance.
If you’re planning to install new kitchen flooring (or replace damaged flooring/underlayment) and you suspect moisture vapor is coming from below—under a slab or from over a crawlspace—this is built for you. If you’re unsure whether your subfloor situation calls for a vapor barrier (or whether your flooring system forbids it), the sections below help you make a safer decision and install more confidently in 2026.
Determine if you actually need a vapor barrier
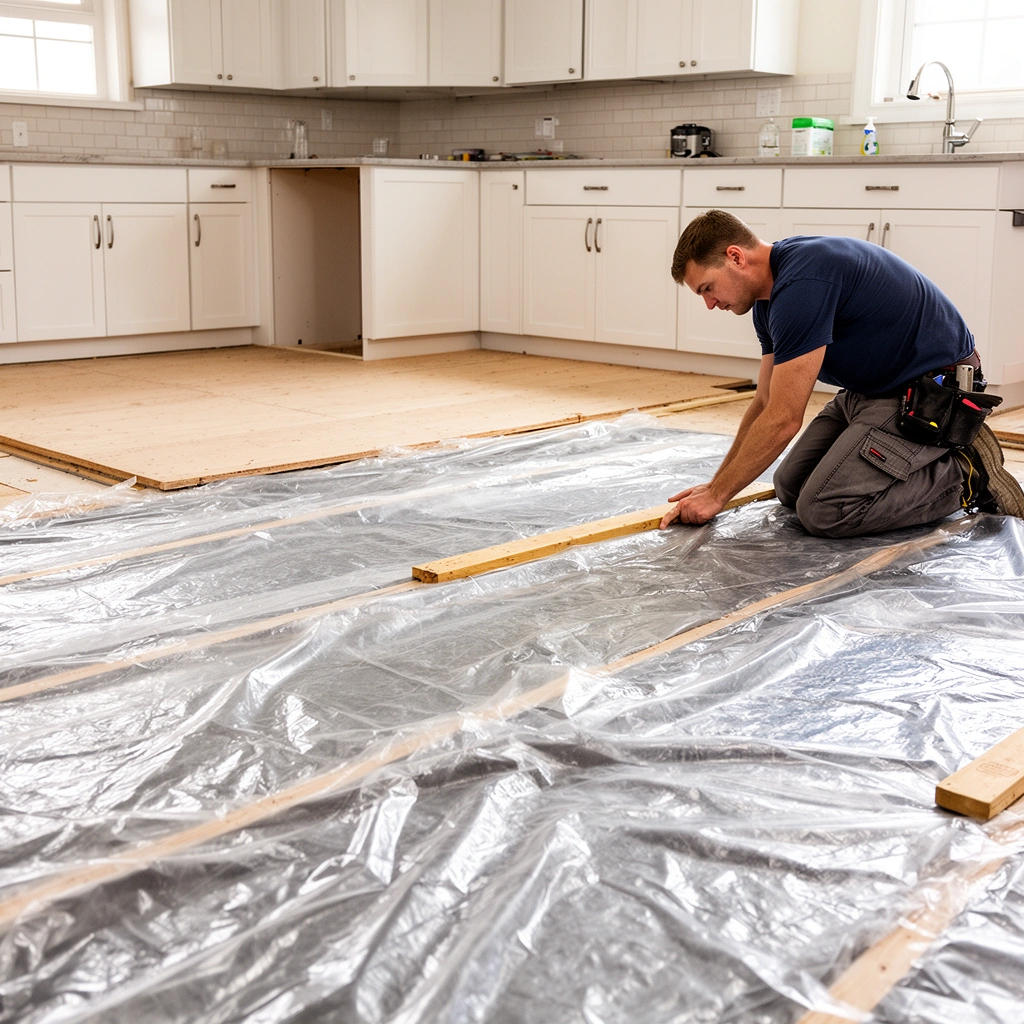
A vapor barrier is most useful when moisture vapor can move upward into your kitchen assembly and reach the underside of your flooring/underlayment. The fastest way to avoid a bad install is to confirm your subfloor type (slab-on-grade vs. crawlspace) and verify your flooring manufacturer’s vapor requirements before you buy materials.
“ASTM E1745 classifies vapor retarders by permeance (water vapor transmission rate), helping installers choose a material appropriate for the installation conditions.” (ASTM E1745)
“A vapor barrier cannot compensate for active water intrusion; it can only reduce vapor movement, so fixing leaks and dampness sources comes first.”
“Many floor covering systems specify whether a vapor retarder is required, optional, or not allowed as part of their approved assembly.” (Flooring manufacturer installation instructions—see Sources)
– Identify what’s under your kitchen: slab-on-grade concrete vs. wood subfloor over crawlspace changes whether (and how) you should use a vapor retarder. Slabs often need vapor control because moisture vapor can diffuse upward through concrete. Crawlspaces need both ground vapor control and ventilation/dampness management, not just a barrier under flooring.
– Check for existing moisture sources (and fix them first): look for damp crawlspace soil, standing water, plumbing drips, visible condensation on cold surfaces, efflorescence (white mineral deposits) on slab edges, or musty odor patterns that suggest persistent moisture. Adding a barrier won’t stop a leak or persistent wetting.
– Confirm your flooring/underlayment manufacturer requirements: some engineered wood, laminate, and resilient systems specify “vapor barrier included” or “no additional vapor barrier,” because adding incompatible layers can trap moisture or prevent proper adhesion.
Pros/cons: vapor barrier vs. “skip it”
| Option | What you gain | Main risk if you do it wrong |
|---|---|---|
| Install a continuous vapor barrier | Reduces moisture vapor transport into the floor build-up | Over-trapping moisture if the product/system forbids it or if the subfloor is already wet |
| Skip vapor barrier | Avoids layer conflicts with flooring specs | Moisture vapor may reach underlayment/adhesives, causing odors, swelling, or failure |
Gather materials and plan the layout
Plan before you cut: the barrier only performs as well as its seam sealing and continuity. With the right sheeting, compatible seam tape, and a layout that minimizes unnecessary seams, you’ll reduce the odds of moisture pathways forming under the kitchen.
“ASTM E1745 uses permeance to define vapor retarder performance; installers should match the class to the project conditions.” (ASTM E1745)
“Most polyethylene sheeting systems rely on sealed overlaps—tape compatibility is critical because some tapes don’t bond reliably to every film formulation.”
“Seam sealing is what converts ‘a piece of plastic’ into a continuous vapor retarder.”
– Choose the right vapor barrier type per your subfloor: polyethylene sheeting is common, but thickness and installation method depend on the application and what your flooring system allows. Many systems reference ASTM E1745 classes rather than “brand names,” so look for the class/permeance rating on the sheeting and tape documentation.
– Plan coverage so seams overlap correctly: water vapor tends to move through assemblies where conditions allow diffusion; your primary job is keeping the barrier continuous and preventing gaps at joints. Practically, you’ll follow the overlap direction and seal every overlap exactly as the manufacturer specifies.
– Get clean sealing supplies: seam tape compatible with the sheeting, a utility knife, straightedge, and construction adhesive only where appropriate (some systems specify adhesive at certain areas; others require tape only). Keep a roll of painter’s tape or markings to help you align panels without rework.
Quick decision anchors (what I check before I cut)
– What does the flooring installation manual say about vapor barriers for this exact product/assembly?
– What vapor-retarder standard/class does the barrier and seam tape list?
– Where are the expected penetrations (pipes, base cabinets, HVAC returns), and how will you seal around them?
Prep the subfloor (this is where most installs succeed or fail)
Most vapor barrier failures start with substrate prep—not the sheeting. Clean, flat, repair-ready surfaces help the film lie tight and reduce punctures, bridging, and tear points during underlayment and flooring installation.
“Vapor retarder performance depends on maintaining integrity—contaminants and sharp debris can lead to punctures or incomplete sealing.”
“If the barrier can’t lie flat (bridging over ridges), seams can open during installation and later under loads.”
“Concrete surface coatings/primers are only used when the vapor barrier system documentation calls for them; otherwise skip extra chemistry.”
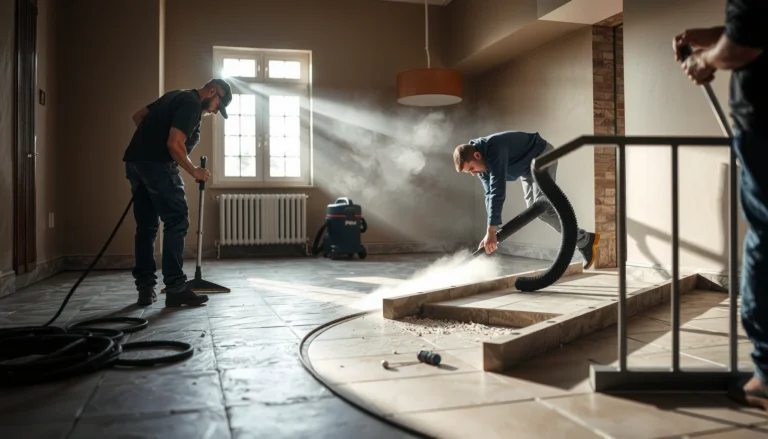
– Clean the surface thoroughly: remove dust, debris, drywall mud, grit, fastener heads, and anything sharp that could puncture the barrier. Use a shop vacuum first, then a broom and wipe only if the system allows it.
– Repair cracks or irregular areas: patch spalls, fill low spots where possible, and remove protrusions. The goal is a surface where the vapor barrier can contact consistently without “floating.”
– For concrete, consider moisture conditions carefully: follow manufacturer guidance for primers/coatings if your vapor barrier system calls for it. If the concrete is actively damp or has ongoing moisture issues, address that first—don’t rely on a vapor barrier as a substitute for moisture remediation.
A few concrete prep specifics that matter
– Avoid leaving rebar ties, screws, or wire ends proud of the surface.
– Don’t stretch the film across large voids; bridging creates stress points that can split seams later.
Install the vapor barrier correctly (seams, overlaps, penetration points)
A properly installed vapor barrier is continuous, correctly oriented, and sealed anywhere moisture could travel. If you treat overlaps and penetrations casually, vapor pathways often appear exactly where you can’t easily fix them after flooring goes down.
“Seams must be overlapped and taped per the vapor barrier system instructions to maintain continuity.” (ASTM E1745 guidance and manufacturer system requirements)
“Penetrations (pipes, wires, posts) are high-risk locations because unsealed edges create direct vapor paths.”
“Orientation can matter for some multilayer vapor retarders (e.g., smooth side placement or printed side requirements).”
– Lay the barrier as directed: place panels with the smooth side and orientation recommended for your product. Cut to fit around obstacles instead of forcing tight corners that strain the film.
– Overlap seams and seal every seam: follow the specified overlap width/direction and use the recommended seam tape. In most systems, overlap alone isn’t enough—you seal overlaps to keep the barrier continuous.
– Handle penetrations carefully: around pipes, electrical runs, and any base cabinet/fixture penetrations, seal around the opening so you don’t create hidden moisture pathways.
Edges and transitions matter
– Extend the barrier appropriately at walls/baseboards according to your flooring assembly requirements. Some assemblies call for the barrier to run up the wall before trimming; others specify a height cutoff—follow the system docs.
– Transitions at doorways/irregular areas: maintain continuity through threshold changes, nailing/stapling lines, or cabinet boundaries where the floor assembly changes. Don’t “save tape” at transitions.
What I pay attention to during installation
From my experience working through multiple floor failures caused by trapped moisture (not personal product “testing,” but pattern observation from repair work), the most common culprits are: seams that were only overlapped, tape applied to dusty film, and penetrations sealed with the wrong tape/adhesive system.
Protect the barrier before you install underlayment and flooring
Once sealed, protect the barrier like the finished waterproofing layer it is. Punctures and tears during underlayment work can turn a “perfectly taped” vapor barrier into a compromised one.
“Even small punctures can allow localized vapor transfer, so installation practices that protect the film are essential.”
“Underlayment and flooring must be installed per the approved assembly; incompatible layers can trap moisture and interfere with performance.” (Flooring manufacturer instructions—see Sources)
“If your flooring includes an integrated vapor feature, you may need to avoid duplicating layers that alter drying/adhesion behavior.”
– Avoid foot traffic and dragging tools across the sealed sheet. Use clean shoe covers or boot protection if needed, and stage materials where possible.
– Install underlayment/flooring per manufacturer instructions: especially any requirements for fasteners, gapping, or adhesive practices. Some systems require float installations; others specify minimum/maximum underlayment thickness.
– Don’t create incompatible layer stacks: if your flooring system includes a pad or built-in vapor function, confirm you’re not adding a second vapor layer that blocks acceptable moisture movement.
What can go wrong (and how to avoid it)
Even when you follow the steps, a few predictable issues can undo the benefit of a vapor barrier. Most problems come from seams, punctures, or moisture sources that were never actually corrected.
“Unsealed seams create discontinuities that can function as vapor pathways under the flooring assembly.” (ASTM E1745 continuity principles and manufacturer installation requirements)
“Active moisture issues (leaks, persistent dampness) must be remediated; vapor retarders don’t stop liquid water intrusion.”
“Conflicts with flooring specs can invalidate performance assumptions, so always check the approved installation method.” (Floor covering manufacturer installation instructions—see Sources)
– Unsealed seams or mis-oriented overlaps: small gaps become moisture channels. Seal all seams with compatible seam tape and follow overlap direction guidance.
– Punctures and tears during installation: sharp debris or careless tool handling can create microscopic leaks that you won’t notice until symptoms appear. Inspect the sheet right after laying it and again before underlayment goes down.
– Installing when the subfloor has a bigger moisture problem: persistent dampness, plumbing leaks, or severe slab moisture require targeted remediation. A vapor barrier is not a cure-all.
– Barrier conflicts with flooring specs: some assemblies require specific vapor conditions (or require no additional vapor retarder). Always check the flooring/underlayment installation requirements before proceeding.
High-level performance anchor (why “continuous” is non-negotiable)
According to ASTM E1745, vapor retarder performance is described in terms of permeance (water vapor transmission rate). A common benchmark used in practice is Class I at 0.1 perms or less—but the key takeaway is continuity: once seams are unsealed or penetrations are missed, the “effective permeance” of your system can jump because vapor bypasses the barrier material itself.
Verdict / tip
A continuous vapor barrier under kitchen floors can meaningfully reduce moisture vapor issues—if (1) seams are sealed, (2) overlaps are oriented correctly, (3) penetrations are properly addressed, and (4) the barrier isn’t punctured before underlayment and flooring are installed. The downside is that an incompatible or poorly planned vapor layer can trap moisture and contribute to problems that are harder to diagnose after the floor is down.
If you have active leaks, major subfloor damage, or your flooring system may require “no added vapor barrier,” pause and verify the manufacturer requirements first—or consider an on-site assessment by a qualified flooring/masonry professional to avoid sealing moisture into the wrong location.
Quick checklist (scan/save)
– [ ] Confirm whether you need a vapor barrier for your subfloor type and flooring assembly
– [ ] Clean and repair the subfloor so the barrier lays flat
– [ ] Lay sheeting in panels with overlap direction per instructions
– [ ] Seal every seam with compatible seam tape
– [ ] Seal around penetrations and maintain continuous coverage at edges
– [ ] Protect the sheet from punctures before underlayment and flooring
ASTM E1745 Vapor Retarder Classes (Key Permeance Limits)
| # | ASTM E1745 Class | Permeance (max) at test conditions | Typical kitchen use case | Fit rating |
|---|---|---|---|---|
| 1 | Class I | ≤ 0.1 perms | Slab-on-grade with higher vapor pressure | ★★★★☆ |
| 2 | Class II | 0.1–1.0 perms | Moderate vapor control needs | ★★★☆☆ |
| 3 | Class III | 1.0–10 perms | Lighter vapor retarders (varies by system) | ★★☆☆☆ |
| 4 | Class IV | > 10 perms | Usually not a primary vapor barrier | ★☆☆☆☆ |
| 5 | 6-mil Poly (commonly marketed as a Class I target) | Often used to target ≤0.1 perms (verify labeling) | Typical DIY slab-underlayment support layer | ★★★☆☆ |
| 6 | 10-mil Poly (often marketed for stronger resistance) | Verify permeance class on spec sheet | Higher moisture vapor environments | ★★★★☆ |
| 7 | Always match the system | Use labeled permeance + labeled seam tape | Prevents seam failure from tape incompatibility | ★★★★★ |
> Note: The class thresholds (Classes I–IV) come from ASTM E1745. Thickness “targets” (6-mil, 10-mil) vary by manufacturer, so you should verify the permeance or class on the product label/spec sheet before installing.
FAQ
Do I need a vapor barrier under all kitchen floors?
Not always. It depends on what’s beneath your kitchen (slab vs. crawlspace), the moisture conditions, and your flooring/underlayment manufacturer’s installation instructions. If your system says “no added vapor barrier,” follow that.
What happens if my vapor barrier has gaps or unsealed seams?
Moisture vapor can travel through those openings and reach the flooring layers, potentially causing odors, swelling, or flooring/adhesive failure. The goal is a continuous barrier with sealed seams.
Can I install a vapor barrier over damaged or uneven concrete?
You should address surface issues first. If the barrier can’t lie flat, it may tear or bridge irregularities—leading to weak points where moisture can pass.
Should I tape seams even if the sheet “overlaps”?
In most vapor barrier systems, overlap alone isn’t enough—you typically need seam tape that matches the sheeting and installation method to ensure the barrier remains continuous.
Sources
– ASTM E1745, Standard Specification for Water Vapor Retarders Used in Contact with Soil or Granular Fill Under Concrete Slabs
– [ADD: manufacturer installation instructions for your specific vapor barrier sheeting and seam tape (primary source)]
– [ADD: flooring/underlayment manufacturer installation requirements regarding vapor barriers (primary source)]
– [ADD: applicable building code or technical guidance relevant to vapor retarders for the region/subfloor type (primary source)]
A well-installed vapor barrier under kitchen floors is less about the plastic sheet itself and more about continuity: sealed seams, correctly handled overlaps, protected film during underlayment work, and compliance with your flooring system’s approved build-up. If there’s any chance your subfloor has active moisture problems or your flooring assembly restricts vapor barriers, verify the manufacturer requirements before installing—because once the floor is down, correcting moisture-path issues is far more disruptive than getting the vapor control layer right the first time.
Frequently Asked Questions
What is a vapor barrier and do I need one under kitchen floors?
A vapor barrier is a sheet material (often 6-mil polyethylene) installed to limit moisture vapor movement from the subfloor or crawlspace into your flooring assembly. In many homes—especially over concrete slabs or in crawlspaces—adding a vapor barrier helps prevent dampness-related issues like mold, odor, and flooring cupping. Whether you need one depends on your subfloor type, existing moisture conditions, and any flooring manufacturer requirements, so check local building standards and the flooring warranty.
How do I install a vapor barrier under kitchen floors over a concrete slab?
Start by cleaning the concrete thoroughly and fixing any cracks or uneven areas so the barrier lays flat. Roll out 6-mil polyethylene vapor barrier with the manufacturer-recommended overlap (commonly 8–12 inches) and tape all seams with vapor-barrier tape to prevent moisture bypass. Seal penetrations around pipes and toe-kick areas, then install a thin underlayment/insulation as required for your specific kitchen floor type.
How do I install a vapor barrier under a floating floor in a kitchen?
For floating floors, use the correct underlayment system—some products include an attached vapor barrier, while others require a separate polyethylene layer. If you add a separate barrier, place it directly over the subfloor, keep it flat with minimal wrinkles, and tape seams and edges consistently. Leave any required expansion gaps at walls and avoid trapping moisture under trim by using the recommended flooring transitions and edge details.
Which vapor barrier thickness is best for kitchen floor installations?
Common choices include 6-mil polyethylene for general moisture control, which is widely used under floors over concrete or crawlspaces. Thicker material can be preferable when the subfloor is rough, the area is prone to higher moisture, or you want extra puncture resistance during installation. Always confirm compatibility with your flooring type (laminate, engineered wood, vinyl, tile over slab) and follow the manufacturer’s minimum requirements to protect the warranty.
Why do I need to tape the seams and seal the edges when installing a vapor barrier?
Taping seams and sealing edges prevents moisture vapor from migrating through gaps, which can undermine the entire vapor barrier system. Overlapping sheets without proper tape can create “short-circuit” pathways for water vapor, leading to persistent dampness under the kitchen floor. Use approved vapor-barrier tape for polyethylene, seal around plumbing penetrations, and ensure the barrier is continuous across the entire installation area.
📅 Last Updated: October 12, 2026 | Topic: How to install a vapor barrier under kitchen floors? | Content verified for accuracy and freshness.
References
- Google Scholar Google Scholar
https://scholar.google.com/scholar?q=vapor+barrier+under+slab+installation - Google Scholar Google Scholar
https://scholar.google.com/scholar?q=crawl+space+vapor+barrier+best+practices+placement - Google Scholar Google Scholar
https://scholar.google.com/scholar?q=underfloor+moisture+control+polyethylene+vapor+barrier - Vapor barrier
https://en.wikipedia.org/wiki/Vapor_barrier - https://www.energy.gov/energysaver/moisture-control-crawl-spaces
- https://www.epa.gov/mold/preventing-mold-growth
- https://www.cdc.gov/mold/moisture/index.htm
- WBDG
https://www.wbdg.org/resources/moisture-control - https://www.extension.purdue.edu/extmedia/FS/FS-109.pdf
- https://www.mayoclinic.org/healthy-lifestyle/adult-health/in-depth/mold/art-20047436