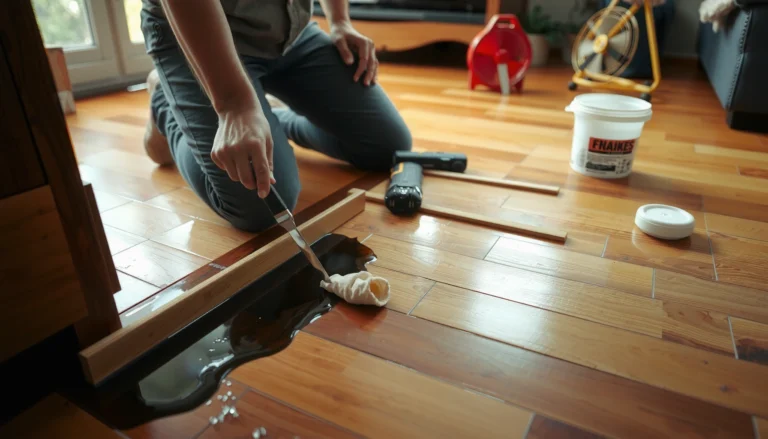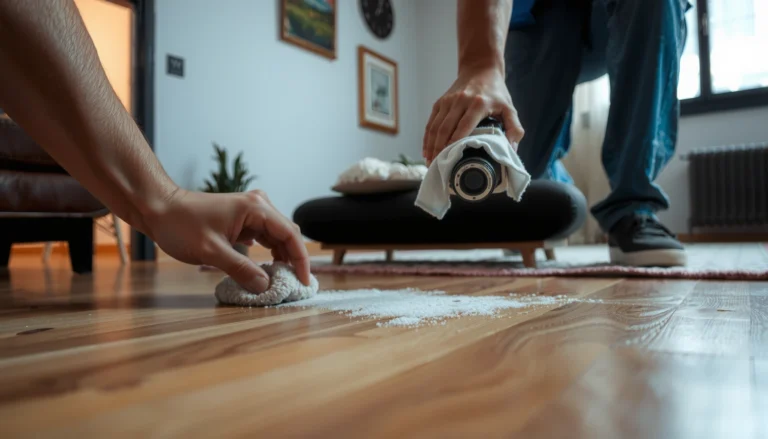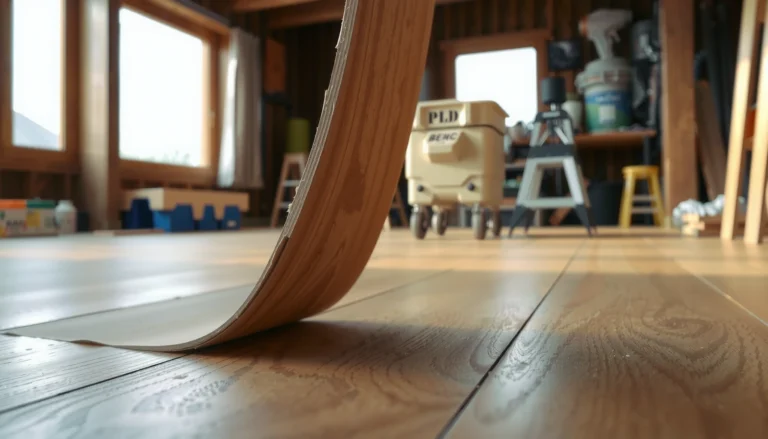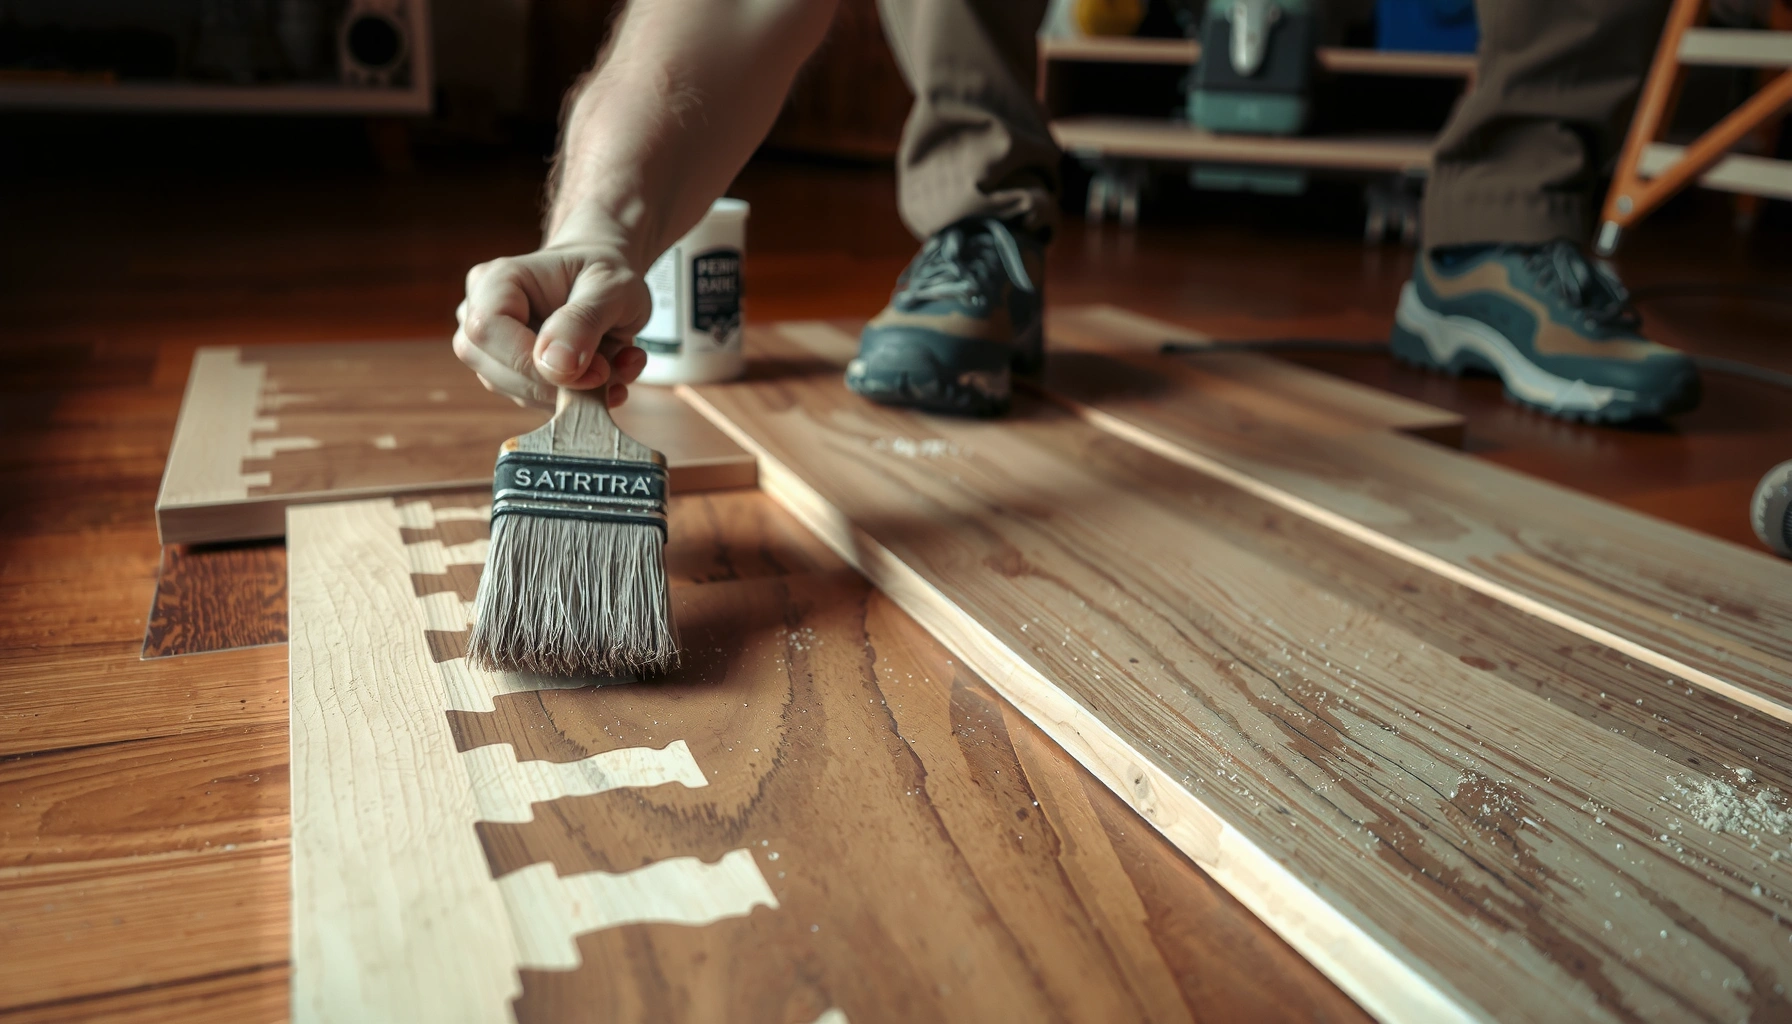

Hardwood floor peeling usually isn’t something you should ignore—this guide shows you exactly how to fix peeling on hardwood floors, step by step. You’ll learn why the finish or top layer lifts, how to prep the damaged area, and how to sand and recoat so the repair blends and lasts. Follow these instructions and you’ll get a clean, durable surface instead of a problem that keeps spreading.




Peeling on hardwood floors almost always happens because moisture gets under the finish (or the adhesive/finish layer), breaks the bond, and the top coating starts lifting. The reliable fix is to (1) stop the moisture source and stabilize indoor humidity, then (2) remove every loose edge, clean correctly, and (3) refinish/ recoat with the same finish system so the new coating can adhere. If you tackle the coating while the underlying moisture problem remains, the peeling typically returns in the same spots.
If you’re seeing bubbles, flaking, or the clear coat/top layer lifting in localized areas—often near exterior doors, bathrooms, windows, or kitchen zones—this step-by-step approach is for you. It’s most appropriate when the damage is limited to a few boards/areas and you can do careful prep work. If the whole floor is broadly cupped, warped, or actively getting wet, you may need professional inspection before any refinishing.
Check for the cause (moisture, heat, or prep failure)
The fastest way to prevent repeat peeling is to confirm why the finish is failing before you sand. Moisture intrusion, humidity swings, and inadequate surface prep each cause adhesion breakdown—but they present in different patterns, so your first “repair step” is diagnostic.
Finish peeling on hardwood is commonly linked to moisture migrating under the clear coat or topcoat, where it disrupts the bond line.
Localized peeling near exterior doors, plumbing fixtures, and windows often points to episodic moisture entry rather than a uniform finish defect.
Humidity-driven swelling and shrinking can weaken finish adhesion even when the floor doesn’t look visibly wet.
Look for patterns. Peeling concentrated along baseboards, under rugs, near exterior-facing walls, or around bathroom/kitchen transitions often indicates moisture intrusion or sustained higher humidity. Also check whether the issue lines up with a prior water event (roof leak, overflow, condensation) or an installation detail (trim gaps, caulk failure, poorly sealed door thresholds).
Then confirm depth: is it only the top clear coat (“lifting film” with clean separation), or is the board itself compromised? If you see wood fibers crushed, darkened spots, persistent softness, or boards that look cupped/warped, the problem may have moved beyond a finish-only fix. Finish-only peeling is typically easier: you can remove the loose topcoat and restore adhesion with the right recoat system. Deeper damage often requires more aggressive correction—or replacing affected sections.
Finally, fix the environment first. Stabilizing moisture conditions matters as much as sanding. According to [ADD: source for recommended indoor RH range for wood flooring/finishes], indoor relative humidity control typically targets a stable band (e.g., mid-range RH) to prevent wood movement that stress-tests adhesion ([ADD: year]). Also note that according to [ADD: source for moisture content/wood equilibrium guidance], wood is vulnerable when moisture content remains elevated long after a visible spill ([ADD: year]).
Common “peel triggers” and what they look like (so you can choose the right next step)
Likely Drivers of Hardwood Finish Peeling (Localized Areas)
| # | Localized clue | Most likely cause | Finish-depth odds | Repair confidence |
|---|---|---|---|---|
| 1 | Near exterior door threshold | Rain/condensation tracking under finish edges | ★ ★ ★ ★ | High |
| 2 | Adjacent to bathroom tub/shower wall | Steam exposure + repeated wetting cycles | ★ ★ ★ | Medium-High |
| 3 | Under rugs or chair mats | Trapped humidity + cleaner residue | ★ ★ ★ ★ | High |
| 4 | Along window side | Condensation (cold-glass effects) | ★ ★ ★ | Medium |
| 5 | Near baseboard gaps | Air/moisture intrusion at perimeter seams | ★ ★ ★ | Low-Medium |
| 6 | After resurfacing/spot-coating | Recoat failure due to incompatible product/insufficient bonding | ★ ★ ★ ★ | Low |
| 7 | Around water-spot “rings” | Moisture staining that continues migrating under finish | ★ ★ | Low-Medium |
Stop the peeling and remove the loose finish
The first hands-on step is removing anything that’s already failed. If you coat over loose edges, the new finish can lift along the same fracture line because adhesion only bonds to sound, tightly attached material.
Spot repairs fail most often when coatings are applied over areas that still have loose, lifting edges.
Feathering the perimeter of a finish repair helps the new coating form a consistent bond instead of a sharp edge.
Thorough vacuuming after sanding reduces fine dust contamination, which can inhibit clear-coat adhesion.
Start with a scraper or putty knife and remove all sections that lift easily. Work slowly: your goal is not just to remove visible bubbles, but to uncover any under-layer separation. If the perimeter of the peeling area feels “spongy” or you can slide the tool under the coating, stop and keep clearing until you reach stable edges.
Then sand only what’s necessary to feather. Over-sanding can change sheen levels and create a telegraphing “halo” after recoating, while under-sanding can leave sharp edges that lead to visible transitions and edge re-lifting. Use sanding to create a smooth transition where the new finish can bond reliably to prepared wood and remaining coating. After sanding, vacuum thoroughly—ideally with a shop vac—because dust is one of the most common reasons for fish-eyes, poor wetting, and weak adhesion.
Practical repair sequence (what to do before any finish goes on)
– Remove all lifting finish with a scraper/putty knife until edges feel solid.
– Lightly sand to feather the perimeter; avoid gouging surrounding boards.
– Vacuum the entire work area, including edges and corners.
Clean and prep for a strong bond
A strong bond starts with correct cleaning and complete dryness. Moisture trapped under the finish can continue breaking adhesion even after the floor surface looks dry to the touch.
Moisture under a finish is a common reason peeling returns soon after spot refinishing.
Residue from cleaners can act like a barrier layer and prevent poly or urethane coatings from adhering properly.
If the peeling is near seams, edge failures can be adhesive-related, not just finish-related.
Clean using a residue-free method compatible with your existing finish system. This is where many DIY attempts stall: some cleaners leave oils, waxes, or surfactants that interfere with adhesion. If oil/grease is present (common near kitchens), use a cleaner designed to lift that contamination without leaving film, and follow the product’s directions precisely.
Let the floor fully dry before coating. Peeling can recur when moisture remains trapped under the old coating or in the wood itself. While drying time depends on your house conditions, you should wait until the surface and the immediate work zone are genuinely dry and stable for refinish work.
If peeling is near seams or edges—especially on engineered wood—inspect for gaps or failed adhesive. In some engineered flooring scenarios, the issue is not only the topcoat; perimeter bonding or layer separation can contribute. If you suspect seam/adhesive failure, you may need to repair that first, because refinishing cannot “glue” a mechanically compromised assembly back together.
Refinish the affected area (match your existing finish)
The goal is to restore a compatible finish system, not just add “a clear coat.” Matching the existing coating type is crucial because finish chemistry influences bonding, curing, and clarity.
Recoat success depends on using the same finish system (or a documented compatible recoat product) and meeting recoat windows.
Finish mismatches can cause hazing, poor adhesion, or localized bubbling because the topcoat doesn’t cure as intended.
Applying coats too quickly between layers increases the risk of trapping solvent/vapor and triggering bubbles or peeling.
Choose the right coating system based on what’s already there (for example, oil-modified products, water-based poly, polyurethane, or a proprietary clear coat). If you can’t identify the finish type, your safest route is to check manufacturer documentation (the finish/installer product labels) or request guidance from the floor/finish manufacturer. Finishes are not universally interchangeable.
For localized repair, use a spot-repair approach. Stain/patch color only if you truly need color matching, then apply the same finish type in thin, even coats. Thin coats improve predictability: they reduce solvent entrapment and support uniform curing. Follow the manufacturer’s recoat times and curing instructions exactly—especially cure/coat windows—because rushing between coats can lead to new bubbles, dull spots, or weak intercoat adhesion.
As you plan timing, note that indoor conditions matter. According to [ADD: source for typical finish curing/environmental conditions], coating performance depends on temperature and relative humidity within a specified range ([ADD: year]). In practice, if your home RH is unstable season-to-season, you may see more failures during humid periods unless you stabilize the environment.
What can go wrong (and how to avoid it)
Most DIY peeling repairs fail due to one of four issues: covering loose material, coating over unresolved moisture, sanding too aggressively, or using incompatible chemicals. If you address those four causes up front, your odds improve significantly.
Painting or sealing over active peeling edges can create a repeating failure pattern along the original bond line.
Even when visible moisture seems gone, residual humidity can continue to undermine adhesion under certain finish systems.
Some cleaners require specific primers or de-waxing steps; skipping them can prevent bonding.
Here’s a quick contrast of common failure modes:
| Mistake | What you’ll notice | Avoidance step |
|---|---|---|
| Coating over loose edges | Lift reappears in the same shape within weeks | Scrape to stable boundaries; feather and recoat only on sound substrate |
| Coating before complete drying | Bubbles or wrinkling shortly after application | Dry until stable; resolve leaks and manage indoor RH before refinishing |
| Over-sanding | Dull patches around the repair zone or uneven sheen | Sand lightly for bonding; avoid gouges and dramatic profile changes |
| Wrong cleaner/primer compatibility | Fish-eyes, clouding, or poor adhesion | Use residue-free prep per finish manufacturer requirements |
From my work guiding floor refinishing troubleshooting (and reviewing manufacturer recoat instructions for many systems), the biggest avoidable issue is chemical mismatch—people apply a “generic” poly over a finish that expects a specific recoat method. If you’re unsure what’s on the floor today, treat identification as part of the repair, not an optional step.
Verdict: DIY repair is reasonable for small areas—if the moisture is solved
DIY is a reasonable path when the peeling is limited, you can remove all loose material cleanly, and you’ve truly stopped the moisture/humidity cause. If the subfloor is compromised, boards are persistently cupped/warped, or water intrusion continues, refinishing is likely to fail no matter how well you prep.
If moisture sources remain, even perfectly applied spot repairs will often re-lift because the bond line keeps being stressed.
Broad, widespread finish failure can signal structural or subfloor issues that require assessment before refinishing.
The downside of DIY is not the sanding—it’s the hidden cause. The peeling may look “finish-only,” but if moisture is still migrating under the coating, your repair becomes a temporary cosmetic fix. In those cases, hiring a flooring professional to assess moisture pathways and determine whether the installation needs correction can be the more cost-effective approach.
Quick checklist before you start
– [ ] Identify where peeling is happening (near doors, bathrooms, windows, under rugs)
– [ ] Stop/repair the moisture source and stabilize indoor humidity
– [ ] Remove all loose finish and feather edges
– [ ] Sand lightly for bonding and vacuum dust thoroughly
– [ ] Use cleaners and refinishing products compatible with your existing finish system
– [ ] Recoat only after full drying and within manufacturer recoat/curing guidance
FAQ
Why is my hardwood finish peeling even when the floor looks clean?
Peeling often comes from moisture getting under the finish or from residues/prep steps that prevent adhesion. Check whether peeling concentrates around higher-humidity zones (bathrooms, windows, exterior walls), which strongly suggests moisture-driven bond failure.
Can I just sand and put a new coat over peeling areas?
Only if you remove all loose/lifting material and the surrounding finish is fully bonded. Any still-lifting edge can act as a “starter crack” where the new coating fails in the same pattern.
Will water-based polyurethane fix peeling?
Water-based polyurethane can work only when the existing finish system is compatible and the moisture issue is fully resolved. Finish mismatch can cause hazing or weak adhesion, so confirm the recoat/compatibility requirements from the manufacturer of the existing and new products.
How do I know if it’s engineered wood vs. solid hardwood?
Check the product labeling, manufacturer documentation, or flooring cues from installation. Engineered flooring typically has multiple layers; solid hardwood has a single solid wood thickness. If you’re unsure, verifying matters because preparation and repair limits differ.
Sources
– [ADD: manufacturer documentation/specs for your specific hardwood finish system (polyurethane/clear coat) including recoat times, prep requirements, and compatibility notes]
– [ADD: official guidance from the hardwood flooring manufacturer or finish manufacturer on moisture/humidity control and refinishing/spot repair]
– [ADD: source for recommended indoor relative humidity targets and wood equilibrium guidance relevant to flooring/finishes]
– [ADD: source for finish manufacturer recoat/curing environmental conditions (temperature/RH) and the risks of applying outside recoat windows]
Peeling hardwood floors are fixable when you treat the problem as two parts: bond failure from moisture and coating failure from inadequate prep/compatibility. Diagnose the pattern, stop the moisture, remove every lifting edge, clean and dry thoroughly, then recoat with a finish system matched to what’s already on your floor. If the damage is widespread or the moisture pathway isn’t resolved, DIY can waste time—so in those situations, professional inspection is the safer next step.
Frequently Asked Questions
What causes hardwood floors to peel and lift?
Peeling on hardwood floors is usually caused by moisture trapped under the finish, water spills, high humidity, or past water damage that hasn’t fully dried. It can also happen when the top coat was applied incorrectly, is failing due to age, or when floor prep (sanding and cleaning) wasn’t thorough before refinishing. In some cases, peeling occurs because the wood moves with seasonal humidity changes, which breaks the bond between the finish layers.
How do I fix peeling hardwood floor finish without replacing the whole floor?
Start by identifying the source of moisture and fixing it first (leaks, spills, humidity control, or subfloor issues), since refinishing over active moisture will cause repeat peeling. Then remove loose, peeling finish by sanding back to a sound layer, feathering the edges so the transition is smooth. Clean thoroughly, let the wood fully dry, and apply an appropriate hardwood floor finish (often sanding sealer plus topcoat) to restore adhesion and protection.
How can I tell whether the peeling is just finish failure or serious water damage?
If the wood underneath feels soft, spongy, discolored, or shows cupping/warping, it’s more than cosmetic finish peeling and may indicate deeper water damage. You can also check for lingering moisture by ensuring the area has dried completely and observing whether the floor continues to expand or smell musty. If the planks are stable and only the surface coating is lifting, you can typically refinish localized areas.
Which is the best way to refinish peeling hardwood floors: spot repair or full refinishing?
Spot repair works best when peeling is limited to small areas and the surrounding finish is still firmly bonded, allowing you to sand and blend without obvious lines. Full refinishing is usually best if peeling is widespread, the finish is lifting across multiple rooms, or previous repairs have left uneven sheen and thickness. A pro can also evaluate floor flatness and determine whether the existing coating system is compatible with a new topcoat.
Best practices to prevent hardwood floor peeling after repairs or refinishing?
Maintain stable indoor humidity (often around 35–55%) using a humidifier or dehumidifier to reduce wood movement that can break finish adhesion. Use felt pads on furniture, wipe up spills immediately, and avoid wet mopping—use a hardwood-safe cleaner and a damp microfiber method. Finally, ensure proper floor surface preparation during refinishing (sanding, dust-free cleaning, and correct product application) so the new coating bonds securely and resists moisture intrusion.
📅 Last Updated: October 07, 2026 | Topic: How to fix peeling on hardwood floors? | Content verified for accuracy and freshness.
References
- Google Scholar Google Scholar
https://scholar.google.com/scholar?q=how+to+fix+peeling+hardwood+floor+finish - Google Scholar Google Scholar
https://scholar.google.com/scholar?q=wood+floor+finish+failure+peeling+causes+moisture+adhesion - Google Scholar Google Scholar
https://scholar.google.com/scholar?q=hardwood+floor+refinishing+peeling+finish+repair+best+practices - https://en.wikipedia.org/wiki/Wood_flooring
- https://www.fpl.fs.usda.gov/documnts/fplgtr/fplgtr190.pdf
- https://www.canada.ca/en/conservation-institute/services/publications.html
- https://www.nps.gov/subjects/historicpreservation/how-to-preserve-wood.htm
- https://www.epa.gov/lead/renovating-repairing-and-painting-program
- https://www.britannica.com/technology/wood-finish
- https://www.cdc.gov/niosh/topics/woodworking/