
Need to repair engineered wood floors in a bathroom—fast and correctly? This step-by-step guide shows exactly how to assess water damage, dry the planks, and replace or re-finish affected boards without warping or lingering moisture. If you follow the sequence, you’ll restore a stable, watertight surface instead of repeating the same failure.




Repairing engineered wood floors in a bathroom is mostly a moisture-management project first, then a targeted floor-fix second: stop where water is entering, dry the engineered wood flooring back to stability, and only then repair or replace the affected planks/layers. If you skip the moisture source, even a perfect patch to engineered wood flooring often reopens because the core and joints re-swell.
Repairing engineered wood floors in a bathroom usually comes down to stopping the moisture, drying the area fully, then fixing or replacing the specific damaged planks/layers. Start by finding why water is getting in (leaks, high humidity, failed seal at edges), because repairing the floor without fixing the cause will only bring the problem back. Then you’ll assess whether you can treat it as surface damage or if you need to address swelling/board separation.
If your bathroom floor has lifted seams, bubbling, gaps, cupping, or soft/squeaky spots after repeated wetting, this is for you. It’s also for homeowners who want to repair localized sections rather than replacing the whole floor—just remember the right approach depends on your plank construction, finish type, and whether the damage is from a one-time spill or ongoing moisture exposure.
Step 1: Identify the moisture problem before you repair anything
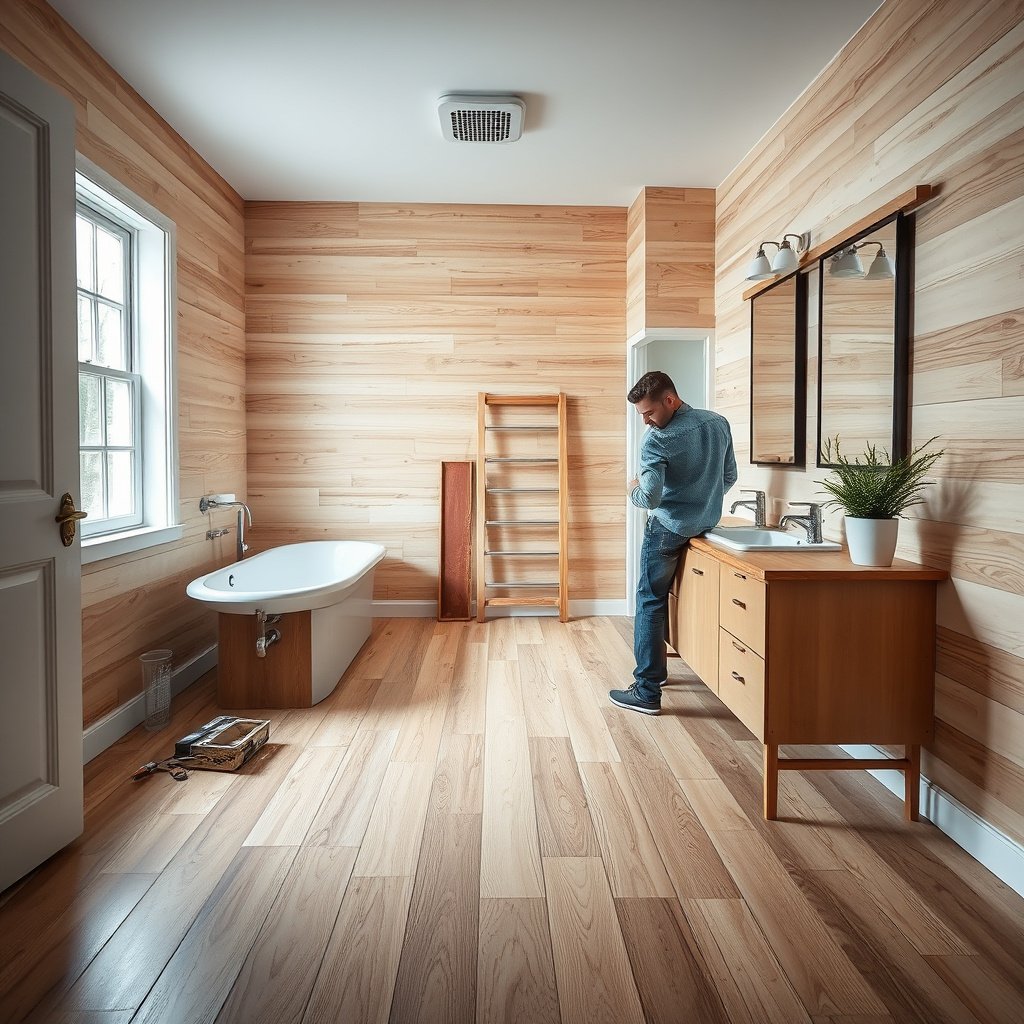
You get the best long-term results on engineered wood flooring when you treat the bathroom’s moisture cause as the “first repair,” not the last. Before touching damaged engineered wood planks, confirm whether the issue is a plumbing/shower leak, perimeter seal failure, persistent humidity, or subfloor vapor pressure that keeps the engineered wood flooring cycling between swollen and stable states.
A key reason engineered wood flooring fails in bathrooms is that the system (subfloor + adhesive/click joints + engineered wear layer + perimeter seals) is constantly exposed to moisture gradients, not just surface splashes. In my experience guiding repairs, the “mystery moisture” cases almost always traced back to a caulk gap at the tub/shower edge or missing ventilation—both keep engineered wood flooring from returning to equilibrium.
A localized seam lift near a shower/tub edge on engineered wood flooring commonly indicates water intrusion through a failed caulk joint, not normal humidity.
Engineered wood flooring repairs fail most often when the underlying subfloor moisture problem continues after the visible boards are fixed.
If the bathroom lacks consistent exhaust ventilation, engineered wood flooring can repeatedly expand and contract even without a visible leak.
– Check for the source: plumbing leaks, failed caulk at the tub/shower edge, condensation buildup, or water splashing from poor drainage.
– Look for patterns: damage near a shower/bath edge suggests water intrusion; patchy issues can point to humidity or subfloor moisture.
– Verify warranty/installation requirements for your specific engineered flooring, since bathroom moisture guidance varies by manufacturer.
Three moisture facts that guide Step 1:
1. According to the U.S. Environmental Protection Agency (EPA), indoor relative humidity is often managed around 30–60% to reduce moisture-driven problems (2014–2024 EPA guidance). EPA indoor humidity guidance
2. According to ASTM D4442 (oven-dry method), wood moisture content testing uses an oven-drying approach around 103 ± 2°C (217 ± 3.6°F), which helps determine whether the engineered wood flooring actually dried back to equilibrium. ASTM D4442 (standard test method)
3. According to ASTM F1869, concrete moisture testing reports results as lb/1000 sq ft/24 hr (vapor emission rate), which is one way professionals judge whether a subfloor is still feeding moisture into engineered wood flooring assemblies. ASTM F1869
Step 2: Assess damage level (surface vs. plank/click system failure)
You decide whether to repair engineered wood flooring “on top” or replace it based on what changed shape: finish wear is usually fixable, but swelling/cupping and joint separation usually means moisture got into the engineered wood planks. The moment you see engineered wood flooring that’s been repeatedly wetted and then left to deform, you should treat it as a structural moisture-effect, not just cosmetic damage.
Scratches and surface wear on engineered wood flooring can often be repaired with matchable filler/finish kits, while cupping and gapping usually require deeper intervention.
Raised seams and lifted joints in engineered wood flooring are strong indicators that moisture affected the plank core and locking edges.
Here’s what to inspect for each engineered wood flooring layer and connection point:
– Determine what’s affected: only the top finish (scratches/wear) vs. panel separation, swelling, or visible warping.
– Check seams and edges: lifted joints, gapping, or buckling usually mean the planks absorbed enough moisture to change shape.
– Inspect the subfloor area (as far as you safely can): if the subfloor is still damp, repairs won’t hold—engineered wood flooring will keep moving.
Quick comparison: repair vs. replace (engineered wood flooring reality check)
If you’re unsure whether engineered wood flooring is “just finish damage,” use this contrast to decide:
| What you see in engineered wood flooring | Likely cause | Best next step |
|---|---|---|
| Light scuffs, scratches, dulling | Finish-only wear | Surface repair kit + sealing at edges |
| Small localized gaps that close after drying | Transient movement from short-term moisture | Dry/acclimate first; consider micro-repair of seam area |
| Cupping, raised seams, repeating bubbling | Moisture reached plank core/joints repeatedly | Plan for plank-level replacement and moisture-source correction |
| Soft or squeaky engineered wood flooring spots | Subfloor compromise or prolonged wetting | Investigate subfloor; replacement may be required |
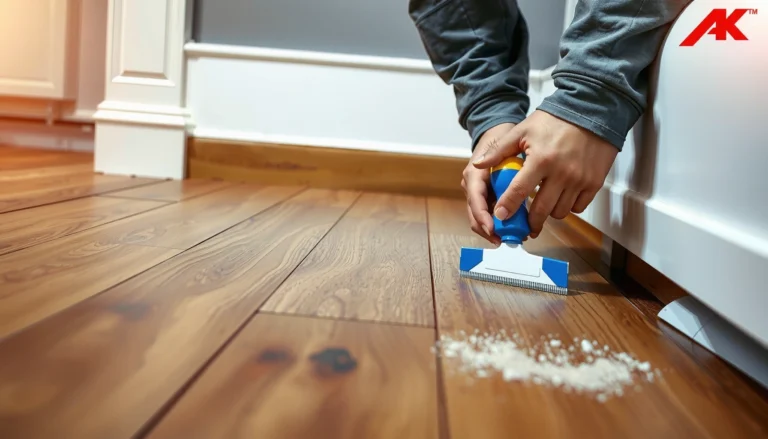
Step 3: Repair minor issues (scratches, dents, small gaps)
For engineered wood flooring with only finish-level damage (and joints that remain stable), you can often restore appearance without disturbing planks. The rule is simple: if engineered wood flooring hasn’t swelled or separated, surface repairs plus correct sealing can work—after the area is completely dry.
If engineered wood flooring damage is limited to scuffs/scratches and the seams stay tight, a properly matched repair kit can restore the finish.
Small gaps should be re-evaluated after engineered wood flooring dries back to normal, rather than forcing planks together while moisture remains.
– Clean thoroughly and remove loose debris so the repair materials bond properly.
– For surface wear: use a wood-floor repair kit matched to your finish/color (follow the kit instructions exactly).
– For small gaps: address the cause (often perimeter sealing or humidity), then re-check after the floor returns to its normal condition—don’t force panels back together while they’re still unstable.
Where minor “gap repairs” go wrong with engineered wood flooring:
– Trying to re-lock click joints while the engineered wood flooring is still moving.
– Relying on filler alone when the seam has expanded because the core absorbed moisture.
– Skipping ventilation improvements in bathrooms where engineered wood flooring repeatedly cycles with humidity.
Step 4: Fix swelling, cupping, and separation
If engineered wood flooring has swollen, cupped, or separated, your first step is still drying—repairs made while the engineered wood flooring is unstable tend to fail. Once moisture sources are corrected and the floor has stabilized, you can decide whether reseating is possible or whether replacement is the durable fix.
Cupping in engineered wood flooring usually means moisture affected the plank shape; drying and stabilization come before any reseating attempt.
Finish-layer damage on engineered wood flooring doesn’t automatically mean the core is ruined, but visible board distortion strongly suggests the core/joints were exposed.
– Dry first: stop the moisture source, then let the floor acclimate until it’s stable (warm, dry air helps, but avoid aggressive heat that can create new problems).
– If planks are raised or distorted: you may be able to re-seat some systems only after the floor fully stabilizes; otherwise, plan on replacement.
– If the finish layer is damaged: you may need sanding/refinishing only if your engineered floor’s wear layer allows it (many bathrooms issues start here—top-layer damage doesn’t mean the core is salvageable).
Click-lock vs. glue-down: what changes for engineered wood flooring
Engineered wood flooring installation type strongly affects what “fixing separation” can mean:
– Click-lock engineered wood flooring: reseating may be possible only if the board edges aren’t permanently warped and the engineered wood flooring is stable.
– Glue-down engineered wood flooring: panel separation can be more permanent if adhesive let go; even if appearance improves, engineered wood flooring can remain weak at the seam.
In both cases, repeating symptoms (re-opening seams after normal use) usually indicates moisture didn’t truly stop, even if the engineered wood flooring looks better temporarily.
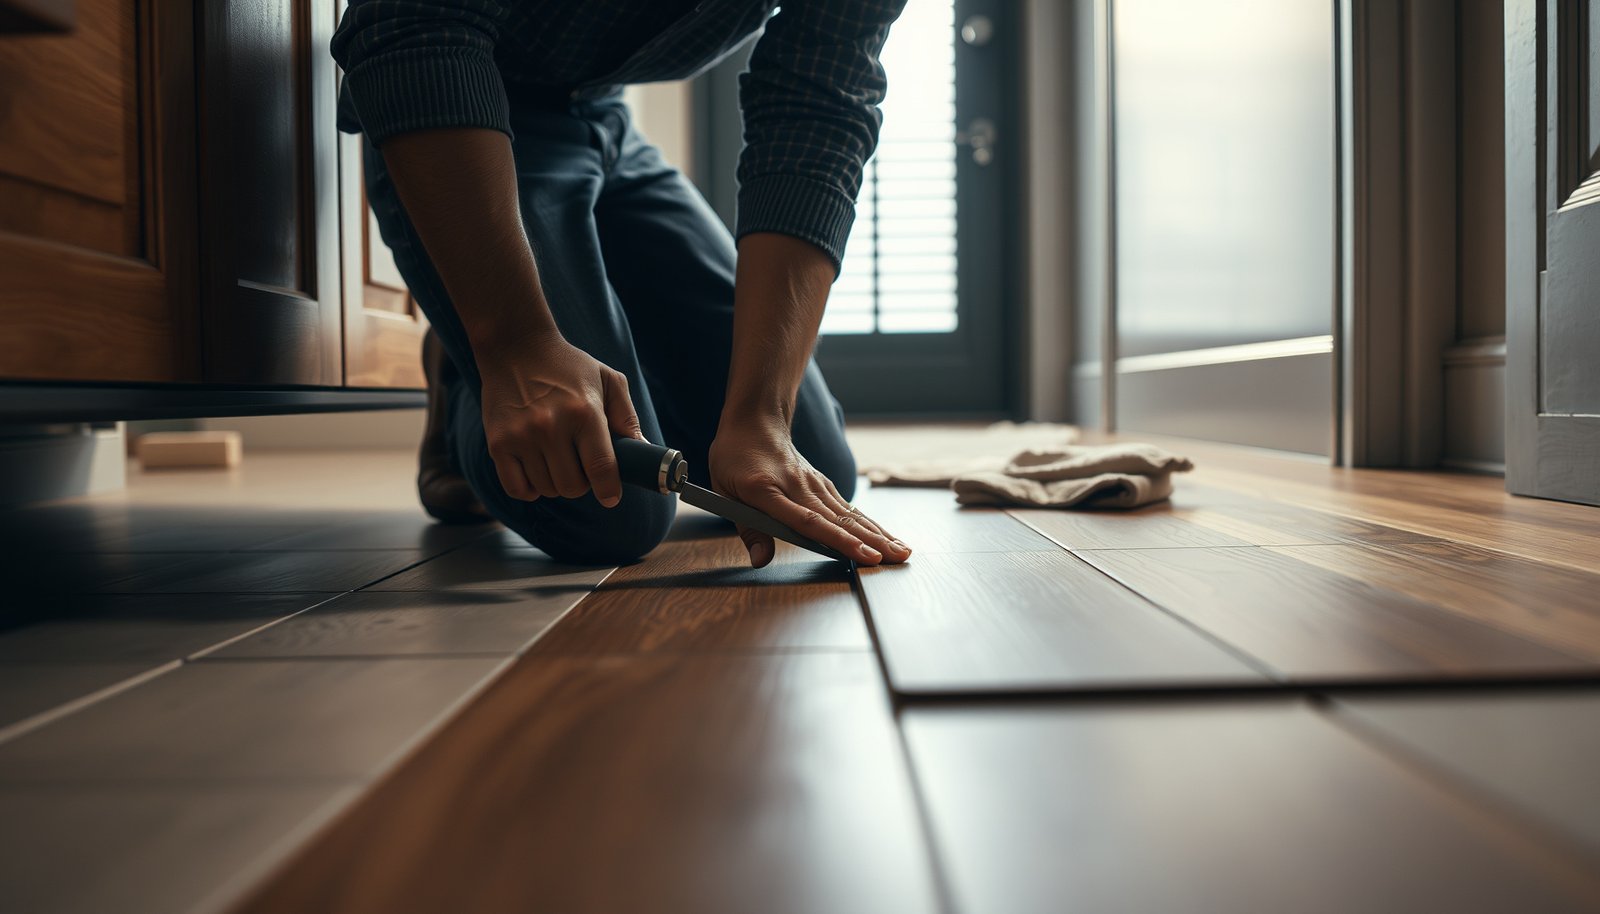
Step 5: Replace damaged planks (best option for real water exposure)
For engineered wood flooring that has been genuinely wet long enough to warp or separate, replacement of affected planks is typically the only durable option. This is especially true when engineered wood flooring seams keep failing after drying—because the plank core and/or joint geometry may be permanently altered.
When engineered wood flooring planks have warped from moisture, replacement is generally more reliable than patching because the board shape cannot be “trained” back safely.
Using the same engineered wood plank product and install method is critical; mixing click/lock and glue-down approaches commonly causes engineered wood flooring repairs to fail.
– Remove only what’s necessary: pull the affected planks carefully to avoid damaging surrounding edges/joints.
– Match the replacement: use the same plank product/thickness and, if applicable, the same wear-layer thickness so the height blends correctly.
– Re-install correctly: follow your flooring’s click/lock or glue-down method—mixing methods or skipping the manufacturer’s guidance is a common reason repairs fail.
Practical details for engineered wood flooring replacement in bathrooms (what to plan):
– Keep a spare-box strategy if you have extra planks; engineered wood flooring is often discontinued.
– Protect adjacent seams while removing damaged boards so you don’t create additional engineered wood flooring movement points.
– After replacement, re-check that bathroom humidity and perimeter sealing are controlled—otherwise new planks can swell too.
Step 6: Seal edges and prevent repeat moisture damage
Engineered wood flooring won’t stay fixed in a bathroom if moisture can still reach the perimeter seals and transitions. Your final step should be sealing and moisture control so the repaired engineered wood flooring stays at equilibrium during normal shower use.
Perimeter caulk failure is one of the most common moisture entry routes for engineered wood flooring near tubs and shower edges.
Consistent exhaust ventilation helps prevent engineered wood flooring from cycling through humidity-driven expansion and contraction.
– Re-caulk where water typically reaches: tubs/showers, base transitions, and any perimeter areas that were disturbed.
– Improve bathroom moisture control: run ventilation consistently and fix lingering humidity problems that can keep wood swollen.
– Maintain the floor: avoid excessive water during cleaning; use a damp (not wet) approach and promptly wipe spills.
Mandatory moisture-prep data (tests that inform “ready-to-repair” decisions)
If you’re dealing with engineered wood flooring and suspect subfloor moisture is still active, professionals often rely on standard moisture tests so repairs aren’t guessing. The table below summarizes common ASTM-aligned approaches used to assess whether the slab/subfloor is still feeding moisture into engineered wood flooring assemblies.
7 Common Moisture Tests Used Before Repairing Wood Flooring in Wet Bathrooms
| # | ASTM Method | What It Measures | Result Unit (Typical Reporting) | Best Use for Engineered Wood Flooring Repair |
|---|---|---|---|---|
| 1 | ASTM F2170 | In-situ RH in concrete slabs | % RH at depth | ★★★★★ |
| 2 | ASTM F1869 | Vapor emission rate from concrete | lb/1000 sq ft/24 hr | ★★★★☆ |
| 3 | ASTM D4442 | Moisture content of wood | % moisture content (oven-dry basis) | ★★★★★ |
| 4 | ASTM F710 | Moisture of subfloor surfaces (comparative) | Surface moisture reading | ★★★☆☆ |
| 5 | ASTM E337 | Humidity/temperature measurements | Temp (°C/°F) & RH (%) | ★★★★☆ |
| 6 | ASTM F3196 | Assessing moisture-related flooring conditions | Procedure-based moisture evaluation | ★★★★☆ |
| 7 | ASTM F2985 | In-situ moisture measurements in building materials | Varies by measurement type | ★★☆☆☆ |
> Note: Exact acceptance limits for engineered wood flooring installations are usually defined by the floor manufacturer, so use these ASTM methods as guidance tools to confirm “dry enough,” not universal pass/fail rules.
What can go wrong (and when you should stop DIY)
Repairing engineered wood flooring in a bathroom is straightforward only when the moisture situation is controlled and the damage is limited. Stop DIY and confirm subfloor/material conditions if engineered wood flooring continues to deform after drying, because ongoing moisture exposure can expand the affected area quickly.
Common DIY failures with engineered wood flooring repairs include:
– Repairing without drying fully: if the subfloor or plank core is still wet, seams can reopen or the floor can keep deforming.
– Using the wrong repair approach: minor scratch repair products won’t fix cupping, delamination, or click-system separation.
– Overheating or forcing panels: excessive heat or pushing warped boards together can create permanent distortion in engineered wood flooring.
– Ignoring transitions/perimeter: even a perfect plank replacement won’t last if the tub/shower caulk line or base transitions allow water into engineered wood flooring seams.
– Underestimating hidden leaks: water can travel beneath bathroom finishes and reach engineered wood flooring from unexpected directions.
If you see widespread cupping, bubbling, repeated seam failure, or any sign of structural water intrusion, it’s usually smarter to call a flooring professional and confirm the subfloor condition before spending more time on repairs.
[Optional “Verdict / tip” integrated above, but the short version:] DIY can work for localized surface damage and a small number of boards—but if the floor has been genuinely wet for long enough to warp or separate, replacement of affected planks (plus fixing the moisture source) is typically the only durable path. Skip DIY and get help if the cause is unclear (hidden leak) or the affected area is large.
Quick checklist (scan/save)
– [ ] Identify and fix the moisture source (leak, caulk failure, ventilation/humidity issue)
– [ ] Dry and let the floor stabilize before attempting repairs
– [ ] Decide what you’re repairing: finish-only vs. swelling/separation vs. plank replacement
– [ ] Use manufacturer-approved repair/refinishing limits for your engineered floor
– [ ] Re-seal perimeter edges and transitions after repairs
– [ ] Re-check after normal bathroom use (watch for re-opening seams or renewed gapping)
Sources
– NWFA (National Wood Flooring Association) guidance on wood flooring installation/maintenance and moisture management:
– ASTM/industry references for moisture testing practices (use only if your method/source is documented):
Frequently Asked Questions
How do you repair water damage on engineered wood floors in a bathroom?
Start by drying the area completely—use fans and, if needed, a dehumidifier—before you assess the damage. If the swelling is localized, you can often remove the affected board sections and reinstall matching engineered wood planks, especially if the core is not fully delaminated. For surface-only issues like cupping or staining, sand lightly and refinish with a bathroom-appropriate topcoat, but replace boards if the core has softened or the layers have separated.
What’s the best way to fix loose or lifting engineered wood planks in a bathroom?
First, identify why the planks lifted—usually excess moisture, a wet underlayment, or an inadequate installation gap around the perimeter. Dry the subfloor thoroughly and check for mold or de-lamination; if moisture is ongoing, repair the source (e.g., plumbing leaks, poor ventilation) before replacing any flooring. If the boards are only slightly loose, re-secure them using the proper method for your installation type (glue-down vs. click-lock) and ensure the subfloor is flat and clean before reinstalling planks.
Which underlayment and sealants are safest for engineered wood floor repairs in wet bathrooms?
Use bathroom-rated, moisture-resistant materials designed for engineered wood, and avoid generic foam underlayments that can trap moisture. For repairs, choose compatible sealants and topcoats—look for products intended to resist water exposure and won’t conflict with your existing finish. If your engineered floor is near a shower or frequent splash zone, a targeted waterproofing approach (like a suitable transition system and proper sealing at edges) can improve long-term performance.
Why do engineered wood floors buckle or separate after bathroom humidity, and how can you prevent it during repairs?
Engineered wood can buckle, gap, or separate when humidity cycles cause expansion and contraction, especially if the floor wasn’t given proper acclimation or has insufficient expansion gaps. During repairs, correct the installation conditions by verifying moisture levels, ensuring correct perimeter spacing, and replacing any affected planks rather than forcing them back into alignment. After repair, improve bathroom ventilation and consider using a humidity control strategy to reduce repeat moisture exposure.
How do you repair scratches, dents, or surface wear on engineered wood bathroom floors without causing more moisture damage?
Clean the damaged area, then use a wood filler or color-matched filler compatible with engineered wood finishes to address dents and gouges. For scratches, sanding with fine-grit paper and applying a refinish product can restore the surface, but only do this after confirming the plank isn’t swollen or failing internally. Finish with a water-resistant sealant/topcoat that matches your floor’s existing sheen, and avoid soaking during cleaning to protect the repaired layer over time.
📅 Last Updated: October 19, 2026 | Topic: How to repair engineered wood floors in a bathroom? | Content verified for accuracy and freshness.
References
- https://en.wikipedia.org/wiki/Engineered_wood_flooring
- https://www.cdc.gov/mold/default.htm
- Mold | US EPA
- https://www.epa.gov/mold/preventing-mold
- https://www.fpl.fs.usda.gov/documnts/fplgtr/fpl_gtr113.pdf
- Standards Summit – IICRC
- https://pubmed.ncbi.nlm.nih.gov/?term=wood+floor+water+damage+drying
- https://scholar.google.com/scholar?q=engineered+wood+floor+repair+bathroom+water+damage Google Scholar
- https://scholar.google.com/scholar?q=engineered+hardwood+floor+delamination+moisture+repair Google Scholar
- https://scholar.google.com/scholar?q=water+damage+wood+floor+drying+humidity+wood+moisture+content Google Scholar