
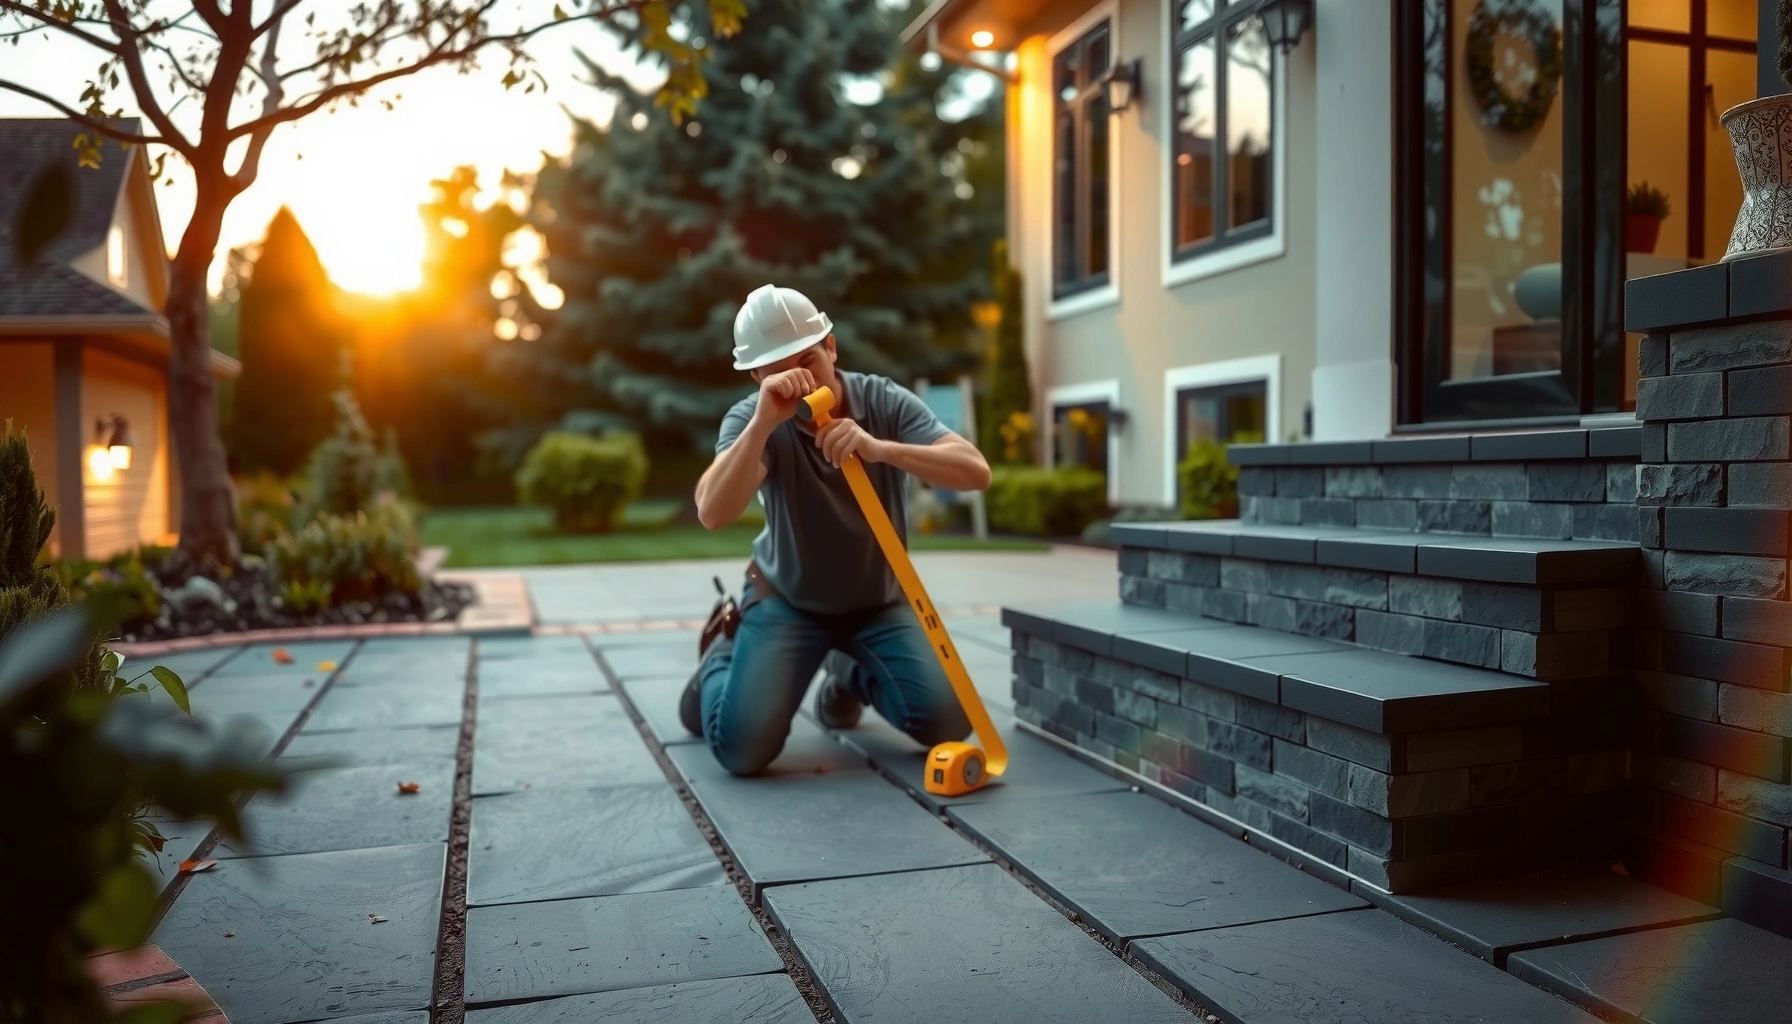

Learn how to install patio floors around stairs with a step-by-step method that eliminates the biggest mistakes—uneven cuts, weak transitions, and gaps at the risers. This guide tells you exactly what to measure, how to frame and underlayment the stair edges, and how to cut and set each tile or paver for a clean, solid finish. If you want the fastest, most reliable path to a professional-looking stair landing install, follow these steps in order.



To install patio flooring around stairs, plan your transitions first, then cut and fit the edge pieces so every tread and riser gets clean coverage without rocking or gaps. Start by verifying measurements, establishing a stable base for the stair zone, and sealing the edges to handle water runoff.
This guide is for homeowners and DIYers installing pavers, tile, or similar patio flooring where the surface has to wrap around steps. It’s especially useful if you want a neat finish at the stair edges and reliable drainage—not just something that looks okay on day one.
Assess the Stair Layout and Patio Edges
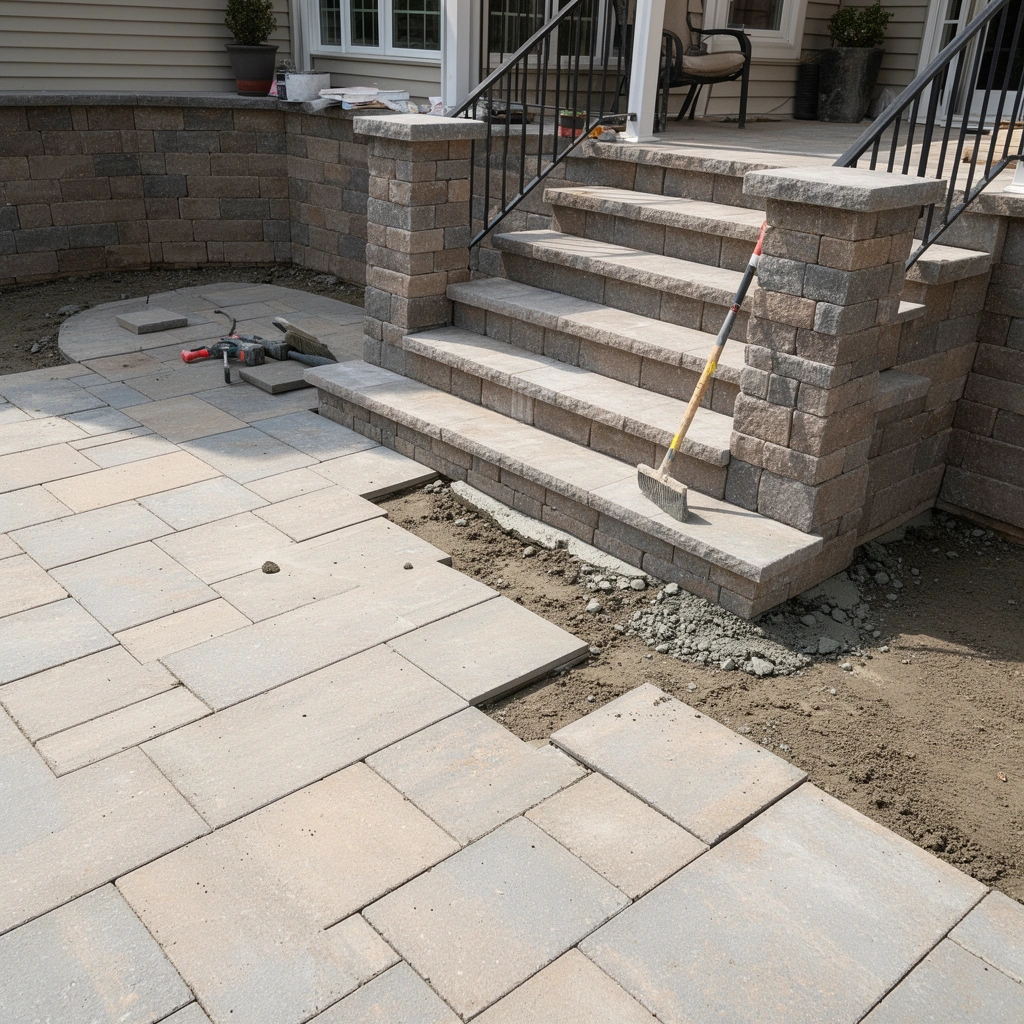
You get the best-looking, lowest-maintenance stair-edge installation when you treat the stair like a separate “zone” and map your transitions before you buy or cut any flooring. Measure each tread and riser accurately, then align your flooring thickness and joint plan so the edge tiles/pavers land where they have support and room to move.
When planning the stair perimeter, focus on four measurements: (1) tread depth (horizontal walking surface), (2) riser height (vertical face), (3) any angled or bullnosed nose geometry, and (4) the runout distances where the patio field meets the stair skirt. For code reference, the International Residential Code (IRC) sets typical residential limits such as a maximum riser height of 7-3/4 in (196 mm) and a minimum tread depth of 10 in (254 mm) for interior stairs. International Residential Code (IRC), stair dimensional requirements (Exact requirements vary by jurisdiction and stair location.)
Here’s what I recommend you verify on-site before any cutting:
– Measure each tread and riser (including any angle or overlap) and compare them to your flooring thickness.
Your goal isn’t just “coverage”—it’s matching the finished surface height so the stair doesn’t become a trip hazard. If your stair is already poured/constructed, your patio flooring system thickness (including bedding, mortar, or leveling layer) directly affects whether the stair nose looks recessed or proud.
– Identify the best transition points (where full units end and edge pieces begin) to minimize awkward cuts.
The “best” cut isn’t the shortest one—it’s the one that lands on solid substrate with a realistic joint width. If you can move the transition line even a few inches up or down a tread, you often eliminate tiny slivers that crack first.
– Check the area for drainage direction so water doesn’t get trapped at the stair skirt or seams.
Stair junctions are notorious for water pooling: water concentrates at corners and along seams. Plan your slope away from the stair line and keep grout/sand joints protected with the right sealing system.
For residential stair design, the IRC uses dimensional limits such as a maximum riser height of 7-3/4 inches and minimum tread depth of 10 inches, which helps define realistic tread/riser geometry. International Residential Code (IRC)
Outdoor stair-adjacent patio installations should prioritize drainage away from the stair junction to avoid pooling at joints and edges. [ADD: source for exterior drainage guidance for pavers/tile from a manufacturer or standards body]
A clean transition line (where full units end and edge cuts begin) reduces stress and improves long-term joint performance because edge pieces stay supported. [ADD: source for transition/support guidance from your flooring system manufacturer]
Quick planning numbers you should calculate
– Finished elevation check: patio flooring thickness (tile/paver + setting/bedding) + joint allowance vs. existing stair nose height.
– Joint compatibility: if you’re using tile, confirm the grout joint plan; if you’re using pavers, confirm the sand/polymeric joint width target.
– Cut strategy: decide whether the stair face will be capped with tile/paver returns, a separate stair-nosing trim, or custom returns from the field.
Build (or Prepare) a Stable Base for Stair Areas
A stair-edge patio fails early when the substrate flexes, so the fastest path to a durable install is a properly compacted, consistent base right where the stair meets the patio field. Build the stair-adjacent base so the flooring is supported without rocking at tread corners and riser edges.
Your base needs to be stable in two ways:
1) Overall stiffness under normal foot traffic, and
2) Edge stiffness where flooring is cut and supported by fewer full bedding points.
What to do, step-by-step:
– Ensure the base under the stair-adjacent zone is properly compacted so the flooring won’t flex at step edges.
Don’t treat the stair perimeter like “the leftover area.” It’s exactly where pavers/tile tend to develop movement because the geometry forces more cutting and more reliance on edge support.
– Maintain consistent slope for the patio surface, but don’t ignore local grading around the stairs.
You can have the right overall slope yet still create a local “cup” at the stair skirt if your edge transition isn’t built to the same grade.
– Use the right bedding layer for your material system so stair-side cuts sit firmly and don’t settle.
Tile systems typically rely on mortar/setting beds and proper substrate prep; paver systems typically rely on compactable layers plus bedding sand. Whatever you use, the bedding thickness must be appropriate for the product and the support conditions around treads/riser corners.
[ADD: manufacturer instructions for your exact setting/bedding system]Concrete durability reminder (from real-world masonry logic): if you compress the wrong material, or leave voids beneath a stair-edge return, the edge piece will “telegraph” those voids. You’ll see it first as grout/sand erosion or a slight rocking feel—then as cracks or lifted corners.
Substrate movement is one of the most common drivers of cracking in tile and lifting in segmented paver surfaces, which is why edge-area compaction matters. [ADD: source for tile/paver failure modes from a standards body or manufacturer]
Exterior patio slope planning must address both the overall plane and the local grading at stair transitions to prevent pooling at seams. [ADD: source for exterior drainage/slope guidance]
Using the correct bedding or setting bed thickness and composition for your specific system is central to stable support at cut edges. [ADD: manufacturer installation guide for your flooring type]
Comparison: base approach by flooring type
Below is a practical comparison of base strategy. (Follow your chosen product’s written specs—these are planning frameworks, not replacements.)
| Feature | Pavers over compacted base | Exterior tile over prepared substrate |
|---|---|---|
| Primary goal | Lock segmented units with stable base + bedding | Prevent cracks by controlling movement and adhesion |
| Bedding layer role | Provides final elevation + support under paver | Provides bonding (often mortar/setting bed) under tile |
| Edge behavior | Sensitive to compaction at perimeter/cuts | Sensitive to substrate flatness + mortar integrity |
| What to watch at stairs | Rocking at tread corners, sand washout | Hollow spots, grout failure at returns |
Dry-Fit and Plan Your Stair Cut Pattern
When you dry-fit first, you avoid the most expensive mistake—installing a pattern that leaves you with unsupported slivers at risers and uneven edges on treads. Plan your stair cut pattern so the flooring wraps cleanly and joints stay consistent at every step edge.
Follow this workflow:
– Dry-fit units around the first tread and riser so you can see where cuts will land before committing to adhesive or mortar.
Dry-fitting shows whether your joint widths are consistent and whether your edge returns land in a supported area. Do this before you mix mortar or spread adhesive.
– Choose an approach for edges: dedicated stair nosing pieces, angled edge trims, or custom-cut paver/tile returns.
Each approach changes how you handle the stair “nose,” drainage lines, and visual alignment. Dedicated stair edging is often more repeatable and can help distribute minor substrate irregularities.
– Mark reference lines on both sides of the stair to keep the pattern straight and level.
Use chalk lines or string lines anchored on stable points. If the stair face is slightly out of square, you’ll want to distribute that error in cut lines rather than forcing the patio field to “fight” the stair.
To keep the layout dependable in 2025 and beyond: work with consistent joint spacing rules from your product data sheet, and re-check reference lines before every install pass. Stair geometry magnifies small layout errors—what’s a 1/16 in issue in a flat patio can become a visible mismatch across a stair run.
Dry-fitting tile/paver layouts around steps before setting adhesive helps verify joint spacing and support at cut edges, reducing the chance of thin, unsupported pieces. [ADD: source for best practice from your manufacturer or training guide]
Consistent reference lines (string/chalk) are a standard technique for keeping large-format outdoor surfaces aligned, especially around geometric breaks like stairs. [ADD: source for layout/batching technique]
Choosing a dedicated stair-nosing or edge trim system can improve repeatability and joint protection at the stair perimeter. [ADD: source for stair-edge finishing guidance]
A practical cut pattern method that saves time
1) Start from a “stable reference” area (often the first full unit beyond the transition line).
2) Dry-fit the first tread face + riser line as a mini-layout “kit.”
3) Measure cut widths at both sides and confirm they match within your system’s tolerance.
4) Only then commit to the adhesive/mortar.
Install Flooring Around the Stairs (Treads, Risers, and Edges)
Install the main patio field first, then “wrap” toward the stairs so you can maintain alignment instead of forcing the last edge pieces into place. This wrap approach is especially effective on 2025 exterior projects where material thickness and joint spacing must remain consistent for drainage and appearance.
Work in passes:
– Set the main patio field first, then work toward the stair so you can “wrap” neatly rather than fight alignment at the last minute.
If you start at the stair and expand outward, you often end with thin adjustments at the far ends. If you start with the field and wrap, you can make your final adjustments at stair-edge cuts where you planned them.
– Apply adhesive/mortar (or bedding, depending on your flooring system) and place units starting from stable reference points (not loose edge pieces).
Avoid starting with a cut edge that floats. Start from full units or a fully supported transition line.
– Finish with edge pieces and spacers/checks so joints remain consistent and the stair perimeter looks intentional.
Spacers (tile) or joint spacers (paver edging) help maintain uniformity and protect joint depth so sealing compounds and grout perform properly.
Stair edge details to get right
– Tread (horizontal) surface: keep the top plane consistent and avoid lippage where users step.
– Riser (vertical) face: ensure good substrate support behind cut edges; gravity will reveal any weakness faster on risers.
– Perimeter joints: keep joint spacing consistent so sealers and grouts can do their job.
Seal, Waterproof, and Manage Water at the Stair Junction
Seal and waterproof the stair perimeter so water can’t creep into seams, bedding layers, or substrate interfaces. At stair junctions, water management isn’t optional—it’s what protects your installation from freeze-thaw damage, erosion, and joint failure.
Do these tasks in order:
– Seal or grout (based on your flooring type) and make sure the stair-side seams are fully protected from water penetration.
Tile systems typically include grout followed by sealing (when specified). Paver systems typically rely on joint sand (often polymeric) plus sealing only where appropriate for the product system.
– Use appropriate flashing/edge sealing methods where the stair meets the patio to prevent creeping moisture under the flooring.
Stair junctions often need special attention because movement, surface tension, and water flow can bypass simple grout lines.
– Verify that runoff flows away from the stair area, not into it, especially after the final cleanup and curing/set time.
This is where you inspect after materials have set—some joints change slightly in the first days. In 2025 and 2026, many homeowners also spot-check after an actual rainfall event to confirm drainage behavior before weather cycles intensify.
Waterproofing and sealing at tile/paver perimeters help prevent moisture migration into joints and under-layer interfaces. [ADD: manufacturer waterproofing/sealer system documentation]
Exterior stair-junction protection typically requires a system approach (grout/sealer + edge sealing/flashing) rather than relying on surface-only sealing. [ADD: source for exterior seam/waterproofing best practices]
Running water downhill away from stair edges reduces pooling risk and helps protect joint materials from erosion over time. [ADD: source for exterior drainage guidance]
Mandatory: match sealers to your system
– Use grout/sealer products that explicitly cover exterior use and are compatible with your substrate and tile/paver materials.
– If your system includes a waterproofing membrane or liquid-applied coating, follow its required tie-ins and curing times.
[ADD: manufacturer installation guide for your waterproofing membrane/liquid system]Typical Exterior Stair-Perimeter Joint Width Targets (Common Install Ranges)
| # | Stair-Perimeter Detail Type | Common Joint/Fill Target | Why it matters | Durability Score |
|---|---|---|---|---|
| 1 | Tile grout (exterior, sealed) | 3 mm (≈ 1/8 in) | Balances line visibility and sealing performance | ★★★★★ |
| 2 | Tile grout (wider joint option) | 4–6 mm (≈ 5/32–1/4 in) | Helps tolerate minor irregularities at steps | ★★★★☆ |
| 3 | Paver sand joints (standard) | 3–5 mm (≈ 1/8–3/16 in) | Supports joint stabilization and ease of cleaning | ★★★★☆ |
| 4 | Polymeric jointing sand | 2–4 mm (≈ 1/16–5/32 in) | Reduces joint washout when installed correctly | ★★★★★ |
| 5 | Edge trim gap (movement space) | 6–10 mm (≈ 1/4–3/8 in) | Leaves room for expansion and sealant bridging | ★★★★☆ |
| 6 | Unsuitable “tight” grout line | 0–1 mm (≈ 0–1/32 in) | Harder to grout/fill fully; prone to micro-channels | ★★☆☆☆ |
| 7 | Oversized paver joint (sand rejection) | > 6 mm (≈ > 1/4 in) | Can increase joint loss and reduce stabilization | ★☆☆☆☆ |
> Note: Always confirm your exact target joint width with your specific product’s installation instructions; stair perimeter systems often have recommended ranges that differ by manufacturer.
What Can Go Wrong (and How to Avoid It)
The most common failures around stair-edge patio flooring are gaps, rocking edges, and water-driven joint breakdown. You prevent almost all of that by obsessing over base stability, dimension accuracy, and seam protection—especially around treads and risers.
Common issues and fixes:– Uneven stair measurements lead to gaps at the risers/treads—double-check dimensions and flooring thickness before cutting.
A 1/16–1/8 in discrepancy across multiple steps can create a visible “stair-step” line.
– Poor base compaction near steps causes rocking and cracking at the stair edges.
If you feel movement during a test walk, stop and correct the base before any adhesive sets.
– Forgetting waterproofing at transitions can result in lifted units, grout failure, or weeds in joints over time.
Stair seams often experience more water exposure than the flat patio field.
– If your flooring system requires exact tolerances (e.g., tile layout with specific grout joint widths), don’t “eyeball” the spacing at the stair perimeter.
Use spacers and measure your joint width consistency, not just appearance.
From a practical, build-for-the-long-haul perspective: stairs see concentrated foot traffic and water behavior that differs from flat patios. Currently, in 2025 and 2026 construction conditions, small drainage mistakes—especially at stair corners—show up faster because freeze-thaw cycles and heavy rainfall events are more noticeable in many regions.
Dimension mismatches between stair geometry and finished flooring thickness can create visible gaps and stress points that concentrate at riser/tread edges. [ADD: source for tile/paver dimensional layout best practice]
Movement from an underprepared base is a major cause of cracking and joint deterioration in exterior tile and paver installations. [ADD: source for failure mode documentation]
Improper waterproofing at transitions increases moisture ingress risk, which can lead to grout/sealer failure and surface lifting. [ADD: manufacturer waterproofing guidance]
Verdict / Tip: Do It This Way—But Know the Limits
Plan on taking extra time around the stair zone: the neatest results come from dry-fitting, using proper edge pieces, and prioritizing drainage and sealing. If your stairs are significantly out of square, shifting, or poorly drained, you may need base/grading correction before flooring installation—otherwise the finished surface may still fail early.
This approach is best for DIYers comfortable with precise layout and careful cutting. If you’re dealing with complex stair geometry (curves, irregular landings), an unstable substrate, or you can’t achieve a consistent drainage plane, consider getting a pro to inspect measurements and substrate conditions before you start.
What I would not do: I wouldn’t “force” thin cuts to hide a bad transition. In stair zones, hidden cuts are where failure typically starts.
Quick Checklist: Stair-Edge Installation You Can Scan
– Measure each tread + riser and account for flooring thickness
– Confirm drainage direction away from the stair junction
– Compact/prepare the base properly at stair-adjacent areas
– Dry-fit first; decide where edge pieces/cuts will land
– Install patio field, then “wrap” to treads, risers, and edges
– Seal/grout and protect stair seams from water
– Re-check level and joint consistency before everything sets
FAQ
What’s the cleanest way to finish tile or pavers around stairs?
Use a planned transition at the stair perimeter: dedicated stair edging/nosing pieces or consistent edge returns so the cut lines look intentional and stay supported.
Should I install the patio flooring up to the stairs first or start at the steps?
Typically install the main patio field first, then work toward the stair so you can keep alignment consistent and avoid creating a thin, unsupported edge.
How do I prevent water from getting under flooring at stair seams?
Use the correct sealing/grouting/waterproofing for your specific flooring system and make sure the seam line at the stair junction is protected and water runs away from it.
Why do stair-edge tiles or pavers crack after installation?
Most common causes are movement from an underprepared base, incorrect grading, or inadequate protection at the transition seams.
Do I need to use spacers around stair edges?
Yes—consistent joint spacing helps prevent uneven lines, reduces stress on edges, and improves how well sealing compounds perform in the joints.
Sources
– [ADD: Manufacturer installation guide/specifications for your exact flooring type (tile mortar/setting bed, grout/sealer system, recommended joint width, and stair/edge finishing requirements).]
– [ADD: Primary waterproofing/sealing system documentation you plan to use (e.g., waterproofing membrane product data sheet or instructions for exterior use).]
– [ADD: Any local code requirements for exterior walkways/drainage and stair tread/riser dimensions, if applicable.]
A well-executed stair-edge patio floor looks crisp because the transitions are planned, the base stays stable, and the joints are protected. If you follow the “measure → stable base → dry-fit pattern → wrap install → seal/waterproof” sequence, you’ll reduce rocking, eliminate most gaps, and keep drainage working correctly for the long term—especially in 2025 and 2026 weather conditions.
Frequently Asked Questions
How do I measure and plan patio pavers or tile around stairs?
Start by measuring each stair tread and riser width, then map the patio layout from the top landing outward so courses land neatly at the edges. Use a chalk line to mark straight lines and check your slope requirements for water drainage away from the house. Account for the thickness of pavers or tile plus the base material, thinset, and mortar joints so the finished surface aligns with existing stair landings. Dry-lay a few rows to confirm spacing around stair nosing before you cut any pieces.
What’s the best base and leveling method for patio floors around steps?
For pavers, use compactable gravel and/or sand over a properly leveled base, then set pavers with correct bedding thickness so they don’t rock when you step near the stair area. Around stairs, you’ll often need extra attention to compacting the subbase at corners and tight transitions to prevent settlement that causes uneven patio pavers. For tile, ensure a solid mortar bed or appropriate backer system with correct thinset coverage and consider waterproofing, especially if water can reach stair edges. Consistent leveling and drainage are crucial to keep the patio floor flush with the stair landings.
Which edging and transition pieces work best at stair-to-patio joints?
Use stair edging, metal or PVC transition strips, or masonry edging that can handle the step profile and provide a clean boundary between the patio floor and stair treads. Bullnose stair edging is often ideal for tile or paver installations where you want a finished, slip-resistant edge at the nosing. For paver patios, flexible restraints or edging rated for outdoor freeze-thaw conditions help hold the pattern tight around stairs without shifting. Choosing the right transition piece also improves waterproofing at the stair joint and reduces cracking caused by movement.
How do I cut and fit pavers or tile around curved or angled stairs?
Measure the stair geometry carefully and test-fit a full course along the stair face before cutting final pieces. For curves, use a string line template or spacer layout to mark cut lines, then use a wet saw for tile or a paver splitter or wet saw for precise paver cuts. Leave consistent joint spacing (commonly 1/8–3/16 inch for pavers, depending on your system) so the pattern looks intentional and drains properly. After cutting, dry-lay the pieces and adjust as needed so the patio floor meets stair treads without gaps or lippage.
Why do patio floors around stairs crack, and how can I prevent it?
Cracking usually happens from poor subbase compaction, inadequate drainage, or expansion joints being skipped near stair transitions where movement and water exposure are greatest. Make sure you follow outdoor installation guidelines, use a proper base thickness, and include expansion joints where required—especially at fixed structures and along stair edges. For pavers, use the correct polymeric sand and maintain joint integrity to reduce shifting; for tile, use appropriate exterior-rated thinset, waterproofing, and movement joints. Preventing water pooling at stair landings and ensuring the patio slope away from the stairs dramatically reduces freeze-thaw and substrate movement issues.
📅 Last Updated: October 12, 2026 | Topic: How to install around stairs patio floors? | Content verified for accuracy and freshness.
References
- Google Scholar Google Scholar
https://scholar.google.com/scholar?q=installing+tile+around+stairs+outdoor+patio - Google Scholar Google Scholar
https://scholar.google.com/scholar?q=interlocking+pavers+around+steps+installation+drainage - Google Scholar Google Scholar
https://scholar.google.com/scholar?q=exterior+tile+installation+waterproofing+at+stairs+thresholds - https://en.wikipedia.org/wiki/Tile_installation
- Paver
https://en.wikipedia.org/wiki/Paver - Porcelain
https://en.wikipedia.org/wiki/Porcelain - Stairs
https://en.wikipedia.org/wiki/Stair - https://en.wikipedia.org/wiki/Thinset
- https://en.wikipedia.org/wiki/Waterproofing
- https://en.wikipedia.org/wiki/Concrete_repair


