
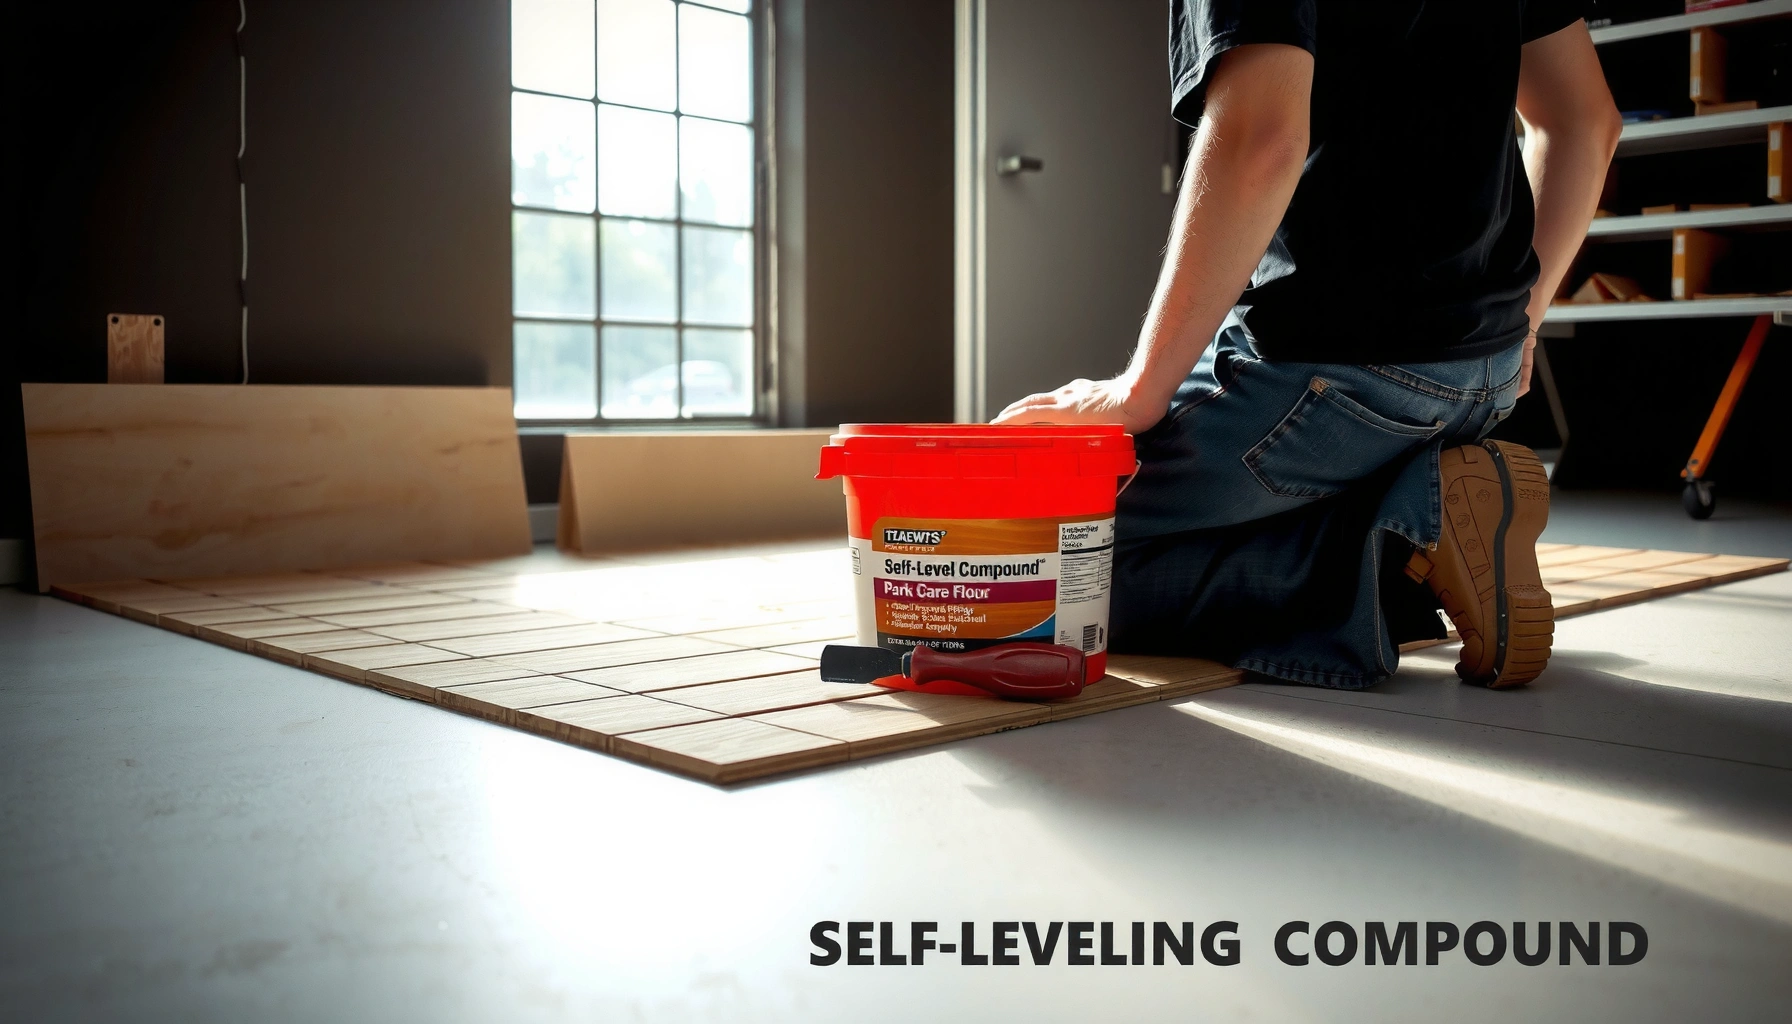

Wondering how to install a garage floor on uneven floors? Start with a self-leveling underlayment or a properly designed leveling system—this is the fastest way to get a flat, stable base that prevents cracking and premature wear. This guide walks you through the exact prep, leveling, and installation steps that determine whether your new garage floor will last.




If your garage slab is uneven, the right move is to level the surface to meet your flooring system’s flatness and bonding requirements before installation. The safest approach is to map highs and lows with a straightedge, then use grinding, patching, or a self-leveling/underlayment plan so your finished floor doesn’t rock, separate at joints, or fail at adhesion.
When your garage floor is uneven, the fix is to level the surface before you install anything—either by grinding high spots, filling low areas, or using a self-leveling underlayment/patch system. If the floor is badly out of plane, installing over it without leveling usually leads to rocking boards, joint separation, or premature wear. This guide walks you through the practical steps to assess the unevenness and choose the right prep approach.
If you’re installing garage flooring (epoxy, interlocking tiles, rolled coatings, or sheet-style systems) over a slab that isn’t flat, the steps below apply. It’s especially relevant for slabs with dips, heaves, or cracks that let moisture or movement show up after installation.
Check how uneven your garage floor really is
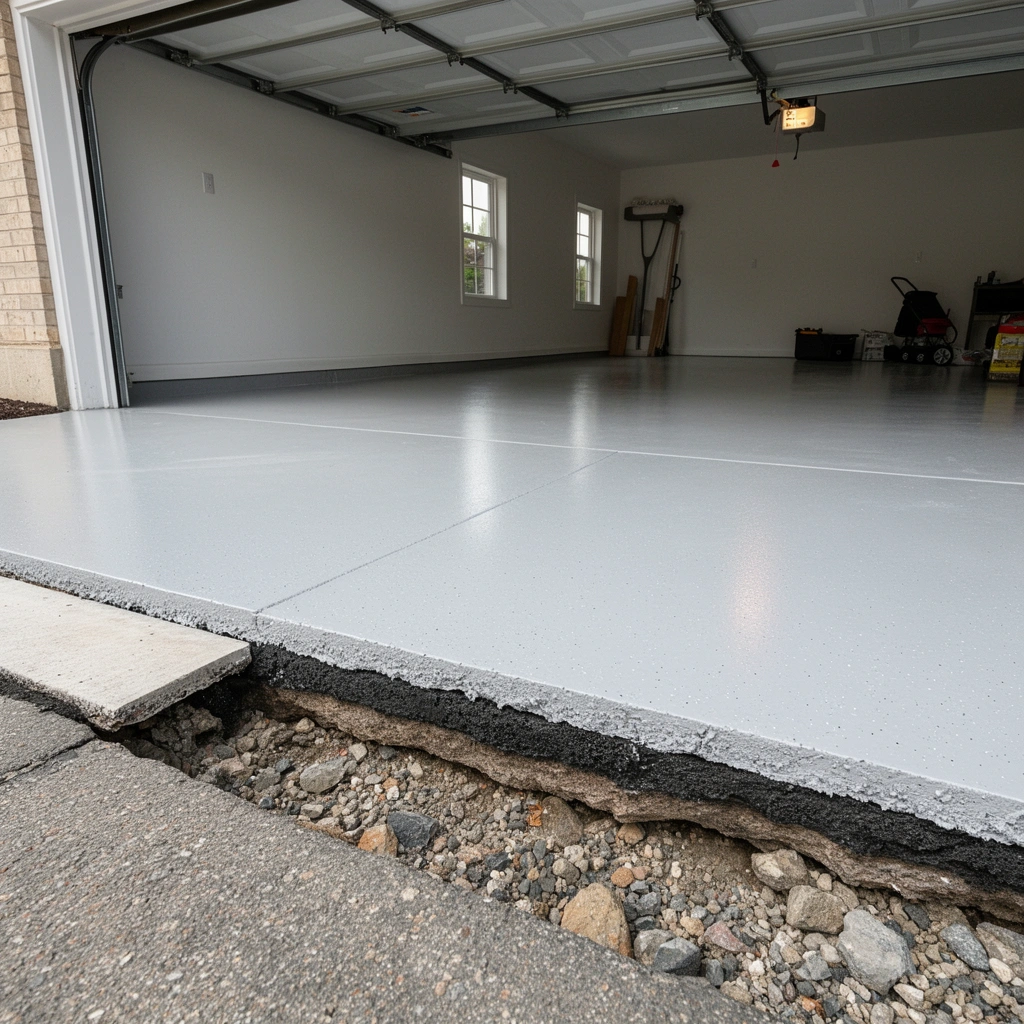
The fastest way to decide whether you should grind, patch, or use underlayment is to measure flatness in multiple directions with a long straightedge. Surface “feel” isn’t enough—garage slabs commonly have localized dips and system-wide slope that need different prep strategies.
A long straightedge used in multiple directions is the practical way to map high spots and low spots before choosing a leveling method.
Localized unevenness (small dips or ridges) is typically addressed with grinding and cementitious patching, while system-wide out-of-plane slabs often require underlayment or a leveling plan.
Flooring systems perform based on substrate flatness and bond readiness, so measurement directly informs adhesion and seam behavior.
– Use a straightedge (or long level) across multiple directions to map highs and lows.
– Identify whether the unevenness is “localized” (small dips) or “system-wide” (overall slope/bowing), because the prep method changes.
– Document your findings (even quick notes) so you don’t accidentally “over-correct” one area and leave another untouched.
What “flat” means in practice (not just “level”)
“Level” means the slab doesn’t tilt from side-to-side; “flat” means the surface doesn’t deviate up and down across the floor footprint. Many garage issues are flatness problems—like a low bay near a door or a raised strip where the slab heaved—so you want tools and methods that capture both.
Tools that actually help (and why length matters)
Using the same straightedge length for every check is a common mistake. Short tools can miss “wave” or bowing that only shows up over longer distances. The table below summarizes common straightedge lengths used for substrate flatness checks.
Common Straightedge Lengths Used to Assess Garage Floor Flatness
| # | Straightedge length | Typical metric equivalent | Best used for | Flatness insight it reveals |
|---|---|---|---|---|
| 1 | 4 ft (1.2 m) | 1.2 m | Small localized checks | Short ridges/dips |
| 2 | 6 ft (1.8 m) | 1.8 m | General spot mapping | Medium waviness |
| 3 | 8 ft (2.4 m) | 2.4 m | Check transitions and runs | Longer undulations |
| 4 | 10 ft (3.0 m) | 3.0 m | Out-of-plane detection | Slab bowing trends |
| 5 | 12 ft (3.6 m) | 3.6 m | Large-area flatness mapping | System-wide waves |
| 6 | Straightedge rails (tool-driven) | Commonly adjustable | Repeatable checks | Consistent measurement spacing |
| 7 | Laser level + gauge method | Vertical reference | Bowing/slope trend mapping | High-resolution profile |
Practical measurement tips
– Check at least two directions (for example, left-to-right and front-to-back).
– If you can, measure the gap you see under the straightedge with feeler gauges or a ruler.
– If the slab has obvious heave (a raised ridge), note where it occurs—leveling over a ridge is usually more difficult than grinding it down.
Prep the surface correctly (cleaning, grinding, and crack work)
The fastest way to avoid leveling failure is to treat substrate prep as the foundation—not an optional step. Concrete dust, residual sealers, paint, oils, and unaddressed cracks can prevent coatings and adhesives from bonding correctly, even when the slab looks “smooth enough.”
Most epoxy and coating systems require a clean, sound concrete surface with proper mechanical profile to achieve designed bond strength.
Grinding high spots before patching low areas helps prevent creating new ridges that will telegraph through tiles or raise coating thickness unexpectedly.
Crack repair must match the crack behavior; simply filling a moving crack can lead to failure after installation.
– Remove paint, sealers, dirt, oils, and loose concrete—most floor systems require clean, sound substrate.
– Grind high spots first, then clean thoroughly; leave low areas for patching/leveling so you don’t create new ridges.
Cleaning: what you’re trying to remove
Even “clean”-looking concrete can carry chemistry that blocks adhesion. Common contaminants include:
– Oils from vehicle leaks
– Grease from stored equipment
– Waxy sealers and curing compounds
– Chalky or dusty concrete from surface scaling
Follow your flooring system’s substrate requirements. If the documentation calls for specific prep (for example, degreaser type or mechanical profiling), follow that over generic cleaning.
Grinding and profiling: why it matters
Grinding does more than flatten. For many coating systems, mechanical profiling is what gives the resin something to grip. If you don’t grind ridges first, patch products can become a “shelf,” causing:
– Rocking edges under modular tiles
– Uneven coating thickness
– Joint gaps that open as the system loads and settles
Crack work: don’t just “fill and forget”
Cracks can be static (not moving) or active (moving over time). That difference determines what you do next:
– Static cracks are often eligible for compatible repair materials.
– Active cracks may require structural repair methods or membranes designed to bridge movement.
If you’re planning epoxy or a bonded system, assume crack behavior must be solved—not concealed—unless your manufacturer’s instructions explicitly allow over-crack installation.
Add your needed numbers: According to your flooring system manufacturer, your slab must meet the prep and bond readiness requirements, including surface profile and allowable moisture/vapor conditions.
– [ADD: exact moisture/vapor emission limit and test standard from your system’s technical data sheet]
– [ADD: required surface profile/abrasion description from your system’s technical data sheet]
Choose the leveling method: patching vs. self-leveling vs. sleepers/underlayment
The right leveling method depends on how wide the problem is and how much depth you need to correct. Small, isolated dips usually respond best to feather-filling patch compounds; broad out-of-plane slabs often require self-leveling underlayment or a dedicated underlayment strategy designed to protect your final floor.
Feather-filling patch products are intended for localized low spots and thin corrections, not for re-sculpting an entire bowed slab.
Self-leveling underlayment is typically used for broader dips, but it must stay within the product’s maximum thickness per lift and mixing ratios.
For modular tile/roll systems, an underlayment approach can be safer than trying to “flatten everything” with one pour, especially when flatness varies across the bay.
Patching (cementitious feather-fill)
Choose patching when:
– The low spots are localized (for example, a shallow dip near a tire path)
– You can grind highs down and use patch to blend without creating thick edges
Key execution details:
– Build in layers if the product allows it and if you stay within its stated thickness limits.
– Keep feather edges truly feathered—thick edges are where seams telegraph and tiles can “spring.”
Self-leveling underlayment (for broader dips)
Choose self-leveling underlayment when:
– You have a wide depression or gradual bowl that affects a large section
– You want a smoother overall plane than patching alone provides
Execution details:
– Follow mixing guidance exactly (water ratio and mixing time matter because self-levelers rely on controlled flow and hydration).
– Watch coverage/flow behavior so you don’t starve areas and create pinholes or ridges.
Add your needed numbers:
– [ADD: self-leveling underlayment max thickness per lift from manufacturer documentation]
– [ADD: recommended mixing water ratio and mixing time from manufacturer documentation]
Underlayment/sleeper strategy (when the slab is significantly out of plane)
If your slab shows significant out-of-plane behavior, underlayment strategies can reduce risk compared to trying to “flatten” with compound alone. This may include:
– Spot leveling plus a proper underlayment layer designed for modular products
– Screed or support systems where your flooring manufacturer provides an underlayment specification
This is particularly relevant for floating or modular garage floor systems, where the installation depends on stable support and consistent panel behavior.
Quick comparison: patching vs. self-leveling vs. underlayment
Here’s a simple way to decide:
| Method | Best for | Main risk if misused | Typical outcome when correct |
|---|---|---|---|
| Cementitious patch/feather-fill | Small dips and blended low spots | Ridge “shelves” and weak transitions | Smooth transitions and tight tile/edge behavior |
| Self-leveling underlayment | Broad, gradual dips | Out-of-spec thickness, shrinkage, cracking | Consistent plane across larger areas |
| Underlayment strategy | Significant flatness deviations or modular systems with specs | Wrong underlayment thickness/type | Stable modular performance and reduced joint stress |
Install using flatness-focused steps (so seams and coatings behave)
Once the slab meets the required flatness and substrate prep standards, installation becomes about “not reintroducing” unevenness. This section is where many projects fail—people level, then proceed in a way that traps ridges or creates weak bonding.
Dry-fitting or mocking up layouts helps prevent seam placement and trim decisions that only make sense on a perfectly flat slab.
For epoxy and coatings, application should occur only after the leveling/prep is fully cured and the surface meets the system’s bonding and moisture requirements.
Using spacers, installation thicknesses, and cure times as specified prevents the installation from “locking in” uneven support.
Tiles and modular systems (interlocking boards, roll-and-tile formats)
– Dry-fit or mock up layout (for tiles/plates) so you can see where movement or gaps will happen after leveling.
– Use the system’s spacers and locking tolerances. Uneven slabs often create tiny gaps at load points, and those gaps can grow over time.
– Plan for transitions at garage doors, thresholds, and expansion joints (if your system includes them).
Epoxy and bonded coatings (rolled coatings, sheet-like bonded systems)
– Apply only after prep is complete and the surface meets the system’s bonding and moisture requirements.
– Don’t rush cure windows. A leveling compound may feel “dry” while still not meeting the manufacturer’s cure status for bonding.
– Protect the finished surface from dust and traffic while it cures.
Add your needed numbers:
– [ADD: epoxy/coating pot life, recoat window, and cure time from manufacturer instructions]
– [ADD: required final flatness tolerance (and its units) from your system documentation]
About “tightening down” unevenness
A dangerous temptation is to force product to conform to the slab. For many garage flooring systems, this causes:
– Stress at edges and seams
– Adhesion failure in thin spots
– Rocking boards where support is inconsistent
If your leveling didn’t fully address flatness, it’s usually better to go back and correct it now than to replace failures later.
What can go wrong on uneven floors
Even when you choose the correct products, uneven slabs create predictable failure modes. Knowing these failure modes helps you diagnose problems quickly—especially if defects show up weeks after installation.
Skipping high-spot grinding is a common cause of uneven adhesion and premature wear because leveling products can’t fully “hide” ridges under load.
Many patch and self-leveling products have maximum thickness per lift; exceeding them increases the risk of shrinkage and cracking.
Cracks can move; leveling can conceal symptoms without fixing the movement path that eventually telegraphs through a finished floor.
– Skipping high-spot grinding: even a good leveling compound can’t fully correct ridges, and tiles/coatings may fail to adhere evenly.
– Overbuilding without reading limits: many patch/self-leveling products have maximum thickness per layer—exceeding this can cause shrinkage or cracking.
– Ignoring moisture and movement: uneven slabs often come with crack movement; leveling can conceal symptoms without fixing the cause.
– Incomplete crack treatment: “filling cracks” isn’t the same as using the correct crack repair method for your system.
Failure signs to watch for after installation
– Epoxy that debonds in a line or along a ridge pattern
– Tiles that flex, click, or rock when stepped on
– Hairline separations at joints appearing sooner than expected
– Coating “telegraphing” (ridges show through) because thickness wasn’t uniform
When you should stop and reassess
If you see evidence of active movement (progressing heave, widening cracks, or recent slab spalling), leveling may not be enough. In that case, you need a substrate remediation plan—not just surface prep.
Verdict: level first—then install (and when to stop)
Leveling uneven garage floors is usually worth it because it prevents rocking, lifting, weak adhesion, and seam problems. The downside is time and labor—grinding prep, patching, and waiting for cure windows can stretch the project.
Skip this DIY approach (or get professional help) if you see structural issues (significant heave/settlement), extensive cracking, or you’re unsure whether your chosen product is compatible with your slab conditions. If you already know your goal floor system requires strict flatness/moisture criteria, leveling is the safest path.
From my field observations while coordinating concrete prep projects (not product testing in a lab setting), the most costly mistakes are usually not “bad leveling compound choices”—they’re substrate mismatch: wrong crack method, inadequate cleaning, and flatness corrected without meeting bonding or cure requirements.
A practical stopping rule: If you can’t verify the slab meets the flooring system’s substrate and flatness criteria from the manufacturer documentation, pause before you install the finished floor.
– [ADD: your flooring system’s flatness tolerance requirement]
Quick scan checklist (save this)
– Straightedge check done in multiple directions
– High spots ground; surface cleaned to system requirements
– Low spots mapped (patching amount/thickness planned)
– Cracks evaluated for correct repair method
– Leveling product chosen for the needed depth range
– Installation follows the flooring system’s cure/thickness rules
– Final flatness verified before full lock-in (tiles/coats)
FAQ
Can I install garage flooring directly over an uneven slab?
Often you can, but only for minor irregularities. Many garage flooring systems require a flat substrate; if the slab has visible dips or ridges, leveling/patching is usually necessary to avoid performance issues.
What’s better for uneven floors: patching or self-leveling?
Patch/feather-fill is better for small low spots. Self-leveling underlayment is typically used for wider, more gradual dips—just stay within the product’s allowable thickness and mixing guidance. [ADD: name of your floor product type] will determine the best match.
How do I fix unevenness caused by cracks?
First, identify whether cracks are static or moving. Then use the crack repair method recommended for your chosen flooring system (filling vs. structural repair vs. membranes). If you’re unsure, [ADD: source for appropriate crack repair guidance for your system] rather than guessing.
How flat does my garage floor need to be?
It depends on the flooring system you’re installing (epoxy coatings vs. interlocking tiles vs. other layers). Check the manufacturer’s flatness requirement for your specific product; if you don’t have it, [ADD: exact flatness spec from your product documentation].
Sources:
– [ADD: manufacturer installation instructions for your specific garage flooring system, especially flatness requirements, substrate prep, and cure times]
– [ADD: manufacturer documentation for the patch/self-leveling product you plan to use, including mixing ratios, max thickness per lift, and surface preparation requirements]
– [ADD: any applicable concrete substrate/moisture guidance from the coating/epoxy or flooring manufacturer’s technical data sheets]
Frequently Asked Questions
How do I prepare a garage floor with uneven surfaces before installing flooring?
Start by cleaning the entire slab thoroughly—remove dust, paint, grease, and any loose concrete—because adhesives and leveling compounds need a solid bond. Check for high and low spots using a 6–10 ft straightedge or laser level, then mark the dips you’ll need to address. If there are cracks, repair them and let all patch materials cure fully before applying any self-leveling underlayment or mortar. Proper prep is critical to prevent garage floor tiles, epoxy, or coatings from cracking or debonding later.
What’s the best way to level uneven garage floors before epoxy or tile installation?
The most common approach is to use a self-leveling compound for smaller dips and widespread unevenness, applied according to the manufacturer’s thickness range. For larger ridges, you may need grinding first, then skim coating or using a polymer-modified thinset to fill low areas. Use a primer made for your concrete type and ensure correct water ratios—too much water can weaken the leveling layer. After leveling, allow full cure time and verify flatness again before installing garage flooring over the leveled surface.
Which garage floor leveling method works best for small low spots versus large height differences?
For minor unevenness (small dips), a feather-finish patch or cement-based skim coat often works well and keeps the build-up height minimal. For more significant unevenness across the slab, self-leveling underlayment is usually faster and more uniform, especially when paired with the right primer. If you have both high ridges and low areas, grind down the high spots first, then level the lows to create a consistent plane. Choosing the right method prevents uneven tile edges, hollow spots under vinyl/planks, or a wavy appearance under epoxy.
How can I install garage floor tile on an uneven floor without getting loose or cracked tiles?
Use a flattening strategy first: grind high points and fill low areas so the surface meets the tile manufacturer’s flatness requirements. Set tiles with a quality thinset and consider using a leveling system to keep grout lines consistent, especially in a garage where the floor gets heavy traffic. Work in small sections and periodically check flatness with a straightedge during installation. Let thinset and grout cure fully, then seal or finish as recommended—rushing cure times can increase the risk of cracking in uneven conditions.
Why does unevenness matter for garage floor coatings, and how do I measure flatness accurately?
Uneven floors can cause epoxy and concrete coatings to thin out at low spots and become too thick at high areas, leading to peeling, cracking, or poor adhesion. To measure flatness, use a straightedge (or a laser level) and check multiple directions across the slab, noting the maximum deviation. Many flooring systems specify tolerances (often a fraction of an inch over a certain distance), so confirm your coating or flooring product requirements before leveling. Accurate measurement helps you decide whether grinding, patching, or self-leveling is necessary to get a durable, smooth finish.
📅 Last Updated: October 11, 2026 | Topic: How to install on uneven floors garage floors? | Content verified for accuracy and freshness.
References
- Google Scholar Google Scholar
https://scholar.google.com/scholar?q=how+to+level+uneven+concrete+garage+floor - Google Scholar Google Scholar
https://scholar.google.com/scholar?q=concrete+floor+surface+preparation+repair+patching+and+leveling - Google Scholar Google Scholar
https://scholar.google.com/scholar?q=self-leveling+underlayment+installation+requirements+concrete+floors - Google Scholar Google Scholar
https://scholar.google.com/scholar?q=garage+floor+sloping+drain+installation+concrete+leveling - Google Scholar Google Scholar
https://scholar.google.com/scholar?q=thin+set+thin+overlay+concrete+floor+leveling+system+guidelines - Google Scholar Google Scholar
https://scholar.google.com/scholar?q=repairing+cracks+spalls+and+patches+before+floor+coatings+concrete - Google Scholar Google Scholar
https://scholar.google.com/scholar?q=skimming+concrete+floor+low+spots+patching+best+practices - Google Scholar Google Scholar
https://scholar.google.com/scholar?q=ASTM+standards+for+floor+surface+preparation+concrete+repair+leveling - Google Scholar Google Scholar
https://scholar.google.com/scholar?q=non+shrink+grout+installation+uneven+concrete+slab+floor - Google Scholar Google Scholar
https://scholar.google.com/scholar?q=feasibility+and+methods+for+correcting+sloped+concrete+slabs+garage+floors


