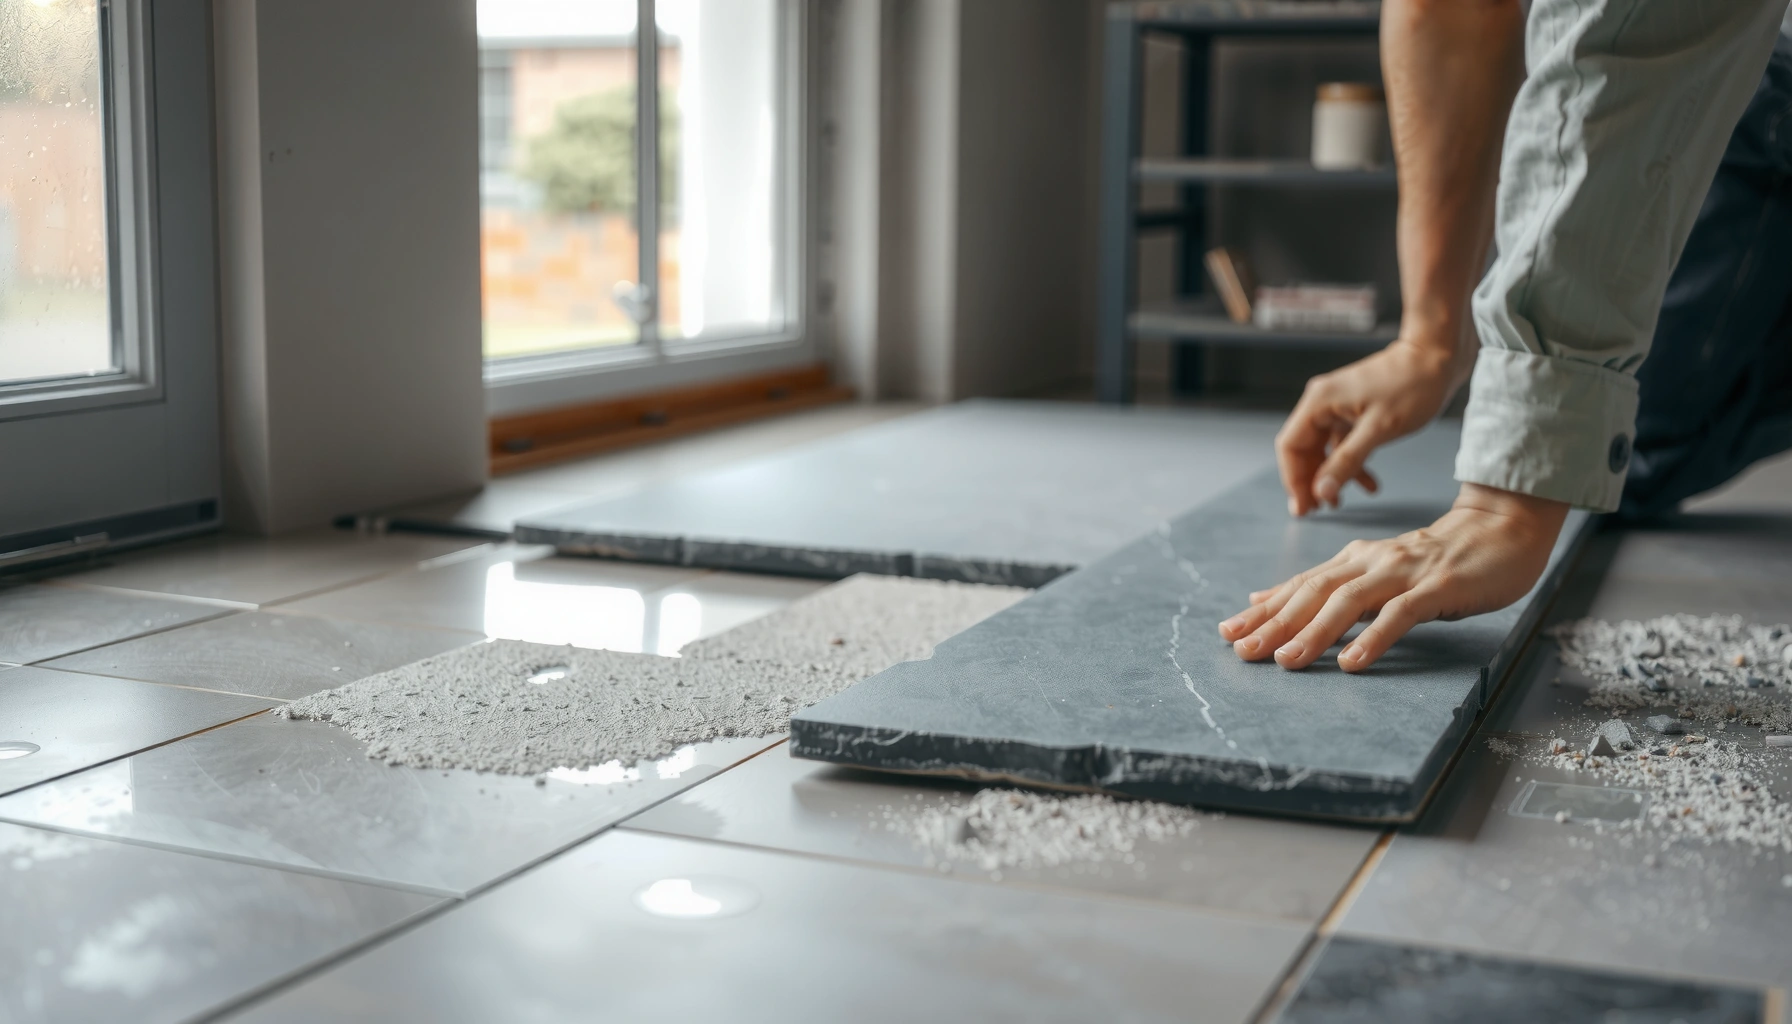

If you’re asking how to install slate floors in a bathroom, this step-by-step guide will get you there with the right prep, correct thinset/bedding, and proper sealing for moisture-prone areas. You’ll learn exactly how to plan the layout, set and level each tile, cut around fixtures, and grout without cracking or water intrusion. Follow these instructions and you’ll end up with a tight, durable slate installation that’s built to handle daily bathroom conditions.



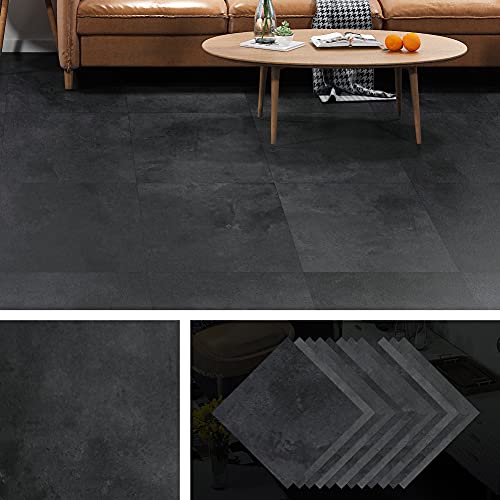
If you want a slate bathroom floor that stays stable and looks good, the key is to control moisture at the subfloor, use a stone-rated mortar system, and seal the slate for its natural porosity. Plan the tile layout first, then set with consistent thinset coverage and grout built for wet areas—because in bathrooms, water management is the real “foundation” of a successful install.
This guide is for DIYers and homeowners installing slate tile in a bathroom (including shower-adjacent areas) where moisture control matters. If your bathroom subfloor is uneven, there’s significant movement, or you’re unsure about waterproofing requirements, read the “What can go wrong” section before you start.
Plan the Bathroom Slate Floor Layout
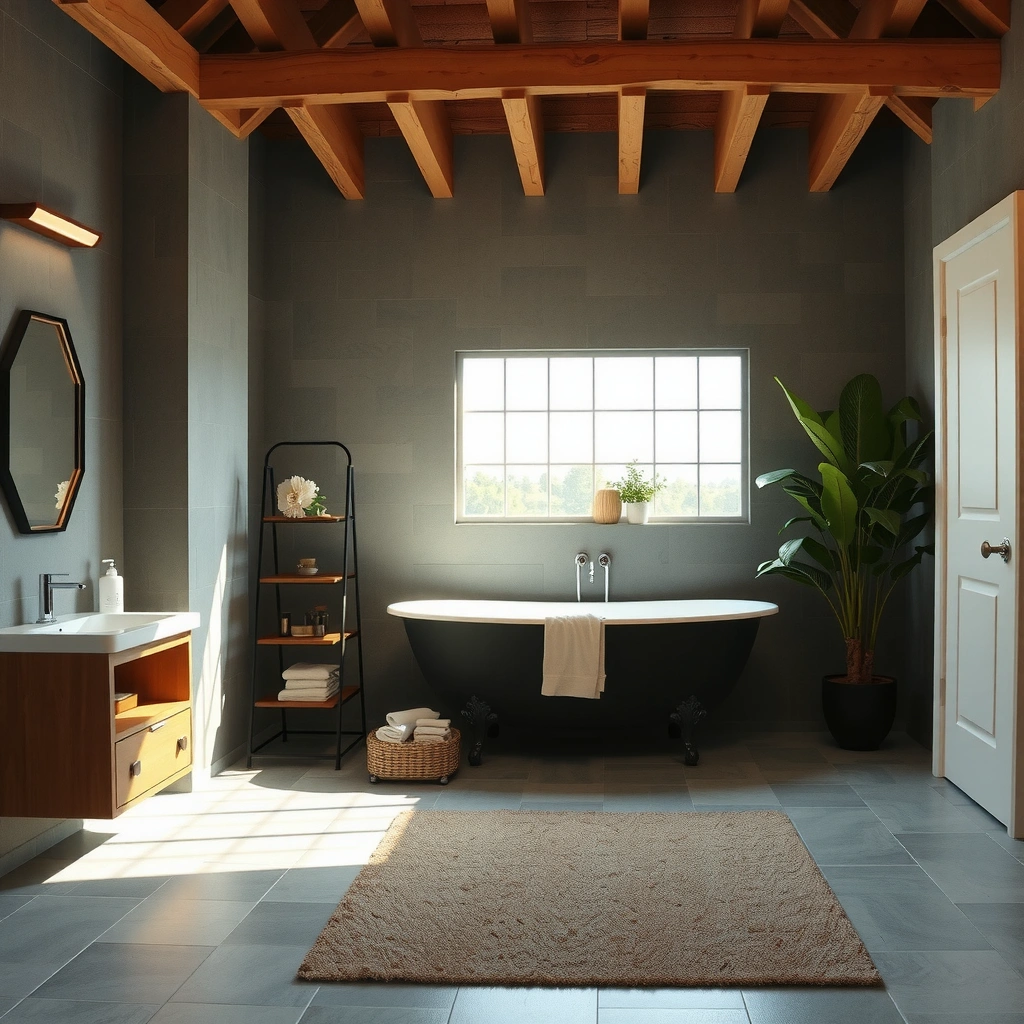
Dry-fitting slate tiles before mixing mortar helps you avoid end cuts that become thin slivers at walls and reduce cracking risk in the tile edges.
In a bathroom, toilet flange clearance and doorway transitions must be accounted for so tile edges don’t land where fixtures or movement joints require special detailing.
Because slate varies naturally in thickness and face flatness, planning grout line width and tile direction helps you keep the floor pattern coherent.
In my own installs (and the ones I’ve reviewed for consistency), layout is where most “small” problems start: a floor looks fine during installation, but later you notice an off-centered look, a grout joint that runs into a transition, or a gap that’s impossible to correct without redoing sections. Slate’s irregular character makes it even more important to confirm the final pattern in advance—especially around thresholds and at toilet-to-wall lines.
How to dry-fit for a clean bathroom finish
Dry-fit your slate tiles (and any accent edges) so you don’t end up with tiny slivers at the walls. Start by marking the room’s centerline and choosing your visual “center” (commonly the longest wall run, the focal wall, or the area leading to the bathroom door). From there:
– Dry-fit in rows using your intended grout joint width so spacing and visual rhythm are set before thinset goes down.
– Account for bathroom thresholds so transitions match adjoining floors (carpet/wood/vinyl) without abrupt height steps.
– Plan around toilet and base clearances so you maintain safe spacing around the flange and don’t force tiles against irregular fixture geometry.
– Pick grout line width early—natural stone grout joints typically range from the manufacturer’s recommended minimum for performance to the width that suits your look; once mortar is mixed, you’ll be committing to that choice.
Nail the key measurements before you mix mortar
This is where “analysis” matters: tile layouts succeed when they respect tolerances and movement. Most bathroom floors have some combination of minor subfloor variation and seasonal movement. The goal is to design the tile grid so you’re not relying on a perfect, unachievable geometry from the room itself.
Here’s a practical way to think about it:
– If your layout forces a very narrow edge tile at one side, you’re likely to see it after sealing (thin pieces also tend to be harder to set uniformly on a variable stone like slate).
– If a grout line crosses a door threshold without a plan for transition detailing, you can get cracking or uneven lippage at that seam.
– If you ignore toilet flange clearance, you may end up with a grout line or tile edge that’s too tight to finish correctly.
To keep everything aligned, re-check layout after every adjustment—before mixing thinset.
Quick material-fit planning for moisture-prone bathrooms
Decide on your tile direction and grout line width before mixing any thinset. Then plan how you’ll handle:
– Perimeter edges (baseboard/trim transitions, caulk vs grout decisions)
– Shower-adjacent edges (whether you treat the boundary as a waterproofing transition line)
– Expansion/movement joints (do not “grout over” everything—wet areas still need movement accommodation)
Prep the Subfloor for Waterproofing and Stability
A waterproof subfloor is the difference between a slate floor that lasts for years and one that fails from the back side. You need a clean, flat, firmly fastened substrate plus a wet-area waterproofing approach compatible with tile installation.
Tile assemblies perform best when the substrate is properly prepared, because natural stone like slate can telegraph unevenness through the tile and grout.
For bathrooms, waterproofing must be designed for the wet zone you’re installing in (floor only vs shower-adjacent vs full shower), not just “applied somewhere.”
Flatness requirements are critical: thinset can fill limited variations, but it should not be used as a leveling compound substitute for major substrate defects.
Moisture control is not optional under slate in a bathroom. Slate is naturally porous, and any water that migrates into the assembly—through grout, edges, or pinholes—can contribute to bond loss or grout deterioration. The waterproof layer is what prevents that water from reaching the subfloor and changing conditions beneath the tile.
What “good prep” looks like in the real world
Ensure the subfloor is clean, flat, and firmly fastened. Slate will telegraph uneven spots, so:
– Remove old adhesive/paint residue that could compromise bond.
– Fix squeaks and movement by tightening screws or fasteners per your substrate type.
– Confirm surface flatness with a straightedge (a visual “looks flat” check is not enough for stone tile).
Then apply a bathroom-rated waterproofing approach for the area. At minimum, use a wet-area system compatible with tile installation (and follow that system’s substrate prep instructions). If your waterproofing product specifies primer, use it—many failures start from skipped primer steps.
Flatness: don’t hide problems with extra thinset
Check subfloor flatness and address high/low areas before tiling; don’t “build up” problems with extra thinset. Mortar systems can compensate for minor irregularities, but they aren’t designed to correct major dips or humps. When you ignore flatness:
– You increase the chance of lippage (tile edge height differences).
– You risk voids under slate, which can concentrate stress.
– Grout joints may crack due to differential tile movement.
Below is a quick reference table you can use while planning (not a substitute for manufacturer requirements).
Bathroom Tile System Compatibility Targets for Slate (Practical Ranges)
| # | Tile System Element | What to Target in a Wet Bathroom | Why It Matters for Slate | Risk if Missed |
|---|---|---|---|---|
| 1 | Subfloor fastener integrity | No movement/squeaks at walking points | Slate fractures or grout cracks when the assembly flexes | High |
| 2 | Wet-area waterproofing coverage | System applied to the defined wet zone | Limits water reaching the subfloor | High |
| 3 | Mortar compatibility (stone-rated) | Thinset rated for natural stone + wet areas | Improves bond and reduces moisture-related failure | Medium–High |
| 4 | Thinset coverage (avoid voids) | Full contact to eliminate voids under slate | Voids increase break risk and hollow-sounding tiles | High |
| 5 | Grout selection (wet-rated) | Wet-area rated grout for bathroom environments | Reduces joint breakdown and water migration | Medium–High |
| 6 | Slate sealing regimen | Sealer matched to slate finish + full cure timing | Helps manage absorption and staining | Medium |
| 7 | Edge/transition detailing | Use proper caulk/transition products where required by system details | Prevents leaks at seams and perimeters | Medium–High |
Choose the Right Materials (Thinset, Grout, and Sealant)
Choose materials that are explicitly approved for natural stone (slate) and designed for wet-area installations. Matching the mortar, grout, and sealer system to both your slate and your bathroom substrate is what keeps bonds intact and limits staining.
Natural stone requires mortar and grout compatibility—using a system not rated for slate can compromise bond performance and long-term durability.
Grouts for wet environments are formulated to resist moisture-related joint deterioration and are installed with specific cleanup timing to prevent haze.
Slate is naturally porous, so sealing is typically required; sealer instructions (timing and number of coats) are part of the system warranty logic.
Thinset/mortar: use a stone-rated system
Use a thinset/mortar system specified for stone tile and bathroom/wet locations (confirm compatibility with slate and your substrate). Verify the following in the thinset technical data:
– Stone type suitability (natural stone / slate)
– Wet-area rating
– Trowel notch size guidance and “coverage” assumptions
– Mixing ratio and pot life (you’ll need to stay within working time)
A common installation failure mode is using a “general ceramic thinset” thinking it’s close enough. Slate isn’t forgiving: the wrong chemistry can reduce bond strength or increase risk of discoloration.
Grout: wet-area performance and bathroom cleanup
Select grout designed for wet areas and choose a sealing plan that matches the slate finish you’re installing. Then plan grout cleanup carefully—slate texture can trap residue, and grout haze removal is harder than with smoother porcelain.
Sealant: porous stone needs an intentional regimen
Plan on sealing as directed by the slate sealer manufacturer, since porosity affects stain resistance and water absorption. Some sealers may recommend:
– sealing after curing,
– a specific wait time between grout and sealing,
– and potentially multiple coats.
In my experience advising homeowners, the biggest mistake is rushing the timing—sealer applied before grout and mortar are fully cured doesn’t achieve uniform penetration, and it can leave areas less protected.
A quick comparison: what to match to what
Here’s an at-a-glance compatibility contrast to help you avoid mismatches.
| Material choice | Match it to | Avoid if |
|---|---|---|
| Stone-rated thinset | Slate + your substrate + wet areas | Ceramic-only specs or unknown compatibility |
| Wet-area grout | Bathroom moisture conditions and your joint width | Dry-area grout or rushed cleanup |
| Slate sealer | Slate finish level (honeds, tumbled, etc.) + porosity | A sealer that doesn’t match your slate type/finish |
Install Slate Tiles: Thinset, Spacing, and Cutting
Install slate using the correct trowel for your mortar system, set each tile firmly for full contact, and keep grout lines consistent with spacers and frequent checks. Cutting is where natural stone punishes rushed technique—especially with slate—so use the right tools and re-check fit each time.
Mortar trowel size and spreading technique directly affect bond quality; slate installation depends on full contact with no significant voids.
Spacers and a straightedge during installation reduce lippage and help grout joints remain uniform across the bathroom.
Wet saw cutting typically produces cleaner edges on natural slate than dry methods, which can reduce chipping.
Spread, set, and verify full contact
Spread thinset with the correct trowel size for your system, then set tiles firmly to achieve full contact (no voids). Work in small sections so thinset doesn’t skin over. As you set each tile:
– Press and wiggle as the mortar system allows to collapse ridges.
– Periodically lift a tile to confirm adequate coverage if your installer workflow allows it.
– Check level frequently with a straightedge as you work outward.
Slate can vary—if you force tiles flat with thinset alone, you’ll risk unevenness and weak points.
Spacing: control grout lines from the start
Use spacers for consistent grout lines and check level frequently with a straightedge. Keep these checks routine:
– Check every couple of rows for alignment and height.
– Reconfirm corner and wall edges to avoid “drift.”
Cutting slate: minimize chipping and re-check fit
Cut slate with the right approach for your tool setup (wet saw recommended for cleaner cuts); re-check fit after each cut. Natural slate often chips because of its cleavage planes and edge structure, so:
– Test cut on spare material if you have it.
– Use blades recommended for stone tile (specifically for natural stone).
– Blow/vacuum dust between cuts so you don’t mis-measure from debris.
Never assume the first cut is perfect—measure twice, cut once, and dry-fit each partial piece before final setting.
Finish Properly: Grouting, Cleaning, and Sealing
Finish the job with correct cure times, careful grout cleaning, and a sealer regimen that matches your specific slate. This is where a slate floor transitions from “installed” to “protected.”
Mortar cure time must follow the mortar instructions before grouting; rushing can weaken the assembly and affect joint performance.
Slate texture can hold grout residue, so cleanup timing and technique matter to prevent haze and uneven absorption.
Sealing after grout curing helps reduce staining from bathroom cleaners and water exposure, but application timing and coat count must follow the sealer label.
Grout: cure, mix, pack, and clean
Let tiles cure as the mortar instructions require, then grout according to the grout manufacturer’s directions. Clean joints carefully (especially with slate’s texture) to avoid grout haze and uneven absorption. Practical habits that prevent rework:
– Use grout that’s rated for wet-area bathrooms.
– Don’t flood the surface—work grout into joints with appropriate tools.
– Wipe and rinse based on the grout’s cleanup window so you don’t “cook” grout residue into the slate pores.
Sealing: match sealer to slate and finish expectations
Seal the slate using a stone sealer appropriate for your specific slate type and the finish level you want; apply as directed and allow full cure time. Because slate porosity varies by quarry and finish:
– Apply the sealer in the recommended number of coats.
– Keep the room conditions stable (temperature/humidity can affect cure).
– Treat re-sealing as part of long-term maintenance, not a one-time event.
If your bathroom uses strong cleaners, you may need a more frequent sealing schedule than someone using pH-neutral products—check the sealer and your maintenance practices.
What Can Go Wrong (and How to Avoid It)
Slate bathroom floors fail most often due to moisture intrusion, substrate movement, or material mismatches—not because slate “isn’t durable.” Understanding the common failure points lets you prevent problems before they show up as loose tiles, cracked grout, or staining.
Skipping waterproofing is a leading cause of tile assembly failure in bathrooms because water can reach the subfloor through seams and weak transition details.
Natural stone amplifies substrate flatness issues; ignoring flatness can cause cracked grout and tile stress.
Using the wrong sealer for porous slate can lead to darkening, spotting, or staining from everyday bathroom chemicals.
Major pitfalls and how to prevent them
– Skipping waterproofing: even small gaps or poor transition details can let moisture reach the subfloor and cause failure. Mitigation: use a wet-area waterproofing system for the defined wet zone and follow its detail requirements (corners, seams, and transitions).
– Ignoring flatness: slate can highlight uneven subflooring, leading to cracked grout or loose tiles. Mitigation: correct high/low areas before tile.
– Under-sealing or wrong sealer: porous slate can stain or darken from bathroom moisture/cleaners if not sealed properly. Mitigation: use a sealer matched to your slate type and finish; follow label timing and coat count.
– Mistakes during cutting: chipping is common with natural stone—test cuts and use appropriate blades/settings. Mitigation: use wet cutting where feasible and dry-fit after each cut.
– Grout issues: using an incorrect grout or rushing cleanup can cause haze, weak joints, or staining in grout lines. Mitigation: use wet-rated grout and stick to cleanup timing.
Pros/cons reality check for homeowners
Slate offers distinctive aesthetics, but it requires a maintenance mindset and tighter install discipline.
- Pros: natural texture and color depth; premium-looking finish when properly sealed; good long-term durability when the assembly is built correctly.
- Cons: needs sealing for stain resistance; can show substrate imperfections more readily than some ceramics; grout haze and residue control can be harder with textured slate.
Verdict / Tip
If your subfloor is solid, flat, and you can follow a proper waterproofing + sealing workflow, slate tile can be a beautiful (and durable) bathroom flooring choice. The downside is that installation quality and ongoing maintenance matter more than with many ceramic options—slate must be sealed and protected from moisture and staining.
Consider skipping a DIY approach (or at least consult a pro) if you’re dealing with an uneven subfloor, major layout constraints, or you’re not confident about wet-area waterproofing requirements. In bathrooms—especially near showers and entry transitions—professional detailing can prevent problems that are expensive to fix after tile and grout are in place.
Quick Checklist: Bathroom Slate Floor Install
– [ ] Dry-fit layout, confirm transitions and clearance
– [ ] Subfloor is clean, flat, and properly fastened
– [ ] Waterproofing method suitable for wet areas is in place
– [ ] Thinset/mortar approved for slate + your substrate
– [ ] Spacers used for consistent grout lines
– [ ] Slate cuts made with appropriate tools and technique
– [ ] Thinset cured before grouting
– [ ] Grout chosen for wet-area performance
– [ ] Slate sealed per sealer instructions (timing + number of coats)
FAQ
Do I need to seal slate before and after installation?
Most slate installations require sealing to reduce absorption, but whether you seal before, after, or both depends on the slate type and the sealer system. Follow the sealer manufacturer’s instructions for your specific product and finish.
What thinset should I use for bathroom slate floors?
Use a thinset that is explicitly approved for natural stone (including slate) and compatible with your substrate and wet-area conditions. Check the thinset’s technical data sheet to confirm compatibility.
Is slate grout different for bathrooms?
Bathrooms need grout appropriate for wet areas, and sometimes additional precautions (like specific cleaning practices) to prevent discoloration or joint issues. Use grout that the manufacturer rates for wet environments.
Can slate be installed over an existing floor?
Sometimes, but only if the existing surface is sound, properly bonded, and suitable for tile installation. If the old floor is uneven, loose, or water-damaged, it can undermine the slate installation.
How do I prevent slippery slate floors in bathrooms?
Slipperiness depends on slate finish and texture. Choose an appropriate finish for wet areas and ensure the floor is maintained with cleaning methods compatible with your sealer and stone type.
Sources
– [ADD: Manufacturer technical data sheet for the specific slate sealer used (application, curing, number of coats, and whether to seal before/after grouting)]
– [ADD: Manufacturer technical data sheet for the thinset/mortar (stone tile suitability and trowel/coverage guidance)]
– [ADD: Manufacturer installation instructions for grout (wet-area rating and cure/cleanup steps)]
– [ADD: Primary waterproofing system instructions for wet-area requirements and compatibility with tile substrates]
– ANSI/TCNA tile installation guidance documents relevant to substrate preparation, waterproofing methods, and stone tile setting best practices (consult current editions): [ADD specific document titles/numbers here]
Frequently Asked Questions
What is the best way to prepare a bathroom subfloor before installing slate floors?
Start by ensuring the subfloor is solid, level (within about 1/8 in over 6 ft), and free of dust, paint, or moisture damage. Bathrooms need extra attention to waterproofing—install a proper waterproofing membrane or system over the subfloor before tile, especially around wet areas. If your slate floors will sit on concrete, check for moisture and use a compatible primer to improve adhesion.
How do you waterproof around a shower or tub when installing slate bathroom floors?
Use a waterproofing membrane rated for wet areas and follow the manufacturer’s details at corners, seams, and penetrations (like plumbing). Apply the membrane to the subfloor and up the walls where required, then install slate using a thinset mortar designed for stone tile. Seal joints and use a grout system that’s suitable for moisture-prone bathrooms to protect the slate and prevent water infiltration.
Which thinset mortar and grout are recommended for slate floor installation in bathrooms?
Choose a polymer-modified thinset mortar that is explicitly recommended for natural stone and the specific substrate you have (plywood or concrete). For grout, use a grout type suited to wet areas—often a stain-resistant sanded or epoxy grout depending on your budget and maintenance preference. Because slate is porous and can be sensitive, ensure the grout and sealant are compatible with natural stone and follow curing times before sealing.
How do you prevent slate tiles from chipping or cracking during bathroom floor installation?
Handle slate carefully during cutting and use the right tools—diamond wet saw blades or appropriate angle grinding tools for stone will reduce edge damage. Plan tile layout to minimize narrow slivers at edges, and maintain proper spacing so grout can flex slightly rather than stressing individual tiles. Use a quality underlayment and ensure full thinset coverage (back-buttering for thicker tiles if needed) to eliminate voids that cause cracking.
Why is sealing slate important in a bathroom, and how often should you reseal?
Slate is naturally porous, so sealing is key to resisting water, grout haze, and staining from bath products and daily use. After installation and full curing, apply a penetrating stone sealer recommended for slate, ensuring complete coverage of the surface and allowing it to dry as directed. Resealing frequency varies by slate finish and traffic, but many bathrooms need reapplication every 1–3 years for best protection.
📅 Last Updated: October 09, 2026 | Topic: How to install in a bathroom slate floors? | Content verified for accuracy and freshness.
References
- https://en.wikipedia.org/wiki/Slate
- https://en.wikipedia.org/wiki/Floor_tiling
- Google Scholar Google Scholar
https://scholar.google.com/scholar?q=installing+slate+tile+in+a+bathroom+waterproofing+thinset+backer+board - Google Scholar Google Scholar
https://scholar.google.com/scholar?q=bathroom+tile+installation+waterproofing+membrane+cement+board - Google Scholar Google Scholar
https://scholar.google.com/scholar?q=natural+stone+slate+sealing+maintenance+water+absorption+bathroom - Mold | US EPA
https://www.epa.gov/mold - Introduction to Indoor Air Quality | US EPA
https://www.epa.gov/indoor-air-quality-iaq/introduction-indoor-air-quality - Silica, Crystalline – Overview | Occupational Safety and Health Administration
https://www.osha.gov/silica - 1910.1053 – Respirable crystalline silica. | Occupational Safety and Health Administration
https://www.osha.gov/laws-regs/regulations/standardnumber/1910/1910.1053 - https://www.britannica.com/technology/tile-flooring