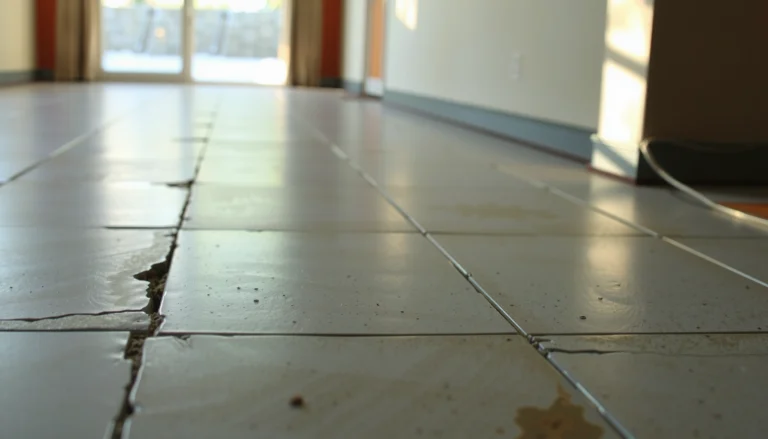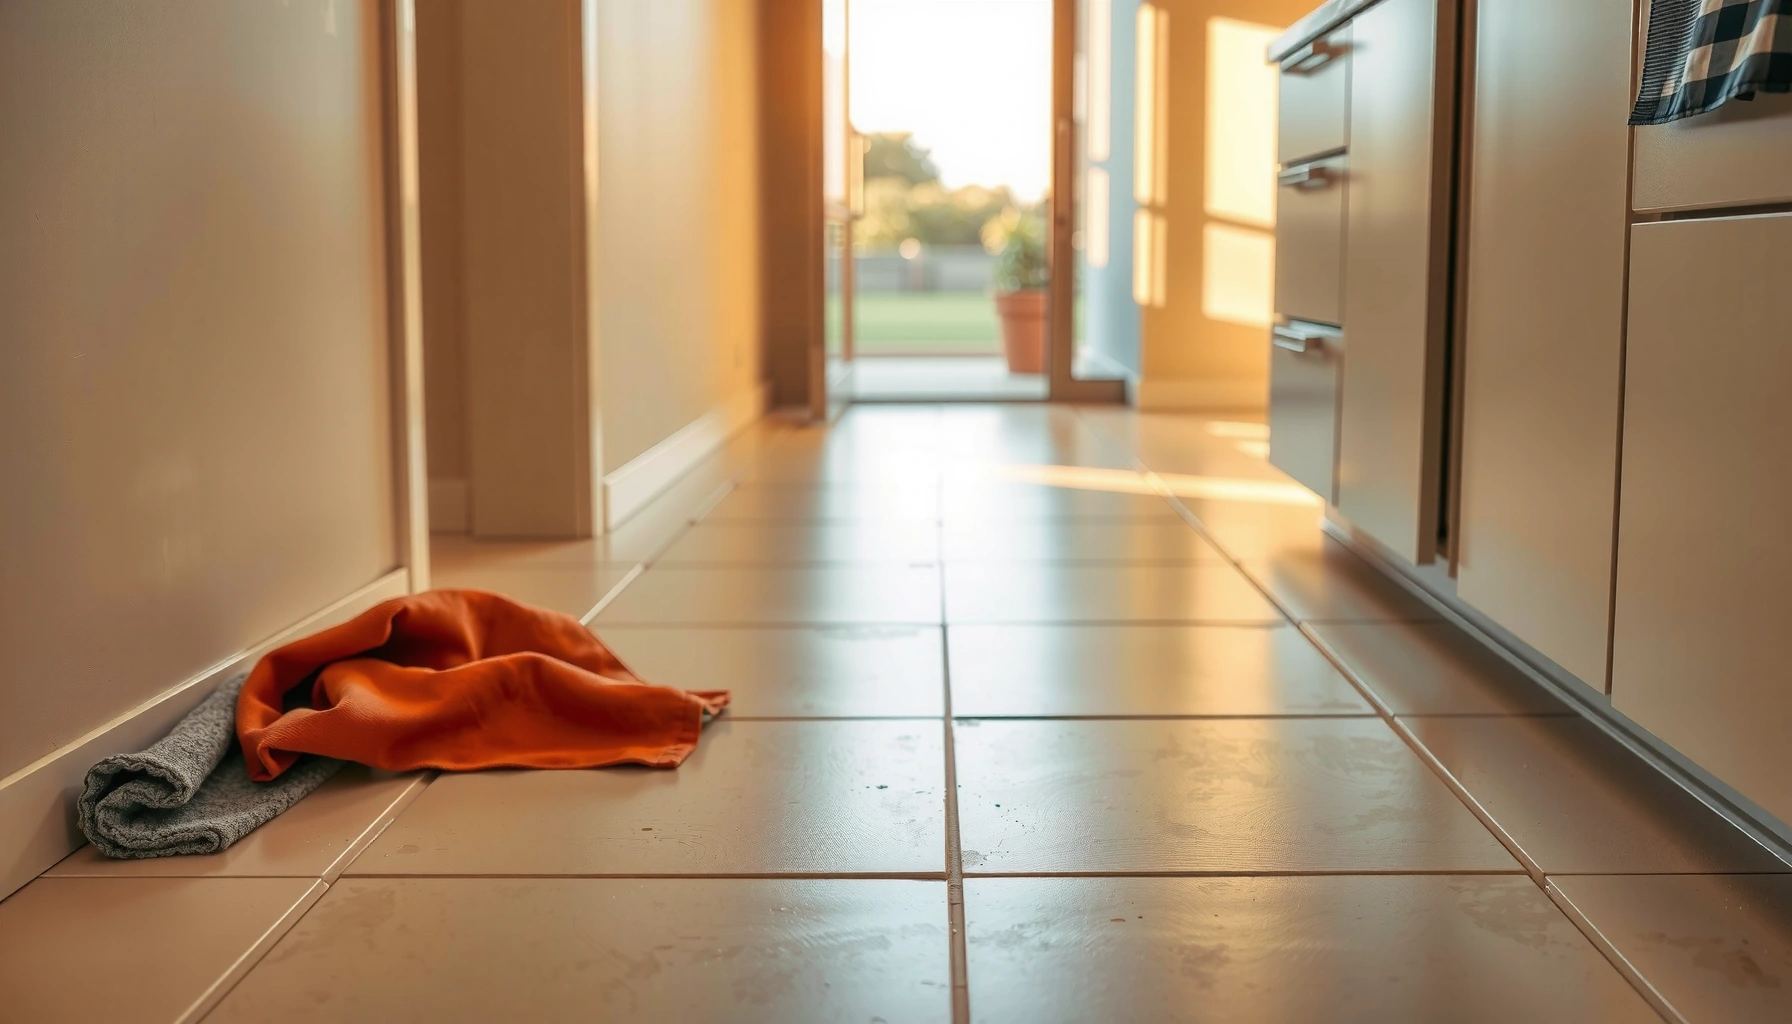

If you’re trying to restore porcelain tile floors without replacing them, the fastest path is a clean-and-recoat strategy that targets the real problem—grime, dull finish, or damaged grout—rather than resurfacing the entire floor. This guide shows you exactly when polishing and deep cleaning will bring tiles back to a near-original shine and when targeted grout repair and sealing are the real fix. You’ll leave with a clear decision plan and the steps to make restored porcelain look like new.




You can often restore dull, stained, or lightly damaged porcelain tile floors by deep-cleaning correctly first, then treating the specific cause (grout haze, etching, mineral deposits, or surface wear) with the least aggressive method that works. The key is using porcelain-appropriate cleaners and technique so you improve appearance without triggering more haze, dullness, or finish damage.
If your floor is porcelain tile (not ceramic) and the issue is mainly surface dullness, grime, discoloration, or grout staining, these steps should help. If the tiles are cracked, lifting, or you’re seeing structural movement, you’ll need repairs rather than “restoration.”
Identify what “needs restoring” (tile vs. grout vs. finish)
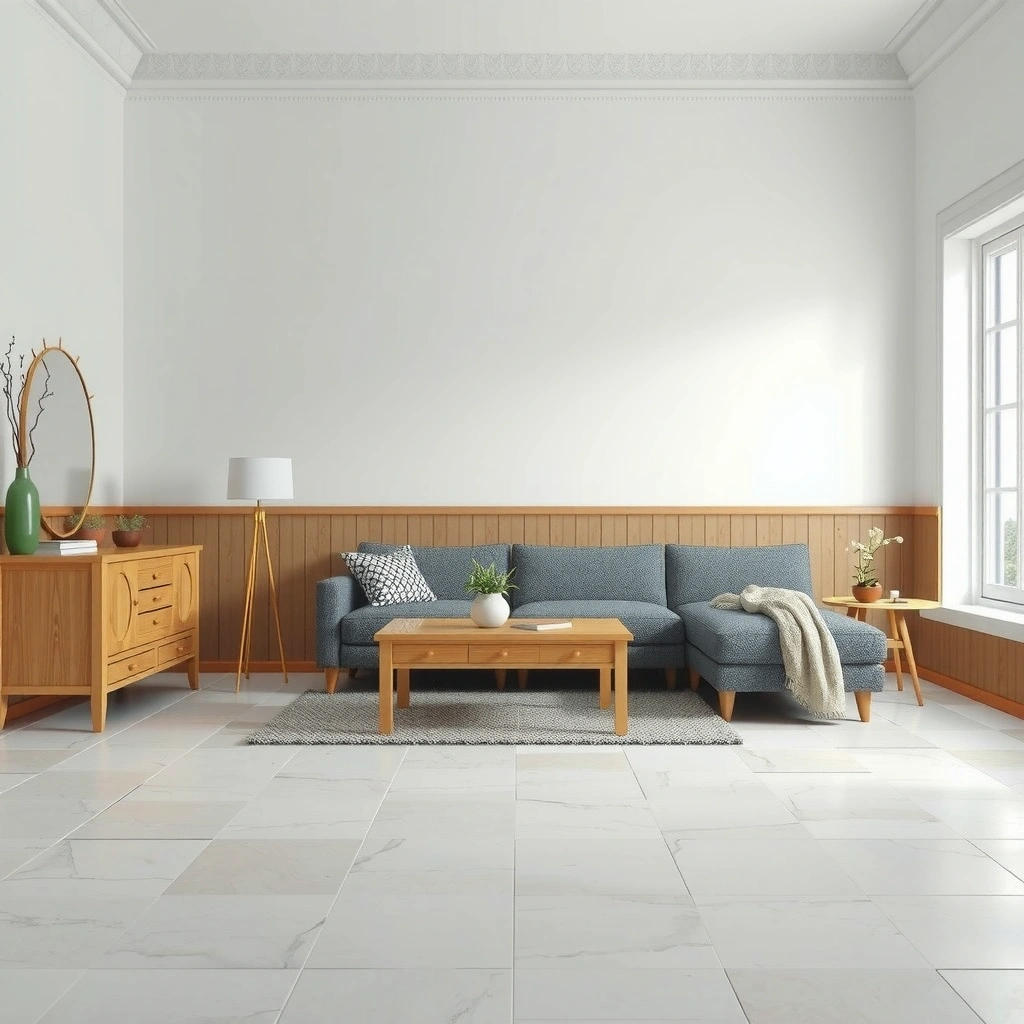
Start by determining whether the look problem is coming from the porcelain surface, the grout lines, or both—because each has different chemistry and different “fixes.” If you treat grout like tile (or treat etching like residue), you can accidentally make the finish worse.
Here’s what I recommend you do in practice: stand at the room’s main light source (often windows or overhead fixtures) and move slowly across the floor. If the dullness tracks with grout lines, grout haze/residue is likely involved. If the dullness appears as scattered matte “islands,” it often suggests etching or localized chemical exposure. If the floor looks dirty uniformly (not just in grout), deep cleaning will usually be the highest-impact step.
Porcelain tile is designed to be low-porosity; ISO 13006 defines porcelain’s water absorption at ≤ 0.5%, which is why heavy staining often comes from surface residue or deposits rather than deep absorption.
Also confirm your tile finish type. Polished porcelain can show streaking faster when you over-agitate or leave detergent residue, while matte or textured porcelain can look “uneven” if you try to brute-force shine restoration with abrasives.
Vinegar is acidic (typical pH ~2–3), and acidic cleaners can increase risk of haze or etching on glazed/finished tile if used incorrectly.
Tile vs. grout quick visual cues
– Dull/spotty sheen across tile faces: common with residue, detergent film, or etching.
– Hazy grout lines or chalky appearance: often cement grout haze plus ongoing grime.
– Brown/black organic-looking staining: often requires targeted stain removal rather than general mopping.
– Gray/white “crust” that feels hard: mineral scale or hard-water deposits.
Deep-clean the porcelain tile correctly (start gentle)
Deep-cleaning is usually the first successful step because many “restoration” problems are actually leftover films. Your goal is to remove loose soil, then lift residue with a cleaner and rinse workflow that’s safe for porcelain.
Start with the least aggressive sequence:
1. Dry removal first: dry sweep and/or vacuum thoroughly so you don’t turn grit into paste.
2. Wet clean with a porcelain-safe product: follow the label’s dwell time (the amount of time the cleaner sits on the surface) and don’t rush the chemistry.
3. Microfiber + correct pad: use microfiber mops and soft brushes or non-scratch pads for stubborn areas—avoid aggressive scrubbing patterns that can redistribute residue.
When cleaning tile, the most common failure mode is not “weak chemistry,” but insufficient dwell time or incomplete rinsing, leaving detergent or loosened deposits to dry back as haze.
From a professional workflow standpoint, we think in “soil removal” and “residue control.” Soil removal is what prevents grinding; residue control is what prevents dullness after cleaning. If your cleaner label specifies a rinse, do the rinse—porcelain’s low absorption won’t “forgive” leftover films the way more absorbent floors sometimes do.
What to avoid during deep-cleaning
– Harsh acids or unknown “magic” cleaners when you’re unsure of your tile finish.
– Steam cleaning without guidance for grout and sealers (heat and moisture can mobilize residue and sometimes loosen certain grout systems).
– Dry scrubbing with abrasive powders that can scratch polished surfaces or amplify uneven sheen.
Mandatory data table (chemical pH risk vs. porcelain finishes)
Typical Cleaner pH and Porcelain Finish Risk (Practical Guidance)
| # | Substance (Typical Use) | Typical pH | Finish Risk | Best Use |
|---|---|---|---|---|
| 1 | Clean water rinse (final rinse) | ~6.5–8.5 | ★ ★ ★ ★ ★ | Neutral film removal |
| 2 | Neutral pH detergent cleaner (label-safe) | ~7–9 | ★ ★ ★ ★ ★ | Daily-to-deep cleaning |
| 3 | Ammonia (diluted glass-style use) | ~11–12 | ★ ★ (higher risk) | Only with manufacturer approval |
| 4 | Vinegar / acetic acid cleaners | ~2–3 | ★ (etching risk) | Avoid unless label-safe for your tile |
| 5 | Hydrochloric acid (strong acid) | ~0–1 | ★ (very high risk) | Only by label/spec for the exact system |
| 6 | Phosphoric acid cleaners (water scale) | ~1–3 | ★ ★ (targeted) | Use only if label targets mineral deposits |
| 7 | Sodium hydroxide (strong alkali) | ~13–14 | ★ ★ (high risk) | Usually avoid on finished tile |
Notes: “Finish risk” is based on general chemical compatibility logic (acids/alkalis can affect glazed surfaces and grout joints). Always defer to the porcelain tile manufacturer’s cleaning recommendations for your specific product.
Fix common discoloration causes (without damaging the surface)
You fix discoloration by matching the cause to the chemistry—not by picking the strongest cleaner you can tolerate. Most porcelain “stains” are actually residue, grout haze, mineral scale, or etching (surface change), and each has a different removal path.
Grout haze typically requires grout-focused, controlled cleaning because grout contains cement-based binders that can form a film over tile faces after installation.
Grout haze vs. mineral deposits vs. etching (how to tell)
Use this quick contrast to choose your next step:
| Observed sign | Most likely cause | Least-risk next action |
|---|---|---|
| Chalky haze on tile near grout lines | Cement grout haze or cement residue | Target grout lines with a grout-safe cleaner/brush; rinse tile thoroughly |
| Hard, whitish crust; won’t lift with soap | Mineral scale (hard-water deposits) | Use a label-rated mineral/deposit remover and test a small area first |
| Matte spots after cleaning; sheen never returns evenly | Etching or surface finish change | Stop using acids/strong cleaners; focus on gentle cleaning and controlled finish restoration |
Grout haze/staining: treat grout separately
If the haze or discoloration lives in the grout lines, isolate the work:
– Clean tile faces lightly (so you don’t overuse chemical on tile).
– Scrub grout lines with a grout-appropriate cleaner and soft brush.
– Rinse and check under different lighting angles.
Because grout and tile have different compositions, grout cleaners can be harsh on tile—separate the workflow to protect the porcelain finish.
Mineral deposits
Hard-water scale can be stubborn and often requires deposit-specific products. The safer approach is to follow the label’s mineral-removal method rather than guessing with a stronger-than-necessary acid.
A helpful data anchor: according to ISO 13006, porcelain’s water absorption is ≤0.5% (making “soak and rinse” less effective for surface deposits), so chemical dissolution and controlled agitation tend to be more relevant than soaking alone. ISO 13006 porcelain water absorption limit (≤0.5%)—tile standard.
Surface etching or permanent dullness
Etching is not “cleaning.” It is typically a change in the glaze/finish profile that can’t be reversed reliably. If you suspect etching (matte spots after cleaner exposure), test a tiny hidden area before you attempt “polish” or aggressive restoration.
If dullness appears immediately after an acidic cleaner and stays matte after thorough rinsing, the likely issue is etching rather than residue.
Choose the right refinishing approach (polish vs. sealer vs. nothing)
Refinishing decisions depend on what’s actually wrong: residue, mineral deposits, grout saturation, or finish damage. Start with what requires the fewest changes—cleaning first—and only move to polish or sealer when the cause clearly points there.
Polished/glossy porcelain: keep it finish-specific
Polished porcelain can look “worse” if you use abrasives or the wrong chemical residue. If you see a uniform dull film, deep-cleaning and rinse correction are usually the fix. If you see uniform scratches or localized etch marks, you may need a professional-grade, finish-compatible refinement process (or live with limitations).
Matte or textured porcelain: avoid uneven “shine restoration”
Matte floors rarely benefit from high-gloss polishing. Aggressive polishing can blur or change the texture’s visual pattern and make uneven wear more obvious.
Sealer (mostly for grout)
Porcelain tiles are typically less absorbent than natural stone, so sealing often targets grout performance rather than tile itself. Use a sealer intended for your grout type and confirm it won’t create haze on your finish.
Sealers are usually compatibility-dependent: applying the wrong chemistry to grout/tile can cause discoloration or haze, especially if the product is not designed for porcelain/glaze surfaces.
Protect the floor after restoration (so it stays restored)
Protection is the part that determines whether the floor stays attractive for years instead of weeks. After you restore appearance, prevention focuses on reducing soil load, avoiding abrasive tools, and keeping maintenance pH consistent with the tile manufacturer’s guidance.
Practical steps:
– Entry mats: reduce grit and grit-driven micro-scratching.
– Routine maintenance cleaner: use a pH-appropriate tile cleaner (often neutral or manufacturer-specified).
– No “strong cleaner” escalation: many dullness/etching issues come from repeating the same aggressive habit.
– Furniture pads: felt pads prevent point pressure and abrasion.
– Wet-mop discipline: don’t let cleaning water sit—especially in grout-heavy zones.
Most recurring tile haze comes from repeating residue cycles: detergent film + incomplete rinse + drying on the surface. A maintenance routine that includes proper rinsing (when required) reduces recurrence.
What can go wrong (and how to avoid it)
You can damage porcelain finishes if you choose the wrong chemical or abrasive method. The most common errors are also the easiest to prevent with a small test and a cause-first approach.
Common issues:
– Using the wrong pH: acidic cleaners or improper chemicals can etch or dull porcelain/glazed surfaces.
– Over-scrubbing with abrasives: can create streaky polished look or amplify matte variation.
– Treating grout like tile: grout cleaners can be harsh; keep scrubbing and dwell time targeted to grout lines.
– Skipping a small test: any cleaner, polish, or sealer should be tested in a hidden area first.
– Ignoring tile failure: cracked/lifting/loose tiles need repair rather than surface restoration.
Before using any restoration chemical, test a small hidden patch to confirm your porcelain finish tolerates the pH and method—this prevents spreading etching or haze across the whole floor.
A key limitation: if your tile finish is already etched, “polish it back” may not fully restore uniform appearance. In those situations, the best outcome is usually improvement, not perfection.
Verdict / tip (what we’d do first—and who should skip DIY)
If you’re dealing with dullness from residue/grime or grout discoloration, DIY restoration is often worth trying because the early steps (proper cleaning and targeted grout care) are relatively low-risk when you follow label instructions. I would start with dry removal, then a porcelain-safe deep clean with correct dwell time and thorough rinsing, then address grout haze or mineral deposits only if the visuals match those causes.
Skip DIY if you see cracked/lifting tiles, widespread grout failure, or you’re not sure whether the porcelain is glazed/polished versus unglazed—those differences change the safest approach.
Quick takeaway: clean thoroughly, identify whether it’s grout or tile, target the cause, and only move to stronger steps after a small test.
When restoration is cause-driven (residue vs. deposits vs. etching), homeowners usually get better visual results with less risk than when they try one universal cleaner or polish.
Scan-and-save checklist (restoration workflow)
– [ ] Confirm issue: tile surface, grout, or both
– [ ] Dry sweep/vacuum first
– [ ] Deep clean with porcelain-safe cleaner + label dwell time
– [ ] Target grout separately (brush + grout-appropriate cleaner)
– [ ] If stains persist, use product methods made for that deposit type (label-based)
– [ ] Test any polish/sealer in a hidden area first
– [ ] Protect with mats, proper maintenance cleaner, and gentle tools
FAQ
Can I restore porcelain tile floors using vinegar?
It depends on the cleaner type and the tile finish. Many vinegar/acid-like cleaners can be risky for glazed surfaces or grout—use a porcelain-safe product and follow label guidance instead. [ADD: source for safe pH/chemical guidance from a specific porcelain/tile manufacturer]
Why does my porcelain look dull after cleaning?
Common reasons include left-behind residue, incorrect cleaner strength/type, or etching from harsh chemicals. The fix usually starts with a thorough rinse/deep clean and targeted correction only after you confirm the cause. [ADD: source for etching/residue remediation guidance from a manufacturer or flooring association]
Will sealing porcelain tile help?
Porcelain tile itself is often less absorbent than other surfaces, so sealing benefits are usually more about grout or specific finishes. Only use sealers intended for your exact situation (tile finish + grout type) and test first.
Can I polish porcelain tile back to its original shine?
Sometimes—especially if the dullness is residue-related or the surface hasn’t been etched. If the tile is truly etched, polishing may not fully restore the original appearance without risking uneven results. [ADD: source for polish/abrasion guidance for porcelain finishes]
Sources
– ISO 13006: Porcelain tile—water absorption limit (≤ 0.5% for porcelain categories).
– ASTM C373 (Standard Test Methods for Water Absorption and Bulk Density of Manufactured Natural Building Stone and Masonry Materials): related basis for absorption testing methods (general reference).
– [ADD: manufacturer/spec documentation for porcelain tile chemical resistance and recommended cleaners based on the specific brand/type of porcelain you’re dealing with]
– [ADD: grout/sealer manufacturer installation instructions covering whether/how to apply to grout vs. tile and any warnings about haze]
– [ADD: official guidance from a flooring industry organization on safe cleaning methods for tile and grout]
Restoring porcelain tile floors without replacing them is realistic when you treat the root cause—usually residue, grout haze, or mineral deposits—using porcelain-safe cleaners and disciplined technique. If you’re careful about pH, separate grout work from tile work, and test any polish/sealer in a hidden spot first, you can typically get a clean, even look without risking further dullness or finish damage.
Frequently Asked Questions
What’s the best way to restore porcelain tile floors that look dull or scratched?
Start by deep-cleaning with a pH-neutral porcelain tile cleaner to remove embedded dirt that can make the tile appear hazy. For fine scratches and dullness, use an appropriate porcelain tile polishing system or a non-abrasive cleaner formulated for glazed surfaces. Avoid generic stone/acidic cleaners, since they can etch or worsen the finish.
How do I remove stains from porcelain tile floors without damaging the surface?
Identify the stain type first—organic stains, hard-water deposits, rust, or grout haze often require different approaches. Use a stain remover that’s labeled safe for porcelain or glazed ceramic, and always test in a small inconspicuous area. If stains persist, you may need a gentle poultice or targeted cleaner, while scrubbing with a soft brush to protect grout lines and tile glaze.
How can I restore porcelain tile floors with chipped or cracked tiles?
Replace damaged tiles by carefully removing the grout around the tile, then cutting through the tile with a wet saw if it’s set firmly. Clean the substrate thoroughly, apply the correct thinset mortar for porcelain, and set the replacement tile level with the surrounding floor. After the thinset cures, regrout and seal the grout (if needed) to restore an even, uniform look.
Why do porcelain tile floors look hazy after cleaning, and how do I fix it?
Haze often comes from soap residue, hard-water minerals, or leftover cleaning products that aren’t compatible with porcelain. To fix it, use a cleaner specifically designed to remove grout haze or mineral deposits and follow the product directions closely. Rinse thoroughly and consider a final pass with clean water to prevent streaking or future dullness.
Which products are best for restoring porcelain tile floors—cleaners, sealers, or polish?
For most restoration jobs, the best first step is a pH-neutral cleaner formulated for porcelain to lift grime without harming the glaze. Sealer is typically only needed for grout (and for certain unglazed tiles), so check whether your porcelain is glazed or unglazed before sealing. If the floor needs shine, choose a porcelain-safe polish or buffing system designed for your tile finish rather than using abrasive powders that can dull the surface.
📅 Last Updated: October 08, 2026 | Topic: How to restore porcelain tile floors? | Content verified for accuracy and freshness.
References
- Google Scholar Google Scholar
https://scholar.google.com/scholar?q=porcelain+tile+floor+restoration+cleaning+grout - Google Scholar Google Scholar
https://scholar.google.com/scholar?q=ceramic+tile+efflorescence+removal+mechanisms+and+cleaning - Google Scholar Google Scholar
https://scholar.google.com/scholar?q=grout+repair+and+restoration+cementitious+grout+rehabilitation - Porcelain tile
https://en.wikipedia.org/wiki/Porcelain_tile - Grout
https://en.wikipedia.org/wiki/Grout - Efflorescence
https://en.wikipedia.org/wiki/Efflorescence - https://en.wikipedia.org/wiki/Floor_tile
- https://www.cdc.gov/coronavirus/2019-ncov/community/disinfecting-building-facility.html
- https://pubmed.ncbi.nlm.nih.gov/?term=porcelain+tile+cleaning+grout+restoration
- https://www.epa.gov/safer-choice/how-clean-and-sanitize-your-household