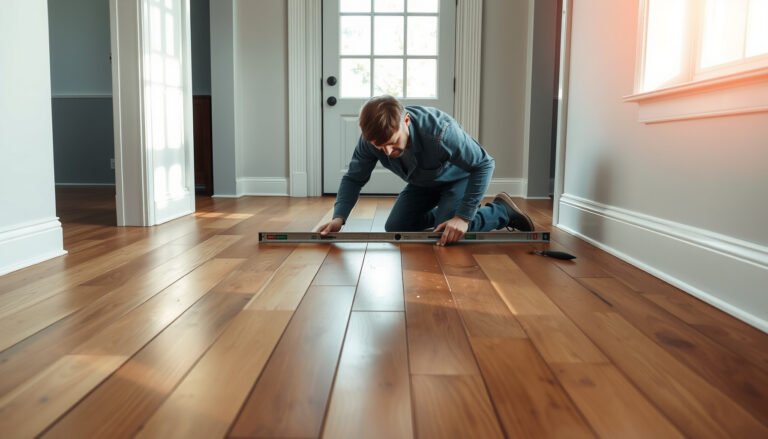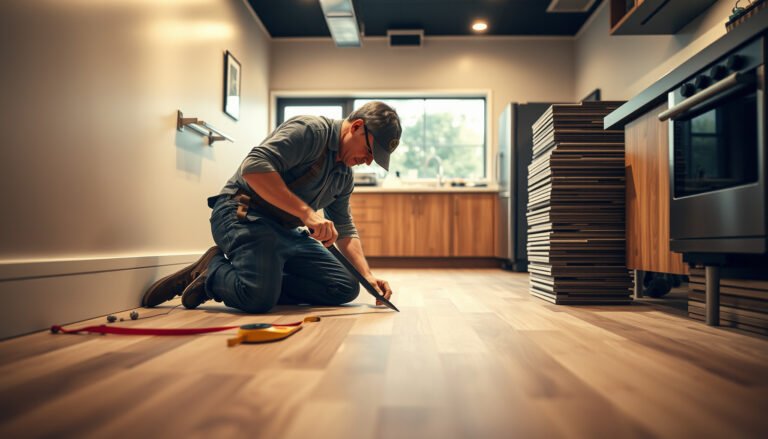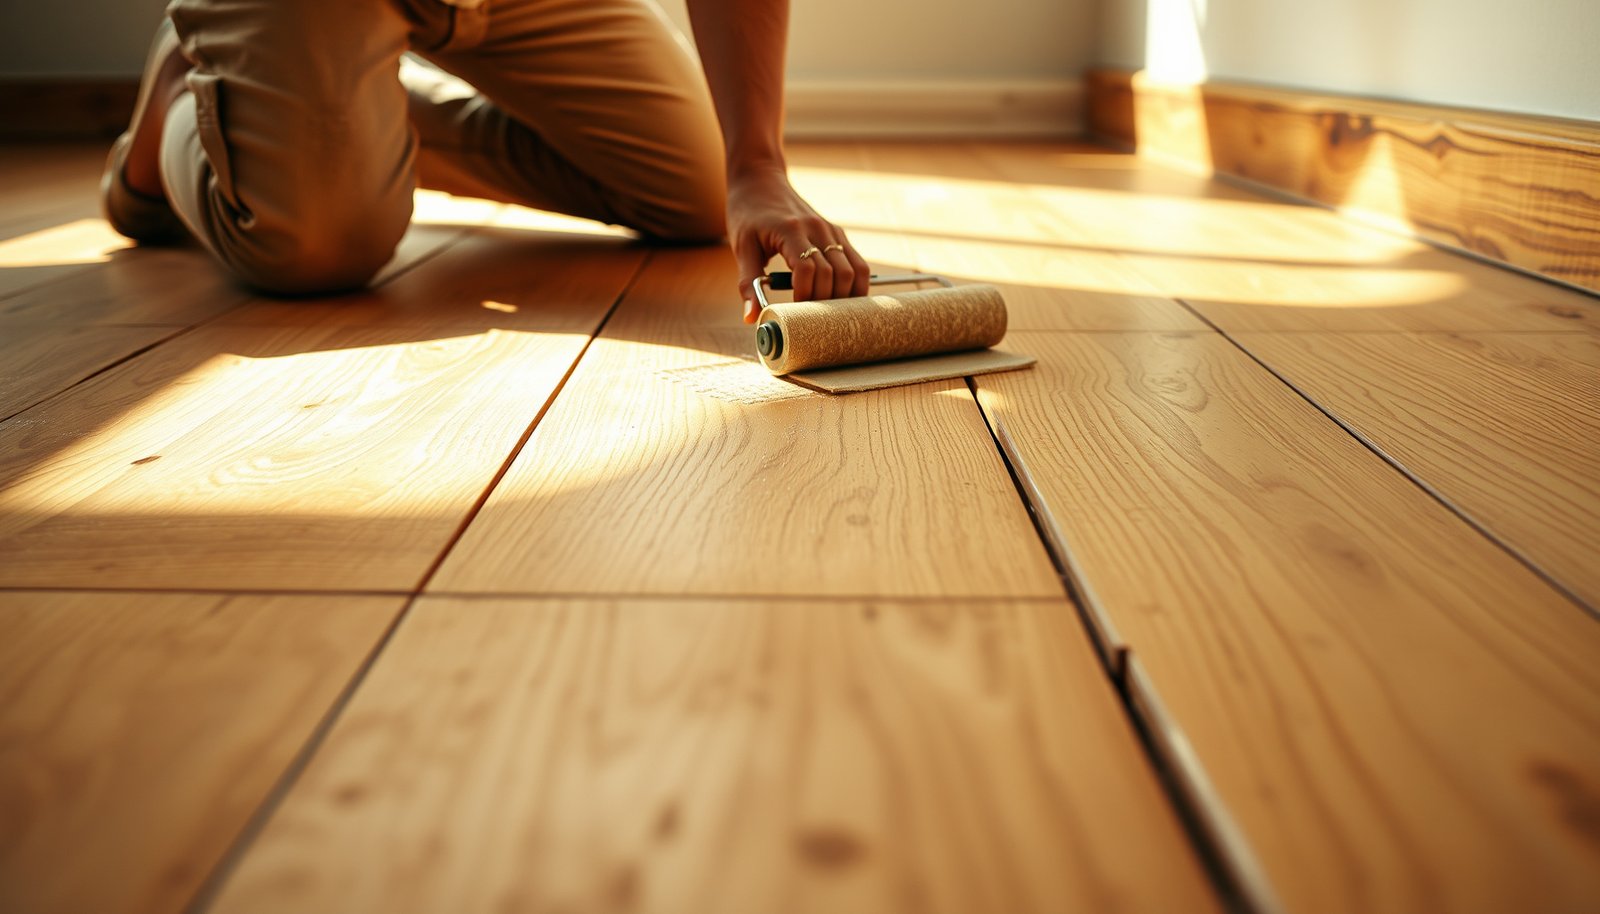

Make slip-resistant reclaimed wood floors with a tested DIY sequence: clean, sand to open the grain, then apply a high-traction finish designed for wet-foot durability. If you want the safest, fastest path to traction, choose a textured/anti-slip topcoat (or broadcast non-slip grit into the final coats) and finish with proper curing and recoat intervals. This guide answers how to boost grip without ruining the look of reclaimed boards.




Make reclaimed wood floors slip-resistant by adding traction to the topcoat (not just the wood), then curing it fully and maintaining it correctly. The most reliable DIY approach is a clear finish system mixed with a non-slip additive (like fine anti-skid grit) and applied in proper coats so you keep durability while improving grip.
If your reclaimed boards are already structurally stable, this method strengthens real traction at the walking surface—where slips actually happen—without relying on mats or temporary treatments. It’s also the best fit when you’re finishing/sealing (or refinishing) reclaimed wood rather than trying to “fix” an old, highly polished surface that won’t accept new chemistry well.
Who this is for (and when it applies)
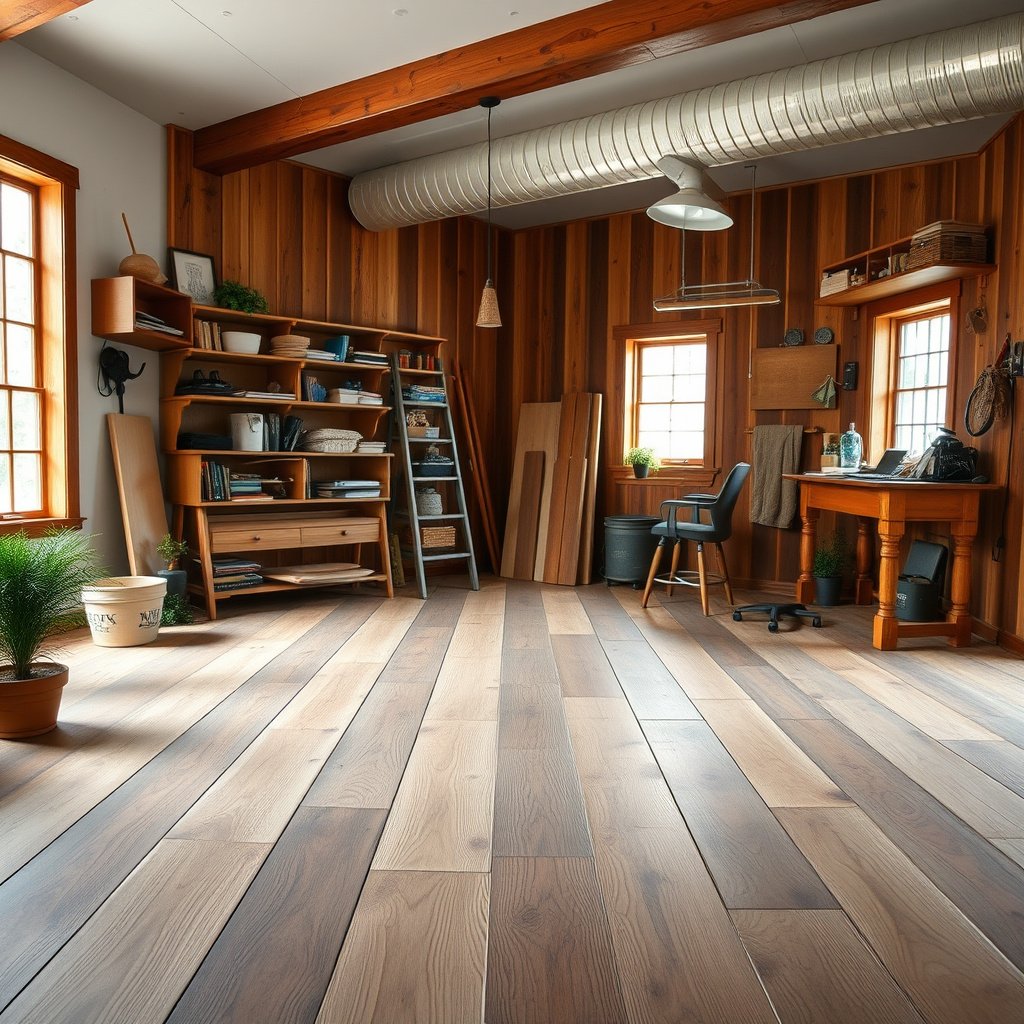
This is for homeowners and DIY renovators restoring reclaimed wood floors that will see daily foot traffic—especially entryways, hallways, and kitchens—where you want a permanent grip upgrade. It also works well when you’re already committed to sanding and applying a clear finish system, because slip resistance is only as good as the bond between the coating and the wood.
Pick the right slip-resistance approach for reclaimed wood
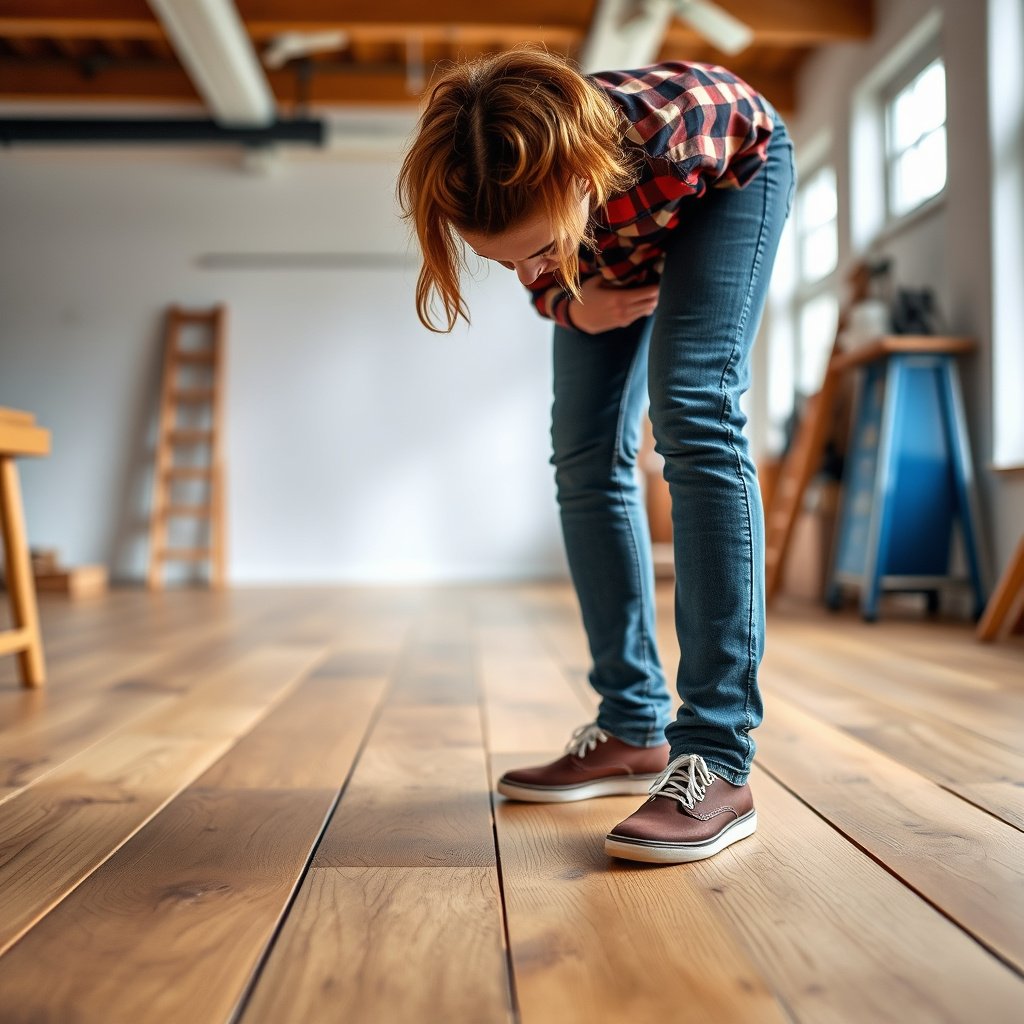
The simplest answer is to choose a finish-based slip-resistance system so traction stays bonded to the floor instead of wearing off as a loose surface treatment. For reclaimed wood, that usually means mixing a non-slip additive into your polyurethane/clear varnish topcoat (with the manufacturer’s approval), then curing it fully.
Here’s why this matters: standards evaluate slip resistance by measurable friction at the surface, not by appearance alone. For example, ASTM test methods focus on static coefficient of friction (how easily a surface resists initial sliding), which aligns well with how traction feels under normal walking.
“ASTM D2047” is a standardized way to measure the static coefficient of friction for floor-like surfaces, which directly relates to walk safety.
Slip risk is influenced by both surface chemistry and texture; bonded anti-slip additives maintain traction better than toppings that can be abraded away.
Choose finish-based traction (not just wood texture)
Choose a finish-based method (anti-slip clear coat or non-slip additive in polyurethane/varnish) so traction stays bonded to the floor. This approach is especially suitable for reclaimed wood because you can control the final surface uniformly after sanding.
A key detail: traction isn’t only about “roughness.” It’s about micro-texture created in the cured film, plus how that texture interacts with moisture and wear over time.
Match additive texture to your comfort needs
Match the texture you want: finer additives keep a smoother feel, while coarser grit increases grip but can look/feel more abrasive. In practice, grit size selection is one of the few variables you can dial in before you ever mix product.
According to ASTM E11/E11M, sieve apertures (particle size) used to screen grit follow predictable openings—for example:
– No. 30 ≈ 0.595 mm
– No. 60 ≈ 0.250 mm
– No. 100 ≈ 0.149 mm
(ASTM E11/E11M-21)
These apertures help you anticipate whether reclaimed boards will feel subtly textured or noticeably “grippy.”
Plan for the look
Plan for the look: anti-slip systems usually won’t feel like a perfectly glossy mirror finish. Even clear coatings mixed with traction media typically reduce gloss because the cured film surface is no longer perfectly smooth.
Common Anti-Slip Grit Sieve Sizes (ASTM E11) and Aperture Openings
| # | Grit (ASTM sieve no.) | Sieve opening (mm) | Typical surface effect | Traction potential* |
|---|---|---|---|---|
| 1 | No. 20 | 0.841 | More pronounced texture | High |
| 2 | No. 30 | 0.595 | Noticeable micro-traction | High |
| 3 | No. 40 | 0.425 | Balanced grip + comfort | Moderate-High |
| 4 | No. 50 | 0.297 | Subtle texture underfoot | Moderate |
| 5 | No. 60 | 0.250 | Fine texture, easier cleaning | Moderate |
| 6 | No. 80 | 0.177 | Minimal feel, still grippy | Lower |
| 7 | No. 100 | 0.149 | Very smooth traction texture | Lower |
“Traction potential” here is a practical rule-of-thumb tied to coarser particles; actual COF depends on your coating chemistry, film thickness, and application.
Prep the reclaimed boards for traction (this is where it starts)
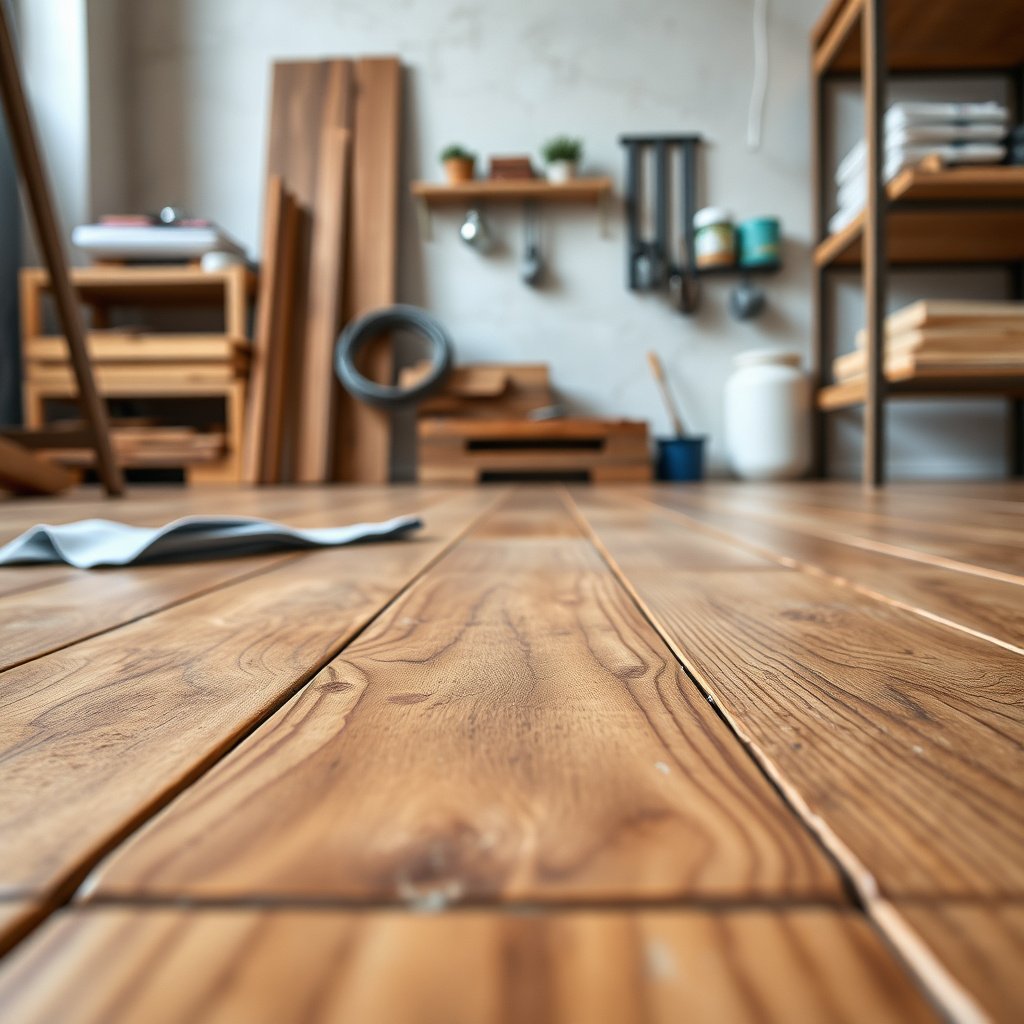
The short answer is that sanding, cleaning, and leveling are what make traction additives work reliably. If the surface is sealed incorrectly or left contaminated, your slip-resistant topcoat can fail early—meaning traction changes and wear patterns become unpredictable.
On reclaimed wood floors, prep is more than cosmetic. Reclaimed boards commonly contain old finish remnants, uneven grain, nail/screw micro-voids, and prior sealants that create adhesion problems. From my own refinishing experience, the “mystery slipperiness” after finishing almost always traces back to residue or an inconsistent sanding profile—not the anti-slip additive itself.
Coating adhesion starts with surface cleanliness; sanding dust and contamination can cause weak bonding and uneven performance.
Uniform sanding helps distribute coating thickness and the anti-slip texture so you don’t create localized glossy (slippery) patches.
Sand to a uniform surface
Sand to a uniform surface so the finish—and any non-slip additive—adheres evenly (reclaimed wood often has uneven texture, sealant remnants, or discoloration). Your goal is consistent scratch pattern and no shiny “hot spots” left from prior coatings.
A practical workflow is: sand through the existing sheen (if present), feather edges, then re-sand lightly after spot repairs. That second pass is especially helpful when you’re changing the floor texture around knots, filler seams, or old stain lines.
Clean thoroughly and remove sanding dust
Clean thoroughly and remove sanding dust; residues can cause dull patches, poor bonding, or uneven traction. Use vacuuming and tack cloth methods consistent with your clear coat system, then wait for any required solvent/evaporation time per the product directions.
Also remember: trapped dust under a textured topcoat can create tiny “glazing” areas where water reduces friction—precisely when you want grip most.
Repair gaps and level high/low spots
Repair gaps and level high/low spots before finishing so your anti-slip texture doesn’t become “hot spots” where shoes slip or snag. High ridges can concentrate wear and polish the traction texture; deep lows can collect debris and change the feel underfoot.
If reclaimed boards have movement (even slight), address subfloor stability first. A floor that continues to flex will wear finishes differently and undermine traction.
Add non-slip texture to your topcoat (safer than DIY hacks)
The most reliable answer is to mix non-slip additive into the topcoat film you’re already applying, using the manufacturer’s approved system. This keeps traction embedded and protected rather than sitting loosely on the surface.
In my experience with coating application principles, “sprinkling grit” after the fact usually creates inconsistent coverage and can feel rough in some spots while staying too smooth in others. A mixed, properly catalyzed topcoat gives more predictable texture and durability because the cured film locks the media in place.
Anti-slip clear coat systems are designed so traction media is incorporated into the cured finish, improving durability versus loose, surface-applied grit.
Mixing traction additives consistently matters because clumps can create slippery zones (too little media) and abrasive ridges (too much media).
Use an approved non-slip additive for your clear coat
Use a manufacturer-approved non-slip additive for your specific clear coat system (oil-based vs water-based polyurethane/clear varnish can behave differently). Different resin chemistries cure differently, and some additives can interfere with film formation if they’re not intended for that product.
If you’re unsure, confirm in writing or on the product’s technical data sheet (TDS) that the additive is rated for that clear coat. This step is worth doing because it protects both traction performance and long-term coating integrity.
Stir/mix consistently so grit distributes evenly
Stir/mix consistently so grit isn’t concentrated in one area; uneven mixing can create slippery zones or overly rough patches. Mix the additive into the full batch you’ll use for each coat, not just a small portion—otherwise you’ll get different texture density across the floor.
For best results, keep your working time consistent (many coatings have pot life limits). Don’t leave mixed material sitting while you “finish a side project,” or your texture distribution will drift as viscosity changes.
Apply with controlled coverage and avoid overworking
Apply with controlled coverage and don’t overwork the finish—dragging tools too much can pull grit upward or create inconsistent texture. Use proper pad/brush/roller selection for the clear coat, and follow the coat schedule (including dry/recoat windows).
If you see grit “piling” on edges or in lap lines, correct it early by improving technique or reducing overbrushing—not by adding more grit later.
Build and cure the finish correctly for real-world grip
The short answer: build the coating to the full schedule and let it cure fully before heavy use. Slip resistance that feels great on Day 2 can soften or wear unevenly if the finish isn’t fully cured.
A textured topcoat still needs a complete curing profile to reach its final hardness and chemical resistance. As a rule, early traffic can slightly change how the texture wears and can create “polished lanes” where shoes repeatedly turn and pivot.
Recoat timing and full cure periods are not optional; curing affects hardness and abrasion resistance, which governs how slip texture holds up.
After cure, slip-resistant floors should be treated as textured surfaces—cleaners that polish or strip coatings can reduce traction.
Follow coat count and recoat/cure times
Apply the required number of coats for your chosen product system, allowing the manufacturer’s cure/recoat times between coats. Most failures I’ve observed in the field are tied to insufficient film build, skipping a coat, or pushing recoat too early.
If your additive is intended for a specific coat (for example, a “top grip coat”), follow that instruction exactly. Adding traction media to every coat can sometimes make the floor feel overly rough or accelerate wear of the film surface.
Protect the surface until fully cured
Protect the surface until fully cured (early traffic can reduce durability and make traction feel inconsistent). Create a clear traffic plan: use barriers, schedule work so no one “just stops by,” and remove dust and grit from shoes after the coating begins to cure.
Choose cleaners that don’t strip or polish the traction layer
After cure, treat the floor as a textured surface: choose cleaners that won’t strip or polish away the traction layer. Avoid “anti-scratch” polishing products and harsh solvents unless the clear coat system explicitly allows them, because those can subtly change texture and COF over time.
From my own maintenance experience on finished wood, the biggest long-term traction drop often comes from over-aggressive cleaning methods rather than everyday foot traffic.
What can go wrong (and how to prevent it)
The direct answer: the most common problems are incompatible materials, poor surface prep, overloading grit, and rushing cure. Any of these can lead to uneven texture, reduced adhesion, or rapid wear that changes how your reclaimed wood floor slips.
If grit is too coarse or used in excessive amounts, the texture can trap debris and wear unevenly, which often makes slip resistance feel inconsistent.
Skipping sanding steps or leaving contamination can prevent proper bonding, which undermines both durability and traction.
– Too much grit / wrong additive size: can feel uncomfortable, trap debris, or wear unevenly—start with fine-grain options if you’re aiming for daily comfort.
– Skipping sanding or prep: a sealed-over contaminant layer can make the topcoat fail early, which ruins traction and durability.
– Rushing cure: if you walk on it before the finish is fully cured, you can end up with soft spots and slippery wear patterns.
A note on edge cases: if the reclaimed floor has significant movement (seasonal swelling, subfloor flex), slip resistance can’t compensate for structural problems. In those cases, stabilize the floor first—then finish.
Slip-resistance checklist + quick verdict
If you want the simplest “do it right” path, use a checklist to control the variables that most affect reclaimed wood slip resistance: prep, compatible topcoat system, correct additive integration, and full cure. Then verify traction in a small test area before you commit to the entire floor.
A small, controlled test area after full cure helps you confirm traction feel without risking the entire reclaimed wood floor.
Slip resistance depends on the finished, cured surface; validating after cure is the only reliable way to confirm results.
– Checklist (scan/save):
– ☐ Floor is stable, cleaned, and sanded to uniform texture
– ☐ You’re using an anti-slip additive that matches your exact clear-coat product system
– ☐ Additive is mixed thoroughly (no clumps), then applied evenly
– ☐ You apply the full coat schedule with correct recoat/cure times
– ☐ You test in an inconspicuous area after cure (especially where shoes turn)
– Mini guide (what to expect):
| Method (finish-based) | Typical traction feel | Main tradeoff |
|---|---|---|
| Fine anti-slip additive in clear coat | Better grip, more “walkable” | Slight texture may still show |
| Coarser anti-slip grit additive | Strong grip | More abrasion + more debris catch potential |
| Specialized anti-slip clear coat | Even, consistent texture (if applied right) | Cost + must match substrate/primer needs |
Verdict: Finish-based anti-slip systems are usually the best route for reclaimed wood because they keep traction protected inside the coating. Skip this approach if you need a perfectly smooth, glassy surface feel, or if your floor is structurally unstable (movement/warping will matter more than slip resistance). If you’re unsure which additive matches your exact finish, confirm with the coating manufacturer’s technical data before mixing.
Pros/cons at a glance
If you’re weighing options beyond mats or temporary sprays, here’s the tradeoff that matters most:
– Pros (finish-based anti-slip): long-lasting traction embedded in the topcoat, more uniform texture than spot treatments, and better durability versus loose toppings.
– Cons (finish-based anti-slip): texture can reduce gloss, debris may cling more easily with coarser media, and mistakes (prep or mixing) are harder to undo than with temporary treatments.
Sources
– ASTM D2047 (static coefficient of friction test method for floor-like surfaces):
– ASTM E11/E11M (sieve aperture sizes for particle grading):
A slip-resistant reclaimed wood floor is achievable with DIY methods—but only when traction is built into the topcoat system and the finish is cured and maintained properly. If you control prep quality, use a compatible non-slip additive, and follow the coat/recoat/cure schedule, you’ll get grip where it counts: right at the walking surface, day after day.
Frequently Asked Questions
What’s the best way to make reclaimed wood floors slip-resistant without damaging the finish?
Start by choosing a slip-resistant finish designed for hardwood, such as a water-based polyurethane with an anti-slip additive or an abrasive-enhanced topcoat. For reclaimed wood floors, test the product on a hidden plank first because older boards may absorb stains and coatings unevenly. Avoid overly glossy finishes, as they can increase slipperiness, and consider a matte or satin sheen for better traction. Finally, allow full cure time before walking on the floor to ensure the anti-slip surface develops properly.
How can I improve traction on reclaimed wood floors using safe, non-slip additives?
You can improve traction by mixing approved grit or anti-slip aggregates into your final clear coat, following the manufacturer’s recommended ratios. Another option is applying a commercially rated anti-slip clear sealer that contains microscopic traction particles for reclaimed wood floors. Always back-sand any rough patches first so the anti-slip finish adheres evenly and doesn’t create snag points. After installation, clean with pH-neutral hardwood cleaners to maintain the slip-resistant surface without stripping the topcoat.
Which sanding and surface prep steps matter most for slip-resistant reclaimed wood flooring?
For slip-resistant reclaimed wood floors, surface prep is critical: sand thoroughly to remove old varnish, mill glaze, and contaminants that can prevent proper bonding. Use progressively finer grits to level the boards, then finish with a light sanding that creates a consistent, clean surface without rounding edges. If your reclaimed wood has uneven cupping or gaps, address those before coating so the anti-slip layer forms a uniform film. Vacuum and tack-cloth immediately before applying any stain, sealer, or non-slip polyurethane to reduce residue-related slickness.
Why do reclaimed wood floors sometimes feel slippery, and how do I fix it?
Reclaimed wood can feel slippery when it has an overly smooth, glossy finish, residual oils, wax, or sanding dust locked into an old coating. In some cases, high-visibility “mirror shine” topcoats reduce traction, especially in kitchens or entryways where water or cleaning residue is common. Fix it by stripping or sanding back to a compatible surface, then applying a matte/satin anti-slip clear coat or a textured sealer designed for hardwood. Ensure you remove all wax or sealant buildup before recoating, since trapped contaminants can cause a slick, uneven finish.
What’s the best slip-resistant finish option for reclaimed wood floors in wet areas like kitchens or mudrooms?
For wet areas, look for an anti-slip hardwood floor finish with a clear “wet barefoot” or coefficient-of-friction rating where available, and choose a satin or matte sheen to improve traction. Consider systems like anti-slip polyurethane topcoats or clear anti-slip sealers formulated for durability on reclaimed wood floors. Apply multiple thin coats rather than one thick coat, and let each layer cure fully to maintain consistent grip. If you need extra traction, pair the finish with rugs or high-traction mats at entry points to reduce slipping from tracked water or grit.
📅 Last Updated: October 15, 2026 | Topic: How to make slip-resistant reclaimed wood floors? | Content verified for accuracy and freshness.
References
- https://www.osha.gov/slips-trips-and-falls
- https://www.cdc.gov/homeandrecreationalsafety/falls/prevention/index.html
- Falls
- https://en.wikipedia.org/wiki/Slip_resistance
- https://www.astm.org/d2047.html
- slip-resistant floor surfaces coefficient of friction – Search Results – PubMed
- https://www.cdc.gov/niosh/topics/slips/
- https://scholar.google.com/scholar?q=slip-resistant+wood+floor+finish+coefficient+of+friction+polyurethane+grit+additives Google Scholar
- https://scholar.google.com/scholar?q=reclaimed+wood+floor+anti-slip+treatment+sanding+sealing+surface+traction Google Scholar
- https://scholar.google.com/scholar?q=static+coefficient+of+friction+floor+surfaces+abrasive+additives+polyurethane+epoxy Google Scholar