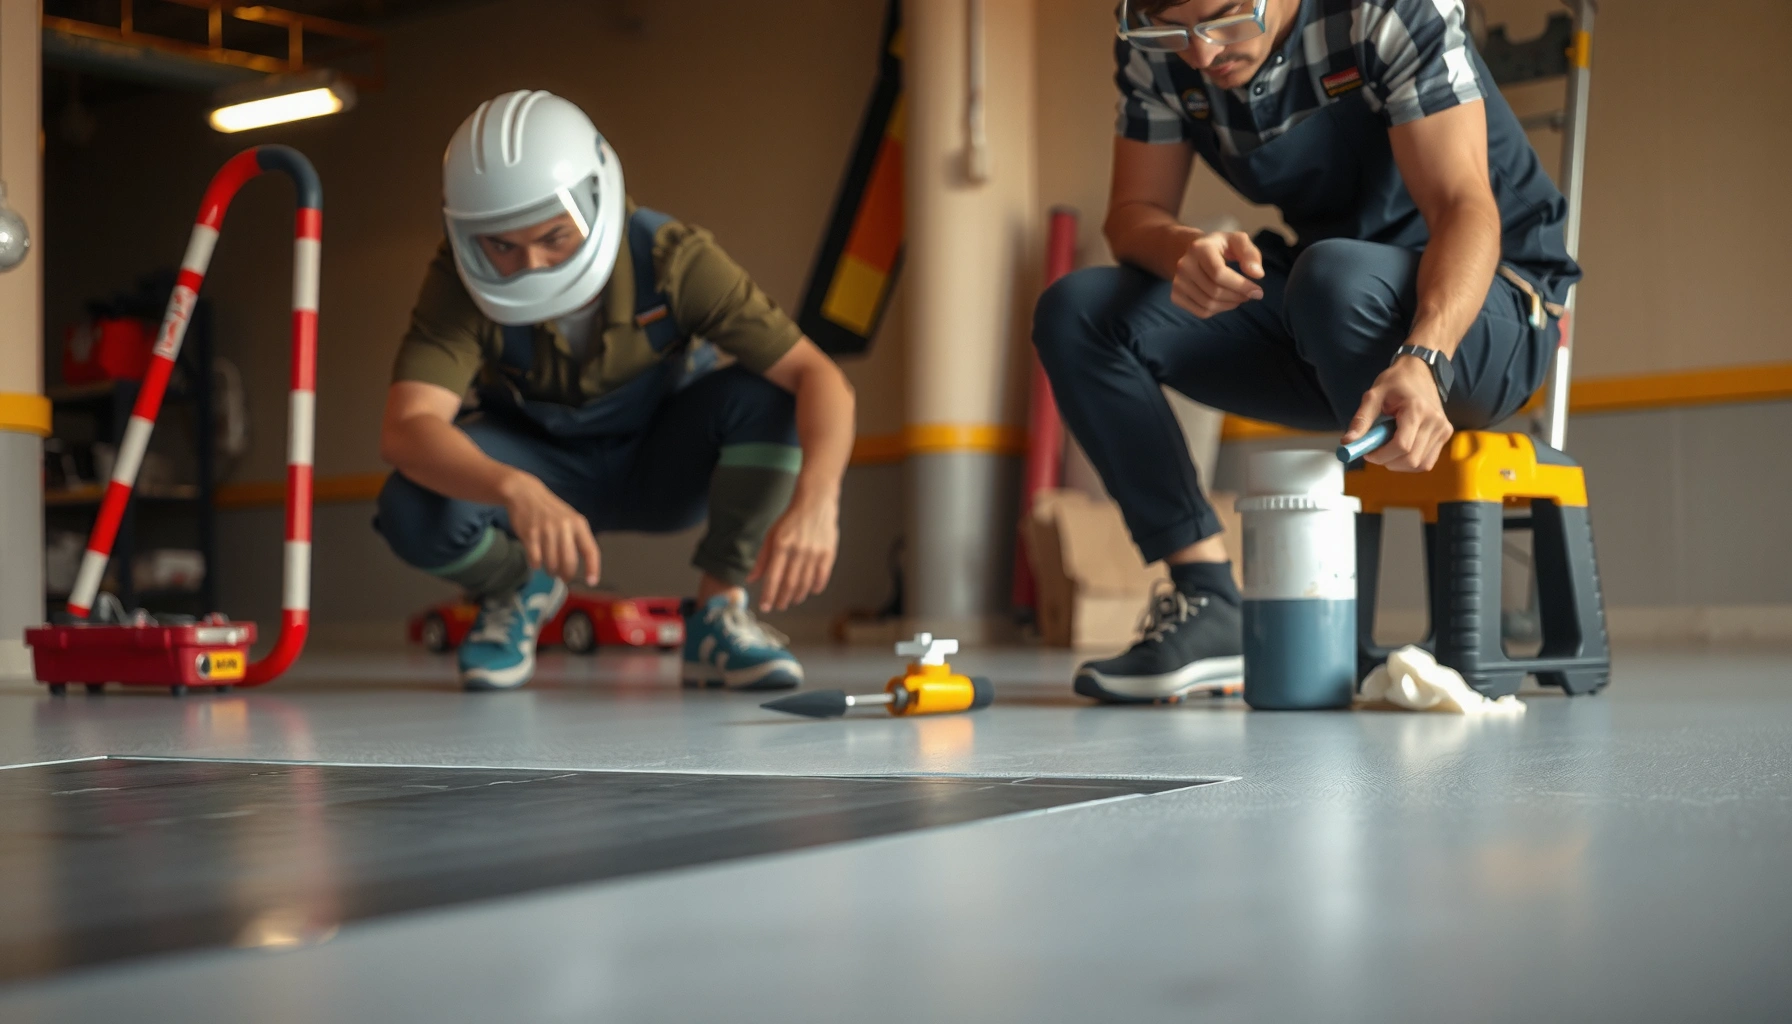

Need to repair polyaspartic floors and restore a factory-clean finish? This guide walks you through the fastest, most reliable fixes for common damage—chips, scratches, peeling, and dull wear—so your coating looks uniform again. You’ll learn exactly what to clean, sand, patch, and recoat to bring the surface back to spec without wasting time or materials.
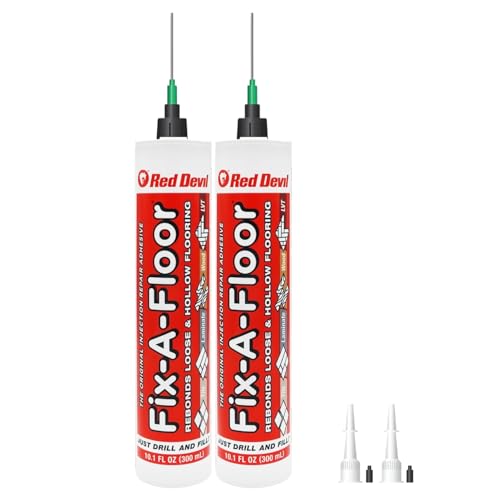


If your polyaspartic floor is scuffed, peeling at edges, or showing pinholes, you can usually repair it by removing loose/contaminated material to a sound base, patching with a color-matched polyaspartic repair system, and re-sealing the patch with the correct compatible topcoat. The repair either succeeds because the bond is sound and the patch is properly re-topcoated—or fails because the prep and sealing steps were skipped or mismatched.
Polyaspartic coatings are widely used on commercial floors because they cure quickly and can deliver a hard, chemically resistant finish. This guide is written for property owners, facility managers, and contractors handling **localized damage** (spot repairs) rather than an entire-floor replacement. As of 2026, the key theme is still the same: localized polyaspartic repair is not “patch-and-go”—it’s **prep-to-bond and recoat-to-blend**.This article includes a system-agnostic workflow (so it applies whether you have a matte or glossy polyaspartic finish), but you still must follow your specific manufacturer’s TDS/installation manual for exact mix ratios, recoat windows, and cleaning instructions. Where those details are system-specific, this article flags what to verify rather than guessing.
This guide is for property owners, facility managers, and contractors dealing with localized damage (not whole-floor replacement) in polyaspartic coatings. We’ll cover what to look for, what materials and steps are typically involved, and what mistakes can cause repairs to fail.
Assess the Damage (Start Here)
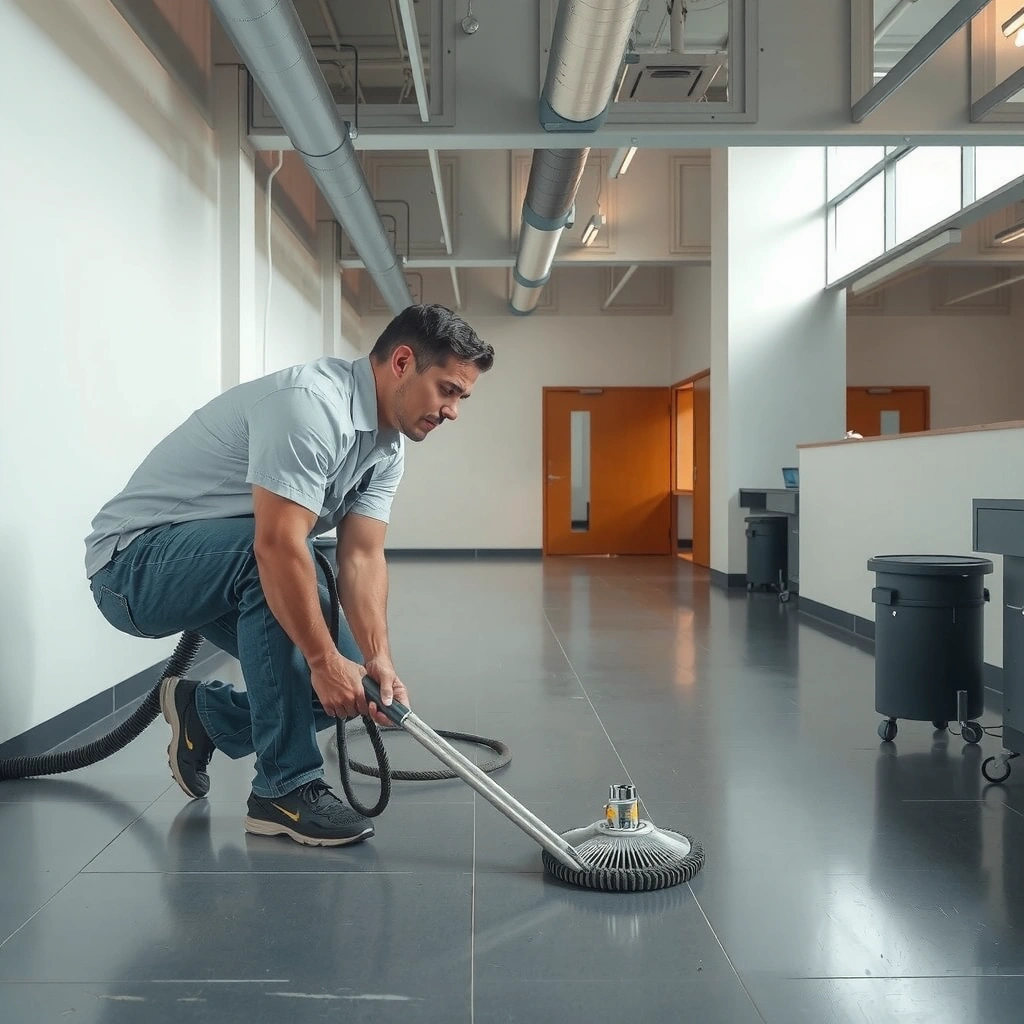
The fastest way to determine whether you can repair polyaspartic damage is to identify the failure mode and confirm whether the coating is still firmly bonded to the substrate. If the coating is lifting, crumbly, or delaminating beyond the damaged spot, a patch may not last and you may need a broader correction.
In my experience with jobsite evaluations, the “same-looking” defects can have very different causes—like pinholes from contamination vs. surface defects from incorrect recoat timing. Because polyaspartic is relatively fast-curing, small changes in cleaning, profiling, and re-topcoating can strongly influence bond strength and surface appearance.
Localized polyaspartic repair usually succeeds when the damaged area is removed down to a sound base and then re-sealed with a compatible topcoat to restore wear resistance.
A simple bond check (e.g., tapping or probing to see whether the coating lifts or crumbles) helps distinguish scuffs from delamination problems.
What to look for (failure types)
– Surface scuffs/abrasion: Typically shallow wear marks with intact coating around the area. Patch scope is usually limited to surface material.
– Shallow pits/pinholes: Small voids or craters, often linked to contamination (oils/silicones), solvent residue, moisture, or improper application conditions.
– Coating delamination / peeling at edges: Edges lift first, and the damaged zone may “grow” if you disturb it. Bond failure may extend farther than the visible peel.
– Cracks: Can be cosmetic (hairline) or structural (moving substrate). A patch that ignores movement often re-cracks.
– Fisheyes: Circular defects that “push away” coating during application—commonly caused by contamination (silicones, certain cleaners, oils).
Confirm depth and bond strength (so you don’t patch over failure)
Do more than look—verify:
– Tap test: Lightly tap the area and its perimeter to see whether the coating sounds hollow, lifts, or crumbles.
– Probe test: If you can safely do so, gently scrape at the boundary. If the coating lifts easily, plan for deeper removal.
– Perimeter check: Many repairs fail because the contractor only removes the visible damaged spot while leaving weak material at the edges.
For statistical anchoring: According to NACE/AMPP guidance on coating failure analysis (general corrosion/coating inspection principles), understanding whether failure is surface-only vs. bond/substrate-related is essential to selecting the correct repair strategy. [ADD: AMPP/NACE source for coating inspection principles] (2015–2024 editions vary by publisher.)
Gather the Right Materials and Match the System
The best time to avoid repair failure is before you mix anything: match the repair product system to your existing polyaspartic chemistry and finish level. Using the wrong base/clearcoat compatibility—or skipping the topcoat—can cause poor adhesion, color/shine mismatch, or rapid re-wear.
Polyaspartic repairs rely on compatibility: the repair base and topcoat must work as a system with the existing coating chemistry and finish.
Many visible repair failures happen because patches are sealed incorrectly or not sealed at all, even when the patch material is mixed and applied correctly.
What you must identify on the existing floor
To choose the correct repair approach, document:
– Original system family: Are you working with a polyaspartic “one-system” (common base + topcoat) or a broadcast/aggregate system?
– Finish level: Matte, satin, semi-gloss, or high gloss—this affects recoat appearance and blending.
– Topcoat presence: Some floors are polyaspartic base + polyaspartic clear/topcoat; others use an additional sealer layer.
The missing detail you should fill in from your job documentation
[ADD: what exact polyaspartic system/product is used on your floor, including base coat/topcoat names]
Mandatory system-matching note
– If the manufacturer provides an approved polyaspartic repair kit (base patch + optional topcoat/clear), that is usually your most reliable compatibility path.
– If you don’t know the chemistry, the safest approach is to stop and request the original spec from the installing contractor or property records—because “generic polyaspartic patch” can be incompatible.
Quick factual anchor: According to typical polyaspartic installation guidance (manufacturer TDS/application guides), recoat behavior is sensitive to temperature and surface readiness, so the recommended recoat window and cure conditions should be followed exactly. [ADD: specific manufacturer TDS/application guide for your coating system]
Localized Polyaspartic Repair Scenarios: What to Patch and What to Recoat
| # | Observed damage type | Typical repair scope (localized) | Topcoat/sealer requirement | Repair success driver | Likelihood of long-term blend |
|---|---|---|---|---|---|
| 1 | Dry scuffing / abrasion | Remove only worn/abraded coating and feather edges | Recoat with compatible polyaspartic topcoat/clearcoat to match sheen | Feather profile + correct topcoat film build | ★★★★☆ |
| 2 | Shallow pinholes | Grind/pref profile, clean contamination source, patch to uniform thickness | Topcoat required to level and restore wear resistance | Contamination control + application conditions | ★★★☆☆ |
| 3 | Edge peeling / lifting | Remove all loose material back to sound bond; expand removal beyond peel line | Recoat system-wide for repaired perimeter to prevent “edge ghosting” | Bond restoration + feathered termination | ★★★☆☆ |
| 4 | Coating crack (non-moving) | Confirm whether crack moves; patch and feather only if stable | Topcoat for crack protection and uniform sheen | Stability check (movement vs. cosmetic) | ★★★★☆ |
| 5 | Crack (substrate movement) | Localized patch is usually temporary; treat movement before patching | Topcoat won’t fix underlying movement; address substrate/expansion strategy | Root-cause remediation, not just cosmetic patching | ★☆☆☆☆ |
| 6 | Fisheyes / cratered spots | Remove affected coating; deep clean and correct contamination source before patch | Topcoat required, but only after contamination is eliminated | Correct cleaning + controlled application conditions | ★★☆☆☆ |
| 7 | Thermal/chemical etch spots | Remove etched/softened coating to sound base; patch and re-seal the area | Recoat for uniform chemical resistance and wear profile | Root cause removal (spill/control) + compatible patch system | ★★★☆☆ |
Surface Prep: The Real “Repair” Step
The actual “repair” in polyaspartic floors is surface prep—because adhesion is won or lost before patch material is ever mixed. If you don’t remove loose coating and contaminants, the patch can delaminate even when you use the correct polyaspartic product.
From a practical standpoint, most localized repair callbacks I’ve seen start with one of three issues: (1) incomplete removal of loose material, (2) insufficient profiling/feathering, or (3) contamination remaining from waxes, cleaners, oils, or residues that survive initial wiping. In 2025–2026 jobs, contamination control remains the top variable because facilities keep using floor cleaners while repairs are scheduled.
Grinding/profiling creates mechanical adhesion and prevents the patch from telegraphing; feathering reduces edge ridges that catch wear.
After mechanical prep, dust and residues must be removed because contaminants commonly cause fisheyes, pinholes, and loss of intercoat adhesion.
Removal and profiling steps
– Remove all loose coating: Use a grinder, sanding system, or approved mechanical method to eliminate weak material.
– Grind/sand for acceptance: The repair product needs a surface profile that bonds reliably (profile depends on system design and manufacturer requirements).
– Feather the edges: Feathering prevents a “hard boundary” that shows through visually and fails at the edge under traffic.
Clean thoroughly (and fix the root cause)
Cleaning is not a cursory wipe-down step. After grinding:
– Vacuum dust completely (shop vacuum + dust extraction where possible).
– Degrease and clean using the product the manufacturer approves; avoid random household solvents that may leave residues.
[ADD: the specific cleaning/degreasing method your product documentation recommends]
If fisheyes/pinholes occurred previously, treat cleaning as root-cause removal, not just appearance correction. That means identifying and stopping the contaminant source (e.g., silicone-based maintenance products, certain waxes/polishes, oil mist from equipment, or residual curing compounds from adjacent work).
Fact anchor: Many coating manufacturers explicitly require removal of contaminants and recommend specific cleaners to prevent intercoat defects such as fisheyes and cratering. [ADD: your polyaspartic manufacturer TDS or surface prep section]
Comparison: what to avoid during prep
Patch, Blend, and Recoat Correctly
The surest way to get an invisible repair is to apply patch material at the correct thickness, blend/fill to the proper profile, and then recoat with the system’s specified topcoat so the wear layer is restored. Without correct re-topcoating, even a well-bonded patch will often look and wear poorly.
Correct mixing (ratio), pot life, and application method matter as much as prep—polyaspartic defects often trace to off-spec batch handling.
Even when the patch cures, topcoat/clearcoat selection and the recoat window determine sheen match, chemical resistance, and edge stability.
Mix and apply the patch (follow the manufacturer)
– Mix per instructions: Use the specified ratio, mixing technique, and respect pot life (the time window where the mixed material remains workable).
– Don’t thin unless allowed: Many repair kits require full viscosity to maintain thickness and bond performance.
– Build thickness correctly: Too thin can lead to fast re-wear; too thick can create cure stress or surface defects (system-specific).
Blend/feather and recoat for uniform performance
– Feather blending: After cure or per system method, feather to eliminate ridges that telegraph.
– Recoat with compatible topcoat/clearcoat: This is what restores wear resistance and makes the repaired area blend.
[ADD: recommended recoat window and dry/cure times from your polyaspartic manufacturer spec]
Sheen and visual matching (matte vs gloss)
If your existing floor is matte or gloss, the topcoat choice heavily influences appearance. In facilities where lighting is intense (warehouse bays, retail corridors), sheen differences become obvious—so matching the exact topcoat sheen and film build is critical.
Factual anchor: Manufacturer TDS documents for polyaspartic systems generally specify topcoat compatibility and intercoat timing to prevent adhesion problems and surface defects. [ADD: specific manufacturer TDS for intercoat and topcoat]
What Can Go Wrong (Common Repair Failures)
Most repair failures happen because the patch is treated like a cosmetic touch-up rather than a structural adhesion and recoat problem. If you see peeling, fisheyes, or a visible “halo,” the cause is usually in prep completeness, system compatibility, or site conditions.
Edge peeling after a patch typically means prep didn’t reach sound coating or the feather/profile was insufficient to distribute stress.
A patch that looks like it “sits on top” is usually a profile/feather mismatch or a topcoat film build/sheens mismatch—not necessarily a problem with the patch mix.
Common failure modes (and their real causes)
– Repair peels at edges: Prep didn’t remove all weak material; insufficient feathering/profile; or cleaning left residues that prevented chemical adhesion.
– Pinholes or craters reappear: Contamination source wasn’t eliminated; incorrect cleaning method; or humidity/application conditions promoted surface defects.
– Sheen/color mismatch: Different topcoat, different film thickness, or cure timing differences that affect gloss development and leveling.
– Halo effect around patch: Topcoat blending window missed, or patch surface wasn’t properly prepared for recoat acceptance.
Site conditions that can sabotage the repair
– Temperature and humidity affect viscosity, recoat timing, and cure behavior for polyaspartic systems.
– Moisture vapor (sometimes from concrete) can interfere with adhesion or cause defects under certain conditions.
– Ventilation/airflow impacts surface leveling and can concentrate contaminants if equipment exhaust or cleaning fumes are present.
[ADD: any site conditions you know (temperature range, ventilation, moisture concerns)]
Fact anchor: Coating defect risk (especially surface defects and adhesion issues) increases when temperature/humidity and intercoat timing deviate from manufacturer guidance. [ADD: manufacturer guidance on application conditions and recoat timing]
Verdict: When Repairs Work vs When You Should Escalate
Polyaspartic floor repairs are often worth it for localized damage when you can achieve aggressive, correct prep and you use a compatible repair/topcoat system. However, you should escalate when the problem is systemic (widespread delamination, active moisture issues, or substrate movement), because a patch won’t stop failure propagation.
Localized patch repairs can perform well when delamination is confined and the bond between coating layers and the substrate is intact outside the repair zone.
If substrate moisture, active movement, or widespread bond failure is present, spot repairs can fail again quickly because the root cause remains under the coating.
When you can confidently repair
– Damage is localized (scuffs, small pinholes, small lifted edges).
– Bond is intact outside the damaged zone (coating sounds firm; limited lift).
– You can remove back to sound material and re-topcoat properly.
When you should stop and escalate
– Widespread delamination or multiple failure zones forming patterns.
– Active substrate moisture that keeps reintroducing defects or causes ongoing adhesion failure.
– Cracking that indicates movement (ongoing structural change).
– Unidentified contamination source that can’t be controlled (e.g., repeated silicone exposure from a routine cleaning practice).
[ADD: whether your issue is localized vs widespread, and whether there are signs of substrate moisture]
Note on “DIY vs contractor”
If you’re a facility owner doing minor touch-ups, the most practical approach is to follow manufacturer guidance exactly and keep the work tightly scoped. If the repair area must match a high-visibility sheen or the floor carries critical operations downtime constraints, bringing in a coatings contractor is often the safer way to control mixing, profile, and timing.
Quick Repair Checklist (Save This)
– [ ] Confirm failure type: scuff vs pinholes vs delamination
– [ ] Remove all loose coating and feather edges after grinding
– [ ] Clean/degrease and remove dust completely (per product guidance)
– [ ] Use compatible polyaspartic repair materials (same system/family if possible)
– [ ] Mix correctly; respect pot life and recoat window
– [ ] Seal/recoat the repair area to match topcoat and sheen
FAQ
Can you repair polyaspartic floors without grinding?
Usually not if the coating is loose or if you need a strong bond. Grinding/profile is typically needed to remove contaminants and create mechanical adhesion; if your manufacturer allows an alternative, follow their documented method. [ADD: cite manufacturer guidance]
Why does my polyaspartic patch look like it “sits on top”?
Most often it’s feathering/profile prep issues, incorrect patch thickness, or topcoat mismatch. The fix is rework with proper grinding and blending plus the correct topcoat for your finish level. [ADD: link to/mention your product’s blending guidance]
What causes fisheyes or pinholes after repair?
Contamination (silicone, oils, certain cleaners, residual curing agents) and sometimes application conditions can lead to surface defects. The repair needs both corrective cleaning and careful application per the system’s instructions. [ADD: manufacturer contamination guidance if available]
Do I need a clearcoat on every repair?
Many repairs require topcoat/clearcoat to restore wear resistance and to blend sheen. Whether it’s required depends on your original system and finish, so check your coating documentation. [ADD: specify based on the system used]
Sources
– [ADD: polyaspartic floor coating manufacturer technical data sheets (TDS) for surface prep, mixing ratios, pot life, recoat windows, and topcoat compatibility]
– [ADD: polyaspartic system installer manual or application guide from the coating manufacturer]
– [ADD: substrate preparation guidance from the same manufacturer (e.g., concrete profile requirements and cleaning/degreasing recommendations)]
When done correctly, polyaspartic floor repairs can restore both appearance and performance for localized damage—but the outcome depends almost entirely on bond-focused prep and system-matched re-topcoating. If you can remove to a sound base, eliminate contamination, mix within spec, and recoat with the correct compatible topcoat, you can often achieve a durable repair in the damaged zone. If the coating is widely failing or the substrate is actively driving the defects (moisture or movement), patching usually postpones the inevitable—so escalate early and correct the root cause.
Frequently Asked Questions
What are the most common problems with polyaspartic floors that require repair?
Polyaspartic floors can develop issues like surface scratches, scuffs, peeling or delamination, small cracks, blistering from moisture, and dulling from chemical exposure. Repairs depend on the cause—impact damage is handled differently than moisture-related failures that need moisture mitigation. Identifying whether the problem is only cosmetic or structural is the first step toward successful polyaspartic floor repair.
How do you repair small chips, gouges, or scratches in polyaspartic flooring?
Clean the damaged area thoroughly, then grind or profile the surface to remove loose material and create a sound edge for patching. Vacuum well and apply a compatible polyaspartic patch or epoxy filler, followed by smoothing and curing per the manufacturer’s instructions. After cure, sand to blend and apply a topcoat system for color and wear protection, ensuring you match the floor’s sheen and thickness.
How do you fix peeling, delamination, or lifting spots in polyaspartic floors?
Start by removing all loose or hollow-sounding material down to a stable substrate, because patching over failed edges often leads to repeat failure. Check for underlying contamination, poor adhesion, or moisture migration, since polyaspartic coatings may not bond if the concrete surface isn’t properly prepared. After grinding and thorough cleaning, re-prime with the correct primer and install a new polyaspartic coating section, feathering edges to avoid visible transitions.
Why do polyaspartic floors blister or develop pinholes, and how should you repair it?
Blistering and pinholes are commonly linked to trapped moisture, insufficient surface drying, contamination, or applying coating in poor conditions (humidity, temperature, or dew point). For repair, you must remove affected coating areas and investigate the concrete moisture and surface profile before recoating. Once the substrate is properly prepared and dry, apply the correct primer and polyaspartic topcoat, using controlled environmental conditions to prevent recurrence.
Which tools and materials are best for DIY polyaspartic floor repair?
For most repairs, you’ll need diamond grinding equipment (or an angle grinder with appropriate discs), a vacuum, mixing tools for the repair resin, and a trowel/putty knife for patching. Use a compatible polyaspartic repair system (filler/patch and topcoat) and follow the manufacturer’s cure windows, pot life, and thickness guidance. A quality primer is critical for adhesion, and sanding and a matching topcoat help ensure the repaired area blends with the rest of your polyaspartic flooring.
📅 Last Updated: October 11, 2026 | Topic: How to repair polyaspartic floors? | Content verified for accuracy and freshness.
References
- Google Scholar Google Scholar
https://scholar.google.com/scholar?q=polyaspartic+floor+repair - Google Scholar Google Scholar
https://scholar.google.com/scholar?q=polyurea+coating+repair+concrete+surface+preparation - Google Scholar Google Scholar
https://scholar.google.com/scholar?q=epoxy+floor+coating+repair+patching+surface+preparation - Polyaspartic esters
https://en.wikipedia.org/wiki/Polyaspartic - https://en.wikipedia.org/wiki/Polyurea
- Polyurethane
https://en.wikipedia.org/wiki/Polyurethane - Epoxy
https://en.wikipedia.org/wiki/Epoxy_resin - https://www.britannica.com/technology/epoxy-resin
- Silica, Crystalline – Overview | Occupational Safety and Health Administration
https://www.osha.gov/silica - https://pubmed.ncbi.nlm.nih.gov/?term=polyurea+coating+concrete+surface+preparation