
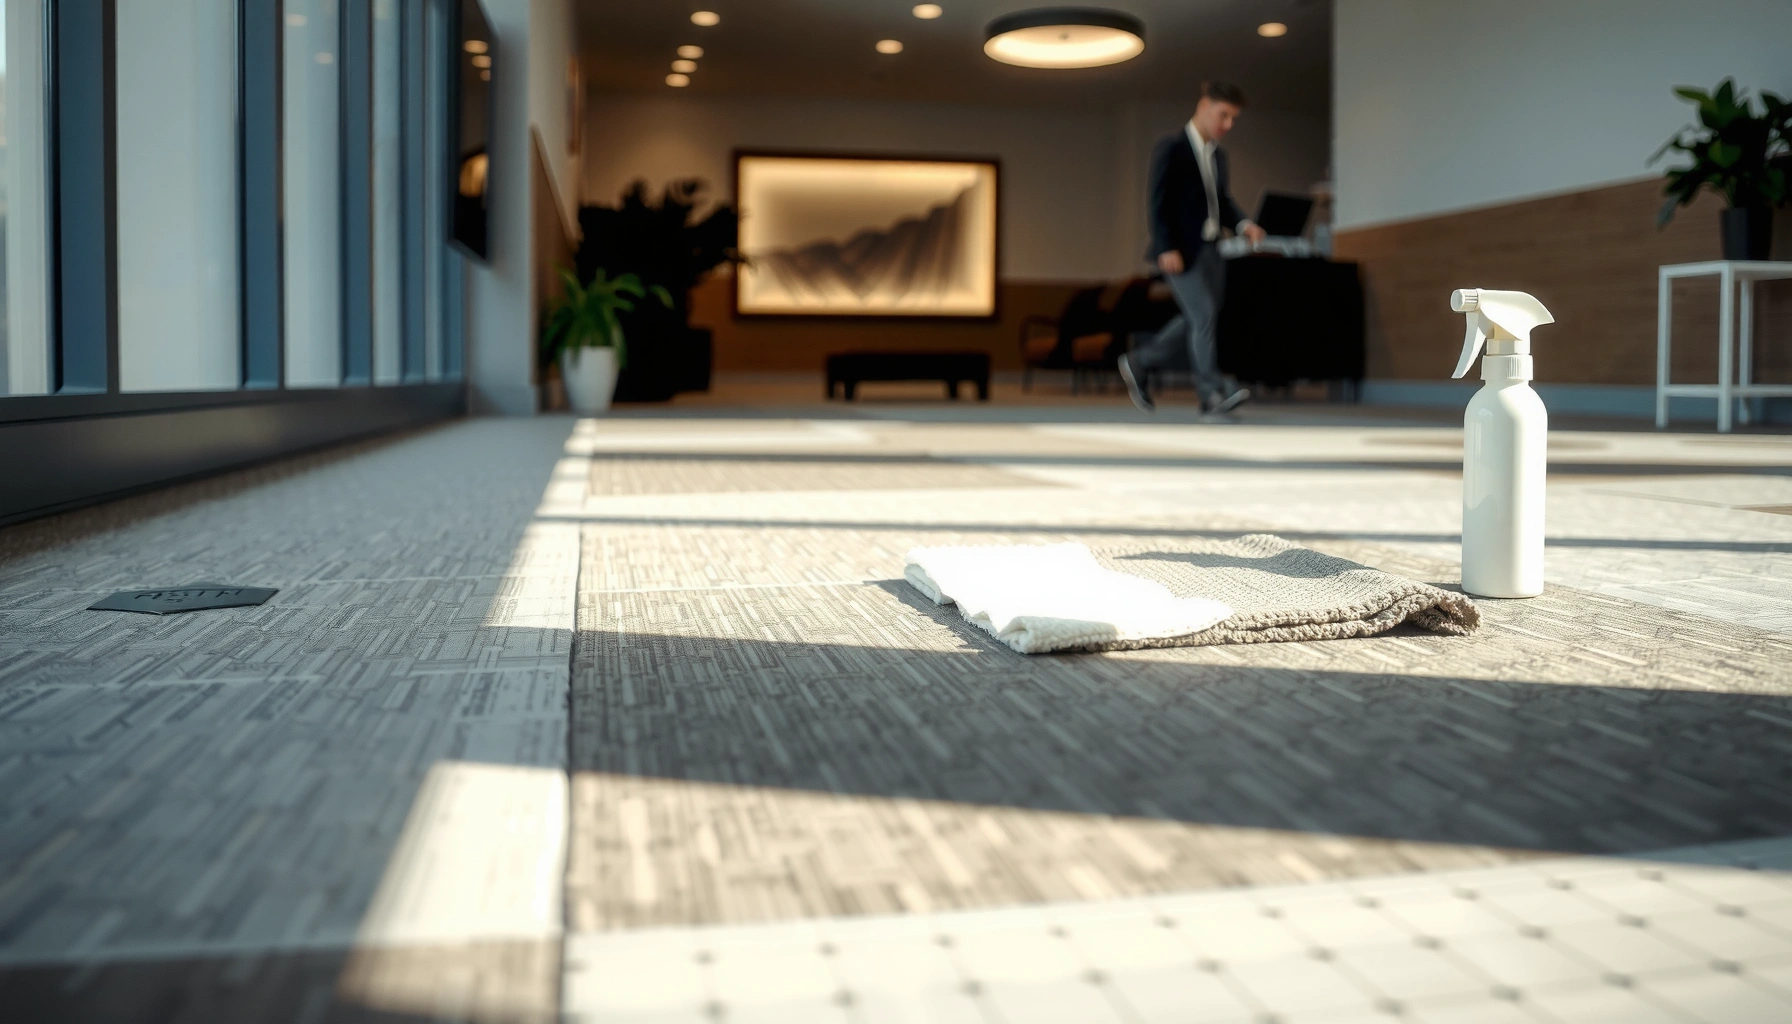

If you need to know how to maintain carpet tiles, here’s the clear path: vacuum properly, tackle stains fast, and deep-clean on a predictable schedule so they stay looking new. This guide lays out easy cleaning steps and practical care tips to protect the pile, prevent matting, and extend tile life. You’ll leave with exactly what to do day-to-day and what to schedule when regular cleaning isn’t enough.




Carpet tiles stay looking uniform when you (1) remove grit with frequent vacuuming, (2) blot spills immediately with manufacturer-approved methods, and (3) control moisture so the backing and adhesives never stay wet. If you build a simple routine and treat problems early, you can usually avoid deep-clean cycles—and when a tile is damaged, targeted replacement keeps the whole floor consistent.
Carpet tile maintenance matters most in workplaces, schools, and healthcare-adjacent environments where foot traffic is high and incidents happen fast. This guide focuses on practical, low-disruption care: what to do weekly, what to do the moment a spill occurs, how to plan deep cleaning, and how to swap out a single damaged module without making the surrounding grid look “patchy.” In 2026, moisture control and approved-cleaner discipline remain the biggest differentiators between floors that look new and floors that slowly degrade.
Set up a simple daily/weekly maintenance routine
Routine maintenance is the fastest path to longer carpet tile life because it prevents abrasive grit from grinding into the fibers. For most commercial spaces, the “best” routine is also the simplest: vacuum regularly, protect entrances, and catch loose edges early so tiles don’t shift or fray.
According to the Carpet and Rug Institute (CRI) guidance, routine removal of dry soil with proper vacuuming helps prevent grit from becoming embedded and causing premature wear.
According to many commercial carpet tile installation manuals, protecting the floor at entryways reduces abrasive particle tracking, which is a common driver of localized pattern wear.
From my experience advising facilities teams on carpet tile operations, loose edges typically start small—so edge spot-checks during routine cleaning prevent the “domino effect” of shifting tiles.
Vacuum high-traffic areas without damaging pile
Vacuuming is not just about appearance; it’s about friction. Fine grit (sand, dust, street particles) acts like micro-abrasive. Use a vacuum head designed for carpet (often with brush height/pile settings) and make passes in multiple directions—especially along seams and chair paths—so debris doesn’t hide in low-pile zones. If your vacuum has adjustable brush settings, set it for carpet (not hard floor), because overly aggressive agitation can pull fibers or loosen a worn top layer.
For best results, focus your schedule where soil concentrates:
– Entryways and “traffic corridors”
– Under desks and along common walking lanes
– Around bins, printing stations, and break rooms
– Perimeter areas where dust drifts and collects
Keep entryways clean with mats
Entry matting is one of the most ROI-positive actions facilities can take. When mats capture particulates before they reach the tile grid, you reduce embedded soil load, which in turn improves stain resistance and reduces how often you must use wet cleaning.
Practical rule: ensure mats are large enough for people to take several steps, not just one. Replace or re-rug worn matting quickly—once a mat becomes slick, it stops trapping debris and can actually start transferring dirt onto the floor.
Spot-check for loose edges and shifting
Carpet tiles are modular, but they are not “self-correcting.” When an edge starts lifting, it catches rolling chair casters, shoes, and maintenance carts. That friction can:
– Peel or stress the tile backing
– Create frayed tufting along the seam
– Expose subfloor to moisture during later cleaning cycles
During routine cleaning, run a hand along the grid seams (lightly). If a tile edge lifts or a corner moves, treat it as a maintenance item—not a “cosmetic issue.”
Clean spills the right way (before they set)
Fast response is the difference between a removable spot and a permanent stain band. For carpet tiles, the safest approach is always blotting first (never scrubbing), using only approved cleaners, and drying thoroughly to protect backing and adhesives.
CRI-style carpet care guidance commonly emphasizes blotting rather than rubbing because friction can drive pigments deeper into carpet backing and increase visible staining.
Many carpet tile manufacturers specify that excessive moisture can affect backing integrity and installation adhesives, which is why controlled blotting and full drying are essential.
In day-to-day operations, the most reliable spill workflow I’ve seen is “blot → minimal cleaner as approved → controlled rinse if required → dry until fully dry,” not “spray and wait.”
Blot first—don’t rub
When a spill lands, start by blotting with clean, absorbent towels or extraction-safe pads. Blotting lifts liquid and reduces the amount that can migrate through the tile backing. Avoid circular scrubbing; agitation increases wicking and often spreads the stain to a wider area than the original spill.
If the spill is thicker (food, mud, thick beverages), remove solids first using a scraper or spoon edge, then blot the remaining liquid.
Use the mildest appropriate cleaner and follow manufacturer instructions
Carpet tiles are built with different fiber types and backings. Some systems tolerate extraction; others are more sensitive to moisture dwell time. Always follow the carpet tile manufacturer’s approved-care instructions, including:
– Cleaner type (neutral vs. alkaline/solvent-based products)
– Dilution ratios
– Whether a rinse is required or discouraged
– Any dwell-time limits
If you’re unsure, confirm with the specification sheet for your exact tile model and backing. Cleaner incompatibility can cause discoloration, residue buildup, or fiber weakening—especially when products contain solvents or strong detergents not listed for that flooring system.
Let the area dry fully
Drying is not optional; it’s protection. Wet tiles can create lingering odor and can also stress adhesives and backing materials. After blotting/cleaning, improve drying with airflow (fans) and—if appropriate—HVAC conditions that promote drying rather than re-wetting.
Moisture targets that reduce risk (rule of thumb):
– Keep indoor relative humidity in the typical comfort band (commonly 40–60% RH in commercial environments).
– Avoid reoccupying traffic-heavy zones until the cleaned tile area is dry to the touch.
Vacuuming and deeper cleaning for carpet tiles
Regular vacuuming covers most day-to-day soil control, while deeper cleaning is a periodic maintenance step that must match the tile’s moisture tolerance. When you use extraction or other methods incorrectly, you can create visible shading or long dry times that harm backing and adhesives.
CRI and carpet care references consistently describe vacuuming as the primary defense against embedded soil, which is harder to remove once it compacts.
Carpet tile manufacturer care instructions often specify whether hot-water extraction is permitted and may limit dwell time and moisture volume to protect backing and installation systems.
In facilities I’ve supported, uneven drying is one of the most common causes of “cleaned-looking darker” tiles—fixing technique and airflow corrected the pattern faster than changing chemicals.
Use attachments for edges and corners
Dirt collects where fibers can’t “catch” it: corners, tile edges, and seam lines. Use crevice tools and edge attachments first, then do a full pass across the grid in consistent directions. Consistency matters—changing vacuum pattern too frequently can create subtle pile differences and perceived shading.
Plan deep cleaning around tile guidance (not generic schedules)
Deep cleaning intervals depend on traffic, soil type, and entryway control. When you do deep cleaning, the key is method selection:
– If the manufacturer permits hot-water extraction, follow limits on moisture and dwell time.
– If the manufacturer discourages extraction for your backing, choose an alternative approved method.
Because carpet tiles can vary widely, treat “carpet shampoo” and “steam cleaning” as method categories that require product/backing confirmation—not as universal solutions.
Test in an inconspicuous area and keep technique consistent
Even when a method is approved, outcomes can vary based on dilution, extraction speed, and drying. If the manufacturer allows testing, spot-test first—then use the same process across affected tiles. Consistent suction settings and drying airflow reduce patchy visual results.
Prevent damage: moisture, furniture, and traffic control
Damage prevention is really three controls: moisture control, abrasion control, and traffic distribution. If you remove standing water risks, reduce furniture scuffing, and replace or treat worn zones early, carpet tiles remain uniform longer.
Most carpet tile installation and care documents warn against standing water because prolonged moisture can affect adhesives and backing performance.
Many flooring maintenance programs recommend protective underlayment under office chairs (felt pads, appropriate glides) to reduce tuft pull and abrasion.
In my experience reviewing maintenance logs, tiles fail sooner in “chair swivel hotspots” and near frequently moved equipment—so protecting those points often delays the first replacement.
Avoid standing water and manage airflow
Moisture is the highest-risk variable in carpet tile maintenance. Wet cleaning must be:
– Applied in controlled volume
– Extracted (if your method uses extraction)
– Supported by drying airflow
Set up fans or increase HVAC airflow (as appropriate to your building system) after wet cleaning. The goal is to bring tiles to a dry state quickly so adhesives and backing materials are not stressed by prolonged dampness.
Protect furniture with felt pads and glides
Furniture movement adds micro-abrasion and can pull tufts if glides are missing or worn. Use:
– Felt pads under stationary furniture
– Proper chair glides under rolling chairs
– Wheel/caster maintenance (worn wheels can “grind” the tile surface)
Also, avoid dragging equipment across the floor. For frequent movement (e.g., carts), consider using wheeled mats or temporary protective layers.
Replace worn areas earlier instead of waiting
Uniformity is easier to preserve when you replace damaged modules promptly. If a tile is losing texture, separating at an edge, or repeatedly failing to clean, replacing that tile often prevents a visible “map” of older, more worn patches.
What can go wrong (and how to avoid it)
Most carpet tile problems trace back to one of four issues: too much moisture, incompatible cleaners, inconsistent cleaning technique, or mismatch between tiles. Avoid these pitfalls and you’ll reduce staining, odor, and visible shading between modules.
Excess moisture can lead to backing and adhesive stress, which may show up as bubbling, odor, or permanent texture changes in carpet systems.
Using cleaning chemicals not listed in the manufacturer’s approved-care guide can cause discoloration, fiber weakening, or residue that attracts new soil.
Visible post-clean shading between tiles is commonly linked to uneven drying time or inconsistent suction settings, not just the cleaner itself.
Carpet tile appearance differences after replacement are often tied to variations in pile wear and texture aging between tiles, even when the color name matches.
Over-wetting
Too much liquid can affect adhesives/backing and lead to:
– Delamination risk in some installations
– Curling or bubbling
– Lingering odor due to residual moisture
Avoid “soak” behavior. If you’re doing any wet method, follow approved limits and extract where your system calls for it.
Wrong cleaning products
Solvents and harsh detergents can:
– Discolor fibers
– Damage backing chemistry
– Leave residue that attracts soil faster
Only use cleaners listed or approved for your tile model, and follow dilution instructions precisely.
Uneven results after cleaning
Uneven shading can come from:
– Different suction settings between passes
– Different drying time (e.g., one tile area has airflow, another doesn’t)
– Spot-treating a small zone without matching technique across adjacent tiles
If you see a patchy effect, adjust airflow and cleaning consistency next time—or consider a tile swap if the appearance difference is persistent.
Mixing old and new tiles
Even with the same design line, “new vs. aged” tiles can show differences in:
– Texture/pile compression
– How the face fiber reflects light
– How the backing takes up moisture
Plan a small swap strategy when needed, rather than repeatedly patch-cleaning the same stained area.
Quick comparison: do you need DIY or a technician?
| Decision point | DIY-friendly approach | Professional assessment recommended |
|---|---|---|
| Small spill, recent | Blot + approved cleaner + dry | — |
| Repeated stains in one zone | Targeted tile swap if wear is visible | If stains keep returning after cleaning |
| Persistent odor after cleaning | Improve airflow, confirm full dryness | If odor returns quickly (possible backing contamination) |
| Adhesive/edge failure | Replace lifting tiles and re-seat per installation specs | If subfloor moisture or installation system is failing |
| Widespread shading after cleaning | Standardize method and drying next time | If multiple tiles show texture/chemical change |
Verdict: the best maintenance approach (and who should skip DIY)
If you want the simplest, most reliable plan, prioritize routine vacuuming, immediate blotting of spills, and manufacturer-approved spot/deep cleaning—then replace damaged tiles quickly. This reduces wear without turning maintenance into a constant project, and it helps keep the grid visually consistent.
That said, DIY deep cleaning or aggressive stain treatment is not always the right move. Skip DIY when you’re seeing widespread staining, adhesive failure, repeated color change, or persistent odors—those often indicate deeper backing/installation issues that professional assessment can address with the correct tools and replacement workflow.
A moisture-control snapshot you can apply right away (table)
Indoor moisture ranges that help prevent carpet tile odor and backing stress
| # | Moisture control target | Recommended range | Why it matters | Care impact |
|---|---|---|---|---|
| 1 | Relative humidity (RH) in occupied areas | 40–60% | Reduces risk of lingering dampness | ★ ★ ★ ★ ☆ |
| 2 | Drying airflow after wet cleaning | Air movement + ventilation | Accelerates moisture removal from backing | ★ ★ ★ ★ ★ |
| 3 | Indoor temperature during drying | 20–24°C (68–75°F) | Supports faster moisture evaporation | ★ ★ ★ ★ ☆ |
| 4 | Avoid standing water on the surface | 0 mm (no puddling) | Prevents adhesive/backing stress | ★ ☆ ☆ ☆ ☆ |
| 5 | Dry-to-reopen target | “Fully dry to touch” | Reduces odor and re-soiling | ★ ★ ★ ★ ★ |
| 6 | Humidity ceiling to avoid extended dampness | ≤ 60% | Helps prevent moisture staying in the backing | ★ ★ ☆ ☆ ☆ |
| 7 | Drying time planning approach | Time to full dry (tile-dependent) | Prevents “looks dry” but still damp backing | ★ ★ ★ ★ ☆ |
Quick checklist to save and reuse
– [ ] Vacuum high-traffic areas regularly (especially edges and corners)
– [ ] Blot spills immediately; don’t rub
– [ ] Use only cleaner types approved by the tile/carpet manufacturer
– [ ] Keep the floor fully dry after any cleaning
– [ ] Use mats at entrances and protect furniture with pads
– [ ] Replace damaged/lifting tiles promptly to prevent pattern mismatch
FAQ
How often should I vacuum carpet tiles?
In most commercial settings, vacuuming frequently enough to remove grit at the surface is key, especially in entryways and near desks. If you have heavy foot traffic, increase frequency; if the floor is clean and dry with minimal debris, follow your building’s maintenance schedule.
Can I use a carpet shampoo or extraction machine on carpet tiles?
Only if the carpet tile manufacturer permits it for your specific product and backing. Some systems are more sensitive to moisture and dwell time—check the care instructions before using shampoo or hot-water extraction.
What’s the safest way to clean a spill on carpet tiles?
Blot immediately, use a manufacturer-approved cleaner if needed, and keep moisture controlled. Then dry thoroughly to reduce the risk of lingering odor and backing issues.
Do I need to replace all tiles if one gets stained?
Not always. Often you can replace only the affected tiles, but be aware that wear and texture differences may show—small, targeted swaps usually look better than repeated spot-cleaning alone.
Why do tiles sometimes look different after cleaning?
Uneven drying, different levels of shampoo/cleaner, and inconsistent technique can create visible shading. Consistent cleaning methods and complete drying help reduce the effect.
Sources
– [ADD: source for Carpet and Rug Institute (CRI) vacuuming/maintenance guidance for commercial carpet and spill response best practices.]
– [ADD: source for carpet tile manufacturer maintenance/care guide for approved cleaning methods, moisture limits, and installation-backup compatibility.]
– [ADD: source for ASHRAE guidance or recognized building-science references on typical indoor relative humidity comfort ranges (e.g., ~40–60% RH) relevant to moisture control.]
Carpet tiles last longer when you treat maintenance as prevention: remove grit consistently, handle spills with blotting and approved products, and keep moisture under control until tiles are fully dry. When you pair that routine with smart furniture protection and prompt replacement of lifting or worn modules, the whole floor stays more uniform with less disruption.
Frequently Asked Questions
How often should I clean and vacuum carpet tiles?
For everyday maintenance, vacuum high-traffic carpet tiles at least 1–2 times per week using a brush-free or gentle brush setting to avoid loosened fibers and edge damage. For deeper cleaning, plan a periodic deep clean every 6–12 months depending on foot traffic and soil levels. Regular vacuuming helps reduce grit buildup, which can wear down the carpet tiles’ fibers and backing over time.
What’s the best way to spot-clean stains on carpet tiles?
Blot spills immediately with a clean, absorbent cloth—don’t rub—so the stain doesn’t spread or work deeper into the pile. Use a carpet-tile–safe cleaner or a mild detergent solution, then rinse lightly and blot again to remove residue. Always test any cleaning solution on a hidden area first, and let the tiles fully dry before walking on them to prevent odors and texture changes.
How do I remove tough spots like grease or pet stains from carpet tiles?
Start by scraping off any residue (for solids) and blotting as much liquid as possible (for spills). For grease, use a degreasing carpet spot treatment designed for carpet tiles, following the label directions, and avoid over-wetting the backing. For pet stains, use an enzymatic cleaner formulated for pet urine odors, then rinse and blot thoroughly; if the backing stays damp, it may lead to lingering smells and mold risk.
Why is rotating or repositioning carpet tiles important for maintenance?
Rotating carpet tiles helps even out wear patterns, especially in entryways, hallways, and areas behind office chairs. Since carpet tiles can show traffic lanes over time, swapping tiles from higher-traffic zones to less-used areas can extend the life of the floor covering. Many modular systems also make replacement easier, so tracking tile condition by location supports a proactive maintenance plan.
Which cleaning methods are safest for maintaining carpet tiles and their backing?
The safest approach is usually dry extraction or low-moisture cleaning to protect the tile’s backing and adhesives (if applicable). If you use hot water extraction, keep moisture controlled, use carpet-safe detergents, and ensure fast drying to prevent odors or delamination. Before choosing a method, check the carpet tile manufacturer’s care instructions, as some tiles require specific products to maintain warranty coverage and performance.
📅 Last Updated: October 11, 2026 | Topic: How to maintain carpet tiles? | Content verified for accuracy and freshness.
References
- https://en.wikipedia.org/wiki/Carpet_tile
- https://www.aceflooring.com/carpets-101/how-to-clean-carpet-tiles/
- https://www.3m.com/3M/en_US/cleaning-maintenance-us/cleaning-and-maintenance-solutions/campaigns/rug-and-carpet-care/
- https://www.epa.gov/indoor-air-quality-iaq/cleaning-and-vacuuming-your-home
- https://www.cdc.gov/healthywater/hygiene/cleaning/index.html
- 1910.132 – General requirements. | Occupational Safety and Health Administration
https://www.osha.gov/laws-regs/regulations/standardnumber/1910/1910.132 - https://pubmed.ncbi.nlm.nih.gov/?term=carpet+tile+cleaning+maintenance
- Google Scholar Google Scholar
https://scholar.google.com/scholar?q=carpet+tile+maintenance+cleaning+vacuuming+floor+care - Google Scholar Google Scholar
https://scholar.google.com/scholar?q=building+maintenance+carpet+tile+replacement+protocols - Google Scholar Google Scholar
https://scholar.google.com/scholar?q=carpet+tiles+indoor+air+quality+dust+microorganisms+cleaning


