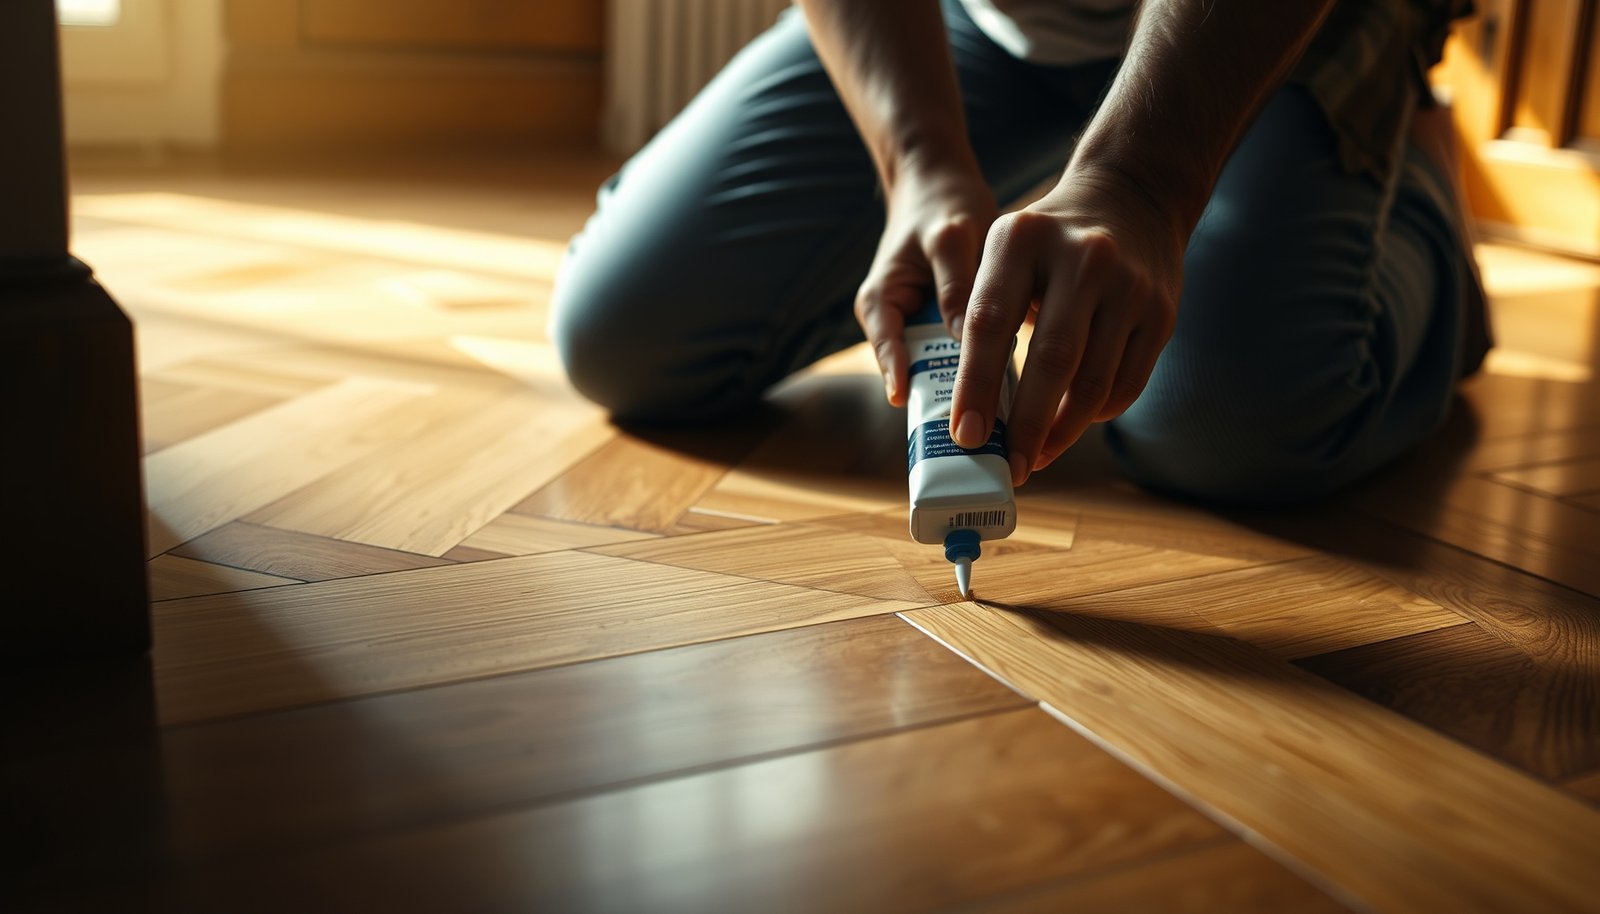

Need to remove scratches from parquet floors and want a fix that actually works? If the scratches are light, simple sanding and wood filler blend restores the surface fastest; if they’re deep, you’ll need localized sanding followed by stain and a matching protective finish for a near-invisible result. This guide tells you exactly which method to use based on scratch depth, so you don’t waste time—or damage the wood further.




If your parquet floor has scratches, the fastest way to improve the look is to clean the area first, then repair based on how deep the damage is. Surface-level scuffs usually need a color-matching repair wax or marker, while gouges that expose wood require filler and spot refinishing to blend properly—without widening the visible damage.
If you’ve noticed scuffs from shoes, pet nails, or furniture movement, this guide is for you—especially when the scratches are localized on individual planks. It’s also a practical way to decide whether a quick touch-up is enough or whether you’ll need sanding and a finish refresh (which is often best handled by a flooring professional if the area is large).
Step 1: Clean and assess the scratch depth
Clean the floor thoroughly, then assess whether you’re dealing with finish-only damage or exposed wood. This determines whether you can “hide” the scratch with a color match or whether you must fill and level the groove before any finish work.
A scratch that catches on a fingernail indicates the surface has been physically carved, which typically means you need a leveling step (filler) rather than only a surface color.
According to the USDA Forest Products Laboratory, Janka hardness values are used to describe resistance to denting, which helps explain why softer parquet woods show scratches more readily than harder species.
What to do (and why it matters)
Start by removing grit, because embedded dust acts like sandpaper during buffing or sanding. Sweep and vacuum carefully, then use a damp (not wet) microfiber cloth to pick up remaining particles. After it dries, you can finally judge the scratch without “false roughness” from debris.
Next, assess depth using a fingernail test. Gently drag a fingernail across the mark:
– If it feels smooth (no catch), the scratch is likely in the top finish layer.
– If it catches, the scratch has likely reached wood (or at least deeper material under the finish), which usually requires filler and careful finishing.
Also note the scratch location and pattern. Scratches confined to one plank often respond well to spot repair. Scratches across multiple planks (especially if they align with traffic lanes) may need a broader refinishing approach to avoid a “patched” look.
Choose your repair strategy based on wood resistance
Parquet boards vary by species and finish system, but wood hardness strongly influences how easily damage forms and how visible it becomes. For example:
– According to the USDA Forest Products Laboratory, white oak is listed at about 1,360 lbf Janka hardness. (USDA Forest Products Laboratory, Wood Handbook — Wood as an Engineering Material)
– According to the USDA Forest Products Laboratory, hard maple is listed around 1,450 lbf. (USDA Forest Products Laboratory, Wood Handbook — Wood as an Engineering Material)
– According to the USDA Forest Products Laboratory, American black cherry is listed around 950 lbf. (USDA Forest Products Laboratory, Wood Handbook — Wood as an Engineering Material)
In practical terms, a scratch that looks “minor” on a harder species may still be a groove on a softer one—so depth checking stays important even in 2025–2026 when repair products look identical on the shelf.
Step 2: Try the least invasive options first (surface scratches)
Surface scratches usually respond best to color-matching and finish-level blending, not sanding. Your goal here is to reduce contrast—because you rarely “erase” a cut in the finish with wax alone.
Wood repair markers and repair wax sticks are commonly formulated for spot touch-ups by depositing pigment into surface-level finish damage.
According to general floor maintenance guidance, you should remove excess repair material and buff to blend, since leftover wax or filler can attract dirt and increase visibility.
What to use for finish-only scratches
If the fingernail doesn’t catch, start with the least invasive options:
– Wood repair marker (color-matching ink/solvent system)
– Colored wax stick (pigmented wax designed for scratch hiding)
Pick a shade close to your parquet tone. Parquet rarely matches perfectly across every plank, so try to match the specific plank color where the scratch lives—not the room’s overall “average.”
How to apply without making it worse
1. Clean the area again after drying (a fast wipe with a slightly damp cloth is fine).
2. Apply the marker/wax lightly—you can always add more.
3. For wax: let it sit just enough to fill the shallow groove, then scrape off excess once it firms up (a plastic card works well).
4. Buff with a soft, clean cloth to blend into the surrounding finish.
If the scratch looks dull rather than sharply darker, a compatible floor polish can sometimes refresh the sheen uniformity. In 2025–2026, many polishes exist, but the key is compatibility with your parquet’s existing topcoat system.
When to stop and escalate
If you can still see a clear line after careful blending, don’t keep layering color indefinitely. At that point you may be fighting a deeper groove—or the finish may have worn enough that spot touch-up won’t match sheen. Escalate to filler only if the fingernail test indicates the scratch is truly carved into the surface.
Step 3: Fill deeper scratches with wood filler (for grooves)
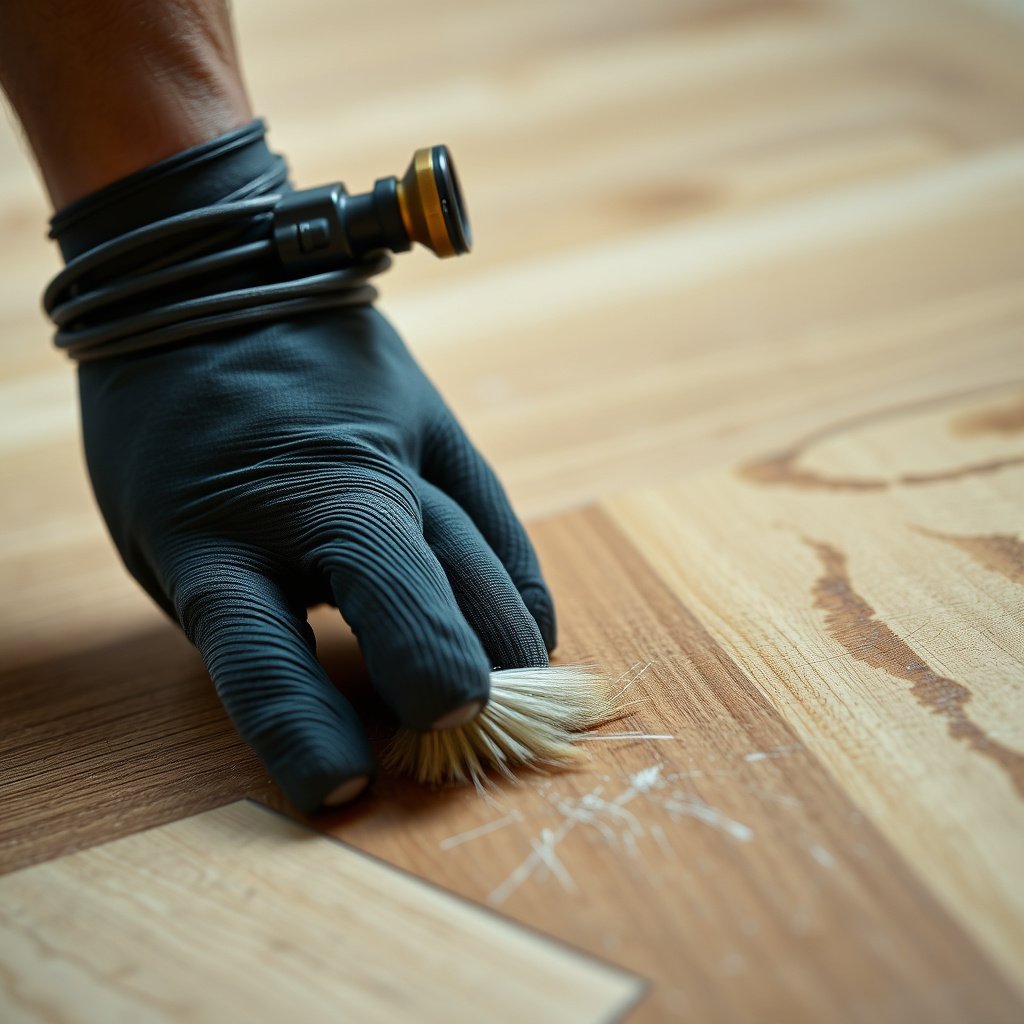
Deeper scratches that catch your fingernail generally require wood filler and leveling before any finish blending. Filling makes the surface flush so color and sheen can sit on top rather than “cling” to a recessed trench.
If a scratch has a groove, sanding and finish work are inconsistent unless the groove is first leveled with a sandable filler.
According to typical manufacturer guidance for wood fillers, the product must be allowed to dry/cure fully before sanding to avoid soft edges and uneven surface texture.
Apply filler with restraint
After cleaning and fully drying:
– Use a putty knife or plastic scraper to apply filler only into the scratch/gouge.
– Avoid smearing across neighboring planks; excess filler creates a ridge that becomes more visible after drying.
Let it cure fully according to the manufacturer’s instructions. Then level carefully:
– Lightly sand or scrape so the filled area becomes flush with the surrounding surface.
– Stop as soon as the repair blends—over-sanding is a common way to create a visible halo.
Spot-finish for sheen matching (only if needed)
If your parquet has a clear finish, a filled patch may look different until you match sheen. For oil, varnish, and lacquer systems, compatibility matters:
– Use a product intended for your floor’s topcoat type.
– Spot-apply so the repair area blends without expanding the damage zone.
If you’re unsure which system you have (oil vs varnish vs lacquer), treat that uncertainty as a stopping point. Incompatible products can dull, cloud, or peel, especially around patch edges.
Janka Hardness of 7 Common Parquet Woods (USDA Values)
| # | Wood species (commonly used in parquet) | Janka hardness (lbf) | Scratch-resistance index |
|---|---|---|---|
| 1 | Ipe (Tabebuia spp.) | 3680 | ★ 100 |
| 2 | Hickory (Carya spp.) | 1820 | ★ 49 |
| 3 | Hard maple (Acer spp.) | 1450 | ★ 39 |
| 4 | White oak (Quercus alba) | 1360 | ★ 37 |
| 5 | Red oak (Quercus rubra) | 1290 | ★ 35 |
| 6 | Black walnut (Juglans nigra) | 1010 | ★ 27 |
| 7 | American cherry (Prunus spp.) | 950 | ★ 26 |
Step 4: Sand and refinish only when necessary
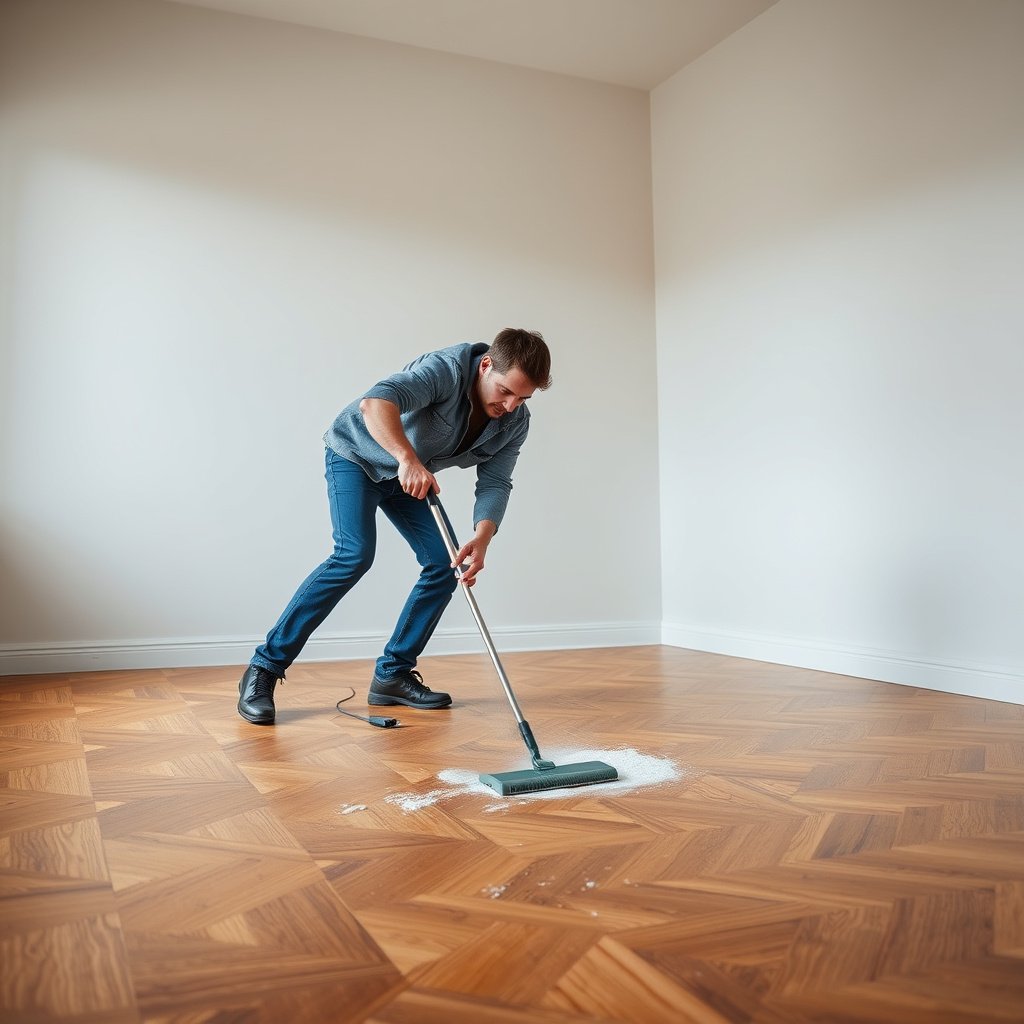
Sand and refinish only after touch-up and filler fail to blend, because sanding can change local sheen and create a “patch” that’s harder to match than a small color repair. For many localized scratches, controlled spot work is preferable to expanding the repair area.
Localized sanding usually aims to remove scratch edges and level the filled area—not to reshape the entire plank.
Finish compatibility is critical: oil, varnish, and lacquer systems can behave differently on the same wood when layered incorrectly.
How to decide when sanding is truly needed
If:
– The scratch is on high-traffic planks,
– Color-matched wax/marker still shows a clear groove line,
– Or the filled section won’t look flush after curing,
then minimal sanding may be the right next move.
Keep sanding conservative. Focus on the filled/repaired zone and work just until the surface no longer “catches” light or feels uneven. If your parquet has a clear topcoat, sanding also increases the chance you’ll need a spot finish to unify sheen.
Refinishing: what “correct” means
Refinishing is not one universal process. It depends on your parquet’s topcoat system:
– Oil systems often require oil maintenance and controlled recoating.
– Varnish/urethane systems often require sanding to promote adhesion and then recoat.
– Lacquer systems often require careful surface preparation to avoid fisheyes or poor bond.
In 2025–2026, most brands still emphasize the same principle: follow the topcoat manufacturer’s compatibility guidance for what you can apply over what.
What can go wrong (common mistakes and limits)
Most disappointing results come from skipping prep, overfilling, or applying an incompatible finish over a spot repair. The goal is to reduce contrast, not to create a new surface problem that catches dirt and light.
Leaving grit during repair increases abrasion risk during buffing or sanding, which can widen the scratch.
Overfilled grooves can trap dirt and create a raised edge that becomes more noticeable after the repair dries.
Using the wrong finish system over existing parquet topcoats can lead to poor adhesion, dulling, clouding, or peeling.
Comparison: choosing the right fix for the scratch type
| Repair method | Best for | Key risk if misused |
|---|---|---|
| Wax stick / repair marker | Finish-only scuffs where the nail doesn’t catch | Layering too much pigment creates a visible “film” or color patch |
| Wood filler | Grooves and gouges that catch a fingernail | Smearing filler expands the damaged-looking area |
| Sand + spot finish (or full refinish) | Repairs that can’t blend due to raised edges or sheen mismatch | Improper sheen matching or incompatible coatings create halos |
The most common mistakes (and how to avoid them)
– Skipping grit removal: debris can scratch the surface again while you buff.
– Overfilling: filler that sits proud will catch dirt and look worse after curing.
– Color mismatch: a repair that’s too warm/cool or too dark makes the scratch read like a “line.”
– Wrong topcoat layering: oil/varnish/lacquer systems can react differently; incompatibility can dull or peel.
– DIY sanding on large areas: you can unintentionally create uneven sheen even if the scratch edges are gone.
When to stop and call a pro
If the damage spans multiple planks, if you can’t confirm whether the parquet is oil-finished vs varnished/lacquered, or if the finish is already failing elsewhere, professional refinishing often produces more uniform results—especially in commercial spaces where appearance consistency matters.
Verdict / tip: choose the method by depth—and stop early
For most parquet scratches, the best approach is to start with cleaning and the least invasive repair (wax/marker), then move to wood filler only if the fingernail test confirms a real groove. Avoid sanding unless touch-up and filling can’t blend the surface, because localized sanding can be harder to match than small color corrections.
The downside of DIY is that sheen matching is inherently visual and sensitive to lighting, prep technique, and finish system compatibility. If you’re dealing with widespread scratches, unknown finish chemistry, or high-visibility commercial areas, it’s usually smarter to pause and get guidance from a flooring refinishing professional.
Spot repairs blend best when you match both color and texture (levelness) before attempting any finish adjustments.
If you don’t know your parquet’s topcoat type, the safest “next step” is to stop and confirm before applying any finish over filler.
Quick checklist (scan/save)
– [ ] Clean thoroughly; remove all grit
– [ ] Check depth with a fingernail (catch = deeper repair)
– [ ] Try wax/stain marker for surface-only scratches
– [ ] Use wood filler for grooves; level after drying
– [ ] Spot-finish only with a compatible product
– [ ] Buff and remove excess for a blended look
A repeatable decision rule is: if the nail catches, treat it as structural surface damage (fill/level) rather than a cosmetic finish scuff.
Sources
– USDA Forest Products Laboratory, Wood Handbook — Wood as an Engineering Material (Janka hardness values and wood behavior background).
A well-blended parquet scratch repair comes down to one decision: match the method to the damage depth. Clean thoroughly, treat finish-only scuffs with color repair and buffing, fill and level true grooves, and sand/refinish only when spot work can’t achieve an even look. If the finish system is unknown or the damage is widespread, the most reliable result usually comes from getting compatibility advice before you apply anything over the wood.
Frequently Asked Questions
What’s the best way to remove scratches from parquet floors without damaging the finish?
Start by cleaning the parquet floor thoroughly so dirt isn’t mistaken for scratches. Light surface scratches can often be improved with a wood floor scratch repair kit or a matching wax crayon, then buffed gently. For deeper scratches that reach the wood, use a wood filler that matches your parquet color, let it dry completely, and finish with a small touch-up of compatible varnish or oil to protect the area.
How can I fix a deep scratch in my parquet flooring step by step?
Clean the scratch area, then lightly sand along the grain to remove rough edges and prepare the surface. Remove sanding dust with a vacuum and a slightly damp microfiber cloth. Fill the scratch with a parquet wood filler (choose a color as close as possible to your floor), allow it to cure, sand smooth again, and finish with the same topcoat used on your parquet (lacquer/varnish) for a uniform look.
Which products work best for scratch removal on oiled parquet versus lacquered parquet?
For oiled parquet, wood repair oil, oil-based fillers, and matching wood wax are usually the most compatible for scratch repair because they blend into the oil finish. For lacquered or varnished parquet, use a wood floor scratch repair kit designed for coated surfaces or a filler followed by a touch-up lacquer/varnish to match sheen. Always test products in an inconspicuous area first to ensure color and gloss match the surrounding parquet.
Why do scratches on parquet floors look worse over time, and how can I prevent that?
Scratches can collect dust and moisture, causing discoloration and making damage more visible than it originally was. If the top protective layer is compromised, the affected wood may also dry out or darken, widening the scratch visually. After repairing, keep parquet floor cleaning gentle (no harsh cleaners), use felt pads under furniture, and consider a periodic maintenance treatment—like re-oiling or refresher varnish—to protect the surface.
How do I remove fine surface scratches from parquet using DIY methods at home?
For superficial scratches, try cleaning first, then apply a matching wood floor wax or filler crayon in thin layers, wiping away excess and buffing with a soft cloth. For very fine marks, a hardwood floor polish designed for parquet can sometimes reduce the appearance by filling minor imperfections. If the scratch still remains visible, lightly buff and repeat carefully, but avoid aggressive sanding that can create uneven wear on the parquet finish.
📅 Last Updated: October 15, 2026 | Topic: How to remove scratches from parquet floors? | Content verified for accuracy and freshness.
References
- Parquet
- Wood flooring
- How to Fix Scratches on Wood Floors – Bob Vila
- https://www.diynetwork.com/how-to/cleaning-and-organization/cleaning/how-to-fix-scratched-hardwood-floors
- https://www.thespruce.com/how-to-fix-scratches-in-hardwood-floors-4129309
- https://scholar.google.com/scholar?q=parquet+floor+scratch+removal+sanding+refinishing Google Scholar
- https://scholar.google.com/scholar?q=hardwood+floor+scratch+repair+wood+filler+finish+coating Google Scholar
- https://scholar.google.com/scholar?q=wood+floor+coating+scratch+repair+abrasion+recovery Google Scholar