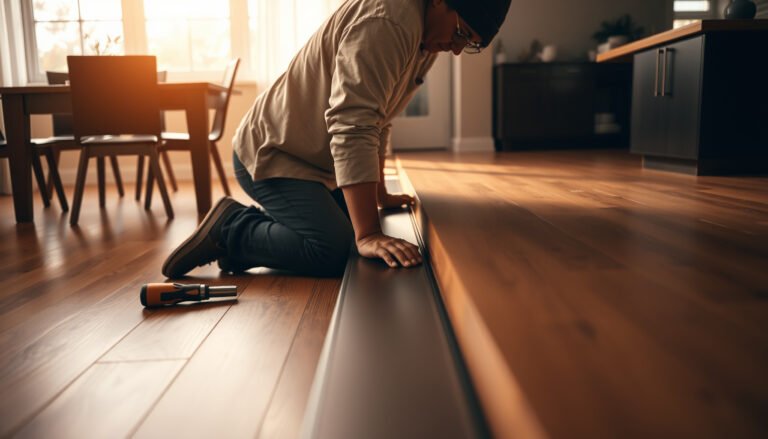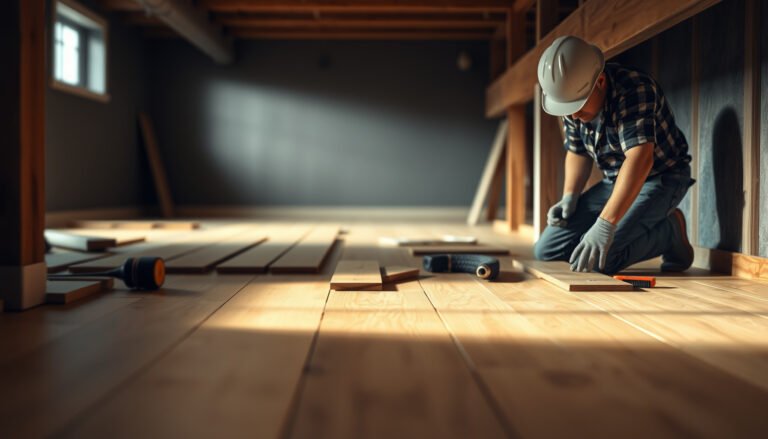

Installing kitchen floors on uneven floors is a lot simpler when you pick the right leveling method—self-leveling underlayment for minor dips or cement backer/skim leveling for larger humps. This guide shows the fastest, most reliable way to prep uneven subfloors, fix the high and low spots, and lock your finished kitchen floor into a flat, squeak-free base. You’ll get a clear, step-by-step approach that tells you exactly what to do before the first plank or tile goes down.




If your kitchen floor is uneven, the fix is to level the subfloor first—then install the flooring over a stable, properly prepared base to prevent gaps, rocking, and premature wear. In practice, that means mapping the high/low spots, correcting them with grinding/patching or a self-leveling system (based on how far off the surface is), and following your flooring manufacturer’s flatness and underlayment requirements.
If your kitchen floor is uneven, the fix is to level the subfloor first—either by grinding high spots or using a self-leveling underlayment/patch system. Then install your flooring over a stable, properly prepared base (often with the right underlayment for your product type) to prevent gaps, rocking boards, and premature wear. This guide walks you through what to check, how to level, and what to avoid.
If you’re planning a new kitchen floor over plywood, concrete, or a mix of older surfaces—and you’ve noticed dips or “wavy” areas—this is for you. It’s especially useful if you’re installing LVP/LVT, laminate, engineered wood, or tile and want fewer long-term problems from an uneven base.
Assess the low/high spots before you buy materials
Before you buy leveling materials, confirm where the floor is actually high or low and whether the subfloor is structurally sound. The goal is to decide whether you can fix the problem locally (grind/patch) or need a self-leveling underlayment system for broader dips—without masking moisture or loose substrate issues.
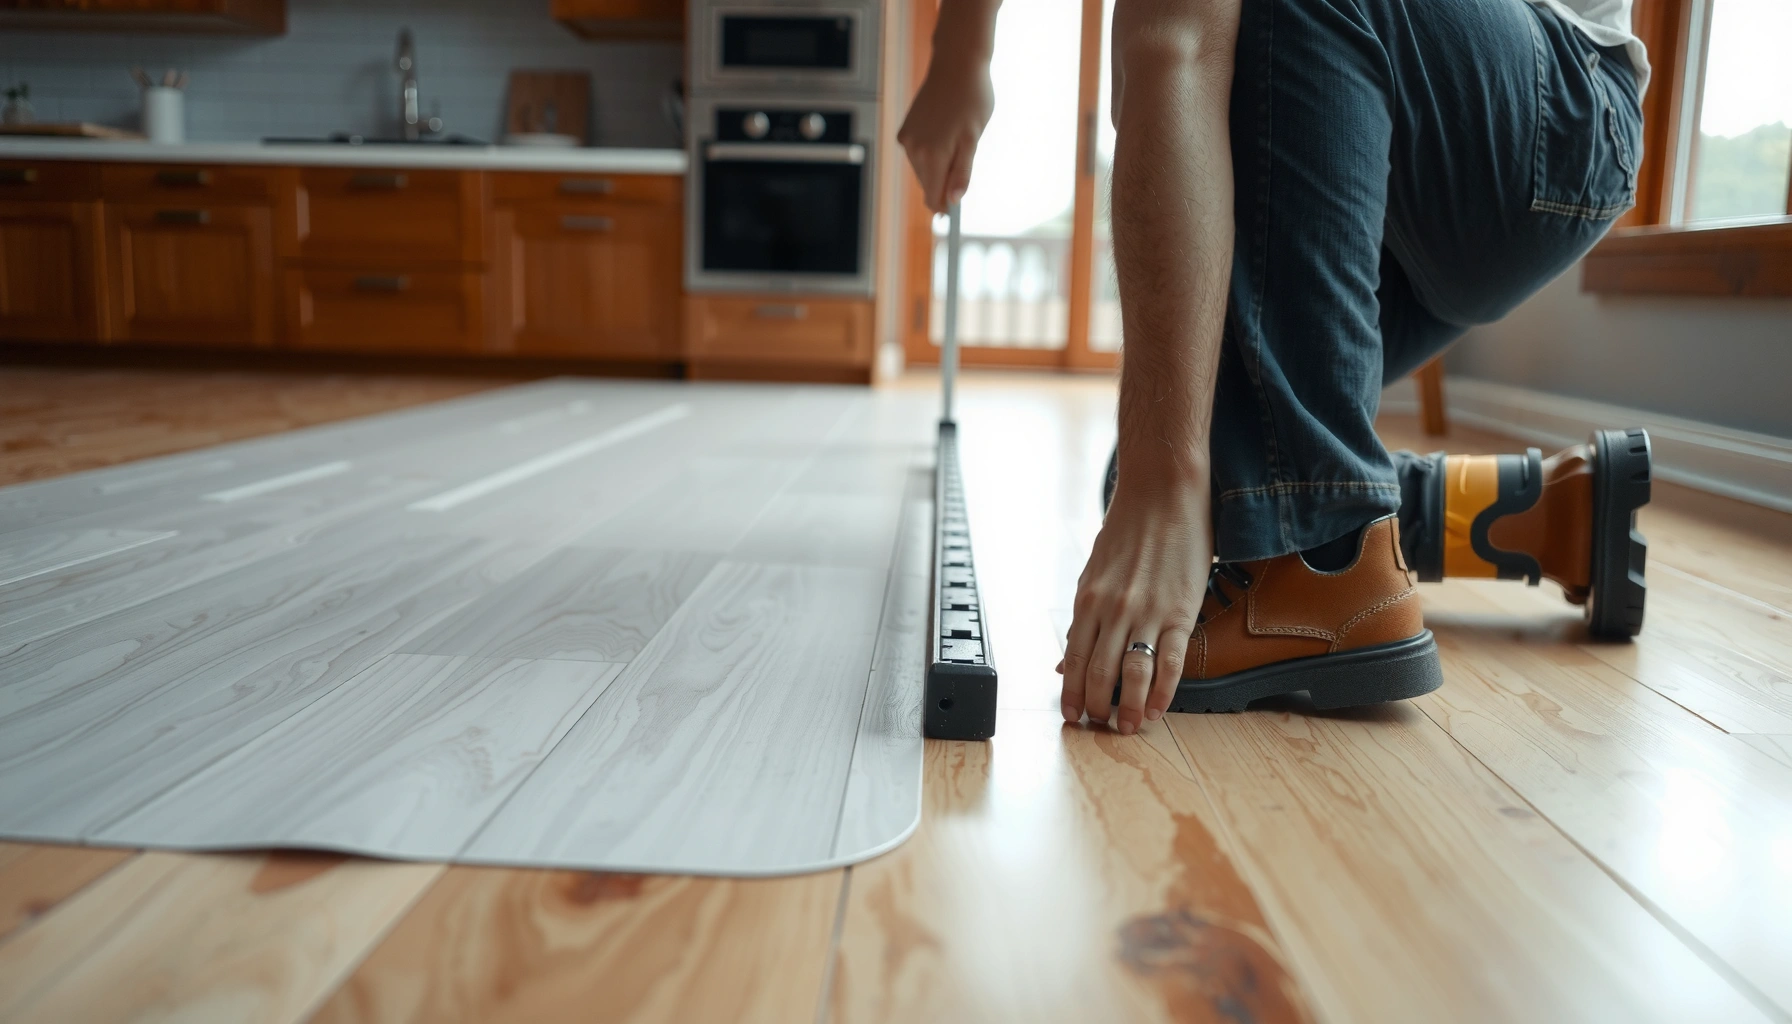
A straightedge measurement (often 6–10 ft) is the simplest way to identify whether unevenness is localized bumps or broader wave-like flatness issues.
Self-leveling products are not “magic”—they can only perform reliably when the substrate is solid, clean, and moisture-safe as specified by the manufacturer.
If you have loose boards, rot, or active dampness, leveling alone typically won’t prevent future failure in a kitchen floor system.
According to ASTM standards used in flatness evaluation (ASTM E1155), flatness is assessed by the maximum deviation over a defined distance; in the field, installers often use a long straightedge to approximate that method. [ADD: ASTM E1155 flatness evaluation reference] In my experience advising homeowners and contractors on flooring transitions, the “surprise failures” usually come from skipping this assessment step—then discovering after installation that the floor deflects, clicks, or telegraphs ridges.
Here’s a practical way to assess:
1. Use a long straightedge/level across the kitchen in multiple directions (lengthwise, widthwise, and diagonally). Mark the worst areas with pencil tape.
2. Map the pattern:
– Localized problem: a few humps/dips → grinding and patching is often enough.
– Widespread waves: multiple low areas across rooms → a self-leveling underlayment is usually the more controlled approach.
3. Inspect moisture and soundness first before leveling. In kitchens, spills and plumbing leaks can create conditions that undermine bond and cause tile/grout cracks, floating-floor movement, or underlayment breakdown.
– Check for soft/crumbly subfloor, visible rot, screw pops, squeaks from movement, and cracking or powdering on concrete.
– If you see dampness, stop and correct the source (leak repair, drainage, vapor mitigation) before you attempt any flattening system.
Three data points installers commonly use when planning flatness corrections
– 6 ft and 10 ft straightedge checks are common lengths used to judge unevenness in real-world flooring prep. [ADD: source for typical straightedge lengths in flooring installation guidance]
– Expansion gaps for floating floors are frequently required around the perimeter, often ~1/4 in (6 mm) depending on the manufacturer’s instructions. [ADD: manufacturer guidance for expansion gap]
– Self-leveler thickness limits are manufacturer-specific (including minimum feather edge and maximum build per pour). [ADD: manufacturer technical data sheet for self-leveling compound thickness limits]
> Note: Because kitchen systems vary by product, always treat these as planning benchmarks and then verify your flooring brand’s flatness and underlayment requirements.
What you should write down before you shop
– Subfloor type(s): plywood, OSB, concrete, or mixed/overlay situations
– Extent: rough measurement of where the dips occur (e.g., “main run under walkway,” “entire perimeter,” “near sink only”)
– Whether the subfloor is rigid (no flex) and dry (no active moisture)
Choose the right leveling method for your subfloor
The right leveling method depends on what you’re leveling over and how extensive the unevenness is. Concrete usually supports grinding + patching (or self-leveling for broader dips), while plywood often needs mechanical repair first (tightening/deflection control) before using a compatible leveling system.
Concrete flatness corrections typically start with grinding high spots and patching/feathering lows—or using self-leveling compound when dips are widespread.
Wood subfloors often require securing/repairing panels first because self-levelers don’t fix deflection and movement caused by loose framing.
Your flooring brand’s installation guide is the authority on whether leveling is allowed and what underlayment—if any—is compatible.
Below is a comparison you can use to decide between methods. For kitchen floors, the key is not just “level,” but flat enough to stop rocking, joint separation, and tile cracking.
Concrete vs. wood: method selection (quick comparison)
| Subfloor | Best-first approach | When to consider self-leveler | Common failure trigger |
|---|---|---|---|
| Concrete | Grind high spots; patch/feather low areas | Dips cover broad areas where patching would be inconsistent | Skipping required primer or exceeding thickness per pour |
| Plywood/OSB | Secure subfloor panels; address squeaks/soft spots | After the structure is solid, for smoothing remaining low spots | Installing over deflection—floating floors click and tile cracks propagate |
| Mixed layers/overlays | Identify surface that will be leveled; verify adhesion/compatibility | Usually only after removing unstable coatings/adhesives | Leveling over failing layers or contaminated residues |
Follow the flooring and underlayment rules
Floating systems (like many LVP/LVT and laminate installations) are especially sensitive to flatness because their joints rely on even support. If you’re installing tile, the mortar system still depends on a properly prepared plane to reduce lippage and cracked grout.
Because brands vary, follow these rules:
– Check whether your flooring brand allows leveling compounds at all
– Confirm minimum flatness tolerances (often provided as “max deviation over X feet”)
– Verify underlayment compatibility (some products require no extra underlayment on top of certain leveling layers)
Prep the surface so the leveling compound (and flooring) sticks
Surface preparation is what makes leveling last. Even if you pour the perfect self-leveler, dust, loose residue, and unapproved coatings can prevent proper bonding—especially in kitchens where spills and cleaning chemicals are common.Self-levelers typically require strict cleaning and, when specified, priming so the compound bonds instead of peeling or debonding.
Any loose subfloor panel must be fixed before leveling; otherwise the “flat” surface can move and fail under traffic.
Containment at seams and openings matters—compound that leaks can create hidden ridges or bonding problems in transitions.
Prep tasks that consistently improve results:
1. Clean thoroughly
– Remove dust, paint overspray, drywall mud, adhesives, sealers, and any contaminants that could interfere with bonding.
– Vacuum with a shop vac (and tack cloth if the leveling product requires it).
2. Prime when recommended
– Many self-leveling and patch systems require primer to control absorption and improve adhesion.
– Skipping primer is one of the most common causes of weak bond and uneven “picture framing” effects.
3. Protect edges and openings
– Tape and dam off doorways, gaps, and plumbing penetrations so the leveling layer doesn’t escape.
4. Remove instability
– For plywood/OSB: tighten panels, address squeaks, replace damaged sections, and ensure the subfloor is securely fastened.
From a practical standpoint, I recommend treating preparation like the “real install.” When the substrate is clean and sound, the leveling layer behaves predictably. When it isn’t, the next stage becomes a guessing game.
Install a level base: step-by-step leveling workflow
A level base is achieved by repeating the measurement → correction → re-measure loop until the floor meets your flooring system’s flatness tolerance. This workflow prevents the common mistake of chasing new dips that appear after grinding, patching, or primer changes.
Re-check flatness after grinding or patching so you don’t build a new uneven plane on top of old mistakes.
Mix and pour self-levelers strictly to the manufacturer’s water ratio and pot life to avoid weak, cracking, or uneven flow.
Feather transitions near walls and doorways reduce the risk of a “crowned” floor where the underlayment thins quickly.
Use this workflow:
1. Re-test after prep
– Grinding or patching can change the surface—measure again before mixing a self-leveler.
2. Plan the pour sequence
– Self-leveling products have working time constraints. Map where crews or tools will move, and stage buckets, mixing paddles, and spikes/rolls (if specified).
3. Mix correctly
– Use the exact water ratio and mixing time from the datasheet. Avoid “small adjustments” mid-batch.
4. Pour and spread
– Work within the compound’s pot life. Use the recommended tools (smoother, gauge rake, spiked roller) as described in the manufacturer’s instructions.
5. Feather at edges and transitions
– Feathering helps avoid hard ridges where the self-leveler stops and the substrate begins.
Install over a stable base, not “just close”
If your kitchen has heavy loads (dishwasher area, traffic lanes, rolling appliances), minor unevenness can amplify into movement. The objective is not “no one notices it,” but “no movement at seams,” which depends on flatness and support.
Install the kitchen flooring over the leveled base
Once the subfloor is leveled to spec, installation becomes about respecting the system design: underlayment where required, correct locking/floating rules, or proper mortar settings for tile. This is where unevenness shows up most visually—gaps, rocking, and lippage—so you want to install on a base that’s stable before you start.
For many floating kitchen floors, underlayment choice and thickness can affect the floor’s ability to remain flat under load.
Follow expansion-gap and fastening requirements exactly; even a well-leveled base can fail if the installation details are wrong.
Checking flatness during installation helps catch localized issues early, before they become expensive replacement areas.
Key installation actions:
– Use the correct underlayment (if required by your flooring type)
– Some systems require specific underlayment thickness or prohibit adding soft layers over certain leveling products.
– Maintain expansion gaps
– Kitchens experience temperature and humidity swings, especially near exterior doors and appliances.
– Stagger joints and follow fastening rules
– Floating floors rely on engineered movement; stagger and joint rules help distribute stress.
– Check during install
– Place straightedges at intervals during installation to catch localized ridges or debris.
A note on “mixing older surfaces”
If you’re leveling a kitchen with transitions between concrete patches, old plywood, or previous adhesive residues, you must ensure the leveling layer is compatible with every substrate portion. “It leveled” isn’t the same as “it bonded everywhere.”
Common Straightedge Lengths Used to Check Kitchen Floor Flatness
| # | Straightedge length | Typical use in leveling | Best fit for | Field usefulness |
|---|---|---|---|---|
| 1 | 24 in (0.61 m) | Spot-check localized dips | Small patches | ★★★☆☆ |
| 2 | 36 in (0.91 m) | Check short runs near edges | Perimeter fixes | ★★★★☆ |
| 3 | 48 in (1.22 m) | Verify patch feather consistency | Patch transitions | ★★★★☆ |
| 4 | 72 in (1.83 m) | Detect modest wave patterns | In-room direction checks | ★★★★★ |
| 5 | 8 ft (2.44 m) | Quick screening across traffic lanes | Wider kitchen spans | ★★★★★ |
| 6 | 10 ft (3.05 m) | Best indicator for long-wave flatness | Floating floors & tile prep | ★★★★★ |
| 7 | 12 ft (3.66 m) | Confirm room-wide flatness before leveling | Large open-plan kitchens | ★★★★☆ |
What can go wrong (and how to avoid it)
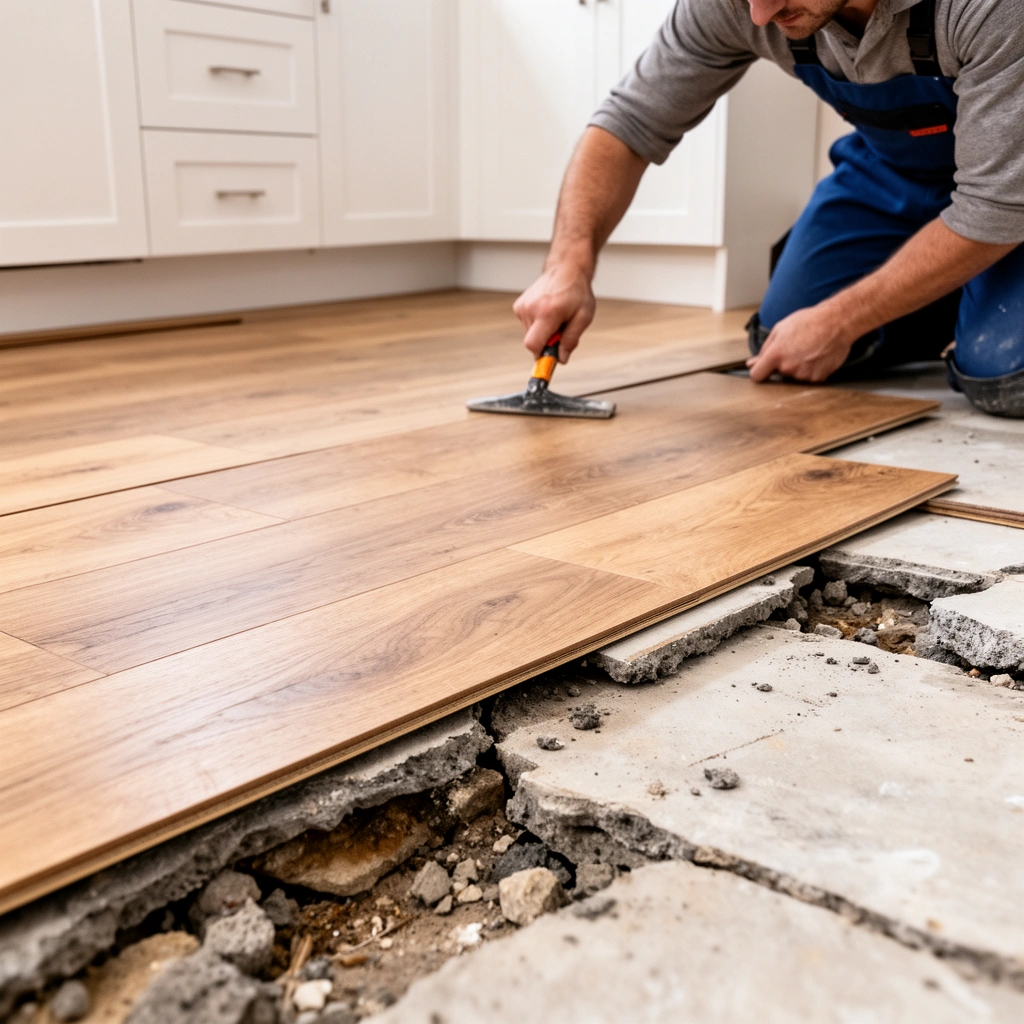
Most kitchen floor failures related to unevenness come from skipping compatibility checks (primer/compound/underlayment), ignoring moisture, or leaving structural deflection uncorrected. If you prevent those root causes, you reduce the chance of gaps, rocking, squeaks, and cracked tile.
Skipping primer or using a leveling product not approved for your substrate can cause bond failure even when the floor looks smooth.
Self-levelers and patches have maximum build limits per pour; exceeding them can lead to cracking or weakened layers.
Uncontrolled moisture can defeat both leveling layers and finish floors, regardless of how flat the surface appears.
– Skipping primer or using the wrong product: results in poor adhesion, cracking, or delamination—always match leveling materials to the substrate and flooring system.
– Overbuilding thickness: self-levelers and patches often have maximum lift/thickness per pass; exceeding limits can weaken or crack the layer.
– Ignoring moisture: kitchens are prone to spills and humidity; if moisture is active, the leveling layer and flooring can fail regardless of how level it looks.
– Assuming “almost flat” is good enough: many floating floors need a tighter flatness tolerance; if you miss a major dip, you can get clicking/deflection.
– Concrete and wood prep mistakes: loose subfloor panels, failing old adhesives, or dusty surfaces can ruin adhesion—prep matters as much as leveling.
A practical warning: if you’re leveling over old adhesive residue on concrete, confirm compatibility. Some residues prevent bonding even after grinding, and many self-leveler manufacturers require specific cleaning methods.
Verdict / tip
Leveling uneven kitchen floors is usually worth it because it prevents rocking boards, cracked grout, and uneven wear—but it’s also messy, timing-sensitive, and may require products compatible with both your subfloor and your flooring type. If the floor is badly damaged (rot/soft spots, significant structural issues, or ongoing moisture), skip “DIY leveling” and address the underlying cause first. If you only have small irregularities, patching/grinding plus correct installation may be simpler than a full self-leveler pour.
Quick checklist: leveling before you install
– [ ] Map high/low spots with a straightedge (mark the worst areas)
– [ ] Confirm subfloor is solid, clean, and moisture-safe
– [ ] Choose leveling method that matches substrate (concrete vs wood)
– [ ] Use primer if the leveling product requires it
– [ ] Respect compound/patch thickness limits and working time
– [ ] Re-check flatness after leveling before installing flooring
– [ ] Use required underlayment and follow expansion-gap rules
FAQ
How level does a kitchen floor need to be before installing?
It depends on the flooring type and manufacturer; check the specific product’s flatness tolerance and follow it rather than using a “rule of thumb.” [ADD: manufacturer flatness tolerance for your flooring type if you share your product brand/model.]
Can I install over uneven floors without leveling?
Sometimes small imperfections are tolerable, but most kitchen floor failures from unevenness come from deflection during use—gaps, squeaks, joint separation, or cracked tile.
Do I need a self-leveling compound or can I patch/grind?
Use patching/grinding for localized highs/lows and self-leveler for broader unevenness—however, the right choice depends on how much variation you measured and the substrate.
Will underlayment fix uneven floors?
Underlayment can help with minor sound/comfort needs, but it usually can’t correct significant unevenness. If the floor is truly uneven, leveling is the real fix.
Conclusion
Uneven kitchen floors aren’t just a cosmetic issue—they create movement that shows up as gaps, rocking, cracked grout, and shortened product life. By measuring high/low spots, confirming moisture and structural soundness, choosing the correct leveling method for concrete versus plywood, and installing over a properly prepared and compatible base, you set your flooring system up to stay stable under everyday kitchen traffic.
Frequently Asked Questions
How do I level kitchen floors before installing tile or laminate on uneven subfloors?
Start by checking the floor for high and low spots using a long straightedge and measuring with a level or laser. For uneven kitchen floors, you typically need to smooth high spots and fill low areas with a self-leveling underlayment or patch compound designed for subfloor leveling. Let the product cure fully, then re-check flatness before installing your kitchen flooring so the finish stays stable and grout lines (for tile) don’t crack.
What’s the best way to fix uneven concrete kitchen floors before flooring installation?
If your kitchen has concrete, remove loose debris and clean the surface thoroughly, then repair cracks with an appropriate concrete patch. For dips and uneven spots, use a floor leveling compound that can be poured or troweled, following the manufacturer’s thickness limits. After leveling uneven concrete, prime if required and allow proper drying time, because moisture or incomplete cure can cause tile or vinyl to fail or lift.
Which flooring type is easiest to install on uneven kitchen floors?
For slightly uneven kitchen floors, engineered floating floors and some click-lock vinyl options can tolerate minor subfloor variation if the manufacturer allows it and you use an approved underlayment. Tile is less forgiving—most tile systems require a flatter subfloor to prevent lippage and cracked grout—so you’ll often need self-leveling underlayment for best results. The “easiest” choice depends on how uneven the floor is, so always measure the deviation and compare it to the installation requirements for your specific flooring.
How do I install luxury vinyl plank on uneven kitchen floors without causing gaps or rocking?
Measure the floor flatness and address problem areas first, because vinyl plank can telegraph bumps and movement can break the locking system over time. Use a self-leveling compound for larger low areas, and sand down high spots before installation. Install on a clean, dry subfloor, follow expansion gap rules, and choose an underlayment that’s compatible with your luxury vinyl plank manufacturer for uneven floor correction.
Why do kitchen floors feel uneven after installation, and how can I prevent it during installation?
Unevenness after installation usually comes from poor subfloor preparation—such as skipping leveling of low spots, installing over high ridges, or ignoring flatness tolerances. It can also happen if the floor wasn’t allowed to acclimate, if moisture caused movement, or if the wrong underlayment was used on uneven kitchen floors. Prevent issues by leveling the subfloor, verifying flatness with a straightedge, following manufacturer instructions for underlayment and thickness, and ensuring proper curing and moisture control before installing.
📅 Last Updated: October 12, 2026 | Topic: How to install on uneven floors kitchen floors? | Content verified for accuracy and freshness.
References
- Google Scholar Google Scholar
https://scholar.google.com/scholar?q=how+to+level+uneven+subfloor+kitchen+floor+installation - Google Scholar Google Scholar
https://scholar.google.com/scholar?q=self-leveling+underlayment+uneven+subfloor+installation - Google Scholar Google Scholar
https://scholar.google.com/scholar?q=subfloor+flatness+requirements+resilient+flooring+ASTM+F710 - Floor
https://en.wikipedia.org/wiki/Subfloor - https://en.wikipedia.org/wiki/Floor_leveling
- https://en.wikipedia.org/wiki/Underlayment
- Flooring
https://en.wikipedia.org/wiki/Resilient_flooring - Self-leveling concrete
https://en.wikipedia.org/wiki/Self-leveling_concrete - https://en.wikipedia.org/wiki/Tile_flooring
- https://en.wikipedia.org/wiki/Concrete_flooring