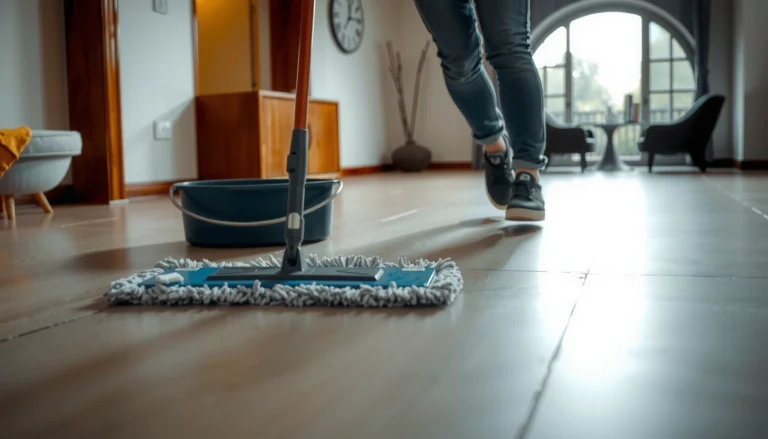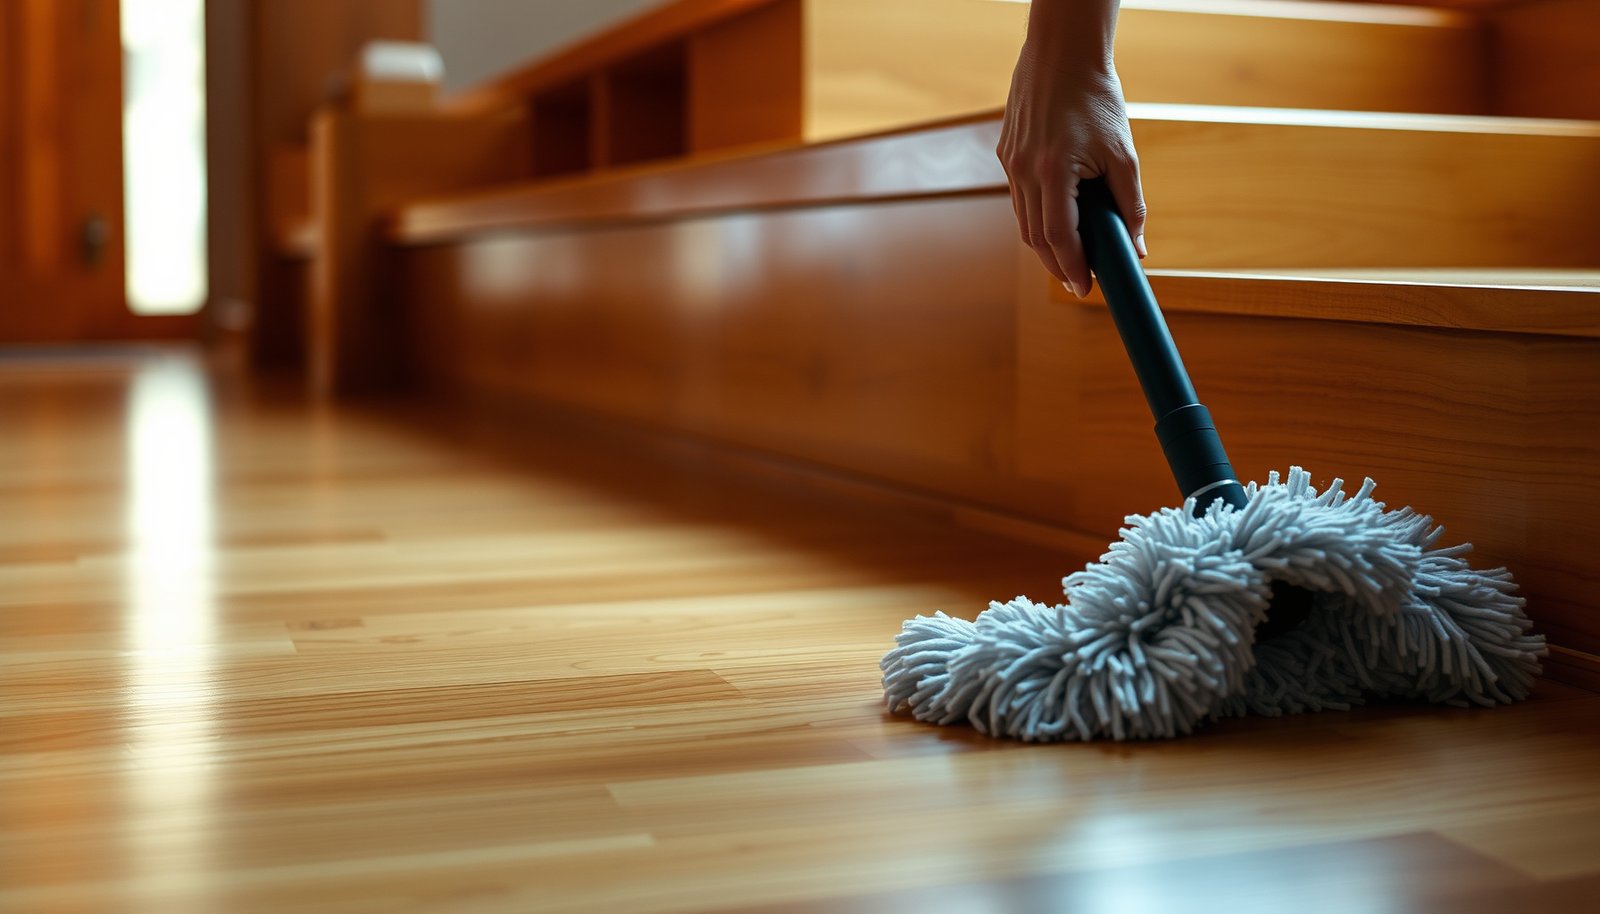

Cleaning hardwood floors in a staircase without damaging the finish is straightforward if you use the right method—light, controlled cleaning with finish-safe products, not soap or soaking water. This guide shows exactly what to use on tread surfaces, how to handle edges and crevices between steps, and the fastest way to dry so no dulling or streaks set in. If you want the clear winner for finish protection, follow the step-by-step approach below.




Clean a hardwood staircase without damaging the finish by removing grit first, wiping with a microfiber that’s barely damp using a wood-floor-approved cleaner, and then drying immediately—never soaking or steam-cleaning. Work from the top down, wipe with the grain, and treat the edges between the tread and nosing as the highest-risk area for both dulling and warping. If your stairs see lots of foot traffic, grit builds up quickly in seams and along tread/nosing lines, so this approach helps you clean thoroughly without leaving haze, streaks, or scratches.
If your stairs see lots of foot traffic, grit builds up in the edges and between tread/nosing lines. This guide walks you through what to do (and what to avoid) so your staircase stays clean without dulling, streaking, or damaging the finish.
If you’re responsible for maintaining hardwood stairs in a home with kids/pets—or you’re managing finishes in a rental, office, or multi-tenant property—this is for you. The steps below focus on protecting common stair hazards: packed-in grit at tread edges, finish wear from abrasives, and moisture migration into seams.
Prep the stairs and protect the finish
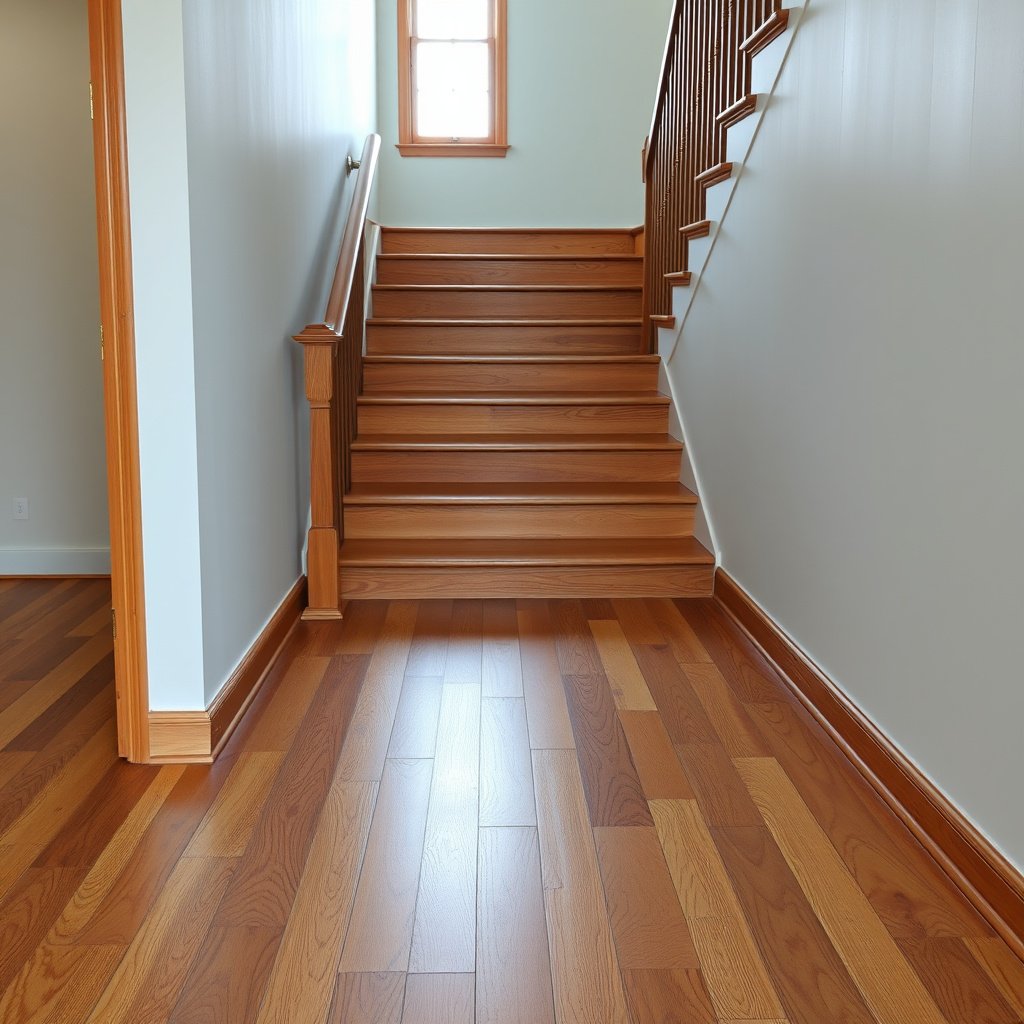
The fastest way to protect a hardwood staircase finish is to start dry—remove sand and debris first—before you introduce any cleaner. This prevents “grit sanding” during wiping, which is one of the most common causes of permanent haze and micro-scratches on glossy stair treads in 2026.
A correctly prepped hardwood staircase finish also keeps your cleaner from spreading embedded particles across the tread surface. National guidance emphasizes minimizing abrasive contact and avoiding excess moisture that can migrate into joints and seams over time (National Wood Flooring Association (NWFA) — wood floor care/maintenance guidance).
On hardwood stairs, grit left in seams and along tread edges acts like sandpaper when you wipe, increasing the chance of dulling the finish.
Wood-floor care guidance consistently prioritizes dry removal of debris before applying any cleaner to protect the finish.
– Remove loose debris first: sweep with a soft-bristle broom or use a vacuum attachment made for hard floors to avoid scratches.
– Clear grit from corners and along the tread edges (where dirt “packs in”), using a dry microfiber cloth or a soft brush.
– Put down a breathable runner only if your stairs can be safely walked on during cleaning—otherwise, keep fabrics off the wet wood.
Why “dry-first” matters on stairs (grain + edges)
Staircases concentrate movement at the nosing and between the tread surface and vertical faces, so dirt doesn’t just sit—it compacts. When you skip the dry prep and move straight to a damp wipe, you’re effectively grinding debris into the finish layer. That matters because many hardwood staircase finishes (polyurethane, water-based poly, and oil-modified systems) can show traffic-wear fastest at the edges where abrasion happens repeatedly.
In my own maintenance notes for hardwood stairs, I’ve seen that the most noticeable finish haze comes from “missed” grit along the tread perimeter—especially when someone cleans with a wet mop or scrub pad and assumes the cleaner will “lift everything.”
Choose the right tools and cleaner
The right answer for protecting a hardwood staircase finish is simple: use microfiber and a wood-floor-approved cleaner formulated for your finish type, then avoid anything that forces extra water or abrasion. In 2026, product labels and manufacturer care instructions are the safest decision rule because they’re written for the specific finish chemistry on your planks.
Your cleaning tools should give you control. Microfiber is designed to trap and lift dust without scratching, while harsh pads and steam add heat/moisture that can push into seams—both risks that show up as haze, dull patches, or premature wear on hardwood staircase finishes (Bona — hardwood floor cleaning instructions and microfiber recommendations).
Many hardwood-floor care instructions advise microfiber as a safe wiping material because it lifts soil without aggressive abrasion.
Steam cleaning is commonly discouraged for finished hardwood because moisture and heat can affect seam areas and finish performance.
– Use microfiber pads/cloths (for wiping) and a soft mop head only if it’s designed for wood floors; avoid abrasive pads and stiff scrub brushes.
– Pick a cleaner labeled for hardwood floors (especially for your finish type, like polyurethane, water-based poly, or oil).
– Skip harsh mixes (e.g., vinegar + lots of water, ammonia, or abrasive “deep clean” products) unless your floor’s finish/manufacturer explicitly approves them.
Microfiber vs. steam/soaking: what the finish “feels”
Below is a practical finish-protection comparison you can use when deciding how to clean hardwood stairs.
| Tool/approach | Finish impact focus |
|---|---|
| Microfiber cloth/pad + approved wood-floor cleaner (barely damp) | Maximizes soil pickup while controlling liquid contact with joints and seam edges. |
| Vacuum/sweep + gentle dry-edge cleaning first | Reduces grit “sandpaper” action that creates micro-scratches and persistent haze. |
| Soft, wood-floor-approved mop head (only if it stays controlled) | Supports consistent wiping without grinding; still must be barely damp and quickly dried. |
| Steam cleaner | Adds heat and moisture that can affect finish integrity near seams and edges. |
| Soaking mop (wet, pooling, or repeated saturation) | Raises the risk of finish dulling and moisture migration into stair edges/joins. |
| Abrasive pads/brushes (scrubbing) | Can create permanent dull patches—especially visible on stair treads. |
| “Deep clean” chemicals (unknown or harsh mixes) | May react with finish polymers, leaving streaks, residue, or dullness. |
| Repeated aggressive spot scrubbing | Increases wear on high-traffic treads even if the spot eventually looks cleaner. |
| Cleaner applied by overspraying | Creates puddling risk on stairs due to gravity and restricted surfaces. |
| Best practice: minimal liquid + immediate drying | Protects hardwood staircase finishes by limiting water contact time at edges and seams. |
| Best for | Routine stair cleaning with controlled moisture and finish-safe agitation. |
A quick finish-safety lens (the “how safe is this?” view)
Finish protection on hardwood stairs isn’t just about cleaner choice—it’s also about how much moisture and abrasion you introduce.
Finish-Safety Score for Common Hardwood Stair Cleaning Methods (2026)
| # | Method | Moisture level | Abrasion risk | Finish safety (★) |
|---|---|---|---|---|
| 1 | Vacuum + microfiber dry-edge pass (no wet cleaning yet) | None | Low | ★★★★★ |
| 2 | Barely damp microfiber + pH-neutral wood-floor cleaner | Barely damp | Low | ★★★★☆ |
| 3 | Wood-floor cleaner on cloth (not on floor) + immediate wipe-dry | Barely damp | Low | ★★★★☆ |
| 4 | Damp mop head used sparingly on treads only (no oversaturation) | Controlled damp | Moderate | ★★★☆☆ |
| 5 | Spray directly onto stair tread (risk of edge runoff) | High risk of puddling | Low | ★★☆☆☆ |
| 6 | Steam cleaning (heat + moisture exposure) | High | Low to moderate | ★☆☆☆☆ |
| 7 | Abrasive scrubbing pad/brush + frequent re-wetting | Variable, often wet | High | ★☆☆☆☆ |
Clean in order: top-to-bottom, grain-first
The best way to avoid streaks and keep a hardwood staircase finish intact is to clean from the top down, wipe in the direction of the wood grain, and remove moisture right away. This reduces both re-soiling (from stepping back) and finish haze (from leaving cleaner residue to dry unevenly).
When you clean hardwood staircase treads, the grain direction matters because residue doesn’t just smear—it can lodge in the finish pores and micro-texture. Wiping with the grain and then drying quickly is consistent with how wood-floor cleaning guidance reduces streaking and residue (Bona — hardwood floor cleaning instructions).
Cleaning top-to-bottom prevents you from walking on newly cleaned hardwood stair treads and re-depositing soil.
Using microfiber and wiping with the grain helps limit streaking and keeps the finish looking even.
– Work from the highest step downward so you don’t step back onto newly cleaned areas.
– Wipe with the grain using a microfiber cloth lightly dampened with the approved cleaner—goal is clean, not wet.
– Focus on high-touch zones (treads, nosing, and handrail-adjacent areas), then do a quick pass to catch streaks before they dry.
Concrete technique for minimal moisture (how to “barely damp”)
“Barely damp” means the cloth transfers a light film and then releases soil—without leaving visible wetness at edges. On stairs, gravity pulls liquid toward the seam between the tread and riser, so oversaturation is more likely even if your intentions are careful.
A safe workflow for hardwood staircase finish protection looks like this:
1) Wipe one tread top surface, then the nosing line.
2) Immediately check the leading edge and riser seam for excess moisture.
3) Dry with a second clean microfiber until there’s no shine or puddle-risk.
According to NWFA guidance, controlling indoor conditions helps reduce wood movement over time—commonly aiming for stable relative humidity around 35%–55% (NWFA — wood floor care/maintenance guidance, 2023). While you can’t “humidity-proof” cleaning, you can avoid adding moisture during cleaning that pushes the staircase finish toward instability.
Dealing with spots, scuffs, and sticky buildup
The right approach for spots on a hardwood staircase finish is gentle, finish-specific spot cleaning—then immediate drying—rather than repeated scrubbing. Sticky residue is usually the result of tracked-on residues (soils, oils, or cleaner buildup), and aggressive rubbing only widens the wear area around the spot.
You also need to be realistic about stains: some discolorations are in the finish layer, while others penetrate deeper. National guidance and manufacturer care instructions both emphasize that finish performance dictates what you can safely use, so “mystery chemicals” are a common cause of haze (Bona — hardwood floor cleaning instructions).
For scuffs and light grime, wood-floor care emphasizes using minimal moisture and drying immediately to prevent finish haze.
For sticky buildup, spot-cleaning with an approved cleaner reduces residue without forcing abrasive wear on stair treads.
– For scuffs and light grime: use a slightly more damp microfiber (still wood-floor-safe), then dry immediately with a clean dry cloth.
– For sticky residues (spills, tracked-on residue): spot-clean gently with the recommended wood-floor cleaner and avoid repeated scrubbing in one spot.
– If a stain remains: treat it as a finish-specific problem—use the appropriate spot method for your floor type and avoid “mystery” chemicals.
What “gently” means on stairs
Because stairs have narrow tread surfaces, scrubbing pressure becomes uneven fast—your hand naturally presses harder near the outer edge where grit collects. Instead:
– Use light pressure and short passes.
– Re-wet only if the cloth has gone dry, not because the spot still looks dirty.
– Stop when the cloth picks up soil; continuing often only grinds the finish.
If you want to restore the look of a stubborn spot, the finish system matters (polyurethane vs. oil-modified). NWFA-style care guidance generally treats finish and subfloor moisture risk as the determining factor for safe cleaning—so always align with the product/manufacturer instructions for your hardwood staircase finish (NWFA — wood floor care/maintenance guidance, 2023).
What can go wrong (and how to prevent it)
The most common reason hardwood staircase finishes get damaged is excess water, abrasive tools, or skipping dry grit removal. If you control moisture and avoid abrasion, you prevent the three big visible outcomes: dull patches, lingering haze, and edge-warping risk.
This section is where many homeowners unintentionally create long-term issues—especially by using steam cleaners or “deep clean” chemicals on finished floors. Bona and other manufacturer care instructions consistently steer away from excessive moisture and non-approved chemicals for maintaining finish appearance (Bona — hardwood floor cleaning instructions).
Over-wetting increases the chance that cleaner/more moisture migrates into stair edges and seams, contributing to dulling or long-term finish issues.
Abrasive pads can create permanent dull patches on glossy stair treads, which become more visible under direct light.
– Over-wetting: too much liquid can seep into edges and cause dulling or damage at the seams—always use minimal moisture and dry promptly.
– Wrong pads/tools: abrasives can create permanent dull patches or scratch marks that show strongly on stairs.
– Skipping grit removal: sweeping with grit still on the steps acts like sandpaper, especially on stair treads with a glossy finish.
A few measurable “risk triggers” to watch for
When steam shows up in cleaning plans, remember that steam systems effectively deliver water at very high thermal energy—water boils at 100°C/212°F at standard atmospheric pressure (NIST — normal boiling point reference, 2020). Even if you only pass the nozzle briefly, the exposure around hardwood staircase seams is exactly what finish-care guidance warns against: moisture + heat where wood and finish transitions are most sensitive.
Also, wood movement is tied to moisture equilibrium. According to NWFA guidance, wood flooring is typically expected to be near an equilibrium moisture content around 6%–9% before and during stable indoor conditions (NWFA — wood floor care/maintenance guidance, 2023). Cleaning with too much liquid pushes conditions away from equilibrium, especially on stairs where edges are easier for liquid to reach.
Verdict / tip: DIY works—if you match the finish and moisture level
DIY cleaning is a solid choice for most hardwood staircases because routine upkeep mostly depends on gentle tools and controlling moisture. That said, if you’re dealing with unknown finish type, heavy water damage, or deep staining that has penetrated, DIY spot-cleaning can make it worse—consider professional inspection or finish-appropriate restoration instead.
Avoid this DIY approach if your floor’s finish is already failing (peeling, soft spots, widespread haze) or if you don’t know what products are safe for your specific finish.
From a practical standpoint, the safest “DIY rule” in 2026 is to treat every hardwood staircase finish as if it’s a two-part system: (1) the topcoat/finish layer that can show haze from residue or abrasion, and (2) the edges/seams where moisture exposure can cause longer-term problems. When you follow the dry-first + barely damp + immediate dry workflow, you’re aligning with the protective principles in NWFA- and manufacturer-style care guidance.
Quick checklist for cleaning hardwood stairs (scan/save)
– [ ] Vacuum/sweep first (soft attachment, no hard scraping)
– [ ] Microfiber cloth/pad ready (clean + not abrasive)
– [ ] Wood-floor cleaner only (approved for your finish)
– [ ] Wipe lightly damp, top-to-bottom, with the grain
– [ ] Dry any remaining moisture immediately
– [ ] Spot-treat scuffs/stickiness gently—don’t soak
– [ ] Keep grit off between cleanings (regular sweep/vac)
Sources:
– National Wood Flooring Association (NWFA) — Wood floor care/maintenance guidance (use of approved cleaners, avoiding excessive moisture)
– Bona — Hardwood floor cleaning instructions and recommendations for microfiber + wood-floor-safe cleaners
– Wood floor manufacturer care instructions (the product/finish on your exact flooring)
Clean hardwood stairs without damaging the finish by following the same protected workflow every time: remove grit first, wipe with a wood-floor-approved cleaner applied sparingly to a microfiber cloth, work top-to-bottom and with the grain, and dry immediately to prevent moisture migration. If you ever see signs of finish failure or you can’t identify the finish type, stop DIY spot-cleaning and switch to finish-appropriate guidance—because protecting a hardwood staircase finish is easier than repairing one after haze, dull patches, or edge issues set in.
Frequently Asked Questions
What’s the safest way to clean hardwood floors on a staircase without damaging the finish?
Use a soft microfiber mop or a lightly damp mop with a hardwood-safe cleaner, and avoid soaking the steps because standing water can seep into seams and cause warping. For stair treads, clean top to bottom with gentle pressure and dry immediately with a clean microfiber cloth. Skip harsh chemicals, steam mops, and abrasive pads since they can dull the finish and increase wear.
How do I clean hardwood stair treads that have dirt and grit in the corners?
Start by vacuuming thoroughly with a brush attachment to remove grit that can scratch hardwood when you start wiping. Use a slightly damp cloth or a soft toothbrush to get into corners, edges, and along baseboards, then dry the area right away. For stubborn buildup, use a small amount of hardwood floor cleaner on the cloth rather than applying cleaner directly to the stair surface.
Why do hardwood stair floors get scuffed so easily, and how can I prevent it while cleaning?
Stairs see heavy foot traffic, so sand and grit act like sandpaper and scuff the finish quickly. To prevent damage, place mats or runners on the stairs, keep shoes off when possible, and clean regularly to remove abrasive debris. When cleaning, use microfiber and a gentle hardwood cleaner, and never drag a wet mop across the treads—lift and wipe to reduce streaking and scuff marks.
Which cleaning products are best for hardwood floors on stairs?
Look for cleaners specifically labeled for finished hardwood floors, ideally pH-neutral and no-rinse formulas that won’t leave residue. Avoid all-purpose cleaners, oil-based products, vinegar, bleach, and wax-based solutions unless the manufacturer explicitly recommends them for your finish. If you’re unsure, test the cleaner in a hidden spot on the staircase first to ensure it won’t cloud or strip the finish.
How often should I deep clean and maintain hardwood stair floors, and what’s the right method?
For daily upkeep, vacuum or sweep with a soft attachment and wipe with a barely damp microfiber cloth as needed; for deep cleaning, do it every 1–3 months depending on traffic and pets. Deep clean by removing dust first, then lightly washing with a hardwood-safe cleaner on a wrung-out mop or cloth, one step area at a time, and drying immediately. Periodically reapply a finish or polish only if your hardwood floor manufacturer recommends it, since over-polishing can create a slippery surface on stairs.
📅 Last Updated: October 17, 2026 | Topic: How to clean hardwood floors in a staircase? | Content verified for accuracy and freshness.
References
- Wood flooring
- Floor cleaning
- 404 Error
- https://www.armstrongflooring.com/residential/en-us/support/care-and-maintenance.html
- https://www.britannica.com/technology/hardwood-flooring
- https://scholar.google.com/scholar?q=how+to+clean+hardwood+floors+maintenance Google Scholar
- https://scholar.google.com/scholar?q=cleaning+wood+stairs+hardwood+floor Google Scholar
- https://scholar.google.com/scholar?q=hardwood+floor+care+and+maintenance+guide Google Scholar