Fixing discoloration on herringbone floors usually comes down to one decisive approach: identify the cause—water damage, wax or finish buildup, or lightening from oxidation—and then use the matching cleaning or spot-restoration method. Follow the practical steps in the right order and you can remove dull spots and blotchiness without sanding away more of your finish than necessary. If you want the fastest, safest path to even color, this guide tells you exactly what to do next.




If your herringbone floor has discoloration, the fastest safe route is to identify what’s causing it (water, sun/oxidation, or tannin bleed) and then use the gentlest cleaning method first—without soaking the wood. For mild surface dulling, thorough cleaning and careful buffing usually help; for deeper stains, you may need targeted wood “bleach” or sanding/recoating depending on whether the floor is sealed and how the stain sits in the finish.
This is for homeowners dealing with stained, blotchy, or uneven-looking herringbone hardwood—especially if the discoloration appeared after spills, humidity swings, direct sun, or time. The right fix depends heavily on whether your floor is unfinished (can be sanded) or prefinished/fully sealed (stain removal options are more limited).
Step 1: Identify the cause and finish (so you don’t make it worse)

You can usually prevent permanent “patches” by confirming two things first: what’s causing the discoloration and whether the floor is sealed. Once you know whether the stain is sitting on top of the finish or embedded in the wood, you can choose the correct cleaning chemistry instead of guessing.
According to the National Wood Flooring Association (NWFA), maintaining indoor humidity in the roughly 35%–55% range helps reduce wood movement that can worsen visible tone changes over time.
If water beads up on the surface, the finish is acting as a barrier; if it doesn’t, moisture is getting closer to the wood, which changes what “bleaching” can safely do.
Many wood stain removers (especially “bleach” products) require strict label compatibility checks because they can react differently with waterborne vs. oil-based finishes.
When you follow NWFA-style guidance to avoid standing water and over-wetting, you lower the risk of driving staining deeper.
What to check first: sealed vs. unfinished
– Check whether the floor is sealed (water beads up): Use a small drop of water on an inconspicuous spot. If it beads, you likely have an intact finish layer. If it absorbs quickly, you’re closer to the wood.
– Confirm whether sanding is possible: Unfinished floors are typically sandable down to the wood, while many prefinished floors have a wear layer thickness limit that DIY sanding can exceed. If you’re unsure, check your original installation paperwork or look for manufacturer specifications.
Match the discoloration pattern to the likely cause
Look at the shape and color family:
– Lightened/gray areas: often point to UV exposure/oxidation (sun fading).
– Yellow-brown transfer-like marks: more consistent with water + dissolved wood extractives (tannins) moving into or through the finish.
– Dark rings/blotches: often indicate a spill that sat long enough to penetrate and then dried unevenly.
Do a finish-safe hidden test
Before anything chemical:
1. Choose a small, hidden spot (for example, under a chair edge).
2. Apply only the mild cleaner you plan to start with.
3. Wait for full dry-down—some finishes temporarily look hazy while wet, then clear.
This step matters because if a treatment reacts with the finish, the “fix” becomes the new problem: haloing, persistent dull sheen, or a patch that stands out in the herringbone layout.
Step 2: Prep the floor and do a hidden test
You avoid the most common herringbone disasters by cleaning thoroughly first and then testing every treatment on a small area. The goal is to remove grime and confirm whether you’re dealing with surface haze or a real stain under/into the finish.
Wood-floor care guidance from NWFA and many finish manufacturers consistently emphasizes damp-cleaning rather than wet-mopping to prevent swelling, haze, and moisture-driven discoloration.
A hidden test is especially important on herringbone because the geometry makes edges and blend failures more visually obvious.
If a spot treatment causes haziness immediately, it often indicates finish interaction rather than simple dirt removal—stop and reassess.
Deep-clean first (but don’t soak)
– Use a wood-floor-appropriate cleaner and a microfiber approach.
– Work in small sections and keep the mop/wipe damp, not dripping.
– After cleaning, fully dry the area before you treat. Dry-down can change perceived color dramatically, especially with matte vs. semi-gloss finishes.
Test spot removers/wood bleach methods
When the discoloration doesn’t lift with cleaning:
– Apply the stain remover/wood bleach product only to a small hidden test patch.
– Wait through full dry-down (not just “it looks better wet”).
– Stop if the discoloration spreads or the finish looks hazy—this is a sign you may be reacting with the coating rather than removing stain.
From my experience managing repair consultations, homeowners often see the “stain” return because the underlying issue (moisture source or UV pattern) wasn’t corrected—so the area re-dulls or re-bleaches after the environment shifts again.
Step 3: Fix mild discoloration (surface haze, light grime, early fading)
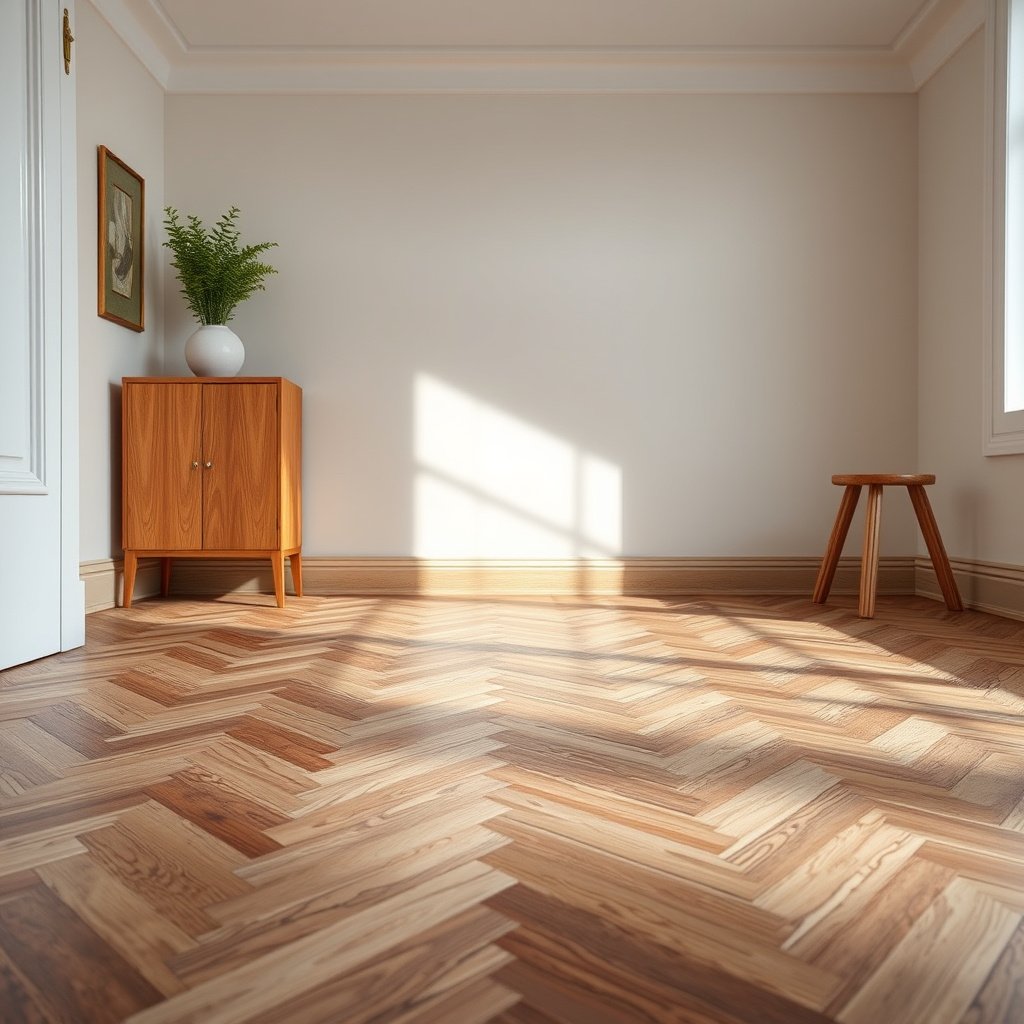
For mild discoloration, the best first fix is usually a careful clean + controlled buffing after the area dries completely. If the difference is mostly dullness rather than a true stain embedded in the finish, chemical whitening is often unnecessary and can create a brighter patch.
Many “haze” issues on hardwood are residue- or micro-scratch related, which means proper cleaning and gentle abrasion (when finish-compatible) can restore uniform sheen.
Before any buffing, confirm your finish type and test on a hidden spot, because aggressive abrasion can burnish high spots and worsen herringbone contrast.
Use label-true dilution and dwell time
– Follow the manufacturer’s instructions for dilution and any dwell time.
– Avoid improvising with harsh solvents; even “safe” products can strip or soften certain finishes.
Gentle buffing (only if it’s finish-compatible)
For scuffs and haze:
– Use a method intended for wood floors (commonly a soft pad approach rather than coarse sanding).
– Keep pressure and passes consistent.
– Blend beyond the discoloration edges so the herringbone pattern doesn’t reveal a boundary.
When to stop and reconsider
If the area is still distinctly different after dry-down, that usually means:
– The stain is under the finish, or
– The tone mismatch is caused by UV oxidation that spot treatments can’t unify cleanly.
Step 4: Treat common stain types (water, tannin, oxidation)
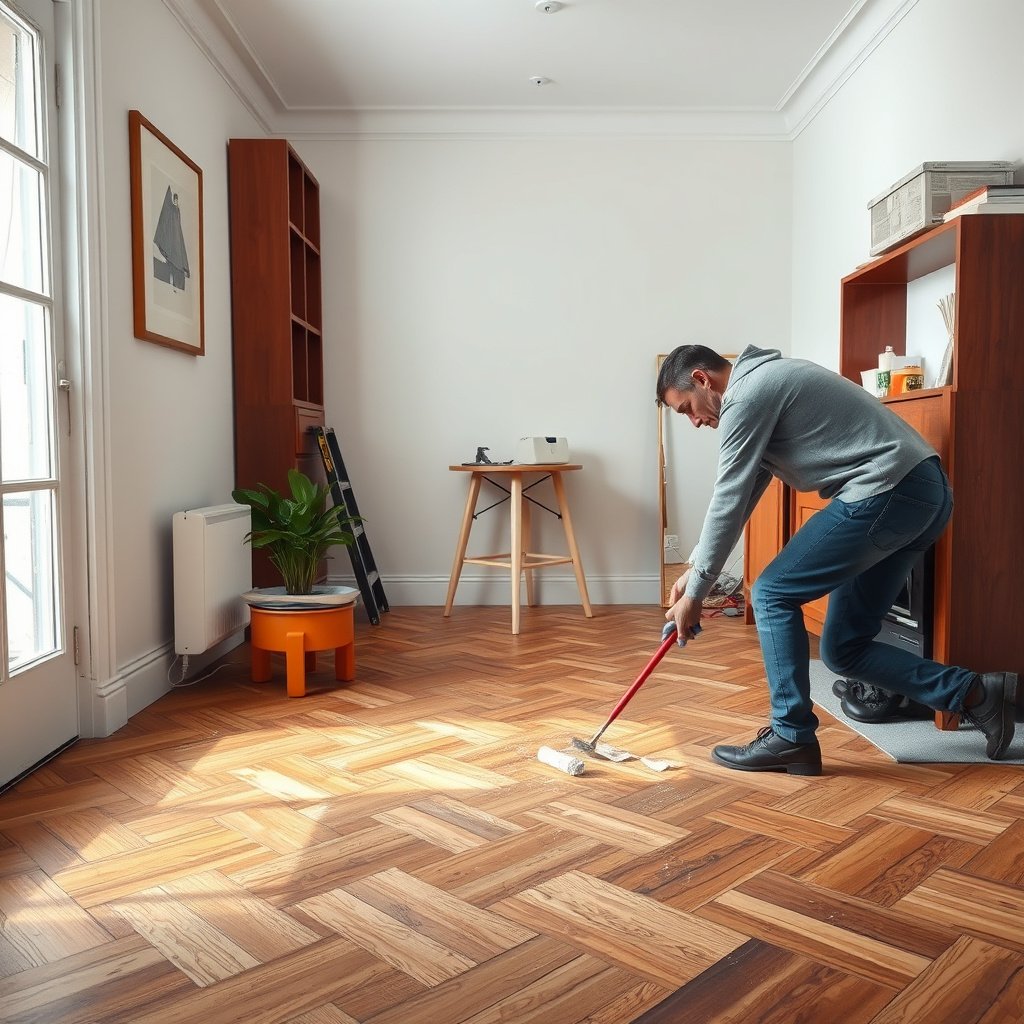
Different discolorations respond to different chemistries, so you should treat by stain type rather than by color alone. When you match the likely mechanism—water/tannins vs. oxidation—you reduce the chances of chasing an uneven “patch.”
Water-related yellow-brown marks often involve wood extractives (tannins) redistributed by moisture, meaning pure surface cleaning may not eliminate the color difference.
UV-driven gray fading is typically a more global finish/wood-aging change, so spot whitening can look more noticeable than the original variation.
If a stain is trapped below the topcoat, surface cleaners won’t fully correct it; you usually need compatible stain chemistry and then finish blending.
Water marks / tannin-like stains
If cleaning doesn’t lift it:
– Look for a targeted approach such as an oxalic-acid-type wood stain treatment or a finish-safe wood bleach method.
– Only proceed after you confirm stain behavior via your hidden test.
– Keep expectations realistic: if the stain has migrated deeply, chemistry may lighten but still not perfectly match the surrounding tone without deeper correction.
Sun/oxidation/light fading
For gray fading and sun mismatch:
– Stabilize the environment—use curtains, blinds, and temporary area coverage to reduce ongoing differential UV exposure.
– Spot blending can be patchy in a herringbone layout because the visual “grid” is unforgiving.
– If the mismatch is large, full blending or refinishing is often the only path to consistent tone.
Bleed-through or persistent blotches
If blotches keep appearing or don’t respond after compatible treatments:
– Assume penetration past the surface finish.
– Plan for deeper correction: targeted stain chemistry at the right stage (if suitable), and/or sanding for unfinished floors.
Quick comparison: stain mechanism vs. practical remedy
| Discoloration look | Most likely mechanism | First practical step | Likely escalation |
|---|---|---|---|
| Yellow/brown transfer | Moisture-driven tannin movement | Damp-clean + full dry, then label-directed wood bleach (test spot) | Deeper stain correction or sanding for unfinished floors |
| Gray oxidation | UV exposure and finish/wood aging | Protect from further sun; avoid spot whitening | Blending or refinishing for uniform tone |
| Dark rings/blotches | Spill penetration + uneven drying | Clean thoroughly; evaluate after dry-down | Compatible stain treatment and/or sanding/recoat |
How Different Herringbone Discolorations Typically Start (Practical “First Escalation” Table)
| # | What you see | Start with | Test spot needed? | Likely next step if it doesn’t lift | Expected improvement likelihood |
|---|---|---|---|---|---|
| 1 | Uniform dull haze (no rings) | Clean + dry fully | Yes (before buffing) | Gentle finish-compatible buffing | ★★★☆ |
| 2 | Water ring after spills | Clean + full dry-down | Yes (wood bleach) | Label-directed wood bleach (compatible) | ★★★☆ |
| 3 | Yellow-brown blotches | Confirm not surface grime | Yes (tannin treatment) | Oxalic/wood-bleach-style method (test) | ★★★ |
| 4 | Gray patches near sun | Reduce UV exposure | Avoid whitening if possible | Blending or refinishing | ★☆☆☆ |
| 5 | Spot stays dark after cleaning | Verify dry-down status | Yes (deep stain chemistry) | Sanding/recoat if embedded | ★★☆☆ |
| 6 | Hazy “footprint” areas | Damp-clean residue control | Yes (if using pads/polish) | Finish-correct buffing and recoat alignment | ★★★☆ |
| 7 | Persistent edge halos (after spot work) | Stop spot treating | Yes (for blending plan) | Whole-plank/run blending or refinishing | ★☆☆☆ |
Step 5: When to sand and recoat (and when you shouldn’t)
Sanding and recoat are the most reliable route to true tone matching when discoloration is trapped under or within the finish. But you shouldn’t DIY-sand prefinished floors with limited wear layers, because herringbone geometry can make uneven edges and “lines” much more visible.
If stain penetrated past the topcoat, surface cleaning and spot bleach may only lighten the surface while the darker material remains below.
Unfinished hardwood typically tolerates sanding as a corrective method; prefinished floors require manufacturer-approved wear-layer considerations before any sanding.
Decide based on how the floor is built
– Unfinished floors: If the stain is trapped in the wood, sanding plus applying the correct finish system is usually the only way to achieve consistent tone.
– Prefinished/fully sealed floors: You may have limited options. Sanding can exceed the wear layer thickness or create an uneven sheen boundary—especially in a herringbone.
Pros/cons: DIY sanding vs. professional refinishing
| Approach | Pros | Cons / risks |
|---|---|---|
| DIY sanding + recoat | Works best for truly unfinished floors where you can follow a known sanding/finish system | Can thin edges unevenly and create visible herringbone contrast if the plan isn’t blended across the correct area |
| Professional refinishing (recommended for many sealed floors) | Better control of sanding limits, stain correction chemistry, and finish blending (tone + sheen) | Costs more; you still need to address moisture/UV cause so discoloration doesn’t return |
Match matters: sheen and product system compatibility
Even if you correct the color, tone matching fails if you use the wrong finish type or sheen:
– Use the same sheen level (matte/satin/semi-gloss) as your current system.
– Use a finish compatible with your existing coating chemistry (waterborne vs. oil-modified, etc.).
In practice, a “perfectly lightened” patch that dries to a different sheen can look worse than the original discoloration—because the herringbone pattern amplifies visual boundaries.
What can go wrong (common mistakes with herringbone floors)
Most problems happen when homeowners treat the symptom (the visible color) rather than the mechanism (moisture, UV, or finish chemistry). The faster you stop repeating an incompatible step, the more likely you’ll get a clean, uniform result.
Over-wetting is one of the fastest ways to create rings or intensify tannin transfer—especially on floors that are not fully protected or whose topcoat is compromised.
Spot treating without blending frequently produces a visible “halo” on herringbone because boundaries align with plank edges and light angles.
Some stain removers can lighten wood while leaving finish residue behind, creating hazy contrast that only full blending or refinishing corrects.
Over-wetting the wood
Even “wood-safe” routines can leave excess moisture if you’re mopping aggressively or repeating damp passes without proper dry-down. Keep microfiber methods controlled and dry the area fully.
Using the wrong chemistry
Stain removers and wood bleaches can vary widely:
– Some are intended for iron-related discoloration.
– Others are formulated to address tannin or general whitening.
– Compatibility with your existing finish matters as much as the target stain.
Always do a hidden test and follow the product label instructions.
Spot treating without a blend plan
In a herringbone layout, a corrected patch can look like a “window” even if the color is better. If you must use deeper correction (chemistry or sanding), plan blending across a consistent zone (often more than just the visible stain).
Verdict / tip: Start gentle, then escalate based on how deep the stain
Start with cleaning and dry-down + a hidden test; most “discoloration” that’s actually grime/haze responds to gentler steps first. If the color won’t lift and you can’t correct it without changing the surface, escalating to targeted stain treatment or sanding is usually more effective than repeated spot-cleaning.
If you’re unsure about your finish system—or your floor is prefinished with a limited wear layer—skip DIY chemical “bleaching.” In those cases, professional inspection/refinishing is safer because tone matching and finish compatibility are difficult to get right the first time.
A controlled escalation approach (clean → test → targeted treatment → blend/refinish if needed) reduces the risk of compounding finish damage.
For sealed floors, surface-only cleaning may work; for stains embedded under/into the finish, you typically need compatible chemistry and/or sanding plus a matching recoat system.
Because UV oxidation is often a broader finish/wood-aging change, stabilizing sun exposure and planning for blending is usually more effective than spot whitening.
Quick scan checklist (save this)
| What you’re seeing | First thing to try | If it doesn’t work |
|---|---|---|
| Light haze/dull area | Wood-floor cleaner + gentle buffing (test spot) | Deeper stain treatment or finish blending |
| Water ring/blotch | Clean, fully dry, test spot | Targeted wood stain treatment (label-directed) |
| Yellow/brown “bleed” | Clean + confirm it’s not surface grime | Oxalic/wood-bleach-style method (test first) |
| Large sun/age tone mismatch | Stabilize sun exposure; avoid spot whitening | Likely blending or full refinishing |
| Patch keeps coming back | Check moisture source (leaks, humidity) | Professional assessment/refinish plan |
Sources
– National Wood Flooring Association (NWFA) maintenance/care and climate guidance (relative humidity and temperature recommendations; check the latest edition/year on NWFA’s site)
If you tell me whether your herringbone floor is unfinished or prefinished—and what the discoloration looks like (water ring, yellow/brown, gray fading)—I can suggest the safest next step to try. In general, don’t guess: start by cleaning, fully drying, and confirming whether the discoloration is surface haze or a deeper stain under/into the finish. If it lifts, you’re done; if it doesn’t, escalate in a controlled way (targeted stain treatment, then blending or sanding if needed).
Frequently Asked Questions
What causes discoloration on herringbone floors?
Discoloration on herringbone wood floors is often caused by sun exposure, uneven fading, moisture intrusion, or old finishes reacting to cleaners. Common culprits include water spots, cupping from humidity swings, and oxidation from wear on high-traffic areas. If the tone change is localized to spills or edges, it typically points to moisture or finish breakdown rather than the wood itself. Identifying the source (light exposure vs. water vs. finish wear) helps you choose the right fix for your herringbone floor.
How can I remove water stains or dark marks from a herringbone hardwood floor?
Start by determining whether the stain is in the finish or has penetrated the wood—test a small hidden area with a gentle cleaner and then with a slightly more aggressive approach if needed. If it’s a surface water stain, cleaning with a wood-safe pH-neutral cleaner followed by light buffing may help, then you may need spot refinishing with matching stain and a topcoat. For deeper discoloration, you often need sanding to remove affected layers before re-staining and sealing to blend the herringbone pattern. Avoid harsh chemicals, as they can worsen the blotchiness on stained herringbone floors.
Why does my herringbone floor look blotchy after cleaning or refinishing?
Blotchiness usually happens when the cleaner leaves residue, when the stain is applied unevenly, or when some boards absorb finish differently due to prior damage. Aging finishes can also prevent new stain or sealer from penetrating uniformly, especially in tight herringbone seams where product buildup occurs. To prevent blotchy results, strip old finish where necessary, ensure even sanding across all boards, and apply stain in controlled coats with consistent dwell time. If the floor is already blotchy, spot sanding and reapplying stain and polyurethane is typically the most effective route.
What’s the best way to even out sun-fading on herringbone floors?
Sun-fading creates a noticeable contrast because boards age at different rates, especially where rugs or furniture used to be. The best approach is usually “recoat and blend”: clean thoroughly, lightly scuff-sand to promote adhesion, then apply a uniform stain (or color-correcting toner) and finish the entire affected section. For lighter spots, color-balancing products can help match tone before sealing, but patching small areas without blending often leaves visible edges in the herringbone layout. In severe cases, full-board refinishing may be necessary to achieve a consistent herringbone floor color.
Which products should I use to fix discoloration without damaging my herringbone floor finish?
Use wood-safe, pH-neutral cleaners for routine discoloration cleanup and look for finish-compatible spot repair kits for stain and sealing. For mild surface haze or scuffs, a microfiber buff and gentle abrasion (like a fine sanding pad) can help prepare the surface before recoating. Avoid bleach, ammonia, and strong solvents unless you know they’re compatible with your existing finish, because they can cause further uneven discoloration. If you’re unsure, test any product in an inconspicuous area first, then spot treat followed by a matching sealcoat to protect your herringbone hardwood floor.
📅 Last Updated: October 15, 2026 | Topic: How to fix discoloration on herringbone floors? | Content verified for accuracy and freshness.
References
- Wood flooring
- Wood stain
- Oxalic acid
- https://www.cdc.gov/mold/default.htm
- https://www.epa.gov/mold/mold-remediation-guidelines-schools-and-commercial-buildings
- water stain wood – Search Results – PubMed
- https://pubmed.ncbi.nlm.nih.gov/?term=mold+removal+wood+porous+surfaces
- https://scholar.google.com/scholar?q=herringbone+floor+discoloration+repair Google Scholar
- https://scholar.google.com/scholar?q=water+stain+removal+hardwood+floor Google Scholar
- https://scholar.google.com/scholar?q=wood+mold+remediation+porous+materials Google Scholar