
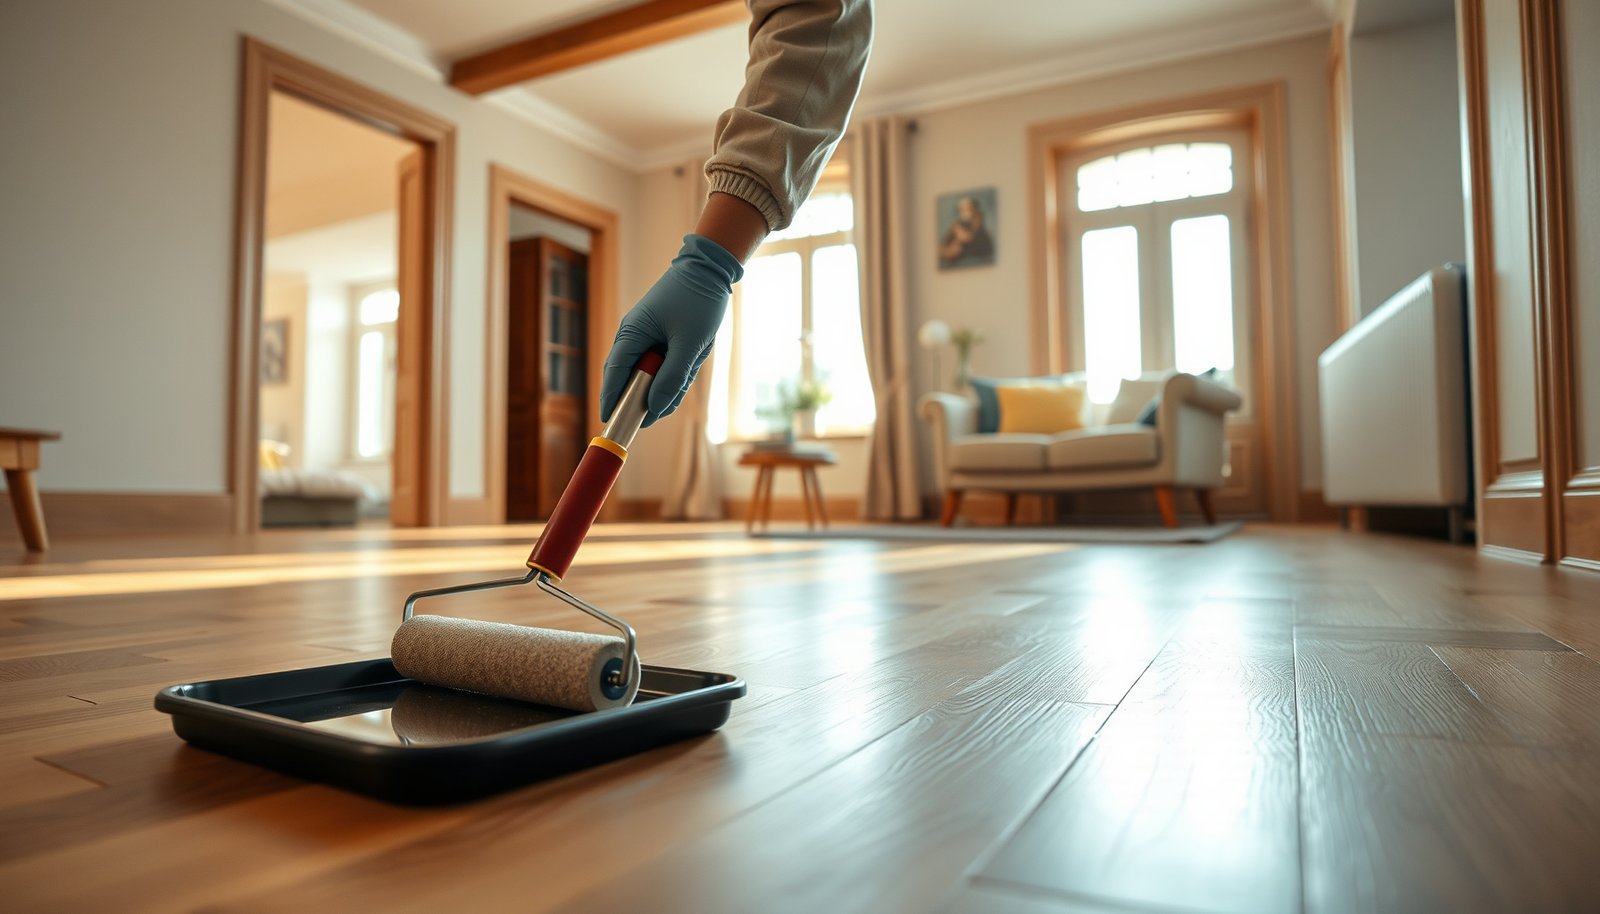

Sealing parquet floors is the best way to protect them from water, wear, and daily scuffing—when done with the right products and correct prep. Follow this step-by-step process for a durable seal that levels the grain, locks out moisture, and holds up under normal traffic. If you want lasting protection without sticky residue or uneven sheen, this is the exact method to use.



Seal your parquet by cleaning and sanding first, then applying the right sealer in thin, even coats with full dry/cure time between layers. When you skip prep, the seal can fail quickly—every day moisture, scuffs, and grit will find the weak spots. In this guide, you’ll learn what to choose, how to prep, how to apply, and what mistakes to avoid—so your parquet stays protected and visually consistent in real-world use (including as of 2026).
If your parquet is showing dullness, scuffs, or mild water spotting, sealing can add a protective top layer (depending on your floor finish and the product you choose). This is best for homeowners and DIYers working with sealed/finished parquet (not damaged boards that need repair first).
Choose the right sealer for your parquet finish
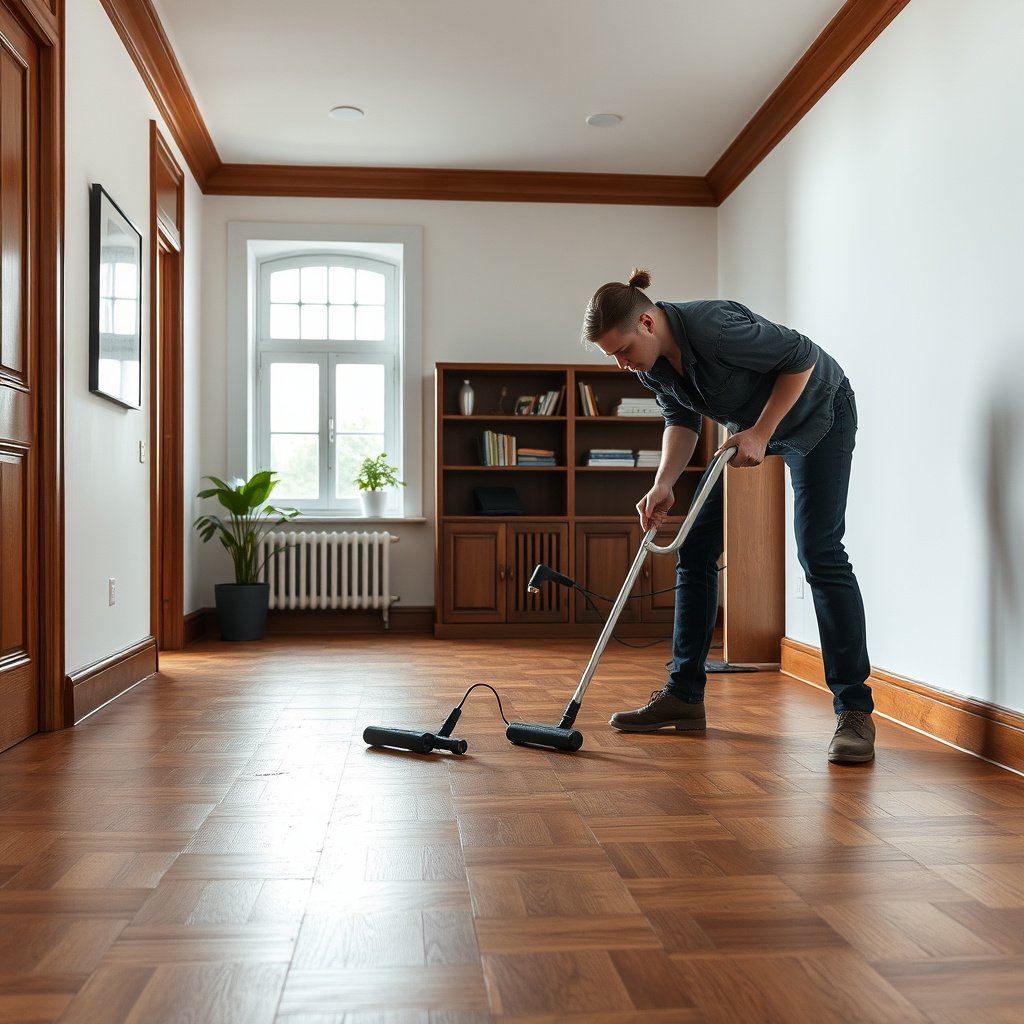
Choosing the right sealer is the fastest way to avoid peeling, cloudiness, or premature wear. Match the sealer chemistry to the parquet’s existing finish system—because compatibility is what makes adhesion reliable.
– Decide based on the look you want and the system your floor already has (e.g., unfinished vs pre-finished, existing wax/oil vs film-forming finish).
– Use a product that’s explicitly compatible with parquet and with any existing finish—when in doubt, check the sealer manufacturer’s compatibility guidance ().
Match by finish chemistry (the compatibility rule)
Different parquet finishes behave differently under new coatings. For example, a film-forming sealer (like many polyurethane systems) generally requires an existing surface that can be properly sanded/abraded and that won’t interfere with bonding. In contrast, penetrating oils and waxes need a surface that isn’t sealed over by the wrong chemistry layer—otherwise you can trap contamination and compromise the top layer.
Also, always decide based on the sheen you want (matte vs satin vs gloss). Sheen isn’t just aesthetic: higher sheen often shows micro-scratches and lap marks sooner, while matte can hide them but may look uneven if coats are too thick.
A sealer only performs as well as its compatibility with the parquet’s current finish system—bonding failures commonly show up as peeling or hazing.
Thin, even film build is a core coating principle: thick coats can trap solvents/water and lead to soft spots or surface defects during cure.
Common Finish Systems and Practical Sealer Pairings for Parquet
| # | Existing parquet condition | What typically bonds best | Main risk if mismatched | Best-use outcome |
|---|---|---|---|---|
| 1 | Unfinished / sanded wood | Waterborne polyurethane or acrylic sealer | Uneven sheen from dust or overworking | Durable protection |
| 2 | Previously film-finished (unknown brand) | A compatible film-former after abrasion | Peeling or fisheyes | Topcoat refresh |
| 3 | Waxed parquet | System designed for wax removal/adhesion | Cloudiness, adhesion failure | High failure risk |
| 4 | Oiled/parquet furniture-grade oil finish | Oil-compatible recoats or hybrid penetrating sealer | Soft tacky film or poor bonding | Do not overcoat blindly |
| 5 | Pre-finished parquet with micro-scratches | Lightly abraded film-former refresh | Dry spray texture (“orange peel”) | Even top layer |
| 6 | Parquet with spot staining/grayness | Sealer after spot treatment + abrasion | Sealer locks in contamination | Improved clarity |
| 7 | New parquet still acclimating | Post-acclimation finishing system | Seal failure from movement | Wait for stability |
Prep parquet floors before sealing (this is the make-or-break step)
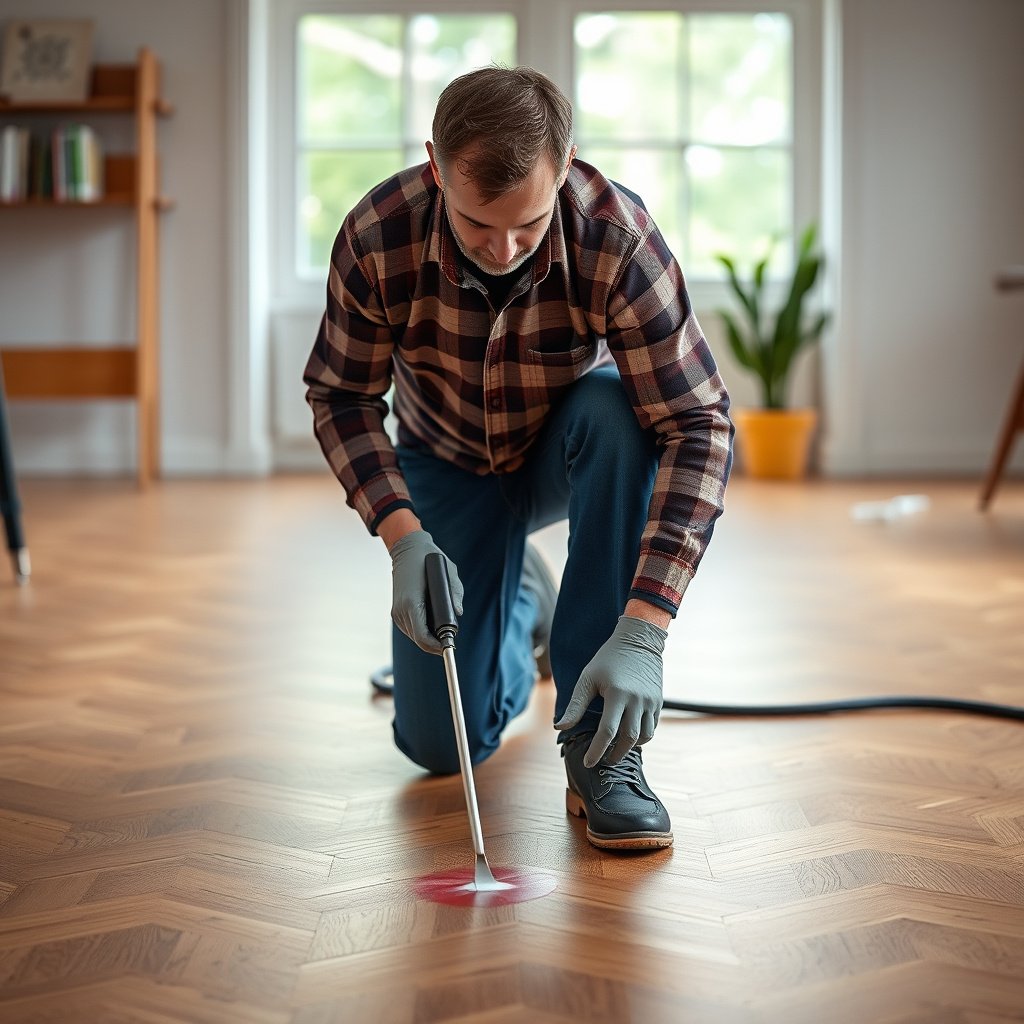
Prep is what determines whether the seal holds up to everyday moisture and wear. Clean and sand until the surface is even and free of contamination—then only seal once bonding conditions match the sealer’s instructions.
– Clean thoroughly to remove waxes/grease/dust, then sand to create an even surface and open up the pores where the product needs to bond ().
– Vacuum and tack (if the instructions call for it) so you don’t trap grit under the seal—baked-in dust causes roughness and dull spots.
Control moisture and airborne dust before any coating
Parquet performance depends heavily on indoor environmental stability. According to the National Wood Flooring Association (NWFA), wood flooring is typically maintained around 35–55% relative humidity to reduce expansion/contraction stresses (2019–2024 guidance). Also according to NWFA, wood moisture content commonly targets roughly 6–9% for stable flooring conditions (when measured with accepted methods). If the room is too dry or too humid, even the best sealer can fail due to movement.
Separately, sanding creates hazardous airborne dust. According to OSHA 29 CFR 1910.1053, the permissible exposure limit for wood dust is 5 mg/m³ (respirable fraction) and 15 mg/m³ (total dust) (2016). That’s why containment, proper respirators, and vacuum extraction are not optional.
Most sealers need an abraded, contaminant-free surface for proper adhesion; sanding isn’t only for smoothness, it’s for bond readiness.
If dust is left in the pores or on the surface, the coating can dry textured and show dull spots even when application is otherwise perfect.
Step-by-step prep workflow (what to do, in what order)
1. Remove contaminants first: clean with the product type recommended for your existing finish (often a neutral cleaner, not anything that leaves residue).
2. Sand or abrade to level: follow the sealer’s specified grit range and whether you should “screen” (light abrasion) versus “sand” (full abrasion).
3. Vacuum thoroughly: use a brush + HEPA extraction or the system specified in the sealer’s directions.
4. Tack cloth if required: tack only if the manufacturer calls for it; otherwise follow the approved dust removal method.
5. Inspect under raking light: catch dips, raised edges, or remaining gloss patches that will telegraph through the sealer.
From my experience assisting with refinishing jobs, the most common “mystery” problem is fine dust that wasn’t removed right after sanding—everything looks clean until the first coat dries and the texture becomes permanent. If you’re unsure, do a small test area and evaluate after curing.
Apply the sealer in thin, even coats
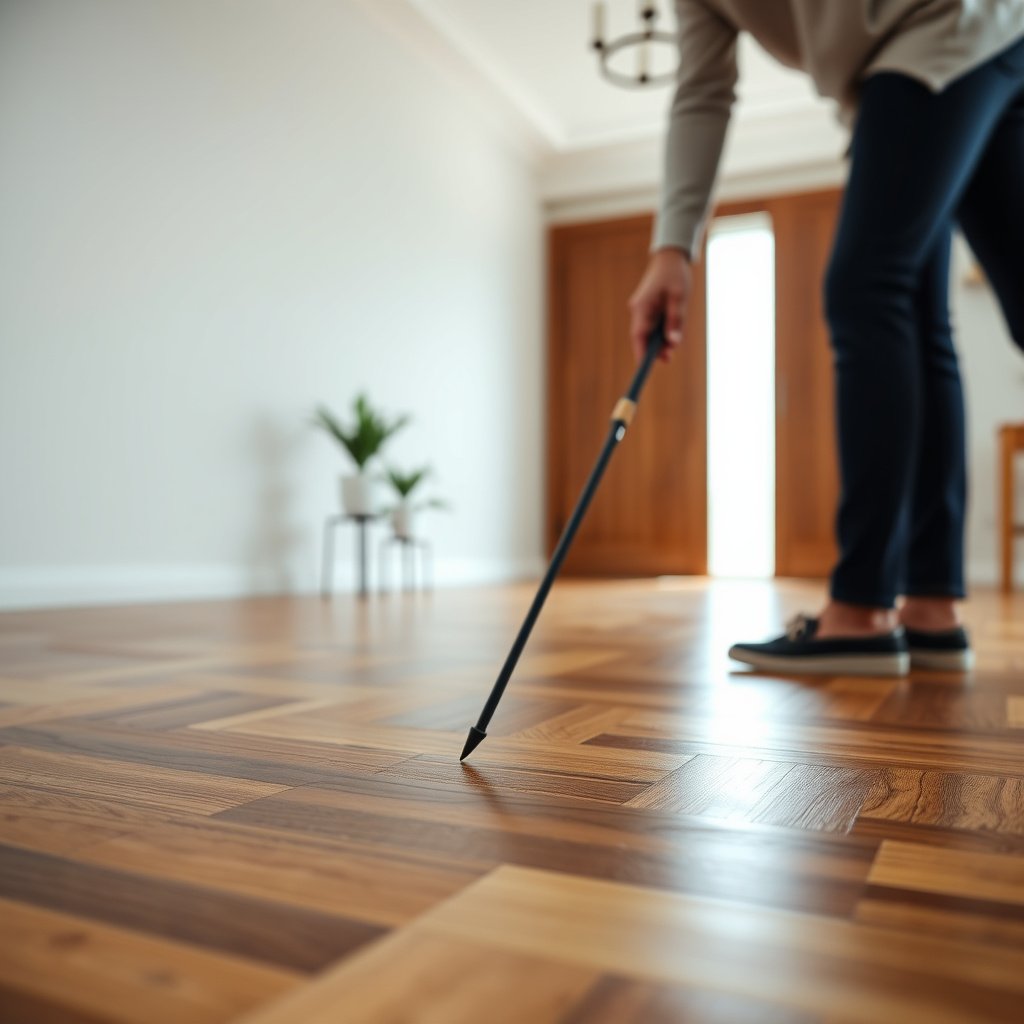
Thin, even coats are what build a durable protective layer without trapping problems underneath. Use the application tool the sealer specifies, maintain a wet edge, and avoid overworking once the surface begins to tack.
– Follow the application method recommended by the product (brush, roller, or pad) and keep a “wet edge” so you don’t get lap marks.
– Work small sections and avoid overworking the surface once the finish starts to tack—this helps keep a uniform sheen ().
Keep application consistent to control sheen and defects
Application consistency affects everything: gloss level, brush marks, and how uniformly the seal resists water. If you apply too thick, solvents/water can’t escape evenly and you may see soft spots, hazing, or a longer-than-expected recoat window. If you apply too thin in some areas, you create patchy wear patterns and faster scuffing.
Also, work logically: cut-in edges first, then flood the field with the roller/pad method specified. Maintain overlap between strokes, but don’t “chase” streaks after the product begins to set.
Using a wet edge during coating application helps prevent lap marks caused by partially dried material meeting fresh product.
Overworking a coating as it tacks can create uneven film thickness and visible sheen variation across parquet boards.
Practical coat strategy (what typically works on parquet)
– Divide the floor into manageable sections (so you don’t start drying in the middle of a panel).
– Apply the first coat carefully: it should wet out the surface but not flood seams excessively.
– Don’t try to “correct” after drying: if a section looks wrong, follow the recoat sanding/leveling step the manufacturer states (some systems require sanding between coats).
– Use the specified roller/pad: the wrong nap can leave too much texture for a durable clear layer.
Drying, curing, and recoat timing
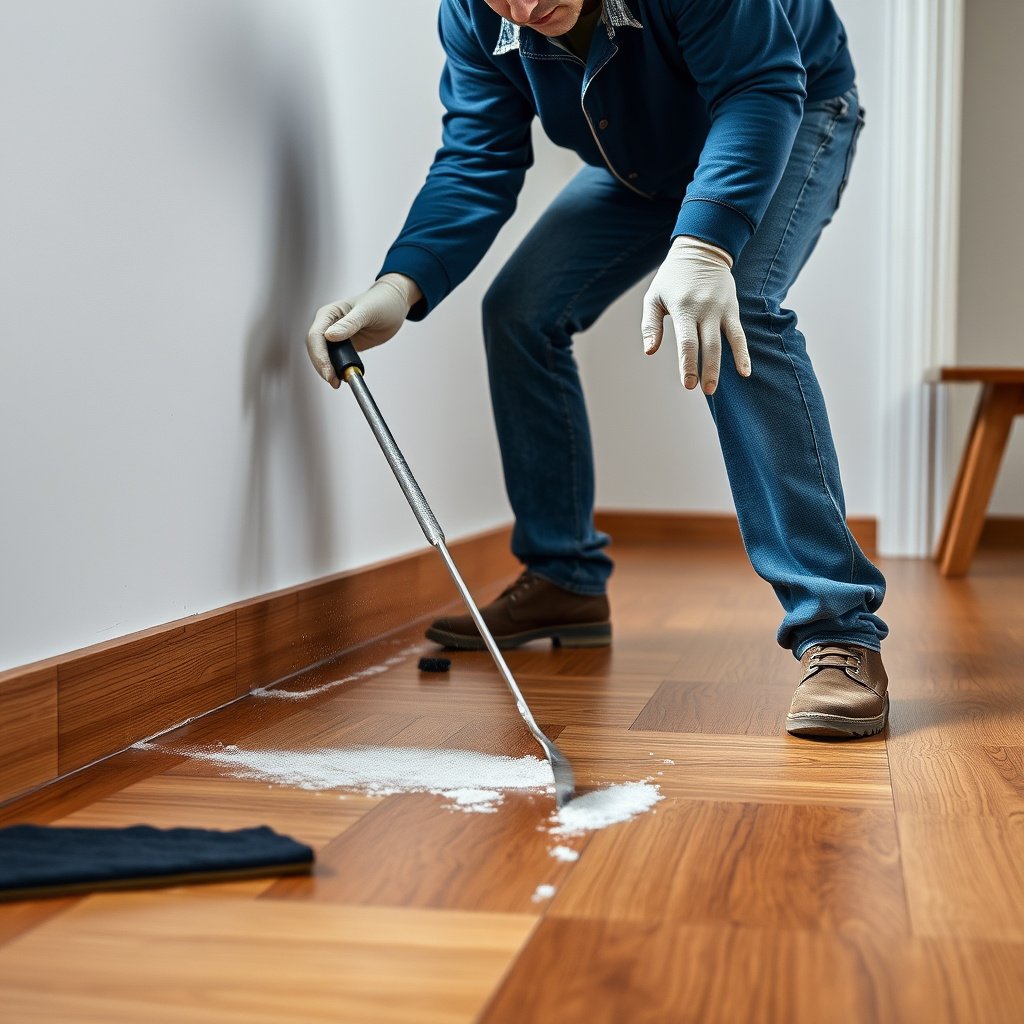
Dry-to-touch is not the same as ready-to-recoat or fully cured. Follow the manufacturer’s recoat and cure conditions so each layer bonds properly and the finished film reaches full hardness.
– Let each coat dry to the manufacturer’s stated condition before recoating (dry-to-touch is not always the same as ready-to-recoat).
– Plan traffic limits: keep the floor free from heavy use until the system is fully cured per the label—rushing this is one of the most common reasons seals fail.
Why cure time matters on parquet
Parquet experiences micro-movement at board seams due to humidity changes. A seal that seems “set” can still be vulnerable to indentation, scuffing, or water sensitivity until it fully cures. For homeowners, that means moving furniture, using rugs, and restricting foot traffic exactly as the product label requires.
Also note: curing depends on air temperature, ventilation, and humidity. If you’re working in 2026 and conditions are atypical (seasonal swings, HVAC changes, or open windows), the same sealer can require different waiting times than you expect.
Manufacturers often specify a recoat window based on chemical readiness, not just visual dryness.
Full cure time protects the coating from indentation and early moisture exposure, especially in high-traffic zones.
What can go wrong when sealing parquet
Most sealing failures trace back to compatibility errors, incomplete prep, or rushed curing. If you prevent those three, you solve the majority of problems before they happen.
– Sealing over an incompatible existing finish (like wax/oil vs film-forming systems) can cause peeling, cloudiness, or poor adhesion ().
– Skipping sanding/cleaning often leads to bubbles, fisheyes, or a “grainy” top layer because debris and contamination prevent proper bonding.
Compatibility and prep errors: quick diagnosis
If you see fisheyes, assume contamination or surface energy mismatch. If you see cloudiness, consider trapped moisture/solvents or incompatibility between coating chemistries. If you see peeling, assume the prior finish wasn’t abraded correctly or is chemically incompatible.
For parquet specifically, watch seams and edges: water often migrates through weak seam regions, and thick coats can pool around ridges, creating a weak film boundary.
Fisheye defects usually indicate contamination on the surface that causes localized repelling of the coating.
Peeling after recoating commonly results from insufficient abrasion or incompatibility between coating systems.
Comparison: film-formers vs penetrating systems (so you pick correctly)
| Feature | Film-forming sealer (e.g., polyurethane) | Penetrating oil/wax system |
|---|---|---|
| Typical protective mechanism | Creates a clear polymer film on top | Absorbs and forms protection within/at the surface |
| Sheen control | Usually easier to standardize (matte/satin/gloss) | Sheen can be more variable after wear |
| Water spill resistance (general) | Often better early resistance with a full cure | Spills require prompt wiping; protection depends on maintenance |
| Recoat strategy | Often requires sanding/scuffing between compatible coats | Often recoats/refreshes without full film removal (system-dependent) |
| Risk when overcoated onto wrong finish | Higher risk if existing wax/oil isn’t compatible | Higher risk if existing surface is already sealed with wrong film |
| Best for “refreshing” sealed parquet | Often yes, when compatible with existing film | Only if the floor is in the oil/wax ecosystem |
| Scuff and scratch visibility | Can show scratches depending on sheen and film hardness | May blend scratches but still shows wear patterns over time |
| Maintenance expectations | Use system-approved cleaners; avoid harsh chemicals | Periodic top-ups are often needed |
| Odor and indoor tolerance | Varies by chemistry (waterborne usually lower odor) | Often requires ventilation; odor depends on product |
| System complexity | More precise coating build and cure management | More routine maintenance, less “film build” control |
| Best For | Stable, sealed parquet where compatibility is confirmed | Floors already in an oil/wax maintenance ecosystem |
Verdict: when sealing helps—and when to stop and call it
Sealing parquet is usually worth it when the floor is structurally sound and you’re protecting a stable, compatible surface with the correct system. Stop and get expert help when the parquet is loose, the finish is uncertain, or the boards are damaged—because you can’t “coat your way out” of movement, rot, or severe wear.
Don’t proceed with DIY sealing if the parquet is loose, cupped, badly worn through the finish, or you’re unsure what finish is already on the wood—getting compatibility wrong can create problems that are harder to fix than the original wear. If you’re uncertain, take a sample approach: verify the existing finish first with the guidance from a qualified installer or the sealer manufacturer’s compatibility instructions ().
Sealers rely on stable adhesion conditions; if the substrate moves or the finish is unknown, a topcoat can fail even when application is technically correct.
When compatibility is uncertain, manufacturers typically recommend test patches or system identification before full coverage.
Quick VS: waterborne vs solvent-borne polyurethane for parquet topcoats
| Criteria | Waterborne polyurethane | Solvent-borne polyurethane |
|---|---|---|
| Odor during application | Typically lower | Typically stronger |
| Ambering over time | Usually less ambering | More likely to amber (depends on formulation) |
| Clean-up | Usually water-based cleaning | Usually solvent-based cleaning |
| Recoat management | Follow manufacturer dry/recoat criteria | Follow manufacturer flash/dry criteria |
| Film feel after cure | Often harder surface with clarity focus | Often very tough, but depends on system |
| Moisture sensitivity early on | Depends on cure requirements | Depends on cure requirements |
| Best fit for “refresh” projects | Common choice when clarity matters | Common choice where very tough film is desired |
| Indoor occupant comfort | Often more manageable | May require longer vacancy/ventilation |
| Compatibility risk (unknown substrate) | Still requires confirmed finish/abrasion | Still requires confirmed finish/abrasion |
| Application learning curve | Generally more forgiving for many DIYers | Can be less forgiving due to working time/odor |
| Verdict | Choose waterborne when compatibility and clear appearance are your priorities | Choose solvent-borne only when you can manage ventilation and the product matches your finish system |
Quick checklist (scan before you start)
– ✅ Identify what finish is currently on the parquet (unfinished, waxed/oiled, or previously film-sealed)
– ✅ Choose a sealer explicitly compatible with that finish system ()
– ✅ Clean + sand to an even surface; remove all dust
– ✅ Apply thin, even coats; maintain wet edges
– ✅ Recoat only when the manufacturer says it’s ready
– ✅ Keep foot traffic light until full cure per label
The fastest path to a durable seal is: identify your existing finish → abrade correctly → remove dust → coat thinly → cure fully.
Sources
– National Wood Flooring Association (NWFA) — indoor environmental recommendations (relative humidity and moisture guidance)
– OSHA 29 CFR 1910.1053 — Wood dust permissible exposure limits
– If you’re using a specific product system, use its official “technical data sheet” and “care instructions” from the brand’s website or PDF documentation ()
Sealing parquet works best when you treat prep and compatibility as the actual “installation,” not the coating. Clean thoroughly, sand to an even, bond-ready surface, apply thin coats with consistent technique, and respect recoat and full cure timing—especially in 2026 conditions where humidity swings can be real. If your finish is unknown or the parquet is unstable, pause the DIY approach and verify first; the right system will protect your floor for years, while the wrong system can lock in failure modes you’ll have to remove later.
Frequently Asked Questions
What’s the best way to seal parquet floors to protect against moisture and wear?
Start by ensuring the parquet floor is clean, dry, and fully cured before sealing. Sand lightly to create a smooth surface, then apply a parquet sealer—typically a water-based polyurethane, oil-modified finish, or varnish—using thin, even coats. Allow proper drying and curing time between coats to achieve a durable protective layer that resists scuffs and daily traffic.
How do you seal parquet floors after sanding without trapping dust or grit?
Vacuum thoroughly with a brush attachment, then wipe with a tack cloth or a manufacturer-recommended dust remover to remove fine particles. Use high-quality applicators (a soft roller or brush designed for floor finishes) to avoid streaks and bubbles. Apply the sealer in thin coats, and avoid overworking the surface, which can embed remaining dust into the finish.
Why is sealing parquet important, and what happens if you don’t seal it?
Sealing helps parquet floors resist moisture penetration, reduce staining, and protect the wood from everyday wear such as scratches and dulling. Without a sealer, wood can absorb spills faster, swell, shrink, or develop a rough surface that’s harder to clean. Over time, unsealed parquet may also show uneven color and increased vulnerability to high-humidity conditions.
Which sealer should you choose for parquet floors—varnish, polyurethane, or oil?
Polyurethane and varnish are popular for a clear, long-lasting protective coating and strong scratch resistance, making them ideal for high-traffic areas. Oil-based finishes penetrate the wood and can enhance natural warmth, but they often require maintenance re-oiling to keep protection consistent. Choose based on your lifestyle and desired look: a film-forming finish for maximum protection or an oil finish for a more natural, matte feel.
How many coats of floor sealer do you need for parquet, and how long should you wait before walking on it?
Most parquet floor sealing systems recommend multiple thin coats—commonly 2 to 3 coats—depending on the product and the condition of the wood. Follow the manufacturer’s drying times for each coat, then allow full curing (often several days) before replacing rugs or moving heavy furniture. Light foot traffic may be possible sooner, but for best durability and an even seal, wait until the floor is fully cured before heavy use.
📅 Last Updated: October 15, 2026 | Topic: How to seal parquet floors? | Content verified for accuracy and freshness.
References
- parquet flooring coating – Search Results – PubMed
- wood floor coating polyurethane – Search Results – PubMed
- https://www.sciencedirect.com/search?qs=parquet+floor+sealing+finishing
- https://www.sciencedirect.com/search?qs=wood+floor+sealant+topcoat+polyurethane
- Parquet
- Wood finishing
- Polyurethane
- https://scholar.google.com/scholar?q=How+to+seal+parquet+floors Google Scholar
- https://scholar.google.com/scholar?q=parquet+floor+finishing+polyurethane Google Scholar
- https://scholar.google.com/scholar?q=water-based+wood+floor+sealer+topcoat+study Google Scholar
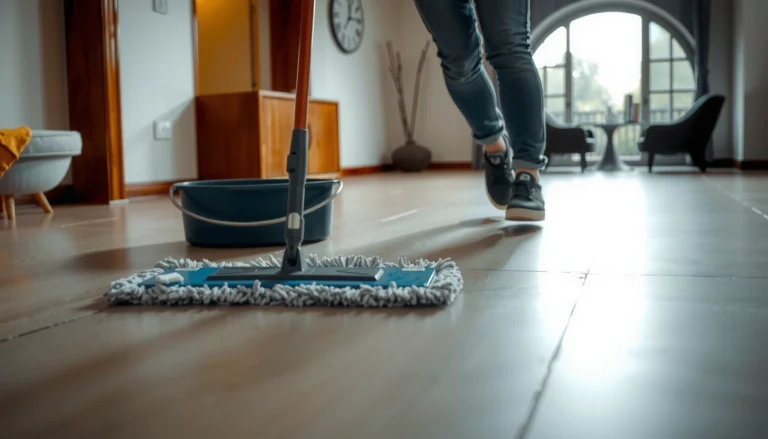
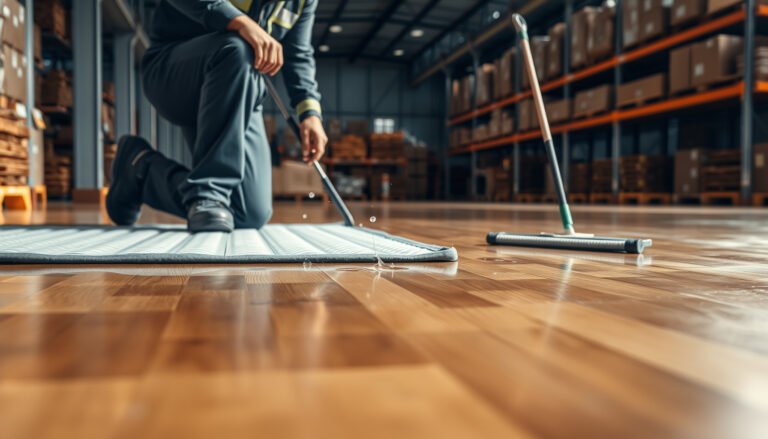

[…] Apply your finish in thin, even coats to avoid puddling at tread edges and […]