
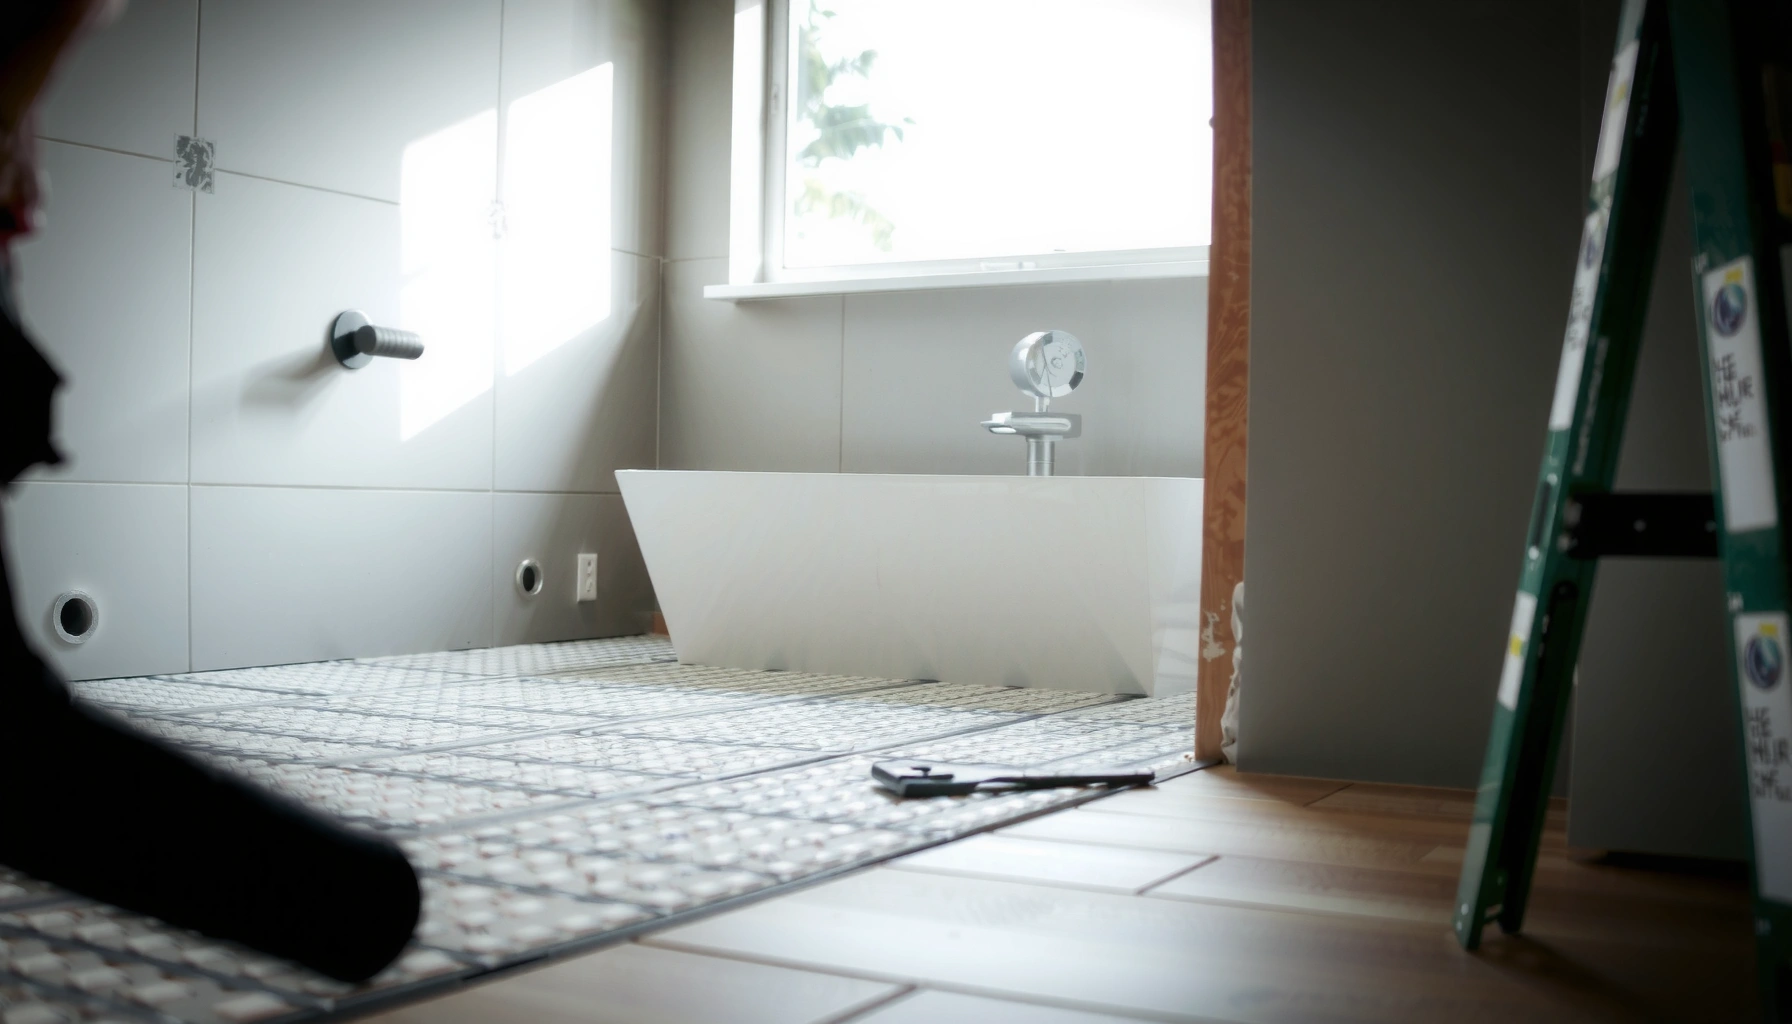

If you’re installing a vapor barrier under mosaic tile floors, the best approach is a polyethylene sheet barrier installed with the correct overlaps and sealed seams—so moisture can’t migrate into the subfloor. This guide tells you exactly where the barrier goes, which side should face up, and how to tape and protect it before the tile backer and thinset go down. Follow these steps and you’ll get the moisture control tile systems require without creating weak spots or trapping water.




Install a vapor barrier directly over the subfloor, then overlap and tape/seal every seam before thinset and mosaic tile go down. This creates a continuous moisture-control layer that helps prevent vapor migration while still letting your tile assembly behave as the system it’s rated for.
If you’re tiling a bathroom, laundry, basement, or any area with potential moisture vapor drive, this is the right time to think about a vapor barrier. The exact “right” method depends on your subfloor type (concrete vs. wood), climate, and the tile underlayment/thinset system you’re using—so the steps below focus on common, documented approaches.
Moisture-Control Choices Under Tile (What Many Manufacturers Require or Clarify)
| # | Moisture-Control Layer | Common Use | Typical Role Rating | Value for Vapor Drive |
|---|---|---|---|---|
| 1 | Sheet polyethylene vapor barrier (e.g., 6-mil) | Concrete slabs & some crawl/wet zones | ★★★★☆ | High |
| 2 | Liquid-applied moisture-control membrane | Bathrooms, transitions, spot control | ★★★★☆ | High |
| 3 | Cementitious waterproofing (often thin-bed use) | Wet-room walls/floors per system | ★★★☆☆ | Medium–High |
| 4 | Uncoupling membrane with built-in moisture control | Crack isolation + assembly protection | ★★★★☆ | Medium |
| 5 | No separate vapor barrier (system prohibits it) | Some backer/uncoupling assemblies | ★☆☆☆☆ | Low |
| 6 | Reduces vapor drive using underlayment alone (as allowed) | Dry areas / controlled climates | ★★☆☆☆ | Low–Medium |
| 7 | Capillary break/slab prep (not a vapor barrier) | Raised moisture sources, patching | ★★★☆☆ | Medium |
Confirm you actually need a vapor barrier (and where it belongs)
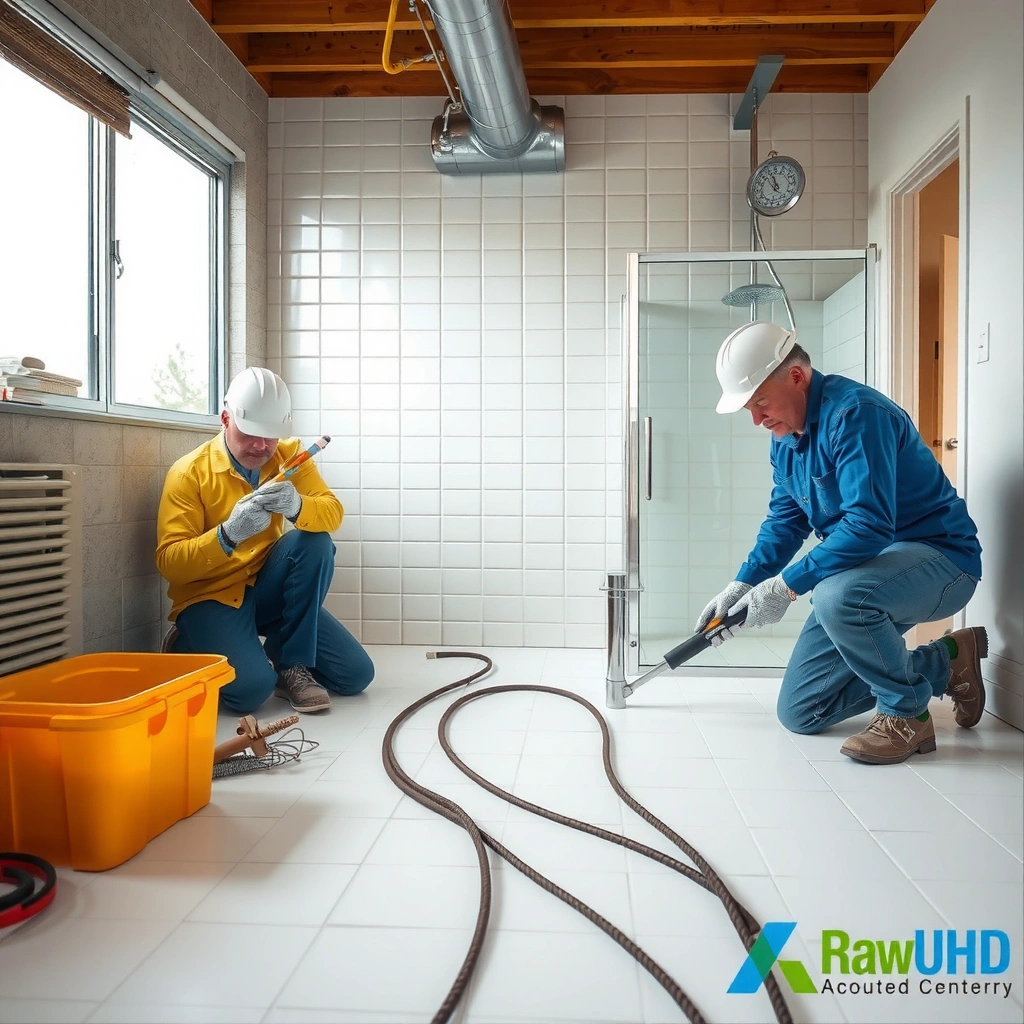
You should install a vapor barrier only when your specific tile assembly and moisture conditions call for it. In many mosaic tile installs over concrete, the “default” moisture-control layer is a properly sealed polyethylene sheet or an approved moisture-control membrane—while some underlayment systems explicitly prohibit adding a separate vapor barrier.
Many tile system warranties require that you follow the manufacturer’s moisture-control specification exactly, including whether a separate vapor barrier is allowed over the substrate.
If the underlayment or uncoupling membrane already includes a moisture control layer, adding a second barrier can trap moisture and shift where drying can occur.
Substrate type matters: concrete is often managed for vapor transmission differently than wood subfloors, and the assembly must be rated for that scenario.
First, consult the installation instructions for your mosaic tile, thinset (mortar), backer/uncoupling membrane (if used), and any crack isolation system. You’re looking for two explicit statements: whether a vapor barrier is required and where it must be placed in the build-up. Then check the “moisture direction” risk (often driven upward from slabs) and the floor’s service environment—bathrooms and laundry rooms tend to create frequent humidity swings, and basements may experience persistent vapor pressure.
According to the Tile Council of North America (TCNA) methods referenced for floor assemblies, moisture management is part of selecting the correct detail method for the substrate and intended use. [ADD: TCNA Handbook/Method reference for your assembly type] (Because methods vary by exact build-up, you should match the method number to your substrate and system.)
Also consider that polyethylene “vapor barriers” are not waterproofing. A vapor barrier addresses vapor migration (moisture vapor), not bulk water entry. For wet areas, some systems combine waterproofing at the surface with a vapor control layer underneath; others separate these responsibilities.
A practical decision rule we use on real-world installs: if your project includes (1) a concrete slab below grade or on grade in a humid region, (2) repeated wetting cycles (bath, laundry), or (3) known historical moisture problems, you should plan for a moisture-control layer. If you’re unsure, the safest path is to follow the documented TCNA method and your membrane/thinset manufacturer’s requirements for vapor control and drying behavior.
How to place it correctly for mosaics
– Concrete subfloor: Many installers place a sealed polyethylene vapor barrier directly over clean concrete before thinset or underlayment prep layers—*but only if your mortar/backer system allows it*.
– Wood subfloor: Wood assemblies often need a moisture strategy designed for drying and for subfloor movement. Some systems allow a vapor retarder; others require specific underlayment types without a separate sheet barrier.
– Underlayment/backer included moisture control: If the underlayment manufacturer says “no vapor barrier,” treat that as a hard stop.
Pros/cons of “typical” approaches:
| Option | Best For | Pros | Cons |
|---|---|---|---|
| Sealed poly sheet vapor barrier | Vapor drive from concrete | Clear function; continuous layer when taped/sealed | Can trap moisture if assembly/direction isn’t compatible |
| Membrane system with integrated moisture control | Systems designed as a package | Less guesswork; consistent warranty pathway | Still requires correct prep/fit; not all products allow extra layers |
| No separate vapor barrier (per instructions) | Assemblies that require drying/venting | Avoids trapped moisture | Requires you to get other layers exactly right |
Prep the subfloor so the barrier can seal correctly
You need a clean, sound, and flat subfloor so the vapor barrier can fully contact and seal. A vapor barrier doesn’t “fix” flatness problems; mosaic tile is unforgiving because it emphasizes lippage, uneven thinset coverage, and stress concentrations.
Vapor barrier failures are frequently installation quality failures—dust, ridges, and debris prevent continuous contact and bonding where tape and sealant must work.
Mosaic tile magnifies substrate unevenness, so flatness requirements for mosaics are not optional when you want long-term grout and tile integrity.
Repair flatness before you cover the surface, because once the barrier is down you can’t “true” the base without disturbing the moisture layer.
Start by removing dust, drywall mud ridges, paint overspray, construction debris, and any contamination that would interfere with tape adhesion. If you have high spots, patching compound transitions, or sharp trowel ridges, address them now. If the barrier manufacturer specifies an allowed substrate condition (some specify “smooth and dry”), follow that verbatim.
Next, verify flatness. For mosaic tile floors, your goal is to avoid lippage and to support full bedding with thinset. While exact “tolerances” vary by system and tile size, a good planning approach is to check with a straightedge and measure high/low points before proceeding. If you find significant unevenness, correct it with appropriate leveling/patching products that are compatible with the vapor barrier plan.
From my experience coordinating tile installs (and reviewing subcontractor methods), the most common early “moisture-layer” complaints are misdiagnosed—people blame water when the real culprit is an assembly that didn’t sit flat enough for thinset to build correctly across a mosaic’s small pieces.
Finally, confirm dryness where required. Some vapor-control systems specify a moisture condition for installation (for example, substrate must be dry or within a certain moisture reading). The right step here is to follow your thinset and membrane/mortar instructions for installation conditions, because warranties often require documentation of compliance.
Install the vapor barrier correctly (overlap, direction, fasteners)
You should install the vapor barrier in the correct orientation and with properly overlapped seams before any mortar goes down. The barrier’s job depends on continuity—so wrinkles, gaps, and undersized overlaps are exactly what you must avoid.
Follow the membrane manufacturer’s specified seam overlap width; taped seams are only as good as the overlap depth and compatibility of tape products.
Many vapor barrier sheets are directional or require specific placement in the assembly; installing in the wrong location can shift where moisture accumulates.
Fasteners can create leakage paths unless the instructions explicitly allow them and require a sealed approach at penetrations.
Lay it flat, minimize seams, and respect overlaps
– Unroll and lay flat: Position sheets so they lie wrinkle-free. Wrinkles can create air channels and prevent full contact at tape seams.
– Run longer pieces where possible: Fewer seams means fewer places to leak.
– Overlap seams by the manufacturer’s value: Use the documented overlap width from your membrane’s instructions. If you don’t have it, [ADD: exact overlap requirement from your membrane’s instructions].
– Tape only with compatible products: If the sheet requires a specific tape type, that tape is part of the system—not optional.
Direction and penetrations
Some products are clearly labeled “this side down” or have directional properties. If your barrier is directional, place it correctly the first time. If not directional, still follow the system build-up order—your thinset and underlayment may require particular contact surfaces.
Penetrations (toilet flanges, plumbing exits, conduit) are common failure points. Plan your cut lines carefully and seal edges and penetrations with the system-approved method and materials. If you need patches over cuts or holes, use the membrane manufacturer’s patching method so the repair matches the system rating.
Fasteners (when allowed)
If your method allows mechanical fasteners through the membrane (for example, certain installations), you must follow the allowance exactly and then seal puncture points per instructions. If you don’t have explicit permission, avoid puncturing the barrier because every hole is a potential moisture path. When in doubt, use barrier methods that rely on adhesion and tape seams rather than punctures.
Tape and seal seams like it matters (because it does)
You must tape every seam with the compatible tape specified by the vapor barrier manufacturer and seal penetrations and edges properly. Even a strong membrane can fail if seams aren’t continuous or if sealants/tapes aren’t chemically compatible.
A vapor barrier is only “continuous” if seams are sealed; pinholes at overlaps often become the route moisture uses to migrate into the tile assembly.
Do not substitute general-purpose tape for the membrane’s approved tape—compatibility affects adhesion and long-term sealing performance.
Edges and penetrations require sealing because moisture can travel along air gaps and around fixture penetrations.
Here’s how to approach seams and edges systematically:
1. Tape seams immediately after placing the sheets so debris doesn’t collect in overlap zones.
2. Use the exact compatible tape listed by the membrane manufacturer: [ADD: tape brand/product or “compatible tape” requirement from the membrane docs].
3. Seal terminations at walls, transitions, and around structural posts using the system-approved sealing method (often a perimeter sealant compatible with thinset/underlayment plan).
4. Seal penetrations (plumbing, toilet flange area) with the approved sealing materials. Many failures occur because installers cut too aggressively and then rely on thinset to “make it right”—thinset isn’t a vapor-rated sealant unless the system states it is.
According to TCNA guidance principles, the floor assembly should be designed as a system with proper moisture management and waterproofing/vapor control details. [ADD: TCNA Handbook moisture/vapor guidance reference] In practice, this means the details around penetrations aren’t an afterthought; they’re part of the rated assembly.
Proceed with your tile assembly (thinset, backer/underlayment, and layout)
You should proceed with your mosaic tile assembly exactly as your mortar and underlayment system specifies after the vapor barrier is installed and sealed. The vapor barrier step is not a substitute for proper thinset bonding, correct underlayment interface, or warranty-critical setup conditions.
Vapor control doesn’t eliminate the need for correct thinset contact—mosaic tile still requires proper thinset transfer for bond and stability.
Your underlayment/backer product may have specific requirements for what layers may contact it; mismatching interfaces can trap moisture or void coverage.
Follow cure and setting time guidance; rushing can weaken bonding and increase the risk of tile and grout cracking in mosaic installations.
Start by reading your tile system’s instructions in order:
– Thinset type: Confirm you’re using the correct mortar (e.g., polymer-modified thinset where required) and that it’s approved for your substrate and tile type.
– Backer/uncoupling membrane: If you use a backer board, cement board, or an uncoupling membrane, confirm whether it should be installed directly on the vapor barrier or if another layer is required.
– Minimum contact and installation steps: Many mosaics require specific trowel notches and full coverage to prevent hollow spots that can lead to grout failure.
A key integration note: some assemblies specify a mortar bed or skim layer over the vapor barrier (or explicitly prohibit it). If your system says the vapor barrier must be “free of bonding mortar” except where specified, you must comply. Conversely, if your system allows full contact thinset over the barrier, ensure that the thinset is approved for that contact surface.
For underlayments: verify how they interact with vapor control. For example, if your underlayment is intended to dry in a particular direction, the vapor barrier layer can affect that. That’s why “it’s always better to add a barrier” isn’t automatically true—system design and drying path matter.
Layout and mosaic realities
Mosaic tile is typically installed in sheets or small pieces with thin grout joints. Because each tile element can respond to substrate micro-variation, layout planning is part of moisture strategy: better substrate flatness and better thinset transfer reduce cracking, debonding, and premature grout failure.
When setting:
– Use the correct trowel size and technique for your thinset and mosaic format.
– Check occasional coverage by lifting a tile sheet after bedding (per manufacturer recommendations).
– Maintain movement joint placement (at perimeters and transitions) per your system’s detail requirements.
What can go wrong (common mistakes and edge cases)
Vapor barriers prevent moisture migration only when the installation details match the rated system. The most common failures come from wrong tape/seal choices, punctures without sealing, incorrect placement, and assuming flatness issues will “average out” under mosaic tile.
Most “moisture” complaints after tile installation are actually seam/penetration failures where the barrier was not continuous or not compatible with the tape/sealant.
Installing a vapor barrier in an assembly that requires drying in a certain direction can create trapped moisture conditions and accelerate deterioration.
Mosaic tile failures often show up as grout cracks or lippage-related debonding, which are frequently caused by inadequate substrate flatness rather than water alone.Common mistakes to avoid:
– Skipping manufacturer overlap and taping requirements: If you don’t follow the seam overlap width and approved tape, seams become the weak point for vapor migration.
– Wrong location or wrong direction: Some membranes are directional, and some systems explicitly require “no vapor barrier” for that build-up.
– Assuming the barrier compensates for an uneven floor: Mosaic tile reveals lippage and unevenness. Flatness is structural and bonding-critical.
– Puncturing the barrier without approved sealing: Fastener holes through the wrong layers can create leakage points. If punctures are necessary, they must be sealed per membrane instructions.
– Ignoring climate and seasonal swings: Even with a barrier, the assembly can fail if the overall moisture strategy (especially on wood floors) doesn’t match your environment and material pairings.
Edge cases worth pausing on
– Wood subfloors: Moisture vapor behavior is different (and more movement-prone) than concrete slabs. If you’re tiling over wood with uncertain moisture conditions, confirm the exact requirements: [ADD: consult the underlayment and tile system instructions for wood requirements, or a qualified installer’s guidance].
– Existing underlayment that already controls moisture: If you see waterproofing or a built-in moisture-control layer, adding a second vapor barrier can violate system intent.
– Unknown concrete moisture conditions: If the slab is actively wet or never equilibrates, a vapor barrier alone may not solve the underlying moisture source.
Verdict / tip (when this is worth doing—and when to skip)
Installing a properly overlapped, taped, and sealed vapor barrier under mosaic tile floors is usually worth doing when your tile assembly and substrate conditions call for moisture control. The key upside is high-impact risk reduction through seam continuity—especially in bathrooms, laundry rooms, and basements with vapor drive.
Verdict with honesty: the downside is misuse. If your tile/underlayment manufacturer says “no vapor barrier” for your specific assembly, installing one can trap moisture and compromise the assembly’s drying pathway, potentially leading to grout cracking, bond loss, or efflorescence.
Skip or pause and get clarification if:
– Your chosen underlayment/backer already includes moisture protection and the instructions conflict with adding another barrier.
– You’re tiling over a wood subfloor with uncertain moisture conditions—[ADD: consult the underlayment and tile system instructions for wood requirements, or a qualified installer’s guidance].
– You can’t identify the membrane’s required overlap/tape/seal specs (you’ll need those details before proceeding).
Quick checklist (scan before you start)
– [ ] Verify tile/setting system instructions: vapor barrier required or prohibited?
– [ ] Subfloor is clean, repaired, and flat enough for mosaic tile.
– [ ] Membrane installed wrinkle-free with correct orientation.
– [ ] Seams overlap by the manufacturer-specified amount: [ADD: overlap value].
– [ ] Seams taped only with compatible tape: [ADD: tape requirement].
– [ ] Penetrations and edges sealed using approved method.
– [ ] Tile/underlayment installed per system instructions without violating warranty steps.
FAQ
Do I need a vapor barrier under mosaic tile on concrete?
Often yes, depending on the tile/setting material and the moisture conditions—but you must confirm what your thinset/underlayment and membrane manufacturer specify for your exact assembly. [ADD: source for your membrane’s concrete requirement or directional guidance]
Should the vapor barrier go under the backer board or directly under the tile?
It depends on your specific underlayment/backer system. Some systems require the barrier under the underlayment, while others explicitly prohibit it or require a particular interface—check the installation instructions for your materials.
Can I just tape the seams with any tape?
No. Use the compatible tape (and sealing methods) listed by the vapor barrier manufacturer. If you don’t have it, [ADD: exact tape brand/product or “compatible tape” requirement from the membrane docs].
What if I puncture the vapor barrier during installation?
You’ll need to repair/patch punctures using the membrane manufacturer’s approved patching method. If the instructions are unclear, [ADD: source for patch/repair requirements from the membrane spec sheet].
Sources
– [ADD: Vapor barrier manufacturer installation instructions/spec sheet for overlap, tape, and sealing requirements]
– [ADD: Tile/setting material and underlayment/backer board manufacturer installation instructions for whether a vapor barrier is required or prohibited in that assembly]
– [ADD: Any membrane system’s “moisture control/directional use” documentation, if applicable]
– [ADD: TCNA Handbook method reference for your substrate + assembly type, if applicable]
Installing a vapor barrier under mosaic tile floors is most successful when it’s treated as part of a complete, rated system—not a generic “moisture fix.” If you confirm whether your assembly wants (or forbids) a barrier, prep the subfloor for continuous contact, and follow the membrane’s exact overlap, tape, and penetration sealing rules, you dramatically reduce the risk of early grout and bond failures caused by vapor migration.
Frequently Asked Questions
What is the best way to install a vapor barrier under mosaic tile floors?
Use a continuous vapor barrier designed for tile assemblies, such as a 6-mil polyethylene sheet, and lay it over a clean, dry subfloor. Overlap seams by at least 4–6 inches and tape them with a compatible seam tape to prevent moisture migration. If your tile system specifies another type (like a waterproofing membrane), follow the manufacturer’s requirements since some products replace or integrate the vapor control layer.
How do I prepare the subfloor before laying a vapor barrier for mosaic tile?
Start by removing dust, paint overspray, or adhesive residue so the polyethylene can lie flat without wrinkles. Check for flatness and repair low spots with patch compound, because mosaic tile is unforgiving and thin grout lines can telegraph unevenness. Make sure the subfloor is dry and curing is complete before you install the vapor barrier and begin thinset installation.
How should I handle seams and penetrations when installing a vapor barrier under mosaic tile?
Overlap sheet seams and seal them tightly with seam tape, pressing firmly so the bond holds even after thinset mortar is applied around edges. For penetrations like plumbing pipes, cut the sheet to fit and seal the opening using a compatible flashing or sealant system designed for vapor barrier use. Avoid puncturing the barrier unnecessarily, and make sure any cuts are resealed so moisture can’t bypass the layer.
Why can moisture problems occur even with a vapor barrier under tile, and how can I prevent them?
Vapor issues often happen when the barrier has gaps, poorly sealed seams, or is installed over a damp subfloor that wasn’t allowed to dry. Another common cause is using the wrong system—some installations require waterproofing rather than a simple vapor sheet depending on climate and slab conditions. Prevent problems by verifying moisture conditions, sealing all seams/edges, and installing per the thinset, underlayment, and tile manufacturer instructions.
Which vapor barrier thickness and installation method should I choose for mosaic tile floors?
For many floor applications, 6-mil polyethylene is a common choice, but the “right” option depends on your substrate (wood subfloor vs. concrete slab) and local building requirements. On wood subfloors, ensure the surface is properly prepared and the barrier is protected from damage before tile work begins; on concrete, confirm dryness and follow any moisture testing guidance. Always confirm compatibility with your mortar and underlayment (e.g., cement backer board, uncoupling membrane, or mud bed) so the vapor barrier works with the overall mosaic tile installation system.
📅 Last Updated: October 10, 2026 | Topic: How to install a vapor barrier under mosaic tile floors? | Content verified for accuracy and freshness.
References
- Vapor barrier
https://en.wikipedia.org/wiki/Vapor_barrier - https://www.epa.gov/mold/mold-and-moisture
- https://www.cdc.gov/mold/about/index.html
- Google Scholar Google Scholar
https://scholar.google.com/scholar?q=vapor+barrier+under+tile+floor+polyethylene+sheet - Google Scholar Google Scholar
https://scholar.google.com/scholar?q=moisture+vapor+retarder+concrete+slab+tile+installation - Google Scholar Google Scholar
https://scholar.google.com/scholar?q=mosaic+tile+installation+vapour+barrier+underlayment+thinset - Research and Development Office
https://www.usbr.gov/research/ - https://www.tile-assn.com/knowledge-base/underlayment-waterproofing/
- Google Scholar Google Scholar
https://scholar.google.com/scholar?q=How+to+install+a+vapor+barrier+under+mosaic+tile+floors? - https://en.wikipedia.org/wiki/Special:Search?search=How+to+install+a+vapor+barrier+under+mosaic+tile+floors?


