
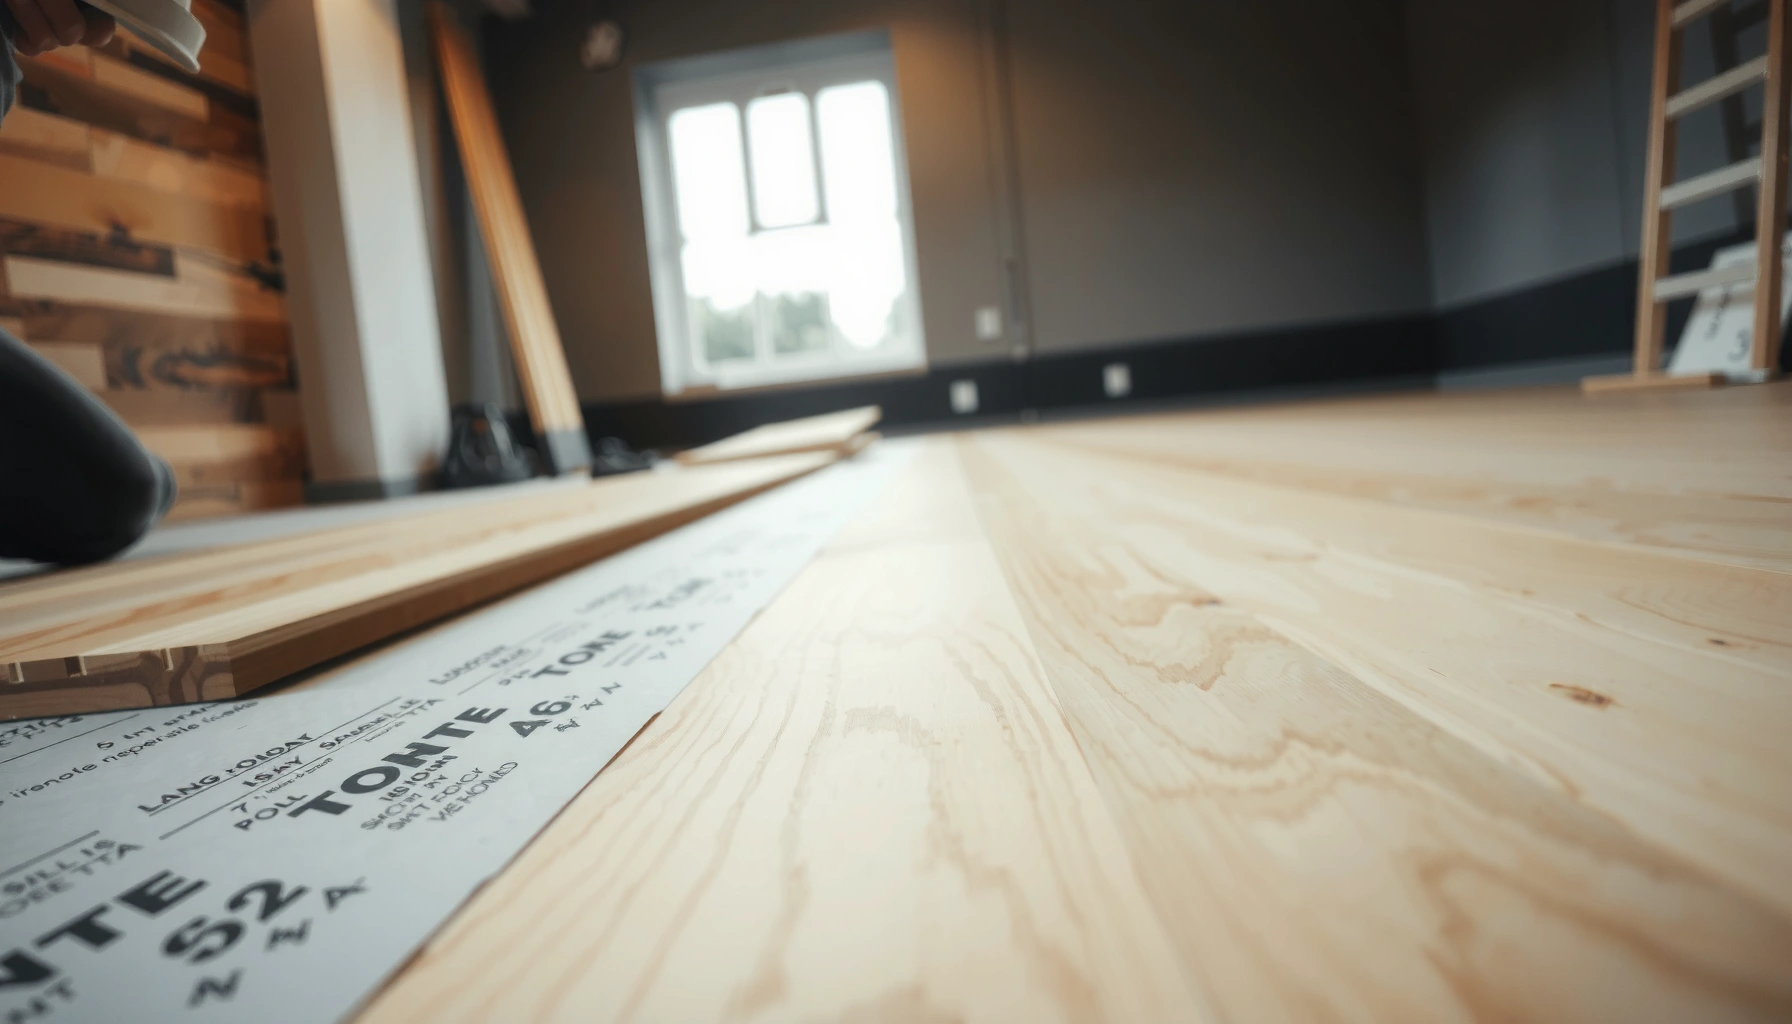

Wondering how to install over concrete engineered wood floors—without hollow spots, buckling, or squeaks? Follow this step-by-step process for laying engineered wood on concrete, including surface prep, moisture control, underlayment, fastening, and finishing. If you want a confident, durable install, this guide tells you exactly what to do and in what order.




If you install engineered wood over concrete, the safest approach is to control moisture first and then follow the floor manufacturer’s approved installation method (glue-down, nail-down, or floating with a proper vapor barrier). Start by checking concrete moisture and flatness, then use an appropriate underlayment/vapor barrier system that matches your product. This guide walks you through prep, installation choices, and the common pitfalls that cause cupping, gaps, or squeaks.
If you’re working with an existing concrete slab and want a warm wood finish without removing the concrete, this is for you—especially if you’re considering a floating or glue-down engineered wood installation. Use it when you need a practical sequence and want to avoid moisture-related failures.
Step 1: Check moisture and slab flatness first
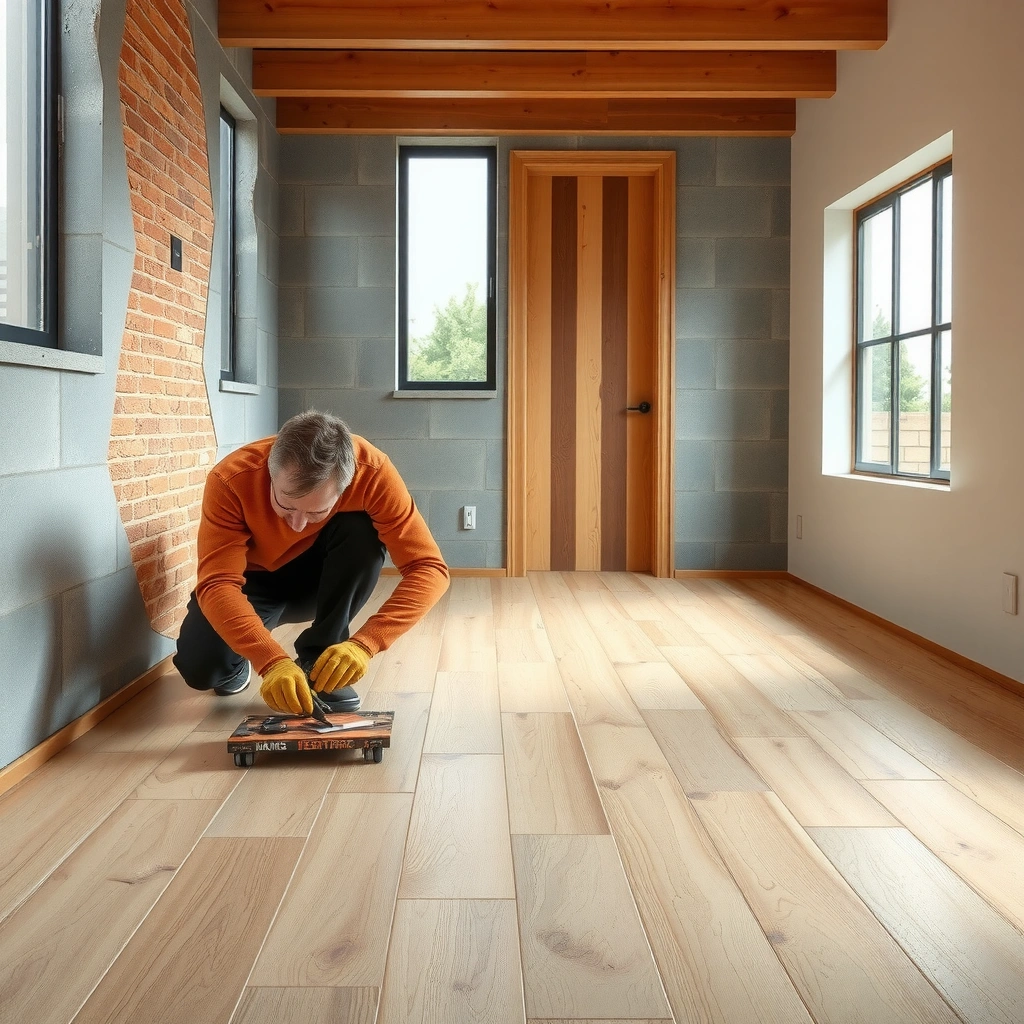
Measure the slab’s moisture conditions and verify flatness before you buy underlayment or start laying planks. Engineered wood can tolerate normal seasonal movement, but it cannot survive uncontrolled moisture vapor pressure or severe out-of-flat conditions.
Concrete moisture limits for wood flooring are confirmed by testing (commonly ASTM methods), not by visual inspection of the slab.
Flatness matters because plank locks distribute stress; dips and ridges concentrate force at joints, which leads to squeaks and gapping.
For many installations, the manufacturer’s warranty hinges on moisture test results and using the approved vapor-control system.
Sub-step: Moisture testing that aligns with your warranty
Start by choosing the moisture method your flooring manufacturer specifies for warranty compliance. The most common slab moisture approaches include:
– In-situ relative humidity (RH) probes (often referenced under ASTM F2170), which measure RH inside the slab depth.
– Concrete vapor emission testing using calcium chloride (referenced under ASTM F1869), which reports moisture vapor emission rate as lb per 1,000 sq. ft. per 24 hours. [ADD: ASTM F1869 method definition and reporting unit—cite official ASTM text or your flooring manufacturer’s referenced standard]
– Surface moisture tests (like plastic-sheet tests) can help detect obvious wet conditions, but they generally do not replace manufacturer-approved ASTM-style testing for warranty purposes. [ADD: Manufacturer warranty language—cite your specific flooring brand’s warranty document]
Three concrete, numeric anchors you can use while planning:
– ASTM F1869 reports results in “lb/1,000 sq. ft./24h.” This numeric unit is fixed by the test method definition. [ADD: ASTM F1869]
– ASTM F2170 expresses slab conditions as internal relative humidity (%RH). The reporting unit is percent relative humidity measured at a specified depth. [ADD: ASTM F2170]
– Many engineered wood installations specify perimeter expansion gaps on the order of ~1/4 in (6 mm) or more, depending on plank width and room dimensions. This is typically documented in NWFA-style installation guidance and/or the manufacturer’s instructions; confirm your exact requirement. [ADD: NWFA guidance or your flooring manufacturer installation instructions]
Sub-step: Flatness checks (you’re preventing joint stress)
After moisture testing, verify flatness using the measurement method your manufacturer calls for. A “reasonably flat” slab is not the same as “looks flat.” Engineered wood—especially floating systems—needs a surface that prevents repeated deflection at plank joints.
In my experience reviewing job-site photos and punch lists, most “mystery squeaks” over concrete turn out to be a combination of:
– a localized dip (often near patch edges), and
– an underlayment that wasn’t thick/rigid enough for that degree of unevenness, or wasn’t installed fully continuous.
Rule of thumb: if you can rock a straightedge (or see a clear line of light gaps over a reference), repair/level before installing wood.
Step 2: Gather the right materials for your installation method
Choose your engineered wood installation method early (floating vs. glue-down vs. fastened), because your underlayment, vapor barrier, adhesives, and even your fastening eligibility depend on that choice. Buying “something that seems similar” is one of the fastest routes to warranty problems.
Engineered wood over concrete must follow the manufacturer’s approved system—vapor barrier/underlayment for floating and specific adhesive requirements for glue-down.
Some engineered wood collections restrict fastening over concrete; “nailable” doesn’t automatically mean “acceptable over slabs.”
Using unapproved materials can still fail even if the floor looks correct during the first few months.
Sub-step: Match engineered wood to the system
Here’s how to think about it:
– Floating installation: Typically uses an underlayment/vapor barrier assembly and a floor with click-lock or similar floating connections.
– Glue-down installation: Uses an adhesive specified by the flooring manufacturer, with strict requirements for moisture condition, substrate prep, and adhesive trowel pattern/coverage.
– Nail/staple installation: Only if your specific engineered wood product explicitly allows it over concrete (many do not, because fasteners don’t behave the same way they do in wood subflooring).
Sub-step: Confirm concrete-subfloor compatibility
Concrete subfloors are unforgiving: if the vapor control system is wrong (or missing), the plank wood fibers can expand/cup even when the surface feels dry today.
When gathering materials, verify (from the wood and system specs):
– vapor barrier type (e.g., polyethylene film vs. approved composite underlayment),
– whether seams must be overlapped and taped in a specific way,
– underlayment thickness and compression behavior,
– adhesive compatibility (for glue-down), including cure time and subfloor requirements.
> Practical note: If your floating system needs a “rated” vapor barrier, a thin foam-only underlayment is usually not a substitute. Foam products can provide comfort/noise reduction, but they typically do not provide reliable vapor control by themselves.
Step 3: Prep the concrete so the floor can perform
Prep is where most projects succeed or fail—because engineered wood systems are only as stable as the slab they’re installed on. If you want long-term plank alignment and sound locks, you need clean, smooth, and properly cured concrete.
Clean concrete matters because adhesives and underlayment interfaces can fail when dust, sealers, or paint residues remain on the slab.
Leveling/patching compounds must be compatible with your concrete and your flooring system, not generic “patch and go” products.
Install can’t start until repaired areas are fully cured; partial cure can create bond failures and uneven movement.
Sub-step: Clean thoroughly (remove bonding blockers)
Use a cleaning process that removes:
– dust from grinding,
– paint overspray,
– drywall compound residue,
– sealers/curing compounds (unless your manufacturer explicitly allows them),
– anything that can create a weak interface.
For glue-down installs, any remaining surface film can prevent adhesive from performing as designed.
Sub-step: Repair cracks, low spots, and surface defects
Engineered wood doesn’t hide slab problems—it transfers them into joint stress. Repair typical issues using products that match:
– the slab condition,
– the underlayment/vapor system requirements,
– and the adhesive system requirements (if glue-down).
Common prep targets:
– remove protrusions,
– fill and level low areas,
– feather patches so plank edges don’t hit abrupt transitions.
Sub-step: Let everything cure fully
Cure time is not optional. Patching and leveling compounds continue to change for days to weeks depending on product chemistry, thickness, and site conditions. If you install too early, you can lock in unevenness—then spend months dealing with squeaks and movement.
Step 4: Acclimate the engineered wood and plan the layout
Acclimation and layout planning are how you prevent preventable gaps at walls and avoid misaligned plank ends in high-visibility areas. This step ensures the flooring reaches site conditions and that expansion gaps are correctly placed before installation begins.
Acclimation is designed to bring engineered wood to the jobsite environment so normal seasonal movement doesn’t instantly stress the joints.
Perimeter expansion gaps are required for floating and many glue-down installs; locking the floor tight to the wall can cause buckling.
A dry layout (dry-lay) helps you manage plank length, transitions, and door clearances without sacrificing expansion space.
Sub-step: Acclimate to the manufacturer’s schedule
Follow your flooring manufacturer’s instructions for:
– target temperature and humidity,
– timeframe (how long to acclimate),
– whether boxes should be stacked or unwrapped.
If you can’t find guidance, don’t guess—look it up in the installation guide for your specific model.
Sub-step: Plan transitions and expansion gaps early
Before any planks are installed:
– map expansion gaps around the perimeter and at doorways,
– plan transitions under door casings and between rooms,
– ensure you can maintain movement under thresholds where required.
Layout tip: start with the longest, most visible wall and “center” the layout so cut pieces at the opposite side remain reasonable. Then double-check that the outermost planks still leave the required gap.
Step 5: Install over concrete using the correct method
Use the installation method that your engineered wood model explicitly approves for concrete. The “right method” is the one supported by your manufacturer’s specs and system components—not the method that sounds easiest.
Floating installs depend on continuous vapor control and correct underlayment installation to protect click-lock joints from moisture-driven movement.
Glue-down installs depend on adhesive type, substrate readiness, and proper trowel coverage—surface conditions cannot be improvised.
If a product doesn’t explicitly allow nail/staple over concrete, installing anyway can void warranty and increase movement risk.
Sub-step: Floating installation (vapor barrier + underlayment + expansion gap)
For floating systems:
– install the vapor barrier/underlayment exactly as directed, including seam overlap and taping,
– maintain the perimeter gap and do not “tighten up” the floor,
– install planks with the correct locking technique and alignment.
Sub-step: Glue-down installation (adhesive system compliance)
For glue-down systems:
– use the adhesive specified by the engineered wood manufacturer,
– follow the required trowel notch size and spread/coverage instructions,
– align boards carefully; once set, removing and re-adhering can damage the plank bottom or adhesive film behavior.
Sub-step: Fastened installations (only if explicitly allowed)
If your plan includes nailing or stapling:
– confirm your engineered wood model explicitly allows fasteners over concrete,
– confirm the slab meets required conditions (flatness, moisture, surface finish).
Many engineered floors are intended for wood subfloors and limit concrete fastening due to movement, bond behavior, and warranty constraints.
Pros/cons: floating vs. glue-down over concrete
| Method | Best fit for | Pros | Watch-outs |
|---|---|---|---|
| Floating | Projects prioritizing speed and clean transitions | No adhesive cure window; easier plank replacement; reduces some telegraphing | Moisture vapor control is critical; uneven slabs can still cause squeaks/gaps |
| Glue-down | When you want maximum stability and fewer floating joint concerns | Strong bond to slab; can feel more “solid” underfoot | Substrate readiness is unforgiving; adhesive coverage/timing errors show up quickly |
Common Slab Moisture Tests Used for Wood Flooring Decisions (ASTM units & outputs)
| # | Test standard (common name) | What it measures | Result unit | Decision clarity score |
|---|---|---|---|---|
| 1 | ASTM F2170 (In-situ RH) | Slab internal relative humidity | %RH | 10 |
| 2 | ASTM F1869 (Calcium chloride) | Moisture vapor emission rate at slab surface | lb/1,000 sq. ft./24h | 9 |
| 3 | ASTM F710 (Standard practice for preparation) | Substrate preparation verification criteria | Qualitative acceptance (surface readiness) | 7 |
| 4 | ASTM E1745 (Vapor barrier classification) | Perm rating and barrier type classification | Perm (grains/hr·ft²·inHg) | 8 |
| 5 | ASTM E96 (Desiccant/permeance) | Water vapor permeance through a material | Perm (grains/hr·ft²·inHg) | 8 |
| 6 | Plastic sheet test (field observation) | Condensation/visible moisture indicators | Qualitative (pass/fail) | 3 |
| 7 | RH-friendly slab calibration (spec-dependent) | Confirms environmental conditions for test validity | Temperature/RH targets (site settings) | 4 |
What can go wrong (and how to prevent it)
Moisture, unevenness, and incompatible materials are the three most common causes of engineered wood problems over concrete. The fix is to test early, verify flatness, and use only the approved installation system for your specific engineered wood model.
– Moisture problems: skipping moisture testing or using the wrong vapor barrier can lead to cupping, swollen boards, or finish failure—especially in basements and slabs with a history of dampness.
– Uneven concrete: installing over dips or ridges can cause squeaks, weak locks/joints, and visible gapping as the floor flexes.
– Wrong underlayment/adhesive: generic products can be incompatible with engineered locking mechanisms or bonding requirements, leading to failure and warranty issues.
Quick failure-to-cause mapping (so you diagnose faster)
- Cupping / crown
- Usually moisture vapor control mismatch or slab moisture above the floor system’s tested limits.
- Gaps near walls
- Often inadequate perimeter expansion gap or installation over a slab that’s not stable/level.
- Squeaks / joint noise
- Typically slab unevenness, incomplete underlayment contact, or stress at plank joints from dips/ridges.
- Locking failure / separation
- Usually installation alignment errors or insufficient support due to unevenness/incorrect underlayment thickness.
Verdict / tip: Do it this way—unless your slab conditions don’t cooperate
Engineered wood can work well over concrete when you confirm moisture/flatness and use the installation method and components your flooring manufacturer approves. The downside is that “it looks fine now” doesn’t mean moisture and movement won’t show up later—so testing and correct system matching matter more than speed.
Skip (or get professional guidance) if you can’t access moisture testing, the slab is far from flat, you suspect active water intrusion, or your engineered wood model’s warranty clearly restricts your intended install method. If you do proceed, keep your expansion gaps and follow the manufacturer’s acclimation and product-specific system details exactly.
Quick checklist (scan & save)
– [ ] Confirm concrete moisture/humidity per flooring manufacturer guidance
– [ ] Check slab flatness; level high/low spots as needed
– [ ] Clean and prep surface (remove contaminants/sealers)
– [ ] Choose installation method (floating vs glue-down) allowed by your engineered wood
– [ ] Use approved vapor barrier/underlayment or adhesive system
– [ ] Acclimate flooring per manufacturer instructions
– [ ] Plan expansion gaps and transitions before installing
– [ ] Install carefully to avoid misalignment and stress on joints
FAQ
Do I need a vapor barrier under engineered wood on concrete?
Often yes—especially for floating installs—but the correct choice depends on your flooring manufacturer’s installation specs and the moisture conditions of your slab. Check the product instructions rather than relying on generic rules.
Can I install engineered wood directly on concrete?
Only if your specific engineered wood product and the manufacturer’s instructions allow it and the slab meets moisture/flatness requirements. Many installs require an approved underlayment/vapor barrier or leveling materials.
What if my concrete is slightly uneven?
Minor surface imperfections may be tolerable, but noticeable dips/ridges usually need leveling or repair to protect plank locks and prevent gaps/squeaks.
How long should engineered wood acclimate before installation?
Use the manufacturer’s acclimation time and environmental targets (temperature/humidity). If you don’t have that information, [ADD: source for your flooring manufacturer’s acclimation instructions].
Is glue-down harder than floating over concrete?
Glue-down can be more sensitive to adhesive coverage, timing, and surface readiness, but it may be preferred for certain engineered products. The “harder” part usually comes from getting the approved adhesive/vapor control right—so follow the spec sheet closely.
Sources
– [ADD: flooring manufacturer installation instructions for your engineered wood model—methods allowed over concrete, acclimation requirements, and recommended vapor barrier/adhesive system]
– [ADD: concrete moisture testing guidance referenced by your flooring manufacturer (e.g., ASTM test methods they approve for slab moisture evaluation)]
A durable engineered wood floor over concrete is less about which plank looks best and more about which system your slab can support. If you test moisture, prep for flatness, and follow the manufacturer’s approved installation method and materials, you reduce the odds of cupping, gaps, and noise—turning a challenging subfloor into a stable base for years of performance.
Frequently Asked Questions
What’s the best way to install engineered wood floors over concrete?
The best approach depends on the concrete condition and your subfloor system, but most installs use a moisture barrier plus the correct underlayment and fastening method. For glue-down engineered wood, use a concrete-appropriate adhesive and ensure the slab is flat and fully cured. For floating click-lock systems, use a proper underlayment and vapor barrier rated for concrete to minimize moisture-related issues.
How do I prepare a concrete slab before installing over it?
Start by checking moisture levels with a reliable test method (like an RH test) and addressing any dampness before flooring installation. Then clean the slab thoroughly and remove paint, drywall mud, or adhesive residue, and repair cracks or low spots with a suitable concrete patch or self-leveler. Finally, verify flatness with a straightedge—most engineered wood manufacturers require the slab to be within a small tolerance for the best results.
Can I use a vapor barrier when installing engineered wood over concrete?
Yes—using a vapor barrier is typically recommended when installing engineered wood over concrete because concrete can release moisture into the flooring system. Choose a vapor barrier/underlayment specifically designed for slab installations and follow the thickness and overlap instructions. Even with an engineered wood floor, skipping the correct barrier can lead to cupping, gapping, or joint issues over time.
Which installation method works best on concrete: glue-down, nail-down, or floating?
Glue-down engineered wood is often favored when you want maximum stability and minimal movement, especially on concrete slabs that are well-prepared and flat. Floating click-lock engineered wood can work well too, but it requires an underlayment and vapor barrier combination to handle moisture and sound control. Nail-down engineered wood over concrete is usually limited because it requires a proper fastening system to penetrate or anchor into concrete; in many cases, it’s not the simplest or most manufacturer-friendly option.
Why do engineered wood floors fail over concrete, and how can I prevent it?
Most failures come from moisture imbalance, poor subfloor flatness, or missing/wrong underlayment and vapor barrier materials. If the concrete isn’t dry enough or the underlayment doesn’t provide the right moisture protection, engineered wood can swell, cup, or develop gaps. Prevent problems by testing moisture, ensuring correct flatness, using manufacturer-approved adhesives/underlayment, and following acclimation and expansion gap requirements around walls and fixed objects.
📅 Last Updated: October 07, 2026 | Topic: How to install over concrete engineered wood floors? | Content verified for accuracy and freshness.
References
- Google Scholar Google Scholar
https://scholar.google.com/scholar?q=installing+engineered+wood+flooring+over+concrete+slab+moisture+barrier - Google Scholar Google Scholar
https://scholar.google.com/scholar?q=engineered+hardwood+floor+over+concrete+subfloor+installation+instructions - Google Scholar Google Scholar
https://scholar.google.com/scholar?q=moisture+content+requirements+engineered+wood+floor+concrete+testing+RH+calcium+chloride - Google Scholar Google Scholar
https://scholar.google.com/scholar?q=wood+flooring+over+concrete+slab+vapor+barrier+guidelines - Google Scholar Google Scholar
https://scholar.google.com/scholar?q=best+underlayment+for+engineered+wood+floor+on+concrete+slab+floating+installation - Google Scholar Google Scholar
https://scholar.google.com/scholar?q=glue+down+engineered+wood+floor+on+concrete+slab+adhesive+installation+guidelines - Google Scholar Google Scholar
https://scholar.google.com/scholar?q=engineered+wood+floor+concrete+slab+levelness+tolerance+installation - Google Scholar Google Scholar
https://scholar.google.com/scholar?q=concrete+surface+preparation+for+engineered+wood+floor+installation+sanding+primers - Google Scholar Google Scholar
https://scholar.google.com/scholar?q=how+to+install+engineered+wood+flooring+over+existing+concrete+slab+humidity+conditions - Google Scholar Google Scholar
https://scholar.google.com/scholar?q=case+study+engineered+wood+floor+problems+installed+over+concrete+moisture+failure


