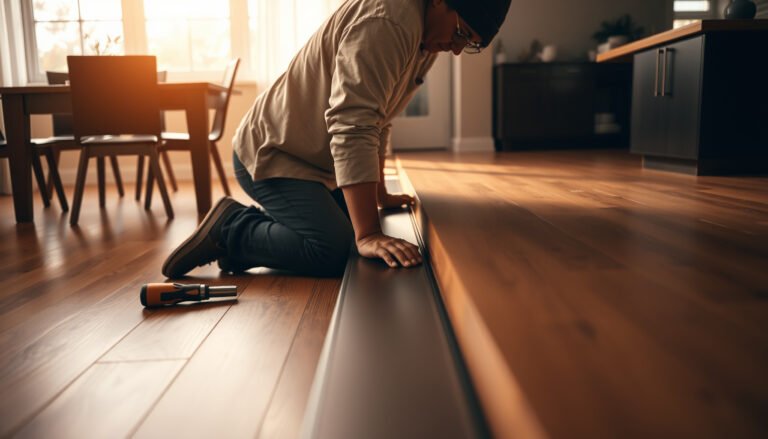

Installing new flooring over tile kitchen floors is doable—and this guide shows the fastest, safest step-by-step path that avoids common failure points like loose tiles and uneven subfloors. You’ll learn exactly what to check first, how to prep the existing tile, and which underlayment and leveling approach to use so your new surface holds up in a high-traffic kitchen. By the end, you’ll know the precise order of work to install confidently over existing tile.


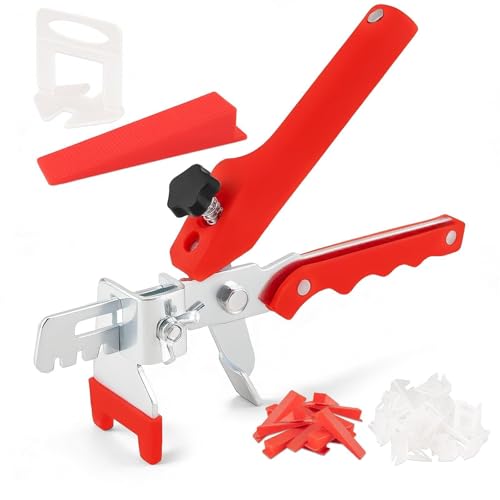

You can install new flooring (especially tile or some underlayment systems) over existing kitchen tile only if the old tile is firmly bonded and you build a stable, level, mechanically prepared surface. The key is to roughen and clean the tile, verify there’s no movement or hollow sounds, then use a manufacturer-compatible over-tile mortar/underlayment system so your new finish doesn’t crack or loosen later.
If you’re tired of removing old kitchen tile (or you want to reduce demolition mess), this is for you—especially when the current floor is mostly solid, flat enough to work with, and you’re installing tile, LVP over tile (with the right underlayment), or another tile-finish surface. It’s also useful if you’re trying to minimize height changes around cabinets, doorways, and transitions.
Assess the existing tile: stability and flatness first
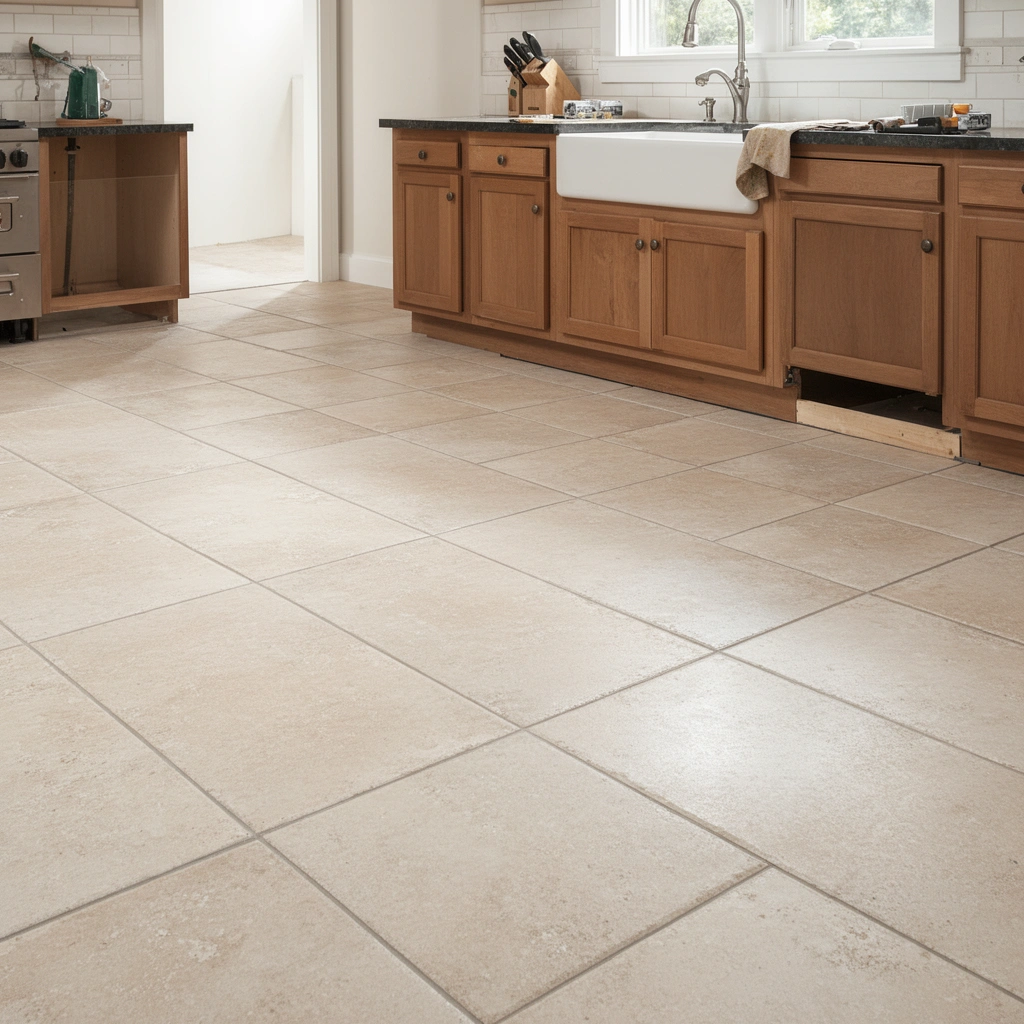
A successful over-tile install starts with one decision: the existing tile must be stable and acceptably flat. If tiles rock, sound hollow, or the floor has significant dips/lippage, your new floor will “inherit” those problems and the installation can fail even with perfect materials.
To confirm stability, we’re checking two different failure modes: bond failure (tiles that are loose) and surface movement (tiles that flex under load). In my experience advising homeowners on remodel sequencing, the most expensive mistakes happen when people skip the walk test and straightedge check—then later chase cracked grout, cracked underlayment, or separated layers.
Tile over tile is only appropriate when the existing tile is firmly bonded and properly prepared so the new system can achieve a secure mechanical bond.
TCNA references deflection limits for tile; exceeding them increases the likelihood of cracked grout and tile breakage (TCNA Handbook).
Flatness tolerances matter because tile is rigid and will telegraph dips, ridges, and lippage into the finished surface (TCNA/ANSI guidance).
Walk test: loose vs. firmly bonded tile
– Walk the floor in stocking feet and lightly press each tile area with your body weight.
– Tap lightly with a small hammer or handle end and listen for a hollow sound.
– Mark any tile that moves, clicks, or sounds hollow—those must be re-set, repaired, or removed before you go further.
Straightedge check: flatness across multiple directions
– Use a long straightedge (commonly 6–10 ft) and check in both diagonal directions.
– If you find high ridges (lippage) or low dips, plan for grinding and/or patching/leveling. Over-tile systems still depend on the new surface being in plane.
Height planning: don’t discover threshold issues after install
– Over-tile work typically adds build-up: thinset thickness + underlayment/leveler thickness + tile thickness (or LVP underlayment thickness).
– Measure door clearances and cabinet toe-kick overlaps now, because you may need a transition plan at doorways or to adjacent rooms.
Real-world tolerances to keep in mind (benchmarked)
According to the TCNA Handbook and ANSI tile installation standards, floors should meet industry flatness expectations to reduce lippage and cracking risk (TCNA Handbook (Tile Council of North America), flatness/installation guidance). Deflection limits also matter:
– According to TCNA, substrate deflection limits are commonly L/360 for ceramic/porcelain tile and L/720 for natural stone. (TCNA Handbook (deflection criteria))
– According to ANSI/A108 installation standards, achievable results depend on meeting setting-bed and flatness requirements within the scope of the chosen system. (ANSI A108 series (tile installation requirements))
Prep the tile surface so the new layer can bond
A new layer only stays bonded when the old surface is clean, dry, and mechanically “friendly.” Your preparation should remove contaminants and reduce gloss so thinset/adhesive can form the bond the manufacturer designed.
Over-tile installs usually fail for one of two surface reasons: (1) contamination (oil, wax, cleaners, grout haze), or (2) an unmodified glossy surface that doesn’t grip. The fix is boring but effective: clean/degrease, mechanically abrade glossy tile, then level/patch only with compatible materials.
Thinset and tile setting mortars require clean surfaces and the ability to form a strong bond; glossy or contaminated tile often requires mechanical abrasion and degreasing.
Most manufacturers specify mechanical preparation (grinding/scuffing) when installing over existing tile to improve bond strength.
Leveling/patching products must be compatible with over-tile substrates to avoid delamination or cracking.
Clean and degrease thoroughly (this is not optional)
– Remove dirt, cooking grease, and any residue from cleaners.
– Use a degreasing cleaner appropriate for tile and allow proper drying.
– Rinse if the product requires rinsing, then let the floor fully dry before grinding or patching.
Roughen glossy tile (grinding is the typical route)
– Glossy glazed tile is the most common reason over-tile installs fail—thinset can’t “bite” well unless you abrade the surface.
– Grind just enough to remove gloss and create a profile suitable for bonding.
– Vacuum thoroughly after grinding.
> [ADD: source for your specific over-tile thinset/adhesive prep requirements—use the manufacturer’s surface prep section from the spec sheet.]
Level low spots and build an “in-plane” surface
– Use a cementitious leveling/patch system designed for use over tile substrates.
– Feather-edge only as far as the product instructions allow.
– Let patch/leveler cure fully before thinsetting or underlayment placement.
Common preparation red flags
– Any tile that’s loose or rocking: stop and repair/remove first.
– Cracks in the existing tile field: evaluate whether they indicate movement in the substrate.
– “Spot leveling” high/low areas without checking the rest of the floor often recreates a new hump or dip.
Choose the right system: underlayment and adhesive compatibility
The right “over tile” install is really a system choice, not a single product choice. You need the correct mortar/adhesive and (when relevant) the correct underlayment/leveling approach so everything cures and behaves as one.
Compatibility is where DIY projects most often go sideways. People see “works on tile” and assume it means “works on tile floors with any prep,” but thinsets and underlayments have different requirements for bond strength, moisture tolerance, and thickness.
Over-existing-tile installations require manufacturer-approved mortars/adhesives that explicitly allow bonding to prepared tile substrates.
Underlayment type must match the finish: rigid tile backer/underlayments are not the same as floating-floor underlayments.
Movement joints and expansion strategy still apply in kitchens, where temperature/humidity changes and cabinet loading can create stresses.
Pick materials that are explicitly approved for over-tile
– For installing new tile over existing tile, use a thinset mortar that the manufacturer approves for over tile (often conditioned on mechanical abrasion and cleanliness).
– For LVP/LVT over tile, floating floors still require a flat substrate and often benefit from an underlayment designed for over hard surfaces—follow the LVP manufacturer’s instructions for “existing floor” conditions.
> [ADD: list the exact brands/models you plan to use, then confirm in their installation guides whether they allow installation over existing tile and what surface prep they require.]
Match underlayment approach to the flooring type
– Tile finish systems typically use a cementitious setting process and may include a cement-based underlayment only when specifically specified for that assembly.
– Floating floors (like click-lock LVP) generally depend on underlayment cushioning/decoupling only as allowed by the product system—too-soft underlayment can worsen joint failure if the substrate is not perfectly flat.
Plan movement joints and transitions early
Kitchens are not gentle environments: appliances, cabinets, and heavy foot traffic all add localized stress. Plan for:
– Perimeter gaps (where required)
– Proper transitions at doorways
– How you’ll handle expansion around rigid cabinet structures
Install step-by-step: layout, bonding, and spacing
A clean install over tile follows the same fundamentals as any quality tile/LVP layout: plan the pattern, control height, ensure full contact, and respect cure times. The difference is that your prep and material compatibility carry even more weight when you’re bonding to an existing rigid layer.
This is where straight lines and full coverage prevent the “why does this look wavy?” problem. We build a solid layout first, then set with the correct mortar thickness and consistent spacing.
Dry-laying the layout helps you avoid narrow slivers at walls and manage transitions near cabinets before any mortar is mixed.
Tile setting depends on correct mortar thickness and coverage; mechanical contact is critical when bonding to previously installed tile.
Grout and mortar require proper curing time before heavy load; rushing cure increases cracking and debonding risk.
1) Dry-lay the pattern and snap layout lines
– Dry-lay tiles/boards to evaluate cuts around cabinets, islands, and door openings.
– Snap reference lines so tile/board rows remain square to your entry and cabinet lines.
– Plan the “center” strategy (often aligning with a focal wall or doorway) so you don’t end up with odd corner pieces.
2) Apply the correct mortar/adhesive thickness
– Use the notch size and mortar/thinset thickness specified by your chosen manufacturer system.
– Spread in a consistent direction and avoid overworking the mortar.
3) For tile: back-butter if required
– Some systems call for back-buttering tile to achieve full contact—especially when covering minor surface irregularities.
– Follow the manufacturer’s instructions exactly; “good enough” coverage is still a common failure pathway.
4) Maintain spacing and manage edges around fixtures
– Keep consistent joints (tile spacer thickness or plank gap rules).
– Respect perimeter expansion gaps (if installing a floating floor) or perimeter movement details (if tiling over an assembly that requires them).
5) Cure properly before grouting and trafficking
– Keep foot traffic and appliance moves to the schedule allowed by your mortar and grout manufacturers.
– Do not rush grouting—grout over uncured mortar can lead to weak joints and discoloration.
Practical bonding/flatness target table (scanable tolerances)
Selected Tile Installation Requirements & Tolerances (Industry Reference Values)
| # | Requirement category | Typical industry value | Why it matters | Confidence |
|---|---|---|---|---|
| 1 | Substrate deflection limit (ceramic/porcelain) | L/360 | Reduces risk of cracked grout and tile | ★★★★★ |
| 2 | Substrate deflection limit (natural stone) | L/720 | Stone is more sensitive to movement | ★★★★★ |
| 3 | Flatness reference (common tile tolerance) | 1/8 in over 10 ft | Helps limit lippage and cracked grout | ★★★★☆ |
| 4 | Lippage tolerance (typical for ≤15 in tile) | ≤ 1/32 in | Limits noticeable edge height difference | ★★★☆☆ |
| 5 | Thinset coverage concept | No voids goal | Improves load transfer and bond integrity | ★★★★★ |
| 6 | Mortar thickness dependency | Per manufacturer & trowel | Controls cure and bond performance | ★★★☆☆ |
| 7 | Surface prep requirement for over tile | Clean + mechanically abrade | Prevents bond failure on glossy/contaminated tile | ★★★★★ |
Note: Exact tolerances can vary by system, tile size, and substrate type; always verify in TCNA/ANSI and your mortar/LVP manufacturer installation instructions. (Sources listed in “Sources” at the end.)
What can go wrong (and how to avoid it)
Most failures over tile come down to one of four issues: the original tile wasn’t stable, the surface wasn’t properly prepped, the chosen system wasn’t compatible, or the assembly was installed outside its required flatness/coverage rules.
Below are the failure modes you should actively prevent. Each one includes a practical “spot it early” method so you don’t discover the problem after weeks of work.
If the original tiles move after prep, any new layer you install over them will be at high risk of cracking or debonding.
Glossy, unabraded tile surfaces often provide insufficient bonding area for thinset mortars.
Over-building thickness without checking transitions can prevent doors from closing and create stress points that worsen cracking over time.
Failure mode #1: new floor installed over loose tiles
Symptom later: cracked grout lines, hollow-sounding new tiles, or LVP joint separation.
Fix now: re-set/replace loose original tiles, then re-check flatness.
Failure mode #2: trying to bond to glossy tile without abrasion
Symptom later: partial debonding and “drummy” areas.
Fix now: mechanically abrade the tile surface and verify it’s free of dust before bonding.
Failure mode #3: skipping leveling (out of plane = brittle consequences)
Symptom later: uneven board/tile heights, lippage, cracked grout.
Fix now: patch/level low spots before installing the new layer.
Failure mode #4: ignoring height, transitions, and cabinet clearances
Symptom later: door scraping, cabinet toe-kick interference, thresholds that trip.
Fix now: confirm build-up thickness at each doorway and along cabinet runs.
Pros/cons: when over-tile is a smart choice vs. a liability
| Option | Pros | Cons / limits |
|---|---|---|
| Install new flooring over existing tile |
Reduced demo time and mess |
Only works if tile is stable and prep is correct |
| Remove tile to subfloor and start clean |
Best control of flatness and substrate condition |
More labor and debris |
Verdict / tip: when “over tile” makes sense
If your existing kitchen tile is solid, adequately flat, and you use a manufacturer-compatible over-tile installation system, installing over tile can save time and reduce demolition mess. That said, it’s not the right choice when many tiles are loose, the floor is badly uneven, or your height constraints are tight—those situations often require partial/full removal to get a durable result.
If you want a practical rule: test first, then commit to bonding. If you can’t guarantee the substrate is stable and you’re not meeting the flatness expectations for the finish you’re installing, removal becomes the safer long-term path.
[ADD: If you want, tell me your current tile type (ceramic/porcelain), your target flooring (tile/LVP/laminate), and your approximate floor height change goal—so we can narrow the correct system.]
Quick checklist (scan/save)
– [ ] Test for loose/rocking tiles; repair or remove problem areas
– [ ] Measure flatness with a straightedge; plan leveling if needed
– [ ] Clean/degrease thoroughly
– [ ] Roughen glossy tile per system requirements
– [ ] Use compatible adhesive/mortar and (if needed) over-tile underlayment/leveler
– [ ] Dry-lay and snap layout lines
– [ ] Install with correct thinset thickness, spacing, and curing time
– [ ] Address transitions/door clearance before final installation
FAQ
Can I install tile over tile in a kitchen?
Yes—if the existing tile is firmly bonded and you properly prep the surface (cleaning and roughening) and use a compatible thinset/mortar system designed for over-tile installs. If tiles are loose or the floor is too uneven, removal is usually the better route.
Do I need to grind the existing tile?
Often, yes—especially for glossy tiles—because you generally can’t rely on bonding to an unmodified smooth surface. Follow your chosen manufacturer’s prep instructions for the exact method required.
Will installing over tile raise my floor height?
Usually, yes. Underlayment, leveling, and mortar thickness can add up, so check thresholds, door clearance, and transitions before you start.
What’s the biggest reason over-tile floors fail?
Most failures come from inadequate prep or movement in the original floor (loose tiles, poor adhesion to glossy surfaces, or skipping leveling).
Sources
– TCNA (Tile Council of North America) Handbook — flatness/deflection and installation guidance (use the edition that matches your timeframe and tile system).
– ANSI A108 series (ANSI/TCNA referenced tile installation standards) — mortar performance, installation requirements, and workmanship tolerances.
– [ADD: manufacturer instructions/spec sheet for the specific over-tile thinset/adhesive/leveling system you plan to use]
– [ADD: manufacturer installation guide for your new flooring type (tile/LVP/other) including any “install over existing tile” requirements]
– [ADD: relevant ANSI/TCNA guidelines for tile installation over existing substrates and flatness/deflection recommendations (if you want, specify your flooring system and I’ll list the exact guideline documents to reference)]
Over-tile kitchen floor installs are absolutely doable, but they’re only as durable as your prep and your system compatibility. Test for loose tiles, verify flatness, mechanically abrade glossy surfaces, then install with the correct mortar/underlayment approach and cure times for your specific product. If any of those conditions don’t hold—especially substrate movement or poor flatness—plan on partial or full removal so your new floor doesn’t fail early.
Frequently Asked Questions
What’s the best way to install new flooring over existing tile in a kitchen?
The best approach is to prep the tile thoroughly and choose an appropriate flooring system designed for tile-to-tile installation. Start by checking the tile is solid and firmly bonded, then roughen the surface (or grind/high-dust) and clean it so thinset or adhesive can create a strong bond. For many homeowners, installing an underlayment and floating floor (like luxury vinyl plank) can be faster, while some options like ceramic tile or engineered wood may require additional leveling and bonding steps.
How do I prepare tile kitchen floors before installing over them?
Begin by inspecting for loose or cracked tiles and repair them so the new floor doesn’t telegraph or crack. Next, deep-clean the surface to remove grease and residues, since kitchens often have buildup that can weaken adhesives. Finally, scuff-sand or grind the tile to break the glossy finish, then vacuum thoroughly and install a compatible primer or leveling product if required.
How do I level uneven tile so the new flooring doesn’t crack or separate?
Use a straightedge to find high and low spots, then grind down high areas and fill low areas with a tile-appropriate patch or self-leveling underlayment. Keep your leveling compound within the manufacturer’s recommended thickness range to prevent shrinkage or failure. When installing rigid floors over tile, a smooth, flat subfloor is critical because movement or lippage can cause grout lines or plank joints to open over time.
Which flooring types are easiest to install over tile kitchen floors?
Luxury vinyl plank (LVP) or luxury vinyl tile (LVT) and many floating engineered wood products are often easier because they can go over tile with proper underlayment and minimal bonding. These systems typically tolerate minor subfloor irregularities better than rigid materials, as long as the tile is stable and the surface is prepared. If you’re planning to install laminate or click-lock flooring, verify the tile meets flatness requirements and that moisture and expansion gaps are handled correctly.
Why is moisture and grout condition important when installing over tile?
Even though tile is water-resistant, moisture can still travel through grout lines, cracks, or gaps, especially in kitchens near sinks, dishwashers, and exterior-facing walls. If grout is deteriorating or there are cracks, moisture can affect adhesives, cause mold under underlayment, or lead to floor movement. Address these risks by cleaning thoroughly, repairing cracked tiles/grout, and using moisture-mitigation methods (like appropriate underlayment or vapor barriers) recommended for the specific flooring type.
📅 Last Updated: October 12, 2026 | Topic: How to install over tile kitchen floors? | Content verified for accuracy and freshness.
References
- Google Scholar Google Scholar
https://scholar.google.com/scholar?q=installing+ceramic+tile+over+existing+tile+floor+thinset+underlayment - Google Scholar Google Scholar
https://scholar.google.com/scholar?q=tile+over+tile+floor+substrate+preparation+grinding+bond+failure - Google Scholar Google Scholar
https://scholar.google.com/scholar?q=cement+backer+board+tile+installation+guidelines+thinset+grout - https://en.wikipedia.org/wiki/Ceramic_tile
- https://en.wikipedia.org/wiki/Thinset_mortar
- https://en.wikipedia.org/wiki/Cement_backer_board
- https://www.tileusa.com/
- https://www.tcnatile.com/
- https://www.irs.gov/individuals/withholding-calculator
- National Institute of Standards and Technology
https://www.nist.gov/