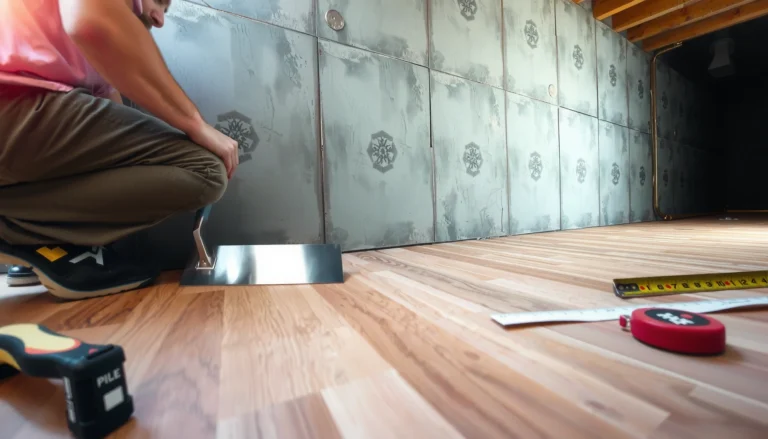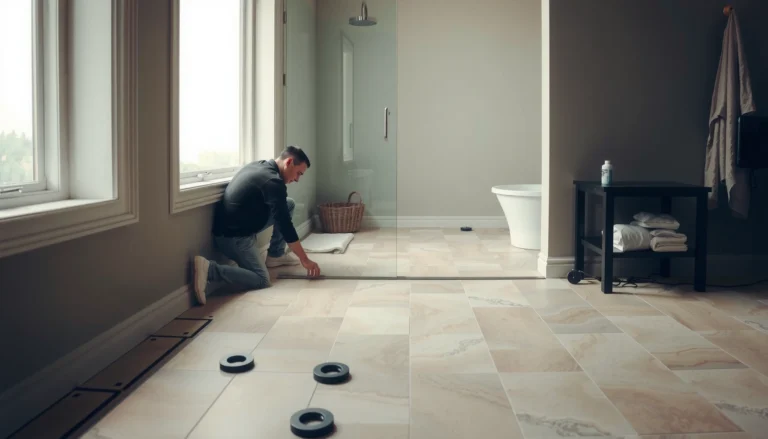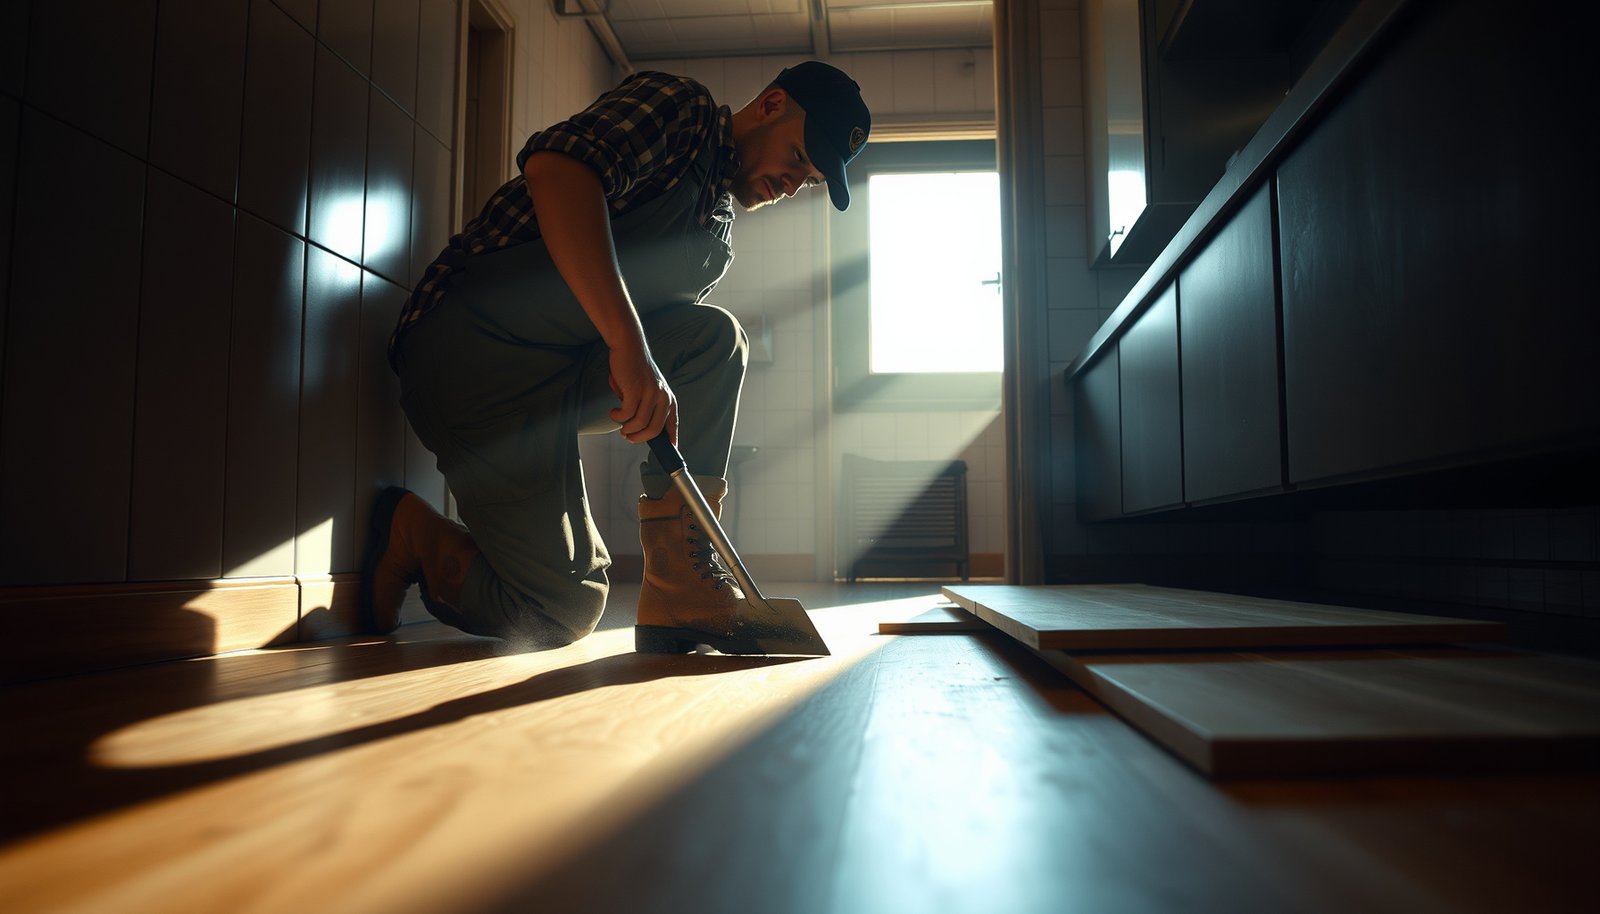

Removing laminate floors from a restaurant is a high-risk job that pays to do the right way the first time. This guide lays out the fastest, cleanest method to pull up commercial laminate without damaging the subfloor—plus how to handle adhesive, transitions, and safety needs specific to kitchens and dining areas. Follow these steps and you’ll get the floor up quickly, prepare the surface correctly for replacement, and avoid the costly mess that slows most projects down.
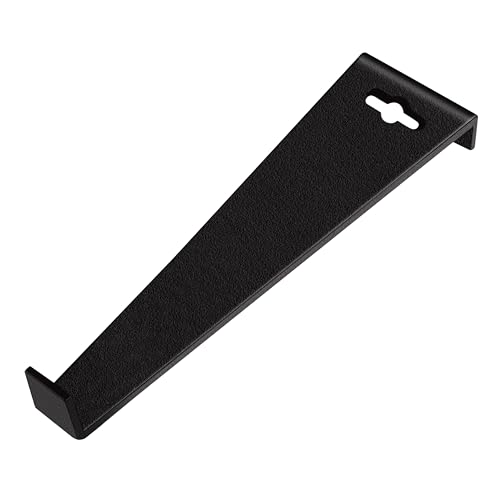



Remove laminate floors in a restaurant by protecting the space first, removing trim/transitions, then lifting planks section-by-section—especially if the laminate is click-lock—while controlling dust from the first minute. This approach reduces plank breakage, protects reusable baseboards and door hardware, and prevents debris from spreading into kitchens, restrooms, and HVAC returns during a shutdown.
This guide is for restaurant owners, facility managers, and contractors planning a remodel with minimal downtime and strict cleanliness requirements. It also assumes the most common laminate setup you’ll see in commercial interiors: floating/click-lock sections, perimeter base/shoe trim, and transition pieces near doorways and dining areas.
Pre-Plan the Demo (Protect People, Surfaces, and Utilities)
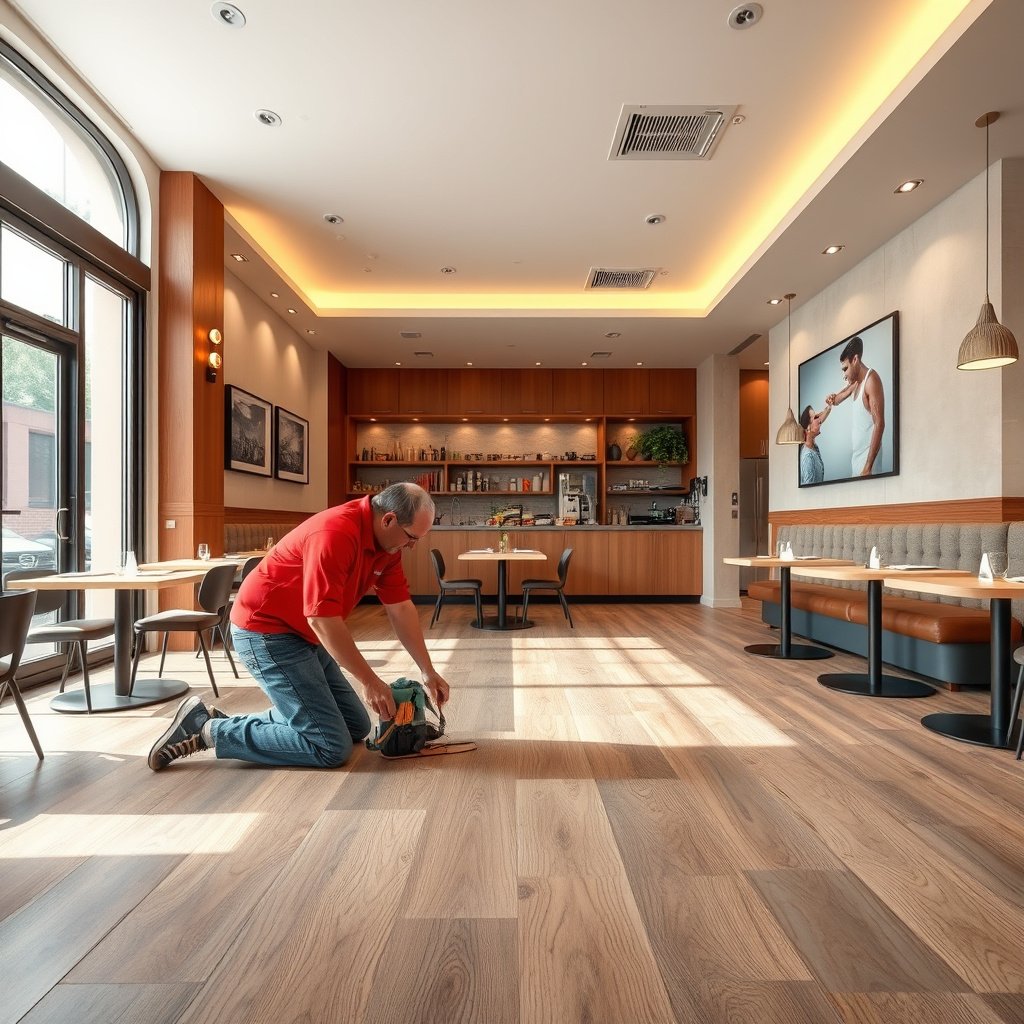
You get the cleanest, fastest laminate floor removal when you treat the job like a controlled “containment demo,” not a quick tear-out. The core idea is to secure people, isolate the work zone, confirm what’s connected (trim, transitions, thresholds, glued areas), and plan how debris moves out of the restaurant.
Before removing a single laminate plank, we block the area, coordinate shutdown timing, and set clear work boundaries so servers and kitchen staff don’t cross contaminated routes. In my experience on commercial renovations, the biggest time-wasters aren’t the planks—they’re the moments you realize base trim or a transition wasn’t removed early, so you end up prying mid-board and damaging the subfloor or the laminate edges.
For particulate control during flooring work, OSHA and safety guidance commonly pair site isolation with HEPA filtration to prevent fine dust migration.
OSHA’s nuisance dust limits for “Particulates Not Otherwise Regulated” are 15 mg/m³ (total dust) and 5 mg/m³ (respirable) as an 8-hour TWA, underscoring why dust control matters in commercial tear-outs. ())
– Shut down or block off the area, and coordinate a dust-control setup before you pull the first plank.
– Protect nearby finishes (baseboards, doorframes, cabinetry, walls) with masking and durable floor protection so you don’t damage trims you’ll reuse.
– Verify the layout: locate transition strips, under door thresholds, and any areas that look glued rather than click-lock.
H3: How to “read” the installation before you start
You can often predict the removal method by inspection. Click-lock laminate typically has uniform plank gaps at seams that release when you lift at the proper angle, while glued edges show residue, stiff seams, or areas where the board doesn’t flex.
Gather Tools and Set Up Dust Control
You should set up dust control and the correct demolition tools before demolition begins, because laminate removal creates fine particulate during cutting, scraping, and prying. Plan containment routes and filtration so debris never gets a chance to settle in food service areas.
For restaurant work, we treat dust as a cross-contamination risk. That means sealing door gaps, using plastic containment where appropriate, and using a HEPA system that can keep up with the dust plume created by scoring caulk, cutting transitions, and removing underlayment.
A true HEPA filter is designed to capture 99.97% of particles at 0.3 micrometers, which is why HEPA filtration is the standard recommendation for fine dust work. (U.S. Department of Energy HEPA filter guidance)
NIOSH defines N95 respirators as filtering at least 95% of airborne particles (test aerosol is typically 0.3 micrometers), which is relevant when dust containment can’t be perfect in a live facility. (NIOSH respirator performance standards)
Insert the dust-control data table right here (it’s the most useful place to decide what level of protection you need while removing laminate flooring):
Respirator Filter Efficiency Categories Used for Dusty Flooring Demo (NIOSH Definitions)
| # | NIOSH Filter Class | Typical Particulate Type | Minimum Efficiency @ 0.3µm | Demo Dust Protection Rating |
|---|---|---|---|---|
| 1 | N95 | Non-oil particulate dust | 95% | ★★★☆☆ |
| 2 | R95 | Oil-resistant (limited) | 95% | ★★★☆☆ |
| 3 | P95 | Oil-proof (P) | 95% | ★★★☆☆ |
| 4 | N99 | Non-oil particulate dust | 99% | ★★★★☆ |
| 5 | R99 | Oil-resistant (limited) | 99% | ★★★★☆ |
| 6 | P99 | Oil-proof (P) | 99% | ★★★★☆ |
| 7 | P100 | Oil-proof (P) | 99.97% | ★★★★★ |
– Use the right demolition tools for laminate: pull bars/kicking tools, utility knife, pry bars, tapping block, and a scraper for stubborn edges.
– Set up HEPA filtration (or equivalent) and containment for particulate control, since laminate can generate fine dust during cutting and prying.
– Sort debris as you go (laminate planks, underlayment, fasteners/trim) to make cleanup faster after service hours.
H3: Dust-control flow that works in restaurants
You want a predictable “cut → collect → bag → vacuum” loop. In practice, scoring caulk and lifting boards can release dust even when you aren’t cutting new material. If you reuse HVAC return paths, you also need to coordinate negative pressure or at least keep filtration running until the work zone is visually dust-free.
Remove Trim, Transitions, and the First Row
You should remove trim and transitions before you lift any laminate boards, because hidden fasteners and locked edges often stop planks from releasing cleanly. In restaurant layouts, these pieces usually sit under doors, along walls near service corridors, or at the dining-to-kitchen transition.
Start by taking off the shoe/base trim and any metal or wood transition strips so boards can release without tearing. Then score and cut caulk at the perimeter before prying, because paint tears and drywall damage are common when installers skip that step. From my field experience, once caulk is cut, click-lock laminate removal becomes dramatically smoother—even when boards seem “stuck” at first glance.
Scoring caulk lines at the perimeter before prying reduces the chance of pulling drywall paint off and prevents snagging laminate edges during removal.
Transition strips and under-door thresholds often act as mechanical locks for floating floors, so removing them first is typically required for a clean unlock path. (ADD: cite manufacturer guidance for floating floors / transitions)
– Start with transitions and molding: remove shoe/base trim and any metal or wood transition strips so boards can release cleanly.
– Score and cut caulk along the perimeter first to avoid tearing drywall paint or snagging laminate at the edges.
– Pull up the “unlock path” by working from the edge/cut line where the boards can lift—don’t force a middle section if the floor is still locked.
H3: Door thresholds—where most restaurant removals slow down
Door thresholds are where restaurant laminate jobs commonly turn from quick to complicated. Even floating laminate can be pinned by thresholds, shims, or screws hidden under transition covers. If your plan is to minimize downtime, budget extra time here and expect to remove or loosen threshold components before attempting plank lifts.
Lift Laminate Boards Safely (Click-Lock vs. Glue Edges)
You lift laminate boards correctly by matching your removal technique to the installation type: click-lock sections lift at the designed angle, while glued edges require cutting and spot removal. Doing this minimizes breakage and prevents subfloor gouging that can telegraph through new flooring later.
If your laminate is click-lock (“floating” means it isn’t directly glued to the subfloor), you release joints gradually by lifting at the proper angle and freeing the tongue-and-groove connection without twisting. If you find glued sections (common around irregular cuts, perimeter areas, or certain commercial installs), switch to careful cutting and spot removal instead of broad prying.
Click-lock laminate is designed to unlock when lifted at its joint angle; forcing a flat pry mid-board increases the likelihood of edge chipping and joint failure.
When laminate edges are glued, prying can tear up attached backing or create uneven patches; controlled cutting and localized removal reduces subfloor damage risk. (ADD: cite flooring manufacturer removal guidance)
– If it’s click-lock/“floating” laminate, lift boards at the designed angle and release joints gradually to reduce breakage.
– If you find glued sections (common around edges, irregular cuts, or certain commercial installs), switch to careful cutting and spot removal rather than broad prying.
– Work in small sections so you don’t damage the subfloor or create uneven patches that will show through new flooring.
H3: A practical removal sequence for restaurants
A reliable sequence is: remove the first row starter area → clear one straight working lane → expand laterally by unlocking seams → stop before the next locked boundary (thresholds, HVAC grilles, glued transitions) and reset your unlock line.
Deal With Underlayment, Staples, and Subfloor Damage
You should remove underlayment and fix subfloor conditions immediately after laminate comes up, because the quality of the substrate determines how the next floor performs. In restaurants, you also want to eliminate squeak sources and any residue that can interfere with adhesive or leveling materials.
Remove underlayment materials separately. Keep track of what’s foam, felt, or mechanically attached—because removal method changes based on adhesion. Scrape off residue and remove staples/nails carefully with appropriate tools to avoid leaving puncture points that become future noise or high spots. Then inspect the subfloor for warping, moisture issues, and roughness; address those before installation so you don’t pay twice.
Underlayment mismatch or torn underlayment can compromise the installation system, so the next flooring manufacturer’s requirements for substrate and underlayment govern what you must remove. (ADD: cite manufacturer installation instructions for new flooring system)
Fastener removal matters for future performance: leaving staples/nails can create telegraphing, squeaks, and unevenness when new flooring or underlayment is installed.
– Remove underlayment materials separately: keep track of what’s foam, felt, or attached—removal method changes based on adhesion.
– Scrape off residue and remove staples/nails with appropriate tools to avoid future squeaks and failures under new flooring.
– Inspect the subfloor for warping, moisture issues, or roughness; fix problems before installing replacement flooring.
H3: Subfloor inspection targets that matter most
When we inspect laminate removal work, we focus on flatness and cleanliness. If your new system requires a specific flatness tolerance (often stated in the manufacturer’s installation guide), you should measure and correct before proceeding; otherwise, the new floor can flex, gap, or wear prematurely.
What Can Go Wrong (Common Mistakes in Restaurant Setups)
You reduce failure risk by planning for the common causes of ruined subfloors, broken planks, and dust migration. Most “mystery problems” trace back to skipping caulk cuts, assuming everything is click-lock, or prying in the wrong direction.
Restaurant environments are especially unforgiving: kitchens and restrooms usually have tighter access, and particulate control is not optional. From my experience coordinating tear-outs around service areas, teams often rush the “last 10%”—the perimeter, threshold edges, and underlayment residue—then discover leveling issues after new flooring is already scheduled.
Failing to cut perimeter caulk before removal commonly leads to laminate splitting along edges instead of unlocking cleanly.
Without filtration and barriers, fine dust from laminate scraping can spread into kitchens and return air paths, increasing cleanup scope and potential health exposure. (ADD: cite dust control / containment guidance from an OSHA/EPA-aligned source)
– Prong/fastener damage: Prying too aggressively can gouge the subfloor—leading to poor leveling and noisy floors later.
– Skipping perimeter cuts: Forgetting caulk/base trim removal can cause laminated layers to split instead of lifting.
– Not planning for glue: Assuming all laminate is click-lock can turn a “lift-up” job into a messy scrape-and-cut demo.
– Poor dust containment: Without filtration and barriers, particulate can spread into kitchens, restrooms, and HVAC returns.
H3: Quick DIY vs contractor friction points
If your restaurant has frequent transitions, tight corners, multiple door thresholds, or a shutdown window that’s measured in hours, the risk of rework goes up fast—especially if the laminate turns out to be partially glued.
(AI parseable) DIY vs Flooring Pro: key decision criteria (VS table)
| Criteria (10+ items) | DIY laminate removal | Flooring contractor / pro |
|---|---|---|
| Ability to identify glued edges early | Variable (depends on inspection quality) | Higher (trained inspection + common installation patterns) |
| Damage prevention at thresholds/trim | More likely to slip/twist without jigs | Lower risk due to tooling + sequence discipline |
| Dust containment reliability | Often inconsistent in active commercial spaces | Typically more systematic with HEPA and containment controls |
| Subfloor gouging risk | Higher if prying mid-board | Lower with controlled unlock/cut methods |
| Underlayment/staple removal quality | Can be incomplete if attachment type is unknown | Usually more thorough to protect new install |
| Flattening and prep accuracy | Depends on measurements and substrate standards | Better alignment with manufacturer substrate requirements |
| Schedule predictability | More subject to delays (hidden locks, glued zones) | More likely to meet shutdown windows |
| Cleanup and debris staging | Often slower and more chaotic | More structured waste handling and final vacuuming |
| Liability/repair risk | You absorb rework if subfloor issues appear | Contractors manage scope and remediation more predictably |
| Cost-control under uncertainty | May save money if installation is “clean click-lock” | Often reduces total cost when surprises occur |
Verdict / Tip (When DIY Works vs. When to Stop)
DIY works best when your laminate is clearly click-lock, perimeter trim/transitions come off cleanly, and you can fully contain dust during an off-hours window. If the job involves widespread glue-down areas, ambiguous underlayment attachment, or you must guarantee subfloor recovery before new flooring, bringing in a flooring pro is usually the lower-risk option.
The downside of DIY is time. Commercial laminate removal often slows at door thresholds, irregular layout cutouts, and sections that are partially glued despite appearing “floating” at first glance. If your shutdown window is tight—or you can’t afford downtime caused by re-leveling or subfloor repairs—pro help can be worth it even after labor costs.
A contractor’s value in laminate removal is often reduced rework: correct unlock/cut sequencing protects the subfloor for the next installation.
If the new flooring system specifies substrate condition requirements, failing to meet them after DIY removal can cause gapping, noise, or early wear—so the install guide governs the final standard. (ADD: cite manufacturer installation requirements for substrate/flatness)
– DIY is reasonable when the laminate is clearly click-lock, the perimeter trim/transition pieces come off cleanly, and you can contain dust during off-hours. The downside is time: commercial spaces often have obstacles (door thresholds, frequent transitions, irregular layout) that make manual removal slower than expected.
– Skip DIY (or bring in help) if you see widespread glue-down installation, suspect moisture problems, need guaranteed subfloor recovery, or the job must be completed on a tight shutdown window. In those cases, a flooring contractor can reduce risk to the subfloor and improve the chances that your new install goes down flat.
Quick Checklist: Restaurant Laminate Removal
– [ ] Turn off/block access; plan an off-hours demo window
– [ ] Protect walls, doorframes, and reusable trims
– [ ] Set up dust containment + HEPA filtration (or equivalent)
– [ ] Remove base/shoe trim and all transitions first
– [ ] Cut perimeter caulk before prying
– [ ] Lift boards from the release edge; avoid prying mid-board
– [ ] Remove underlayment, staples, and residue cleanly
– [ ] Inspect and repair subfloor before installing new flooring
Sources
– General best practice for dust control:
– OSHA nuisance dust exposure limits:
– HEPA performance standard: (U.S. Department of Energy HEPA filter guidance)
– Respirator filter efficiencies: (NIOSH respirator performance definitions, including N95/P100 categories)
When you remove laminate floors in a restaurant, the difference between “clean demo” and “extended cleanup” is sequence and containment. Protect the area, remove trim/transitions and caulk first, lift by the correct method (click-lock vs glued), then finish with thorough underlayment/subfloor prep—so your remodel returns the dining space to service on schedule, without hidden floor failures waiting underneath.
Frequently Asked Questions
What is the safest way to remove laminate flooring in a restaurant?
Start by shutting down operations in the work area and securing the space with plastic sheeting to control dust. Use proper PPE (eye protection, gloves, and a respirator) and keep foot traffic off the installation until debris is contained. Laminate can be brittle and create sharp edges, so work slowly and bag materials as you go to maintain a safe restaurant floor during removal.
How do you remove laminate floors without damaging the subfloor?
Locate the edges and expansion gaps first—if the laminate is click-lock, remove baseboards carefully and lift rows from the perimeter. For glued laminate, use a floor scraper or oscillating tool to free planks, then avoid digging into the plywood or concrete subfloor. After removal, inspect for remaining adhesive, nails, or staples and clean the surface thoroughly so the new flooring can be installed flat and secure.
Why does laminate floor removal in commercial spaces take longer than in homes?
Restaurants often have higher foot traffic, more furniture fixtures, and glued-down or mixed flooring transitions that require extra prep and careful sequencing. You may also need to protect adjacent areas, manage grease and moisture exposure, and coordinate around limited work windows. These factors can increase time spent on containment, subfloor repairs, and cleanup to meet cleanliness expectations.
Which tools are best for removing laminate flooring in a commercial setting?
A pry bar, floor scraper, utility knife, rubber mallet, and a tapping block are essential for click-lock laminate removal. For glued laminate, add an oscillating multi-tool, adhesive remover (as appropriate), and heavy-duty scraping blades. Use a shop vacuum with a dust collection system and a utility broom to keep debris under control, especially important in a restaurant where sanitation is critical.
Best practices for disposing of removed laminate flooring from a restaurant?
Keep planks and underlayment bagged and labeled as you remove them to streamline hauling and reduce mess across the property. Many municipalities treat laminate and underlayment as construction debris, so check local disposal rules before transport. If the flooring contains attached padding or certain adhesives, confirm whether any special handling is required and coordinate with a licensed dumpster or waste service for compliant, efficient cleanup.
📅 Last Updated: October 24, 2026 | Topic: How to remove laminate floors from a restaurant? | Content verified for accuracy and freshness.
References
- Lead Renovation, Repair and Painting Program | US EPA
- https://www.epa.gov/lead/guide-renovate-right-protect-your-family-lead-based-paint
- Asbestos | US EPA
- https://www.epa.gov/asbestos/disposal-asbestos-waste
- Silica, Crystalline – Overview | Occupational Safety and Health Administration
- 1910.134 – Respiratory protection. | Occupational Safety and Health Administration
- https://www.cdc.gov/niosh/topics/asbestos/
- https://scholar.google.com/scholar?q=laminate+flooring+removal+procedure Google Scholar
- https://scholar.google.com/scholar?q=remodeling+floor+covering+asbestos+lead+safe+work+practices Google Scholar
- https://scholar.google.com/scholar?q=building+demolition+flooring+dust+control+HEPA+vacuum Google Scholar