
Learn how to level laminate floors before installing a basement so the subfloor stays flat, stable, and squeak-free. Start by correcting any low spots and high ridges with the right prep compound and careful measuring, because basement moisture and uneven concrete magnify installation problems. If you follow the leveling steps in the correct order, your laminate will lock cleanly and hold its finish through seasonal changes.




Level your laminate basement floor by measuring flatness (highs and lows) and correcting them before any planks are installed. Start by mapping the slab with a straightedge—basements are where moisture and uneven concrete usually show up first—then finish by verifying moisture conditions and installing the correct vapor barrier/underlayment system.
If you’re installing laminate in an existing basement (or finishing a basement space) and your concrete or subfloor has dips or ridges, this guide is for you. It’s especially useful when you need a straightforward plan for getting a flat surface without turning the project into a full demo.
Assess flatness and moisture first

Start by confirming both flatness and moisture, because laminate performance depends on the slab being stable and not actively pushing water vapor upward. If you skip moisture evaluation, even the best patch or self-leveling underlayment can fail early in a basement laminate floor.
A 6 ft (1.8 m) straightedge is a practical starting point for finding laminate-relevant highs and lows across a room.
ASTM E1155 describes standardized methods for measuring floor flatness—so you’re not guessing based on “looks level.”
Laminate flooring failures in basements are commonly driven by moisture movement, not just surface irregularities.
Map flatness with a straightedge (and keep it consistent)
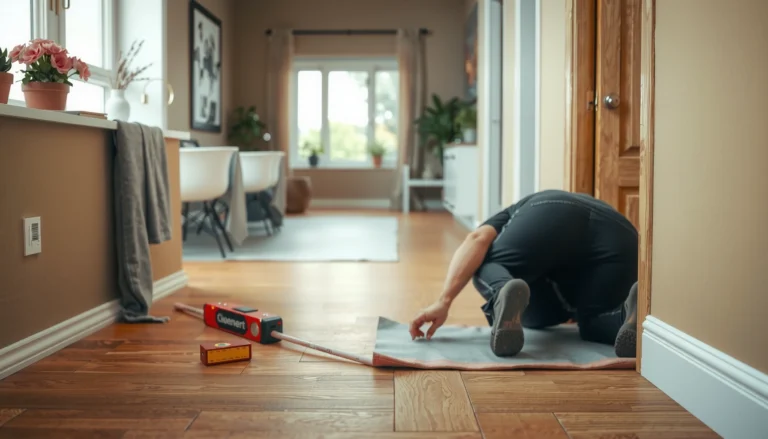
A flat laminate basement floor starts with measurement, not sanding or filling by instinct. Use a long straightedge—commonly 6 ft / 1.8 m—then place it in multiple directions (lengthwise, across doorway runs, and along the main walking path). The goal is to identify:
– High ridges (straightedge touches first, you can feel/see daylight at edges)
– Low dips (you can slide a feeler gauge into the gap)
– Waves (repeating up/down patterns that indicate a larger substrate issue)
If you’re dealing with concrete, remember that grinder marks, form lines, and trowel ridges can all create “micro-highs” that later show up as joint stress.
Use moisture checks before you level anything
Correcting the floor surface without addressing moisture is a common way to waste labor. Concrete can transmit moisture vapor even when the basement feels “dry,” and many leveling materials rely on proper bonding to perform well.
According to ASTM F2170, the in-slab relative humidity (RH) probe method measures moisture conditions within the concrete, rather than guessing from surface feel. ASTM F2170
That matters because primers, patch systems, and self-leveling underlayments are typically designed for specific moisture conditions and approved moisture-control strategies.
Also, according to ASTM E1155, floor flatness is measured by profile deviation methods rather than by subjective visual inspection. ASTM E1155
Basement Laminate: Flatness & Moisture Verification Options (Standards-Based)
| # | Method | Standard | What it measures | Typical setup detail | How it helps leveling | Value for laminate basement |
|---|---|---|---|---|---|---|
| 1 | 6 ft straightedge mapping | Best practice | Surface highs/lows profile | 6 ft (1.8 m) spans across room directions | Decides patch vs grind vs SLU | ★★★★★ |
| 2 | Flatness measurement (FF/FL/FT) | ASTM E1155 | Quantified flatness deviations | 10 ft (3 m) profile length is commonly referenced | Lets you compare to manufacturer tolerance | ★★★★☆ |
| 3 | In-slab RH probes | ASTM F2170 | Concrete moisture via RH % | Measures moisture inside the slab | Guides whether vapor control is enough | ★★★★★ |
| 4 | Calcium chloride moisture test | ASTM F1869 | Moisture vapor emissions (MVER) | Quantifies vapor emission rate | Supports moisture mitigation decisions | ★★★★☆ |
| 5 | Pinless concrete moisture meter | Tool-based indicator | Moisture condition estimate | Reads near-surface electrical/MT signal | Good for screening, not final tolerance | ★★★☆☆ |
| 6 | Relative humidity control plan | Manufacturer system | Vapor barrier + underlayment performance | Installed per laminate/underlayment instructions | Prevents moisture-driven failures | ★★★★☆ |
| 7 | Surface prep verification (vacuum + scrape) | Jobsite best practice | Dust/loose material removal quality | Ensures underlayment contact and bond | Improves patch/SLU performance | ★★★★☆ |
Identify the problem: low spots vs. high spots
Low spots and high ridges require different fixes, so the right leveling method depends on what your straightedge actually finds. In a laminate basement floor, “overbuilding” to cancel out highs can create new problems, including seam separation and hollow-sounding planks.
High ridges generally need removal (grinding/sanding) so you don’t create a stepped buildup that stresses laminate joints.
Low dips are where patch compound or self-leveling underlayment (SLU) works best—provided the substrate is properly prepared and primed.
If you see widespread waves across the room, a broader leveling plan usually outperforms “spot-fixing.”
High ridges: correct them mechanically
High ridges don’t behave like removable roughness; they often act like a lever point under laminate. Instead of trying to “balance” ridges by adding compound, remove the high spots to restore flatness. Depending on the surface:
– Concrete high spots: mechanical grinding is usually preferred over filling
– Wood subfloor highs: careful sanding may be needed, but you must keep the surface within acceptable thickness/surface condition for the underlayment system
When I plan laminate basement floor prep, I treat “fixing highs” as the first priority because it prevents runaway thickness buildup.
Low dips: fill and feather appropriately
Low areas can often be corrected with one of two categories:
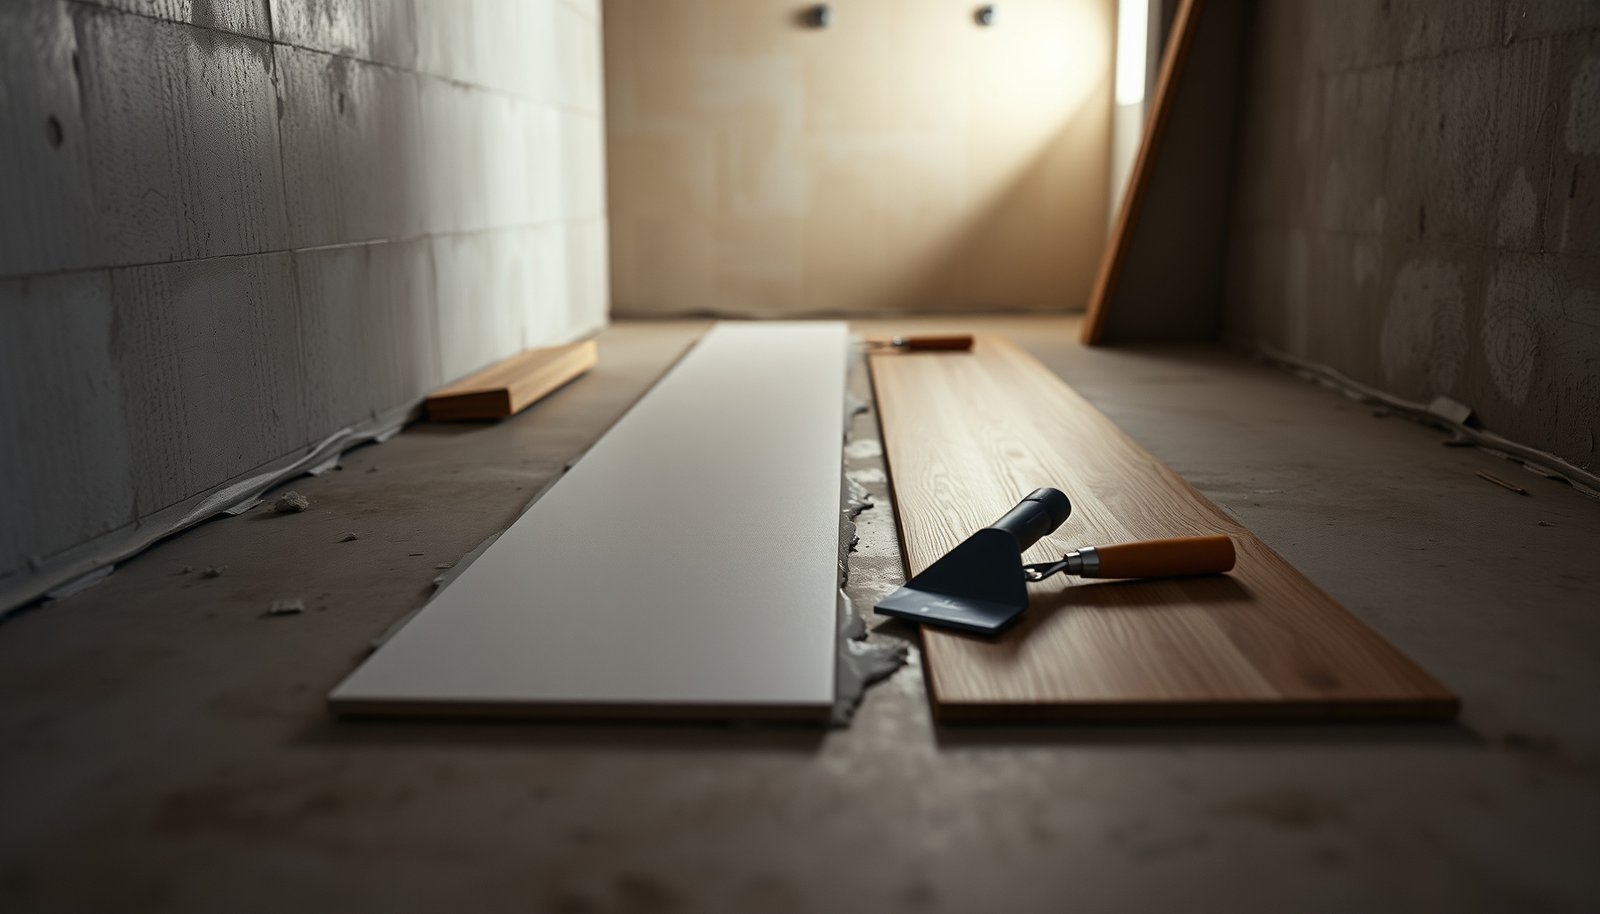
– Feather-fill patch compound for isolated dips (the edges taper gradually)
– Self-leveling underlayment (SLU) for multiple lows or broader areas
Mark dip depths and measure again after the first pass. That way, you avoid the two common failure modes:
1) underfilling (you leave a low, causing the plank to flex), and
2) overfilling (you create a new bump that telegraphs through the laminate).
Decide if it’s a spot issue or a system issue
If your straightedge shows a few localized deviations, spot correction is usually manageable. If you see repeating waves, plan for a more comprehensive leveling approach—especially if you’re already seeing baseboard, door trim, and stair transitions getting tight. Basements in 2026 are often finished with more stringent tolerance expectations because flooring systems are installed closer to doors and built-ins than in earlier renovations.
Choose the right leveling method for laminate
Choose patch/feather-fill for isolated lows and SLU for broader unevenness—this keeps laminate basement floors within the installation tolerance the manufacturer specifies. The “right” product isn’t universal; it’s tied to your substrate (concrete vs. plywood), thickness needs, and the moisture-control system you’re using.
Feather-finish patch compounds are designed to taper at edges to avoid steps that can telegraph through laminate.
Self-leveling underlayment systems require the specified primer for proper bonding to the slab.
Laminate flooring depends on measurable flatness; a leveling product that cures outside its stated time can soften, shrink, or dust.
Patch/feather-finish vs. SLU: a practical comparison
Below is the decision logic that helps avoid the most common laminate basement floor mistakes (wrong material for the scale of the problem).
| Choice | Best for | Why it works | Main risk if misused |
|---|---|---|---|
| Feather-finish patch | Small low spots and transitions | You can taper edges to prevent steps | Leaving a broader wave uncorrected |
| Self-leveling underlayment (SLU) | Multiple dips or wide uneven areas | Creates a smoother plane across larger sections | Bond failure without correct primer or thickness |
Follow thickness ranges and cure times exactly
Even experienced DIYers often lose points here. SLU and patch systems are formulated to work within specific thickness windows—outside those ranges, performance can change. Similarly, curing time affects hardness and dusting behavior, which directly affects:
– underlayment bonding/contact
– vapor barrier sealing
– final feel under laminate
For a laminate basement floor, the safest approach is:
1) confirm the substrate type (concrete, plywood, or composite),
2) use the primer required by the leveling product, and
3) cure fully before you install underlayment and planks.
Prep for laminate install after leveling
Once the slab is flat, your laminate basement floor still isn’t “ready” until prep and moisture-control steps are done correctly. Cleaning, vapor barrier placement, and underlayment choice are what protect the investment after you’ve leveled the surface.
Dust and loose material after leveling can prevent proper underlayment contact and create localized movement.
Basements commonly require a vapor barrier strategy over concrete to limit moisture-related damage.
Laminate manufacturers require acclimation and consistent indoor conditions—temperature and humidity directly influence plank behavior.
Clean thoroughly and remove any telegraphing ridges
After patch/SLU cures:
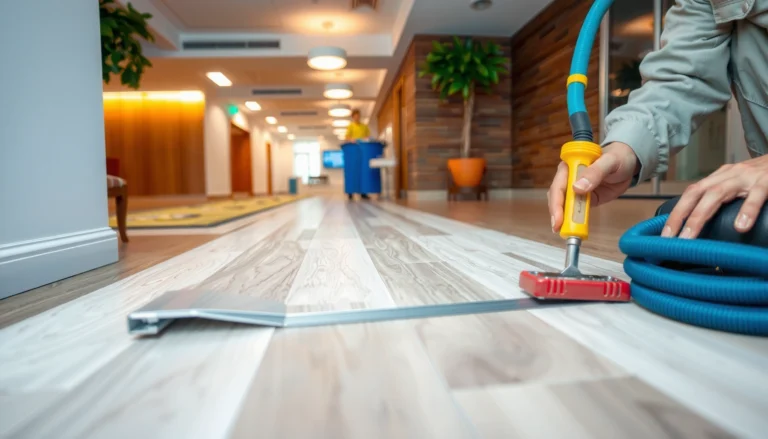
– Vacuum aggressively (not just a broom sweep)
– Scrape or remove any ridges at feather edges
– Re-check flatness with a straightedge before underlayment goes down
If your laminate basement floor includes transitions (hall-to-living room, steps, or built-in cabinetry), re-check near edges—most “hidden” dips show up at boundaries.
Install the right underlayment and vapor barrier system
Basements often need special attention to moisture. In laminate installs over concrete, many manufacturers either:
– require a specific vapor barrier/underlayment combo, or
– allow certain systems only when installed in a particular orientation and with defined seam overlaps
Match what the laminate instructions require for:
– vapor barrier placement (on top of concrete, not under leveling materials unless specified)
– seams (overlap method)
– underlayment type (pad thickness, built-in vapor barrier yes/no)
Acclimate laminate and maintain conditions
Laminate is a “floating” system that still responds to the environment. Follow your laminate flooring instructions for acclimation and maintain indoor conditions during and after installation (temperature and relative humidity targets).
Because this is an ongoing concern as of 2026, many failures we see are tied to moisture swings—like running dehumidifiers too late or turning HVAC off during curing.
What can go wrong (and how to avoid it)
The biggest risks to a laminate basement floor are moisture not handled correctly and leveling products used outside their designed conditions. Secondary risks include too much buildup, skipped primer steps, and assuming visual flatness is measurable enough.
Ignoring moisture can cause leveling compounds to debond, crack, or fail even when the floor looks flat initially.
Using SLU or patch compounds outside their approved substrate list (concrete vs. plywood) can lead to bond failure.
Overbuilding with leveling material can reduce door clearances and create transitions you didn’t plan for.
Most leveling systems depend on primer and cure time—skipping steps is a common reason floors feel “off” later.
Common failure modes
– Moisture ignored: leveling compounds may crack or lose bond if the slab is actively transmitting moisture beyond what the system supports. Fix moisture first or use the manufacturer-approved moisture control approach.
– Wrong product for the surface: SLU and patch products are not interchangeable across concrete, plywood, and other substrates—use what the manufacturer specifies for your base.
– Overbuilding height: too much buildup can cause door clearance issues and create transitions you didn’t plan for; monitor total height from the start.
– Skipping cure/primer steps: many systems require primer and specific cure times. Rushing is a top cause of soft or dusty surfaces after leveling.
– Assuming “it looks flat” is enough: laminate installation typically depends on measurable flatness. Straightedge mapping prevents joint separation and movement.
Verdict: what I’d do (and who should skip this)
If you can measure flatness, correct highs and lows with the appropriate patch/SLU system, and confirm basement moisture conditions before installing laminate, this approach is a solid path to a stable floor. The tradeoff is schedule: moisture checks, primer, cure time, and re-checking flatness extend the timeline—especially for broader SLU areas.
A measurable flatness plan plus a moisture-appropriate vapor barrier system is the most reliable route to durable laminate basement floors.
If your flatness issues exceed the leveling product’s thickness limits, patch/SLU won’t “make it right”—you’ll need a different solution.
When you’re unsure about tolerances, the laminate manufacturer’s installation guide is the controlling specification.
The downside is complexity and documentation: you’ll need to coordinate product instructions, substrate compatibility, and moisture testing results so everything is aligned.
Skip (or get help) if:
– You find serious moisture issues requiring remediation beyond a vapor barrier strategy.
– The slab is severely uneven beyond the leveling product’s thickness limits.
– You’re unsure what flatness tolerance your specific laminate requires—contact the flooring manufacturer or an installer before proceeding.
Quick leveling checklist (scan before you start)
| Step | Quick check | Done when… |
|---|---|---|
| Measure flatness | 6 ft straightedge | High/low exceeds your laminate tolerance (known from manufacturer) |
| Map problem areas | Mark highs/lows | You can see where patch vs grind vs SLU is needed |
| Moisture check | Moisture test method per guidelines | Results meet the laminate/moisture-control requirements |
| Choose product | Patch vs SLU by area size | Product is rated for your subfloor and thickness range |
| Prime/patch/SLU | Follow instructions | No soft spots; surfaces are fully cured per label |
| Re-check flatness | Straightedge again | No new ridges/steps at seams |
| Prep underlayment | Vapor barrier placement/overlaps | Installed exactly per flooring instructions |
Sources
– ASTM E1155 (flatness measurement standard) — ASTM E1155
– ASTM F2170 (in-slab RH testing) — ASTM F2170
– ASTM F1869 (calcium chloride moisture testing) — ASTM F1869
Leveling a laminate basement floor is less about “making it look smooth” and more about hitting the manufacturer’s measurable flatness target while controlling moisture correctly. If you map highs and lows with a straightedge, correct them with patch/SLU (and mechanical grinding for highs), and then install the right vapor barrier/underlayment system after full cure, you set your laminate for long-term performance instead of repeating the same repairs.
Frequently Asked Questions
How do I level laminate flooring before installing it in a basement?
Start by checking the basement subfloor flatness with a 6–10 ft straightedge and measuring the gap at several points. Laminate requires a relatively flat surface, so remove high spots (sanding/grinding) and fill low areas with a compatible patch or self-leveling underlayment. After leveling, clean the floor thoroughly and let any patch cure fully before installing laminate. Finish by confirming flatness again to prevent joint gaps and squeaks.
What are the best ways to fix low spots and high spots in a basement subfloor for laminate?
For high spots, use a grinder or sander to bring them down gradually and avoid creating dips around the area. For low spots, use a cementitious floor patch for small depressions or a self-leveling compound for broader unevenness. Follow the product instructions for thickness limits, mixing, and cure time to ensure the leveling layer bonds properly. Always re-check flatness before laying the laminate flooring underlayment.
Why is basement subfloor leveling important for laminate flooring?
Laminate floors depend on even support to prevent flexing, which can cause clicking joints to separate and create permanent gaps. Uneven areas also increase stress on the locking system and can lead to squeaking or a “spongy” feel underfoot. In basements, moisture issues can further magnify problems, so leveling and surface preparation should be done with moisture-resistant products when needed. Proper leveling helps your laminate perform well and last longer.
Which leveling materials are best for laminate in basements (patch compound vs. self-leveler)?
Use a cementitious patch compound for localized low spots and minor imperfections, because it’s easier to spot-correct and feather smoothly. Choose a self-leveling underlayment or self-leveler when the basement floor has widespread unevenness, since it flows to create a flatter plane. For laminate installation, ensure the leveling product is rated for the substrate type you have (concrete, mortar, etc.) and that it can accept an underlayment system. If moisture is a concern, consider products designed for damp concrete and pair them with appropriate moisture protection.
How thick can I level a basement floor before installing laminate, and what’s the safest process?
The maximum thickness you can level depends on the specific patch or self-leveling compound, so always follow the manufacturer’s limits for feather-edge capability and total build-up. In general, it’s safer to do multiple passes rather than trying to correct deep dips in one application. Prepare the concrete by removing dust, laitance, and loose material, then prime if the product requires it for proper adhesion. After curing, check flatness again and install a suitable moisture barrier and underlayment before laying laminate.
📅 Last Updated: October 22, 2026 | Topic: How to level a laminate floors before installing basement? | Content verified for accuracy and freshness.
References
- Laminate flooring
- Floor
- https://www.epa.gov/mold/moisture-control-prevent-mold
- https://www.armstrongflooring.com/en-us/support/install-instructions.html
- MohawkFlooring
- https://scholar.google.com/scholar?q=how+to+level+laminate+floor+subfloor+flatness+tolerance Google Scholar
- https://scholar.google.com/scholar?q=self-leveling+underlayment+installation+subfloor+preparation+flatness Google Scholar
- https://scholar.google.com/scholar?q=basement+slab+moisture+vapor+barrier+before+laminate+flooring Google Scholar