
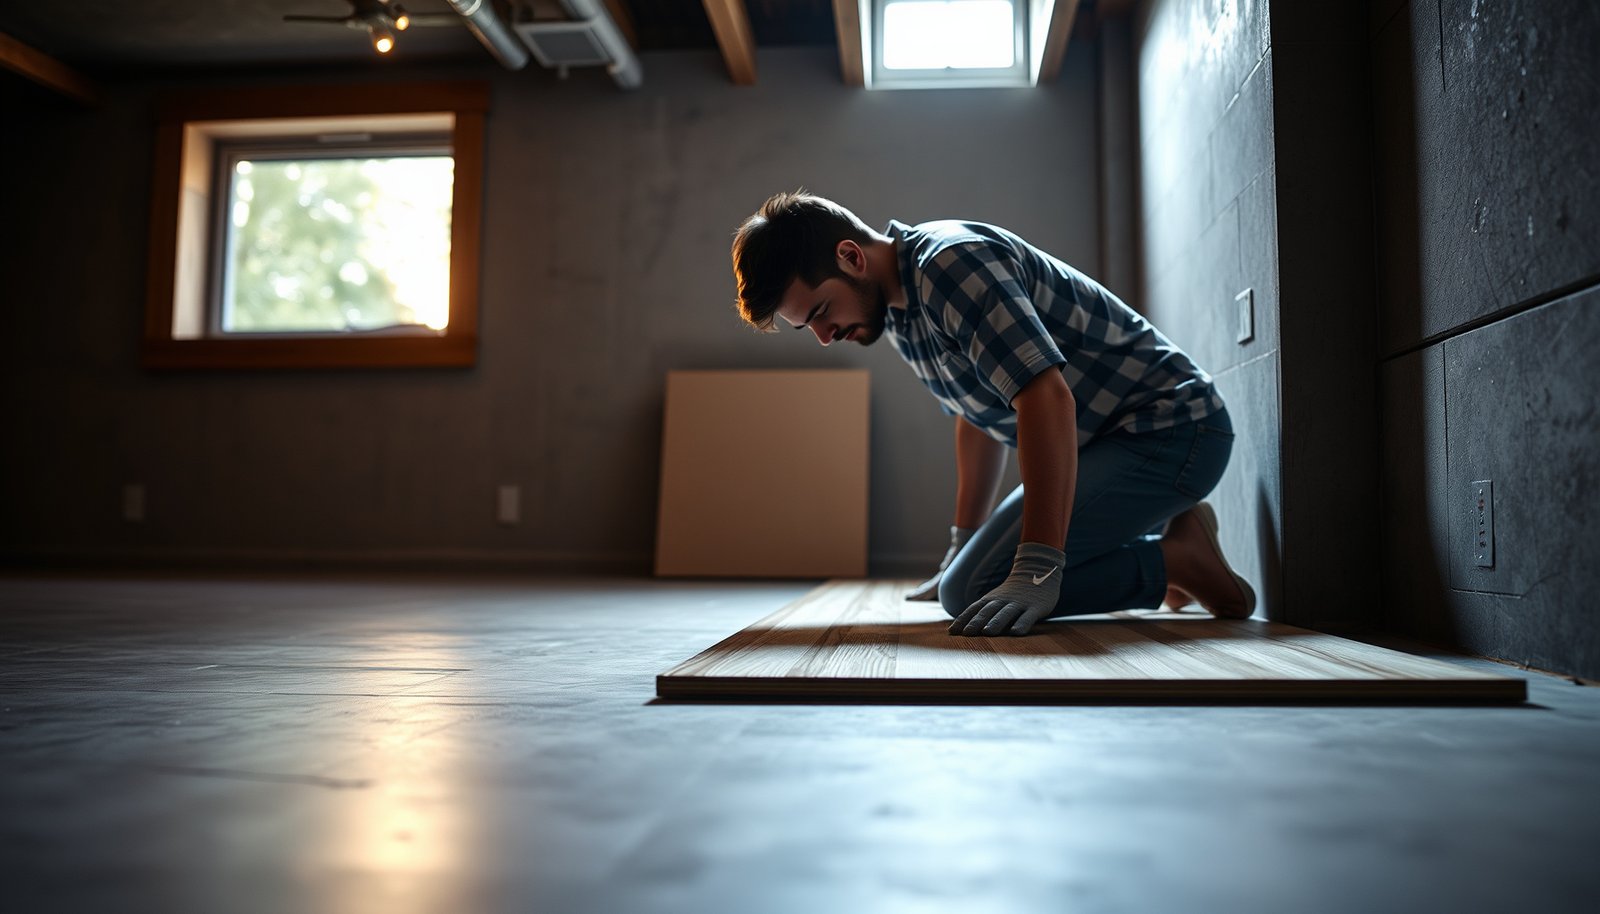

Preparing laminate floors for a basement takes the right order of steps to prevent buckling, moisture damage, and musty odors—and there’s a clear checklist that works best. You’ll learn exactly how to get the basement subfloor dry, level, and properly insulated before the first plank clicks in. Follow these essential preparation steps and your laminate installation will hold up even in a high-humidity environment.




Preparing laminate floors for a basement comes down to moisture control, slab flatness, and a correct vapor barrier/underlayment system—before you ever click a plank. If you get those three items right (and then acclimate plus leave expansion space), you greatly reduce the swelling, cupping, and buckling that show up weeks or months later.
Basement laminate installs are especially sensitive because concrete can hold moisture even when the room “feels dry.” This guide is for homeowners installing laminate over a basement slab (including areas with higher humidity), as well as anyone trying to avoid common moisture-related failures.
Check moisture and condition of the concrete subfloor

You prevent most basement laminate failures by verifying slab moisture and making sure the concrete is flat enough for a floating floor. Moisture drives swelling and gapping, and uneven concrete can stress locking joints.
Basement concrete often releases moisture through the slab, which can force laminate boards to expand and buckle if the vapor control system is inadequate.
ASTM F2170 is an in-situ relative humidity test that measures RH inside the concrete slab for comparison against the flooring manufacturer’s limit.
Before laminate installation, manufacturers generally require flatness tolerances and a clean, debris-free slab so underlayment can support the floating system evenly.
– Test moisture before you start, because basements are where laminate failures most often begin
– Follow your laminate manufacturer’s required moisture test method and limit; if you don’t have the spec, .
– If you want a standards-based baseline, ASTM International recognizes two common concrete moisture approaches for flooring decisions: in-situ relative humidity (ASTM F2170) and calcium chloride (ASTM F1869).
– According to ASTM F2170-19, RH probes are installed to about 40% of the slab thickness before readings are taken.
– According to ASTM F2170-19, the probes require an equilibration period of typically 60–72 hours before you record RH results.
– According to ASTM F2170-19, you compare the measured in-situ RH value to the exact flooring product limit (not a generic “rule of thumb”).
– Repair and flatten the slab so the boards have solid, even support
– Remove high spots, fill low areas, and sweep/vacuum thoroughly so debris doesn’t interfere with the underlayment.
– Flatness matters because laminate is a floating system: if the concrete dips under a span, the plank’s click/lock joints can open over time—or the floor can flex and squeak.
Practical moisture + flatness workflow (for laminate floors in basements)
Do moisture testing first, before you start grinding, patching, or leveling. If the slab fails the laminate’s moisture limits, you’ll usually need remediation (often surface treatments, improved drainage, or other solutions) before you proceed with laminate.
Acclimate laminate and plan the layout
You reduce basement installation problems by acclimating laminate in the same conditions where it will live and by planning the plank layout to avoid skinny edge rows. This is where you lock in predictable expansion behavior before the floor is constrained by walls and fixed objects.
Laminate boards are designed to expand and contract with indoor conditions, so acclimation is necessary even when a basement is climate-controlled.
A poor starting layout can leave a thin “ribbon” of flooring at the far wall, which is more likely to look misaligned and be harder to fit while maintaining expansion gaps.
Because basements experience humidity swings, laminate floors still need planned expansion space even when temperature appears stable on installation day.
– Acclimate the flooring in the basement space following the manufacturer’s instructions
– Use the exact time and conditions from your packaging/manual: .
– Keep the cartons off the floor (use spacers) so air can circulate around the boards.
– Don’t acclimate in a different room and then carry them downstairs—laminate floors in basements respond to the basement microclimate.
– Plan your board direction and starting wall to keep cuts tight and maintain the look you want
– Dry-lay a few rows to confirm the final plank width and avoid a thin “ribbon” edge at the far wall.
– If the basement has visual focal points (TV wall, stair landing, main hallway sight line), align plank length to reduce noticeable seams and keep the floor’s visual rhythm consistent across the space.
Choose and place underlayment + vapor barrier correctly
You protect laminate floors in basements by matching the underlayment/vapor barrier system to your specific laminate’s requirements—not by using “whatever is thickest.” The right combination controls moisture vapor drive while still supporting the floating click-lock performance.
A vapor retarder is often required under laminate over concrete because concrete moisture can migrate upward even when there’s no standing water.
Using an incorrect underlayment (wrong thickness, wrong permeability, or extra layers) can interfere with click-lock performance and may void warranty coverage.
If your laminate has an attached pad, you still need to confirm whether the manufacturer also requires a separate vapor retarder over concrete.
– Confirm whether your laminate has an attached pad
– If it does, your manufacturer may still require a separate vapor retarder; if it doesn’t, you’ll typically need one under the laminate.
– Attached pads can help with feel and slight insulation, but they are not always a substitute for a dedicated concrete vapor barrier—especially in basements.
– Install a continuous vapor barrier system over concrete
– Many installs use a polyethylene vapor barrier (often 6-mil) with taped seams and overlap; verify the thickness and layering rules in your laminate instructions: .
– Tape seams so moisture doesn’t sneak through overlap gaps. Also keep the vapor barrier unbroken around the room perimeter and under transitions.
Common Polyethylene Vapor Barrier Thicknesses for Basement Slab Installs
| # | Vapor barrier thickness grade | Typical sheet thickness (mil) | Typical use scenario | Relative vapor-control strength |
|---|---|---|---|---|
| 1 | 4-mil polyethylene | 4 mil | Lower-risk slabs > often when allowed by the laminate warranty | ★★☆☆☆ |
| 2 | 6-mil polyethylene | 6 mil | Common baseline for basement laminate floating floors | ★★★★☆ |
| 3 | 8-mil polyethylene | 8 mil | Extra puncture resistance in active basements | ★★★★★ |
| 4 | 10-mil polyethylene | 10 mil | Higher tolerance for jobsite foot traffic | ★★★★★ |
| 5 | 12-mil polyethylene | 12 mil | Basements with higher moisture vapor drive (per test results) | ★★★★★ |
| 6 | 15-mil polyethylene | 15 mil | Maximum puncture resistance for slab edge conditions | ★★★★★ |
| 7 | 20-mil polyethylene | 20 mil | Where durability + vapor control both must be maximized | ★★★★★ |
> Note: This table helps you think about vapor-retarder robustness, but basement laminate warranties depend on the specific vapor barrier and thickness limits in your laminate’s instructions. Always defer to your manufacturer.
Basement laminate underlayment pairing: quick pros/cons
| Option | Pros | Cons / watch-outs |
|---|---|---|
| Laminate with attached pad + required vapor retarder | Simplifies underlayment; often improves comfort without losing moisture control when paired correctly | Still requires verification that the attached pad is not replacing the vapor retarder |
| Separate underlayment + taped polyethylene vapor barrier | Most controllable system over concrete; consistent seam management with taped overlaps | Too much cushioning or extra layers can prevent locking performance and can void warranty |
Prep for expansion gaps, transitions, and obstacles
You avoid swelling and buckling in basement laminate by leaving the required expansion space around every perimeter and fixed object. Floating laminate floors need room to move even when they look “tight” on day one.
Expansion gaps prevent laminate floors in basements from becoming trapped against walls or cabinetry as humidity changes.
Doorways and transitions require planning so the floating floor can move without pushing into thresholds.
– Leave expansion space around every perimeter and fixed objects
– Use the manufacturer’s required gap size: .
– Treat the gap as a system requirement, not a cosmetic detail. Basements can swing in temperature and relative humidity, which changes laminate dimensions.
– Handle doorways, posts, and floor transitions intentionally
– Use appropriate transition moldings so you don’t trap the floating floor against thresholds, stairs, or cabinetry.
– If you have built-ins (shelves, wall-to-wall cabinets), plan whether the floor should stop short and transition—many failures happen where the laminate is effectively pinned.
Install laminate with basement-ready technique
You get the best results with basement laminate by installing as a true floating floor: correct locking angles, correct joint stagger, and clean, protected surface handling. The installation technique is where “almost correct” materials can still fail.
Laminate click-lock systems require specific insert angles and engagement steps; deviating from the manufacturer’s method can weaken the joint.
Staggered end joints reduce stress concentration and help keep the floating floor from forming visible weak seams.
– Keep the floating floor flat and aligned as you build rows
– Follow the click/lock directions exactly for your plank type (some lock systems want different insert angles).
– Use spacers for expansion gaps instead of relying on guesswork.
– Stagger end joints and keep the pattern consistent
– Use the manufacturer’s required minimum stagger: .
– Avoid “accordion” patterns where repeating end joints align across multiple rows—this can become a structural weak point.
– Finish cleanly and protect the surface during the job
– Avoid rolling heavy tools directly on planks; use protective coverings when you’re still doing dusty basement work.
– Don’t trap debris under planks when you cut; laminate floors in basements can telegraph grit into the underlayment over time.
Troubleshooting, tips, and checklist
If your basement laminate is failing, moisture imbalance is the most likely root cause—followed by flatness and a wrong barrier/underlayment pairing. The goal is to identify which mechanism is happening (swelling, joint separation, or movement restriction) and then correct the system, not just the symptoms.
Cupping, growing gaps, or musty odors after installation strongly suggest moisture migration under the laminate or through an ineffective vapor barrier setup.
Out-of-flat concrete can stress laminate locking joints even when the moisture barrier is correct, leading to separation or squeaks.
What can go wrong
– Excess moisture under the laminate
– Symptoms: cupping, gaps that grow, musty odor, or boards that feel tight one season and loose the next.
– Fix isn’t usually “patch-it and move on”—you may need to remove flooring if moisture limits were exceeded.
– Skipping leveling or using poor prep
– Thin high/low areas can stress locking joints, leading to separation or squeaks.
– Wrong barrier/underlayment pairing
– Too much cushioning, missing vapor control, or stacking multiple layers can interfere with locking performance and warranty coverage.
– Not leaving expansion room
– In basements, temperature/humidity swings can still cause movement—even if the floor looks “stable” on day one.
Verdict / tip
If you can verify moisture and follow your laminate manufacturer’s instructions for vapor barrier/underlayment and acclimation, you can get a reliable basement laminate install. Skip this DIY approach (or at least get professional guidance) if you can’t access moisture testing details from your product specs, the slab is significantly out of level, or the space has known ongoing water issues (active leaks, frequent flooding, or wet-wall problems).
Quick scan checklist (save this)
| Step | What to confirm | Done? |
|---|---|---|
| Moisture testing | Matches your laminate manual’s method + limits | ☐ |
| Slab flatness | High spots removed; low areas filled | ☐ |
| Surface cleaning | No dust/debris under underlayment | ☐ |
| Acclimation | Time/conditions per manufacturer | ☐ |
| Vapor barrier | Correct type, overlap, and taped seams (if required) | ☐ |
| Underlayment | Correct layer (or none) per laminate instructions | ☐ |
| Expansion gaps | Perimeter + obstacles have required clearance | ☐ |
| Layout planning | Avoid very small edge planks; good start row | ☐ |
| Installation technique | Locking method and stagger rules followed | ☐ |
Sources:
– ASTM International standards commonly referenced for concrete moisture testing: ASTM F2170 (in-situ relative humidity), ASTM F1869 (calcium chloride).
Frequently Asked Questions
How do I prepare my basement slab before installing laminate flooring?
Start by checking the basement concrete for moisture using a reliable test method (like a concrete moisture meter or calcium chloride test, depending on your system). Clean the slab thoroughly to remove dust, paint, drywall mud, or adhesive residue, then repair cracks or low spots with a suitable patch/leveler. Let any repairs fully cure and ensure the surface is flat—most laminate manufacturers require minimal variation over a specific span to prevent clicking joint failure.
What moisture barrier should I use under laminate floors in a basement?
In basements, using an underlayment with an attached vapor barrier (often 6-mil poly) is commonly recommended, or you may use separate 6-mil plastic overlapped seams with sealed tape. The goal is to reduce moisture vapor transfer that can cause swelling, mold, or joint separation. Always follow the laminate and underlayment manufacturer’s guidance for moisture requirements and installation details, especially if your product specifies a particular vapor barrier thickness.
How do I level a basement before laying laminate flooring?
Measure for high and low spots using a straightedge or leveling tool and address problem areas before installation. Use a self-leveling compound for larger uneven sections or a patch compound for smaller dips, then sand any high spots once cured. Proper leveling helps prevent hollow areas under the laminate, reduces floor squeaks, and helps keep the locking system aligned for long-term durability.
Why is acclimating laminate important for basement installations?
Laminate flooring should acclimate in the basement where it will be installed so planks adjust to local temperature and humidity conditions. This reduces the risk of gaps, buckling, or joint separation after installation, which can be more common in basements with fluctuating moisture levels. Run your HVAC for a few days before install (if possible), keep conditions stable, and follow the manufacturer’s acclimation time and requirements.
Which underlayment is best for laminate floors in basements?
The best underlayment for basement laminate typically combines sound reduction and a vapor barrier, such as an underlayment rated for concrete subfloors and basement moisture. Look for products that meet your laminate manufacturer’s specifications for compatibility and thickness, and choose one designed to handle moisture—particularly in below-grade rooms. Also confirm whether you need an additional moisture barrier or if the underlayment already provides it, since using the wrong system can undermine performance.
📅 Last Updated: October 22, 2026 | Topic: How to prepare a laminate floors for basement? | Content verified for accuracy and freshness.
References
- Laminate flooring
- Vapor barrier
- https://www.epa.gov/mold/preventing-mold
- https://www.epa.gov/mold/mold-control-homes-and-schools
- https://www.cdc.gov/mold/default.htm
- https://www.who.int/news-room/fact-sheets/detail/dampness-and-mould
- https://www.energy.gov/energysaver/basement-insulation
- https://scholar.google.com/scholar?q=laminate+flooring+basement+moisture+preparation Google Scholar
- https://scholar.google.com/scholar?q=laminate+installation+vapor+barrier+concrete+slab+basement Google Scholar
- https://scholar.google.com/scholar?q=ASTM+F2170+relative+humidity+floor+coverings+laminate Google Scholar



[…] Level your laminate basement floor by measuring flatness (highs and lows) and correcting them before any planks are installed. Start by mapping the slab with a straightedge—basements are where moisture and uneven concrete usually show up first—then finish by verifying moisture conditions and installing the correct vapor barrier/underlayment system. […]