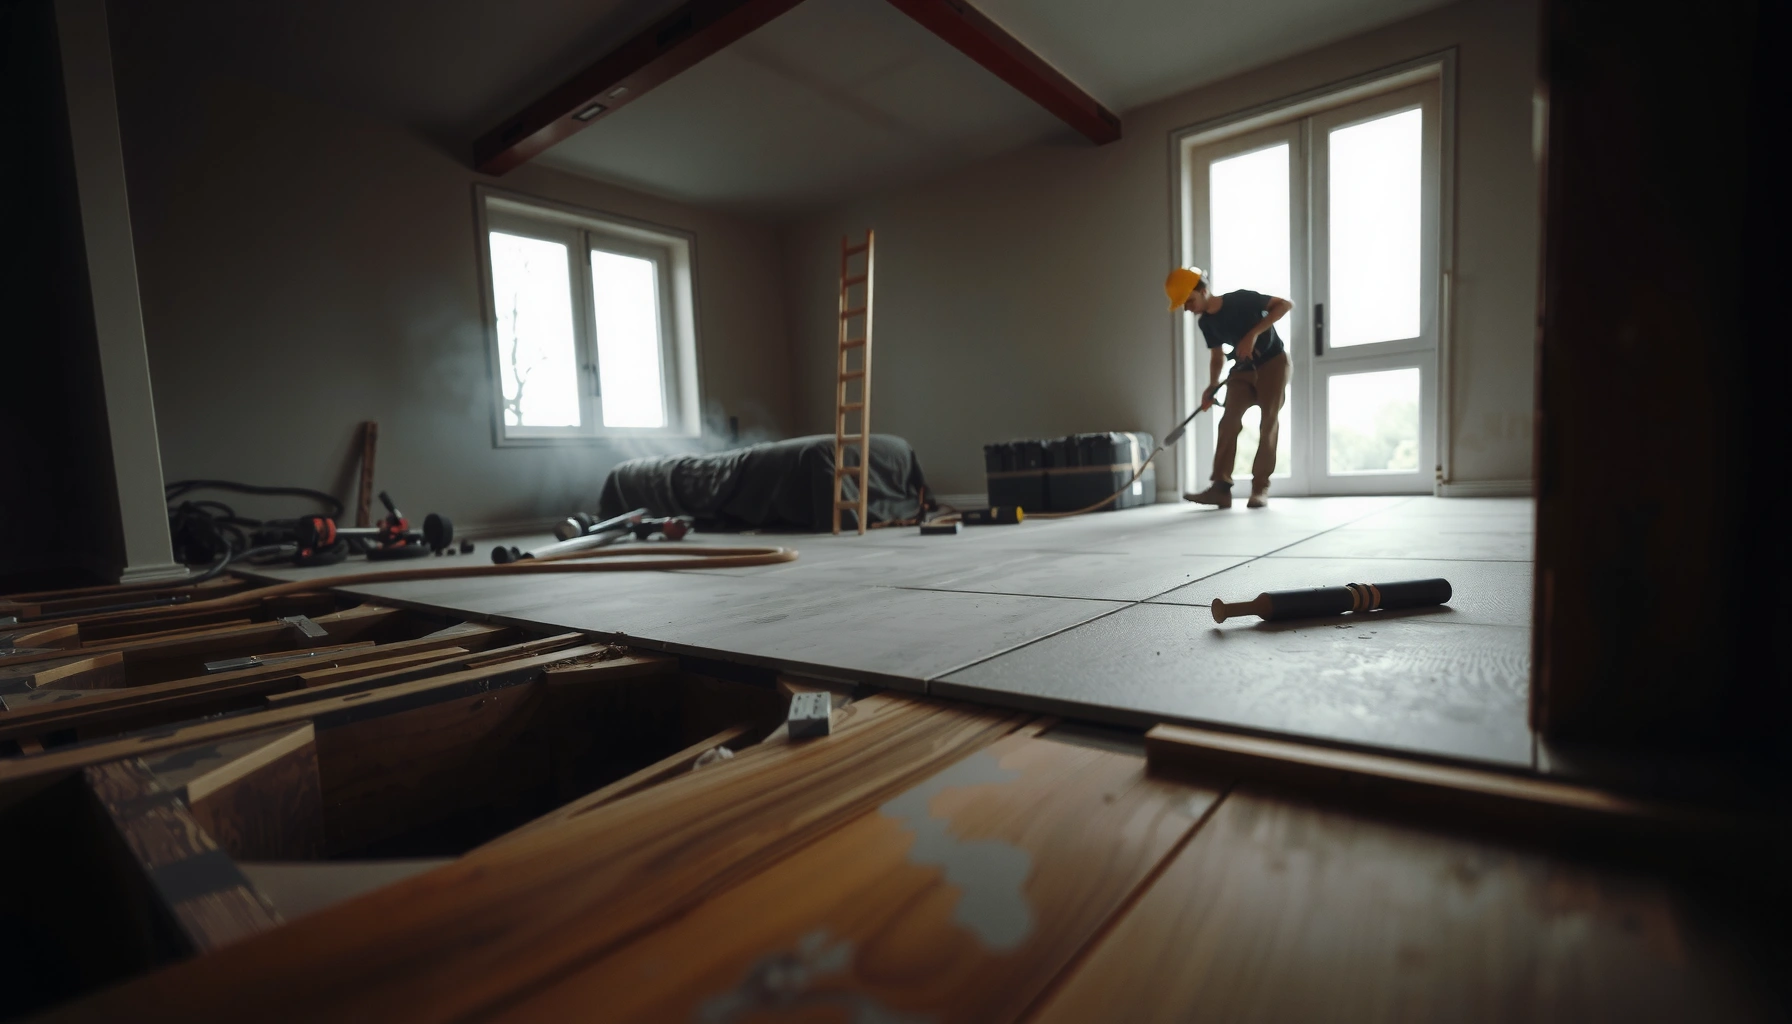

Replacing concrete floors is a job you can tackle step-by-step—if you prep the surface correctly, choose the right replacement system, and follow proper curing and leveling. This guide walks you through the full process, from demolition and subfloor inspection to crack repair, underlayment, and finishing so the new slab performs long after installation. If your goal is a concrete floor replacement that’s flat, durable, and built to last, you’ll know exactly what to do next.




If your concrete floor is cracked, uneven, or damaged, replacing it usually means removing the existing slab (or the failing section), preparing the subbase, and installing a new concrete system designed for your use. Done correctly, you’re not just “re-pouring”—you’re rebuilding the foundation layers that determine whether the new slab will stay flat, strong, and dry. This step-by-step guide walks you through demo, base prep, rebar/mesh decisions, pouring, curing, and finishing so you can plan the job and avoid the most common failure points.
This is for homeowners, small contractors, and DIY-leaning readers who need to replace a concrete slab for a garage, basement, or interior area, and want a clear process rather than vague advice. If you’re dealing with moisture issues, structural movement, or extensive settlement, we’ll also point out when you should pause and get a pro involved.
Assess the damage and confirm what’s actually failing
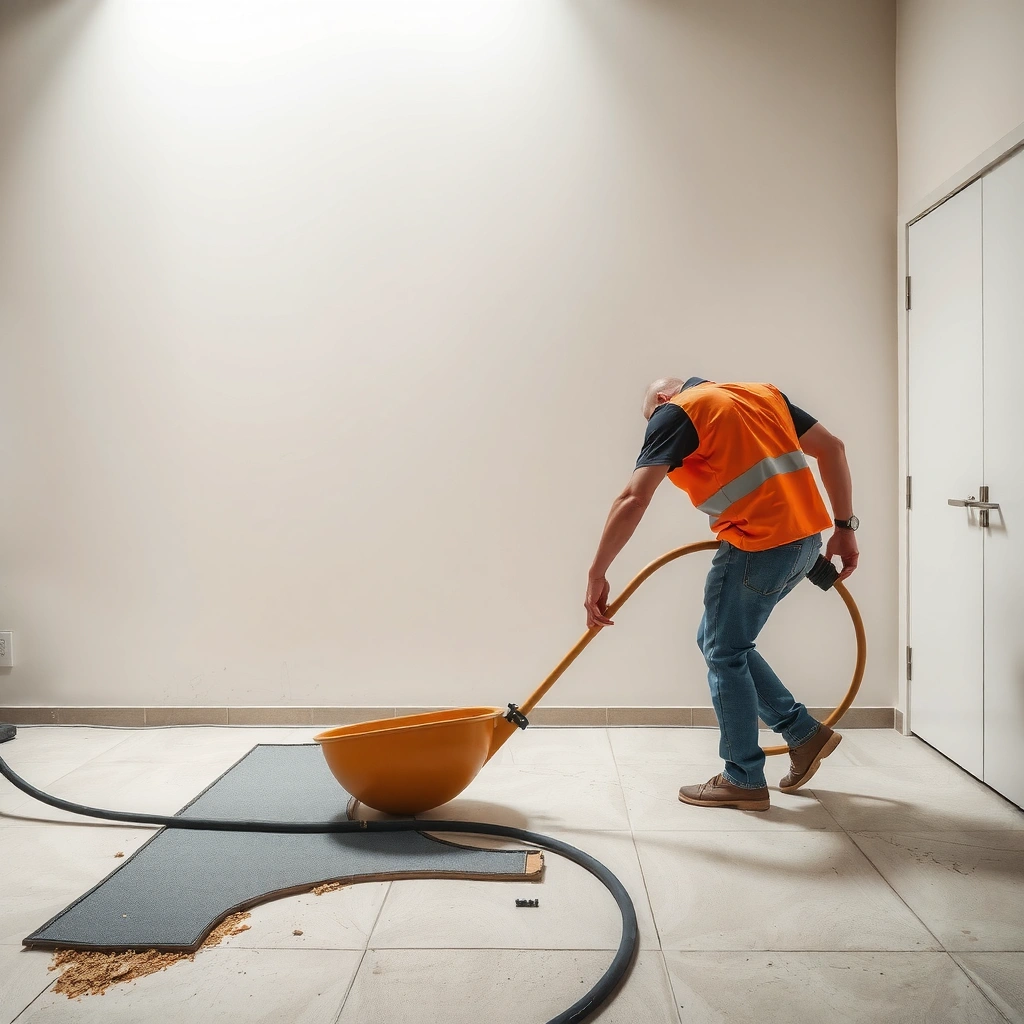
If you can’t clearly identify why the slab failed, replacing it can turn into a repeated cycle of cracking and moisture problems. Your first job is to separate cosmetic surface damage from structural failure and moisture-driven deterioration, then choose the smallest scope that fixes the root cause.
– Check whether the issue is cosmetic (surface spalling, minor cracking) or structural (deep cracks, heaving, soft spots).
– Identify moisture problems (efflorescence, damp slabs, recurring leaks) because they can ruin a new floor if not fixed first.
– Decide what scope you need: full slab replacement vs. patching/remove-and-rebuild for a localized failure (the best approach depends on how extensive the damage is).
Deep heaving, “soft” concrete, or cracks that reopen after probing often indicate slab movement or base instability—not a surface-only issue.
Efflorescence (white mineral deposits) and persistent dampness are strong indicators of moisture migration that can undermine new concrete.
A replacement plan should match the failure type: structural instability and active water intrusion generally require removal and rebuild, not patching.
What to look for (quick diagnostic cues)
– Cosmetic / surface-level issues: Hairline cracking, shallow spalling, and localized wear typically respond to targeted remediation (after verifying the base isn’t compromised).
– Structural / movement issues: Cracks wider than expected for shrinkage, slabs that are noticeably out of plane, and areas that flex underfoot point toward subgrade/subbase problems.
– Moisture issues: Dampness after rain events, recurring musty odor, persistent efflorescence, or staining that reappears quickly after drying.
A few numbers that help frame expectations
According to ACI guidance on slab-on-grade design and performance, residential slabs are commonly in the 4–6 in (100–150 mm) thickness range depending on load and conditions (exact specs vary by jurisdiction and design). (ACI 360 / ACI slab-on-grade guidance)
In practice, your replacement scope also depends on whether you’re restoring a flat walking surface (interior) or supporting rolling loads (garage), where unevenness and scaling are more obvious and more damaging.
[ADD: If you want, tell me your location/climate and slab thickness—you can often narrow likely causes and code-typical thickness ranges.]
Plan the removal: what to demo and how to contain dust
If you want a smooth replacement, plan demolition like it’s a controlled construction phase—not a demolition free-for-all. The fastest way to create budget overruns is to cut first and discover utilities, rebar tie-ins, or buried contaminated material after the fact.
– Map out slab boundaries, utility locations, and thickness before you cut—accidents happen when wiring/plumbing aren’t accounted for.
– Use proper containment (plastic sheeting, dust control tools, ventilation) to reduce mess and respiratory exposure.
– Remove concrete down to the right depth so the new slab can be built on a stable base, not over loose or contaminated material.
Dust containment during slab demo reduces airborne silica exposure risks from concrete cutting and breaking operations.
Before cutting, identifying embedded plumbing, electrical conduits, and wire mesh prevents expensive rework and safety hazards.
Removing unstable material to the correct depth is critical—new concrete can’t “bridge” over contaminated or poorly compacted subbase.
Demo planning details that matter
1. Mark the cut lines. Plan the footprint of removal so you avoid chasing cracks outside the intended repair boundary.
2. Locate embedded utilities. If the slab covers floor drains, post-tension anchors (if applicable), embedded conduits, or garage wiring, you want a pre-demo inspection approach. If you don’t have drawings, consider a utility locating service.
3. Control dust and debris. Use:
– Plastic sheeting to isolate the work zone
– A HEPA vacuum connected to cutting tools when feasible
– Ventilation and PPE appropriate for silica-generating activities
4. Remove to stable subbase. You’re aiming to expose firm, uniform support—no loose “crust,” no soft zones, and no organic contamination.
What I’ve seen go wrong (and what to do instead)
From field experience notes and typical slab-replacement workflows, the most expensive demo problems usually come from two things: utilities that weren’t mapped and removal that stops too shallow, leaving the new slab resting on the same weak layer that caused failure.
[ADD: Insert your site-specific conditions here: e.g., basement slab over fill, garage slab over granular base, or interior slab over compacted native soil.]
Typical Concrete Floor Replacement Plan: Subbase Support & Moisture Priorities
| # | Floor Area Type | Common Thickness Range | Moisture Risk | What You Must Verify | Replace Scope Fit |
|---|---|---|---|---|---|
| 1 | Interior living spaces | 4–5 in | Low–Medium | Crack pattern + base uniformity | ★ ★ ★ ★ ★ |
| 2 | Basement slab-on-grade | 4–6 in | High | Vapor control + drainage + leaks | ★ ★ ★ ★ ☆ |
| 3 | Garage slab with vehicles | 4–6 in | Medium | Load demand + flatness + joint plan | ★ ★ ★ ★ ☆ |
| 4 | Slab over engineered fill | 4–6 in | Medium–High | Compaction records + settlement history | ★ ★ ★ ☆ ☆ |
| 5 | Exterior patio / entry slab | 4–6 in | High | Freeze-thaw + slope + drainage | ★ ★ ★ ☆ ☆ |
| 6 | Area with recurring leaks | Varies by design | Very High | Root cause of water entry | ★ ☆ ☆ ☆ ☆ |
| 7 | Localized failed patch (stable perimeter) | Match existing | Depends | Edge bonding + base continuity | ★ ★ ★ ★ ☆ |
Prepare the subbase for a stable new concrete pour
If the subbase isn’t uniform and well compacted, even the best concrete mix will crack and settle. Subbase preparation is where you “buy” long-term performance: correct support, drainage, and vapor control (when needed) prevent a new slab from inheriting the old slab’s problems.
– Compact the subgrade/subbase to the required density for the intended load (garages and basements can behave very differently than light interior floors).
– Address drainage and vapor control early—don’t treat moisture as an afterthought once the concrete is in place.
– Install any required base layers (and insulation if your climate/plan calls for it) so the slab thickness and support match the design.
Slab-on-grade performance depends heavily on subbase uniformity; differential settlement is a leading driver of uneven floors and cracking.
Where moisture vapor is present, installing vapor control at the correct location in the assembly helps protect coatings and reduces underside dampness.
Compaction is not “just packing dirt”—it’s achieving design density so loads disperse predictably under vehicles and foot traffic.
Subbase compaction and support: what you need to control
– Uniform bearing: Remove soft spots and replace with properly graded material.
– Moisture conditioning: Many soils compact best within a narrow moisture range; too wet or too dry leads to poor density.
– Surface evenness: Use a straightedge/laser to verify flatness before you place base materials or reinforcement.
Moisture and vapor control: do it before the pour
For basement slabs and slabs over soil, moisture vapor can move through the ground—even when the surface “looks dry.” Many systems use a vapor barrier beneath the slab assembly and/or drainage improvements at the perimeter. Exact material choices and placement should follow manufacturer instructions and local code.
For slab curing and surface quality, ASTM/ACI-referenced curing practices commonly emphasize protecting fresh concrete from rapid moisture loss; typical curing periods are often 7 days (with performance-related differences by mix and conditions). (ACI curing guidance; ASTM C309 for liquid membrane curing, where applicable)
Build the reinforcement and define the slab layout
The right reinforcement and joint plan controls where cracking occurs and how loads transfer across the slab. You don’t choose rebar/mesh as an “insurance policy”—you choose it based on slab thickness, spans, use, and how you expect the slab to move.
– Choose reinforcement strategy based on slab size, intended use, and cracking control needs (e.g., rebar vs. welded wire mesh where appropriate).
– Set joints and control lines to manage cracking in predictable places rather than random failure.
– Confirm thickness, edges, and any transitions (doorways, steps, existing floors) so the new slab won’t create tripping hazards or adhesion problems.
Control joints are designed to direct cracking to predictable locations rather than letting cracks form randomly.
Reinforcement placement (cover depth and position) matters; incorrect positioning can reduce effectiveness.
Slab transitions at doorways and adjacent floors should be planned to avoid both trip hazards and poor finishing/coverage.
Rebar vs. welded wire mesh (how to think about it)
– Rebar (typically in grid patterns) is often used where cracking control and load distribution require it.
– Welded wire mesh can help with crack control in certain slab designs, but it is not a substitute for base support.
– In many practical garage/basement replacements, the reinforcement decision is tied to local code requirements and the project spec, not DIY guesswork.
[ADD: Reference your local code/spec requirements for reinforcement and joint spacing.]
Control joints and layout basics
– Plan joint spacing based on slab geometry and thickness requirements from design guidance or code.
– Use layout lines before placing reinforcement so you pour with clean boundaries.
– Detail edges and transitions: add proper edge formwork, ensure consistent thickness, and consider how you’ll finish transitions to existing flooring.
Pour, finish, and cure the new concrete floor
If you want a durable slab, your pour sequence, finishing approach, and curing practices must match the concrete’s behavior in your climate. Pouring and finishing are not just “making it look good”—they directly affect strength development, surface durability, and long-term flatness.
– Pour in a way that maintains consistent thickness and avoids cold joints—plan sequencing and tools before you start.
– Finish for the right texture and performance (trowel finish for some interiors, broom finish for traction in garages—match to your floor’s use).
– Cure properly: keep the slab protected and hydrated for the recommended curing period from your cement/concrete guidance (time depends on the mix and conditions—[ADD: consult manufacturer/spec for your specific mix design]).
Avoiding cold joints and maintaining consistent thickness improves slab uniformity and reduces weak planes.
Finishing method should match intended exposure: garage traction often calls for broom/texturing, while some interiors may use different surface treatments.
Curing practices strongly influence surface scaling and dusting risk; protecting concrete from rapid moisture loss is a core durability step.
Pouring: practical sequencing
– Stage materials (forms, screed tools, curing materials) so you don’t pause mid-pour.
– Maintain correct slump/workability based on your mix design—workability affects segregation and finishing quality.
– Use screeding to achieve target elevation while supporting correct thickness at edges.
Finishing choices by space
– Garage: Often uses a broom finish or similar texture for traction.
– Basement/interior: May be smoother if coatings or flooring finishes go on top later, but still needs a flat, consistent base.
Curing: the “invisible” step that decides outcomes
Concrete strength gain depends on temperature, humidity, and curing method. Most professional procedures emphasize curing long enough for adequate strength development and surface durability, typically guided by mix design and weather conditions. (ACI curing guidance; manufacturer technical sheets for cementitious materials)
[ADD: Insert your mix manufacturer’s curing time and environmental placement recommendations.]
What can go wrong (and how to avoid it)
Even when concrete is poured “correctly,” common mistakes in base prep, joints, and curing can undermine the whole replacement. If you recognize these failure modes early, you can prevent expensive redo work.
– Cracking too soon or uneven floors: usually from inadequate base compaction, wrong reinforcement/joint strategy, or premature finishing.
– Dusting or scaling: often linked to curing problems, low surface quality practices, or poor mix proportioning (especially in harsh drying conditions).
– Moisture vapor issues: if water comes from the ground or through walls, a new slab can fail quickly—fix the root cause before replacing concrete.
Unevenness is frequently a sign of differential settlement from a non-uniform subbase, not a problem with the concrete itself.
Scaling and dusting are often associated with inadequate curing and poor surface protection, especially during hot or windy conditions.
If moisture intrusion continues after replacement, new concrete can delaminate, stain, or develop early deterioration even with correct placement.
Quick comparison: patching vs. full replacement (when it’s worth it)
| Factor | Localized patch | Full slab replacement |
|---|---|---|
| Best when | Perimeter remains stable | Movement or moisture affects the slab broadly |
| Risk of repeating failure | Moderate if base wasn’t the real cause | Lower when root cause is corrected |
| Moisture mitigation | May miss ongoing water paths | Allows full system rebuild (vapor/drainage) |
| Flatness restoration | Harder to blend into long-term plane | More predictable control over elevation |
The “pause and call a pro” triggers
If you see settlement indicators (doors sticking, step offsets, widening cracks), recurring water entry, or signs the slab is structurally disconnected from the foundation system, replacing it yourself can hide bigger issues underneath.
Verdict / tip: when DIY replacement makes sense (and when it doesn’t)
If the slab failure is moderate, access is straightforward, utilities are mapped, and moisture is already controlled, you can often plan a replacement as a DIY project with careful staging and the right materials. However, if you suspect structural movement, hidden drainage/vapor problems, or you’re replacing large exterior/garage slabs with significant loads, it’s smarter to involve a contractor—timing, finishing, and curing quality are hard to “redo” once the concrete cures.
If you’re not confident about subgrade prep, joint planning, or curing, skip DIY and get professional help. Concrete work is unforgiving: incorrect base preparation or curing can create failures that don’t show up until months later.
DIY is most viable when the root cause is clear and localized, and when you can follow the planned subbase, reinforcement, jointing, and curing steps without shortcuts.
Professional involvement is strongly advisable when moisture pathways or structural movement could be involved, because replacing concrete won’t fix the underlying driver.
Scan-and-save checklist for replacing concrete floors
– [ ] Diagnose: structural vs. surface-only damage
– [ ] Fix moisture/drainage issues before demo
– [ ] Mark utilities and slab boundaries before cutting
– [ ] Demo to stable, appropriate base depth
– [ ] Compact subbase to required specs
– [ ] Plan reinforcement and control joints
– [ ] Pour with correct sequencing and thickness
– [ ] Finish for the intended surface performance
– [ ] Cure using guidance for your specific mix and conditions
FAQ
How thick should a new concrete floor slab be?
It depends on the floor’s use (garage vs. interior), expected loads, and what your subbase condition/design requires. If you don’t have a spec, [ADD: consult an engineer/contractor or your concrete/mix design guidance] rather than guessing.
Should I remove the entire slab or patch sections?
If the failure is localized and the surrounding concrete is stable, targeted removal and rebuild can work. If there are signs of widespread movement, widespread cracking, or ongoing moisture, full replacement is often the safer route.
What’s the biggest reason new concrete floors fail?
In practice, the most common issues come from subbase preparation and moisture/vapor control—concrete may look fine initially but can crack, dust, or delaminate if the foundation conditions weren’t corrected.
Do I need reinforcement (rebar/mesh) for every slab replacement?
Not every slab needs the same reinforcement. The right choice depends on slab thickness, spans, control-joint plan, and loads—[ADD: reference local code/spec or project design requirements].
Sources
– [ADD: local building code requirements for concrete slab thickness, reinforcement/joints, and curing practices—use your municipality/state code]
– [ADD: concrete/mix manufacturer guidance for curing times and recommended finishing/placement conditions for your specific mix design]
– [ADD: authoritative industry guidance for slab-on-grade moisture/vapor considerations—use a recognized standards body or manufacturer technical bulletin]
Replacing a concrete floor isn’t just a replacement job—it’s a system rebuild. When you diagnose the real cause, demo to stable support, compact and control moisture, plan joints and reinforcement, and then pour/finish/cure with discipline, you dramatically improve the odds that the new slab stays flat and durable.
Frequently Asked Questions
How do I replace concrete floors without damaging surrounding areas?
Start by assessing how the existing slab is constructed—whether it’s a standalone slab-on-grade or bonded to footings—because demolition methods differ. Protect walls, door frames, and utilities by sealing gaps and using dust-control barriers before you start jackhammering. Plan a controlled concrete floor removal strategy (scoring lines, using a demolition hammer, and removing in sections) so you don’t crack adjacent slabs or disturb plumbing embedded in the concrete.
What steps are involved in replacing a concrete floor from demolition to finishing?
First, remove the existing concrete floor carefully with proper PPE and dust containment, then inspect the subgrade for settlement, cracks, or moisture issues. Next, repair the base by compacting fill, installing a vapor barrier if needed, and setting any required insulation. Pour and level new concrete using correct mix design and thickness, then finish with the right technique and cure properly to prevent shrinkage cracks and weak surfaces.
Why does my new concrete floor crack after replacement, and how can I prevent it?
Cracking usually comes from curing problems, improper slab thickness, lack of jointing, or moisture and temperature swings during and after the pour. To reduce risk, use the correct concrete mix, maintain recommended curing time, and include control joints in a planned layout. If you suspect high moisture from the ground, address it before installing the concrete floor replacement with a proper vapor barrier and drainage considerations.
Which is best for replacing concrete floors: self-leveling underlayment or full slab replacement?
Self-leveling underlayment can be ideal when the existing concrete is structurally sound but has minor dips, unevenness, or surface defects, because it improves flatness for tile, vinyl, or laminate. Full slab replacement is best when the slab is severely cracked, uneven due to failure of the subbase, or affected by moisture that can’t be controlled. A professional inspection of flatness, cracking patterns, and moisture testing will help you choose the right approach.
What’s the best way to prepare the subgrade before replacing concrete floors?
Proper subgrade preparation is essential for durability, so you should remove debris and weak material, then compact the base to the specified density for your project. Fix any drainage or moisture problems first, because poor drainage can undermine the slab and lead to future settling or spalling. After compaction, install a vapor barrier where appropriate, and ensure the formwork is set accurately so your new concrete floor replacement achieves consistent thickness and levelness.
📅 Last Updated: October 10, 2026 | Topic: How to replace concrete floors? | Content verified for accuracy and freshness.
References
- Google Scholar Google Scholar
https://scholar.google.com/scholar?q=replace+concrete+floor+slab+removal+and+replacement+guidelines - Google Scholar Google Scholar
https://scholar.google.com/scholar?q=concrete+floor+slab+repair+overlays+surface+preparation+bonding+agents - Google Scholar Google Scholar
https://scholar.google.com/scholar?q=concrete+saw+cutting+floor+demolition+silica+dust+controls+oshasilica - Silica, Crystalline – Overview | Occupational Safety and Health Administration
https://www.osha.gov/silica - Asbestos | US EPA
https://www.epa.gov/asbestos - https://www.epa.gov/lead/renovating-repairing-and-painting-program
- Pavement Preservation – Design & Analysis – Pavements – Federal Highway Administration
https://www.fhwa.dot.gov/pavement/preservation/index.cfm - https://www.fhwa.dot.gov/pavement/rehabilitation/
- https://en.wikipedia.org/wiki/Concrete_slab
- https://en.wikipedia.org/wiki/Concrete_repair