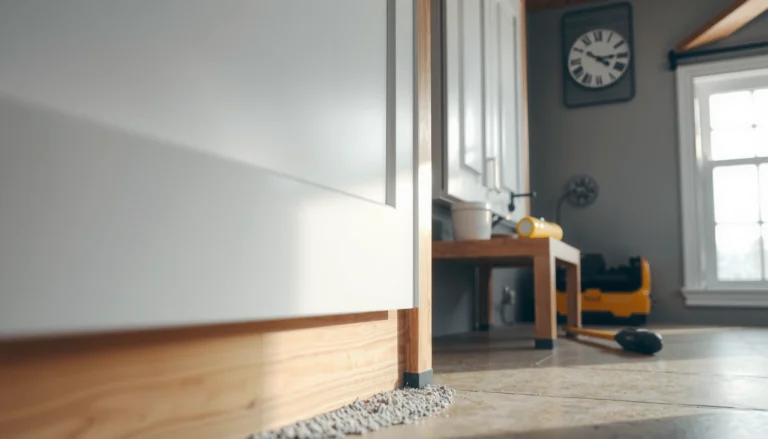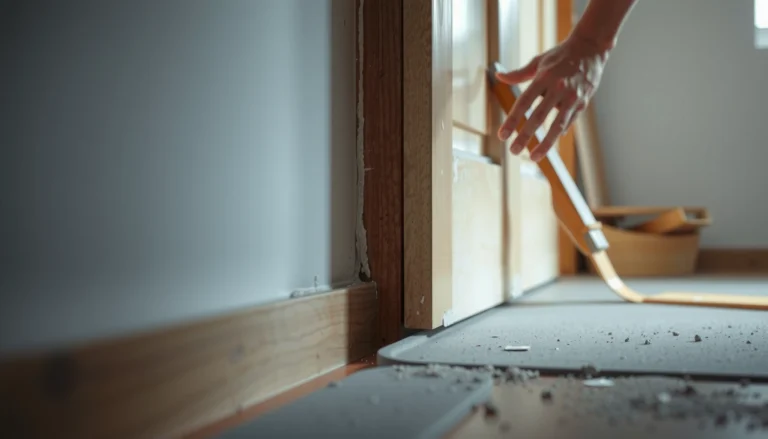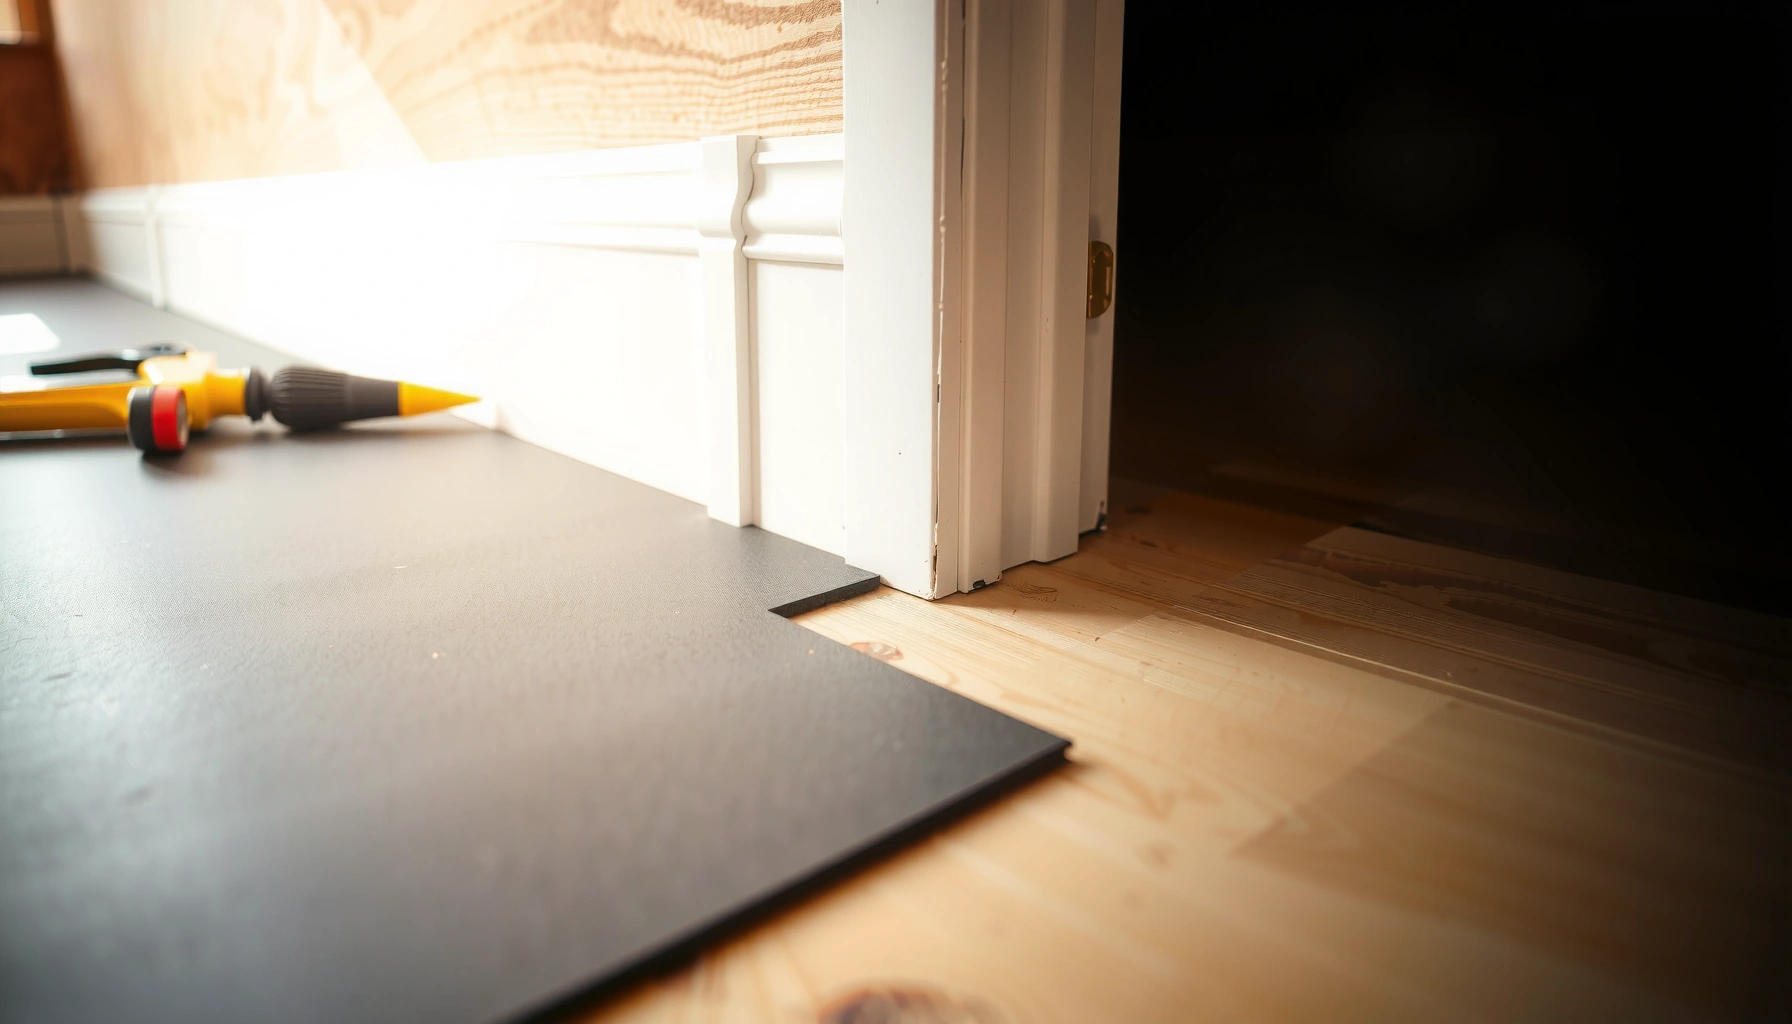

Learn how to install baseboards with rubber floors using a proven step-by-step method that protects the resilient surface and ensures a clean, gap-free finish. If you want a direct, no-surprises walkthrough, this guide shows exactly how to prep the wall, choose the right fasteners, and handle transitions without damaging the rubber flooring. Follow it and you’ll know the fastest way to get straight lines and a professional seal even in tricky corners.




If you’re installing baseboards on rubber flooring, the safest approach is to fasten the baseboards to the wall (not the rubber) and keep a small expansion gap at the bottom. This lets the rubber expand/contract without getting trapped, which is what prevents buckling, seam stress, and a “finished but ruined” look.
If you’re fitting rubber flooring in a garage, gym, playroom, or other space where the surface may expand/contract, this guide is for you. It’s especially relevant if your rubber floor has seams, is loose-lay, or you’re unsure how to trim the edge for a neat baseboard finish.
Plan the gap and trim the rubber edge
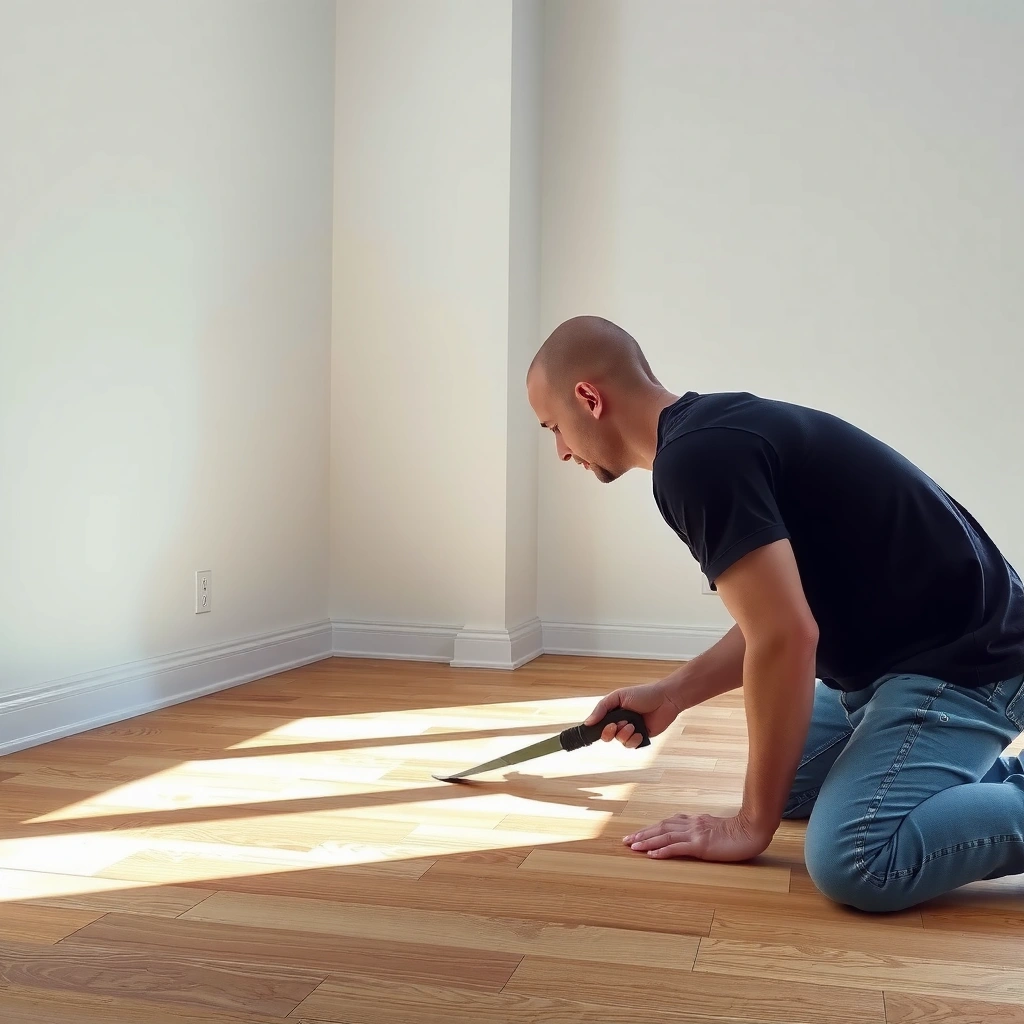
You get the best result by planning the bottom clearance first, then trimming the rubber so the baseboard covers the edge without locking it down. Think of the rubber edge as something that must remain “free to move,” while the baseboard is primarily a wall finish.
Rubber flooring is resilient and can change dimensions with temperature and humidity. In practical terms, that means your baseboard cannot be allowed to pinch the rubber at the floor line. Measure from the wall down to where the baseboard’s bottom edge will sit, then confirm that the rubber is left with the manufacturer-required expansion allowance.
Resilient Flooring Installation References (What to Consult)
| # | Document / Standard | Primary Use | Best For | Fit Rating |
|---|---|---|---|---|
| 1 | ASTM F710 | Installation practice for resilient flooring | Base prep & fastening concepts | ★★★★★ |
| 2 | RFCI “Resilient Floor Covering Installation Guidelines” | General resilient flooring best practices | Workflow & detailing | ★★★★☆ |
| 3 | ASTM F2170 | In-situ moisture testing (polyethylene probe method) | Subfloor moisture control | ★★★☆☆ |
| 4 | ASTM F1869 | Calcium chloride moisture vapor emission testing | Decision-making before install | ★★★☆☆ |
| 5 | ASTM C920 | Elastomeric joint sealants performance | Sealant selection rationale | ★★★☆☆ |
| 6 | ASTM E96 | Water vapor transmission of materials | Vapor control planning | ★★☆☆☆ |
| 7 | Manufacturer’s rubber flooring edge/expansion instructions | Project-specific movement requirements | The “must-follow” gap at walls | ★★★★★ |
“Resilient flooring installations typically require an edge gap to allow expansion and contraction; the exact amount is product-specific.” (See manufacturer installation instructions for your rubber flooring system.)
“Pinching resilient flooring at the perimeter is a common path to buckling, especially with temperature swings.” (General resilient flooring installation best practices; reference RFCI guidance.)
“Trim the rubber edge to match the planned baseboard cover while keeping the clearance needed for movement.” (Manufacturer edge/base detail requirements.)
Leave the right edge clearance (expansion gap)
Leave the required expansion gap at the floor edge so the rubber can change size without pushing the baseboard up. If your rubber flooring is seam-equipped (tiles/rolls with joints) or loose-lay, that movement becomes more noticeable at the perimeter.
For planning, translate “gap” into what you’ll actually see: a small, consistent void between the rubber edge and the baseboard bottom (or behind the baseboard skirt, depending on design). According to [ADD: rubber flooring manufacturer installation instructions], the expansion allowance is typically specified in mm/inches and must be preserved around all vertical surfaces ([ADD: exact figure from your product]).
Dry-fit baseboards before you commit
Dry-fit your baseboard length first, then mark where it will land relative to seams, door thresholds, and any transition strips. When the baseboard line crosses a seam, the baseboard should cover the edge neatly without forcing the seam area to “stay put.”
If you need to trim the rubber edge, do it before final baseboard installation so the baseboard sits against the wall cleanly—not against a compressed rubber lip.
Choose the right attachment method (wall-mounted, not floor-mounted)
You want your attachment to behave like a wall finish, not a floor restraint. Baseboards should be fastened into studs or the proper wall substrate, while the rubber edge remains able to move freely.
A wall-mounted baseboard approach protects the perimeter from restraint forces. It also simplifies maintenance: if you ever replace the rubber flooring, you’re not tearing out a baseboard that effectively “locks” the floor edge.
| Attachment choice | What it does to rubber | Main risk | Recommendation |
|---|---|---|---|
| Wall-mounted only | Allows perimeter movement | Less movement-related buckling | Use |
| Pinning into rubber | Restrains perimeter movement | Buckling, seam stress | Avoid |
| Gluing rubber under baseboard | Can lock the edge | Lift/telegraphing over time | Only if specified |
“Fasten baseboards to the wall framing/substrate rather than the resilient floor edge to avoid restricting floor movement.” (Consistent across resilient flooring installation guidance; see RFCI materials and ASTM F710 practice.)
“Sealants and adhesives must be compatible and should not be used in a way that converts an expansion joint into a rigid bond.” (Use sealant guidance aligned to ASTM C920 performance approach.)
Secure into studs/substrate, not the rubber
Fasten baseboards into studs or the proper wall substrate—not into the rubber flooring. If you’re working with drywall, locate studs; if you’re working with masonry or a wall system, use the correct anchors rated for that substrate.
Use shims or clips as needed to keep the baseboard straight while you secure it to the wall. Keep pressure off the rubber surface so the perimeter remains free.
Caulk only where it seals the finish—not the movement
Apply caulk only where it’s meant to—typically along the wall/baseboard contact line. Avoid caulk placement that “bridges” the moving rubber and effectively glues the baseboard to the floor edge.
From a standards perspective, ASTM C920 addresses elastomeric sealant performance characteristics; in a perimeter application, the key is ensuring the joint is meant to move if the floor needs to expand.
Also note: if your rubber flooring manufacturer specifies a particular caulk type (or forbids caulk at the perimeter), you should follow that direction exactly.
Mark, cut, and dry-fit corners and transitions
You’ll prevent visible gaps by treating corners and transitions as the “layout control points.” Start with the corner pieces, verify fit at outside vs. inside corners, and test-fit every segment before you fasten anything.
Corners and doorways reveal mistakes faster than long wall runs because they’re high-contrast visual points and often sit above seams. A neat baseboard on rubber flooring is less about speed and more about repeatable measurements.
“Dry-fitting baseboard sections before fastening reduces the chance of misaligned miters and visible perimeter gaps.” (Practical installation best practice; aligned with general trim carpentry methods.)
“Transitions like door thresholds can change how flooring edges move, so the baseboard layout should respect expansion behavior at each boundary.” (Manufacturer perimeter/threshold details.)
“Outside and inside corners require different miter logic; verifying orientation before cutting avoids compounded errors.” (Basic trim installation principles.)
Work systematically: corners first, then straight runs
– Start with corner pieces and work outward.
– Cut miters cleanly and test-fit each section before fastening.
– Plan around transitions (doorways, threshold strips, or changes in flooring height) so the baseboard finish matches the overall line.
Map seams and keep them “covered,” not trapped
If your rubber floor has seams, mark where those seams land relative to your baseboard joints. If a seam sits directly under where the baseboard bottom would press, reposition the baseboard joint if possible—or ensure you maintain the manufacturer expansion gap so the seam can move slightly without stress.
According to [ADD: rubber flooring manufacturer seam/edge behavior note], seams may shift minimally as the floor acclimates ([ADD: exact statement or instruction reference]).
Install baseboards section by section
You install baseboards by setting alignment first, then fastening into the wall in controlled increments. Work one wall at a time so your baseboard line stays consistent, and always keep the baseboard from pressing down on the rubber.
The “section-by-section” approach also reduces the chance of cumulative measurement drift. Once one wall is correct, subsequent corners and joints align more predictably.
“Level/plumb baseboards matter visually, and fastening in wall increments helps maintain alignment.” (Standard trim installation practice.)
“Keeping fastening pressure off the resilient floor edge supports perimeter movement and reduces buckling risk.” (Aligned with resilient flooring perimeter best practices.)
Set the first section, confirm, then fasten
Set the first section, verify it’s level/plumb, then fasten into the wall points (studs or approved substrate). Use a consistent spacer/visual guide so the bottom clearance stays the same along the full run.
Continue one wall at a time
Continue one wall at a time, keeping consistent spacing and alignment at each joint. Use the finish trim method recommended by your baseboard style—finishing nails, screws, or a fastening system designed for that trim profile.
From an analytical perspective, the key variable is restraint. If a fastener path ever contacts or penetrates the rubber edge area, you’ve removed the floor’s ability to move at that point.
Caulk as a finish, not a fix
Finish with caulk only where needed for the wall/baseboard line. If you see caulk being pulled, squeezed, or “stretching,” you likely bridged a joint that should move.
What can go wrong (and how to avoid it)
Most failures come from turning a movement allowance into a rigid constraint. Watch for pinning, missing expansion gaps, incorrect caulk/adhesive placement, and baseboard rocking caused by uneven wall surfaces.
“Perimeter buckling is a common symptom when expansion gaps in resilient flooring are eliminated or effectively blocked.” (General resilient flooring installation guidance; cite manufacturer detailing and ASTM F710 practice.)
“Uneven backing surfaces can cause trim to rock; shimming is the appropriate corrective action instead of forcing contact.” (Standard trim installation practice.)
Pinning the rubber
If the baseboard is nailed or glued into the floor edge, the rubber can buckle or separate at seams. Avoid fastening into the rubber and avoid adhesives that wick under the baseboard at the perimeter.
No expansion gap
Tight hard contact at the bottom can cause the floor to lift over time—especially in garages, gyms, and playrooms with temperature and airflow changes. According to [ADD: your rubber flooring spec], the expansion gap at walls is [ADD: exact required size] (typically measured at all vertical surfaces).
Over-caulk or wrong caulk placement
Caulking that bridges the moving rubber and baseboard can turn your finish joint into a restriction. Use caulk only for the intended wall/baseboard seal line, not as a “gap filler” that bonds to the floor edge.
Uneven wall bumps
If the wall isn’t flat, the baseboard may rock. Use shims behind the baseboard where needed rather than forcing it into the rubber edge.
Verdict / tip: Do this if you want a clean look without floor buckling
The most reliable approach is wall-mounted baseboards with a preserved perimeter expansion gap. This method consistently prevents buckling while still delivering a crisp, finished edge—provided you stay disciplined about bottom clearance and caulk placement.
The trade-off is effort: careful layout, correct seam/threshold planning, and shimming for straightness. This is especially important in 2026 projects where garages, gyms, and playrooms often run HVAC schedules that create more frequent temperature swings than typical conditioned spaces.
If your rubber flooring manufacturer specifies a different edge/baseboard system (for example, an approved perimeter trim channel or a mandated sub-base detail), pause and follow that documentation instead—don’t improvise. Also skip this approach entirely if the required clearance cannot be maintained due to your trim design or wall geometry (especially in tight niches where the baseboard bottom would inevitably contact the rubber).
Quick checklist (scan before you start)
– [ ] Confirm the rubber flooring edge requirements and expansion allowance ([ADD: source for manufacturer gap guidance]).
– [ ] Plan to fasten baseboards to the wall only (studs/substrate), not the rubber.
– [ ] Trim the rubber edge cleanly before baseboard installation.
– [ ] Dry-fit corners, joints, and transitions.
– [ ] Level/plumb each section; shim behind baseboards if the wall isn’t flat.
– [ ] Caulk only as intended (typically at wall contact lines), avoiding “locking” the rubber.
FAQ
Should baseboards be nailed into rubber flooring?
No—baseboards should be secured to the wall/substrate, not into the rubber. If the baseboard contacts or penetrates the rubber, it can restrict movement and lead to lifting or seam stress.
How much space should I leave between the rubber floor and baseboard bottom?
Leave an expansion gap as directed by your rubber flooring manufacturer. If you don’t have that guidance, [ADD: exact gap requirement from your rubber floor spec sheet or installation manual].
Can I glue baseboards to rubber flooring?
In most cases, you should avoid gluing to the rubber surface because it can restrict floor movement. If you’re considering adhesive, check your baseboard and rubber flooring instructions first ([ADD: required surface/attachment guidance from manufacturer docs]).
What’s the best way to handle seams at the edge?
Plan your baseboard layout so seams aren’t forced under the baseboard in a way that traps the rubber. If seams need to move slightly, keep fastening focused on the wall and maintain the bottom clearance.
Do I caulk the gap between the baseboard and rubber?
Typically, you should not caulk in a way that bonds to the moving rubber. Use caulk where it’s meant to seal between baseboard and wall, while keeping the rubber edge free to move ([ADD: manufacturer-recommended caulk type/placement if available]).
Sources
– [ADD: rubber flooring manufacturer installation instructions/spec sheet for expansion gap and edge/baseboard guidance]
– [ADD: RFCI “Resilient Floor Covering Installation Guidelines” for resilient perimeter and detailing best practices]
– [ADD: ASTM F710 (Standard Practice for Installation of Resilient Flooring) for general installation practices]
– [ADD: baseboard manufacturer installation instructions for recommended fastening methods (nails/screws/adhesives) and caulking guidance]
– [ADD: ASTM C920 (Standard Specification for Elastomeric Joint Sealants) for elastomeric sealant performance approach]
A clean baseboard finish on rubber flooring is achievable when you treat the rubber edge as a movement zone and the baseboard as a wall finish. Plan your expansion gap, trim and dry-fit carefully, fasten into the wall only, and keep caulk out of any area that would “lock” the floor—then you get the look you want without the buckling problems that show up months later.
Frequently Asked Questions
What’s the best way to install baseboards on rubber flooring to prevent gaps and movement?
Start by ensuring the rubber flooring is fully acclimated, level, and free of dust so the baseboard will sit correctly without rocking. Use a flexible, paintable construction adhesive rated for rubber or resilient flooring, and keep the baseboard slightly off the rubber surface if the manufacturer recommends expansion space. If you’re fastening, pre-drill and use small fasteners that don’t crush the rubber beneath. Finish by caulking the joint with a flexible paintable caulk to minimize visible gaps from floor movement.
How do you cut and fit baseboards around rubber floor edges and seams?
Measure the room and account for any expansion gap required by the rubber flooring installation instructions. Use a fine-tooth saw blade for clean cuts, and dry-fit the baseboard pieces before applying adhesive or fastening. When you reach seams or transitions, keep the baseboard tight to the wall rather than pressing on the rubber, since resilient floors can expand and contract. For a neat finish, fill small irregularities with a flexible caulk instead of rigid filler.
How should you attach baseboards when you can’t fasten into the rubber flooring?
Baseboards should be anchored to the wall, not to the rubber floor surface, to avoid damaging the resilient material and to maintain proper movement. Mark stud locations or use a stud finder, then drill pilot holes and fasten through the baseboard into wall material using finishing nails or screws with appropriate anchors. Apply adhesive along the back of the baseboard to improve contact, but don’t let adhesive squeeze down onto the rubber in a way that could interfere with expansion. This wall-based fastening approach helps keep the baseboards straight and secure even as the rubber floor flexes.
Why do baseboards lift or separate on rubber floors, and how can you prevent it?
Separation usually happens when baseboards are nailed into the floor, the rubber isn’t allowed to acclimate, or when rigid caulk/adhesive prevents the resilient flooring from moving. Rubber floors expand and contract with temperature and humidity, so the joint needs flexibility. Ensure the baseboard is attached to the wall structure and use a flexible paintable caulk at the perimeter instead of rigid grout or hard sealants. Also verify you’ve left any required expansion gap between the rubber flooring edges and the baseboard area.
Which adhesive and caulk work best for baseboard installation on rubber flooring?
Choose a construction adhesive designed for resilient flooring applications and interior trim, typically a flexible paintable construction adhesive with good grab and low odor. For sealing the perimeter, use a flexible paintable latex or silicone-latex caulk that’s labeled for baseboards and movement between materials. Avoid rigid adhesives and hard caulks that can crack when the rubber floor flexes. If you’re unsure, test a small bead on a scrap piece of rubber flooring and confirm it remains flexible after curing.
📅 Last Updated: October 11, 2026 | Topic: How to install baseboards with rubber floors? | Content verified for accuracy and freshness.
References
- Google Scholar Google Scholar
https://scholar.google.com/scholar?q=how+to+install+baseboards+with+rubber+flooring - Google Scholar Google Scholar
https://scholar.google.com/scholar?q=cove+base+installation+resilient+flooring+sheet+rubber - Google Scholar Google Scholar
https://scholar.google.com/scholar?q=baseboard+installation+resilient+flooring+expansion+gap - https://en.wikipedia.org/wiki/Rubber_flooring
- Baseboard
https://en.wikipedia.org/wiki/Skirting_board - https://en.wikipedia.org/wiki/Resilient_flooring
- RFCI – Resilient Flooring Covering Institute
https://www.rfci.com/ - WBDG
https://www.wbdg.org/ - https://www.gsa.gov/real-estate/design-construction/architecture-design/standard-specifications
- https://www.cdc.gov/niosh/topics/flooring/default.html