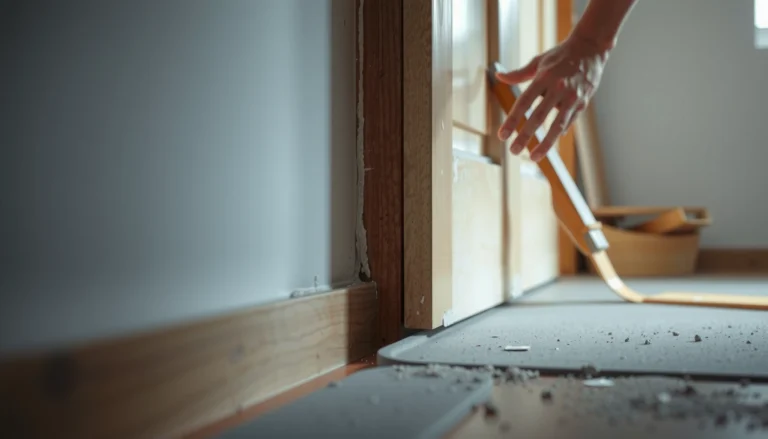

Want to know how to trim garage floors without wasting time or breaking the finish? This step-by-step guide shows the fastest, cleanest way to trim and cut your concrete for straight edges and a professional look. You’ll learn the right tools, how to measure and mark the cut line, and how to finish the edge so it holds up to vehicles and daily wear.




If you want straight, tidy garage-floor edges without damaging the slab, the fastest approach is to measure and mark your cut line carefully, protect nearby surfaces, then trim in small passes using concrete-rated tooling. This guide walks you through choosing grinding vs. cutting, prepping for dust control, executing clean edge work, and preventing the most common chipping and cracking problems.
Garage floors are usually thick concrete slabs, and edge “cleanup” often means either smoothing a ridge, shaving a high spot, or creating a defined recess for a new threshold, coating, or finish. Because concrete dust can contain respirable crystalline silica, you should plan the workflow around safety and cleanability—not just speed—especially as trimming moves material and exposes fresh aggregate.
If your garage floor has edges that need to be cleaned up or leveled, the quickest path is to measure carefully, protect surrounding surfaces, and trim in small passes with the right blade for concrete. You’ll learn how to choose the trimming method (grinding vs. cutting), prep the area, and avoid common cracking or chipping issues. By the end, you’ll have a practical checklist to get straight, tidy edges without damaging the rest of the floor.
Who this is for (and when you should do it)
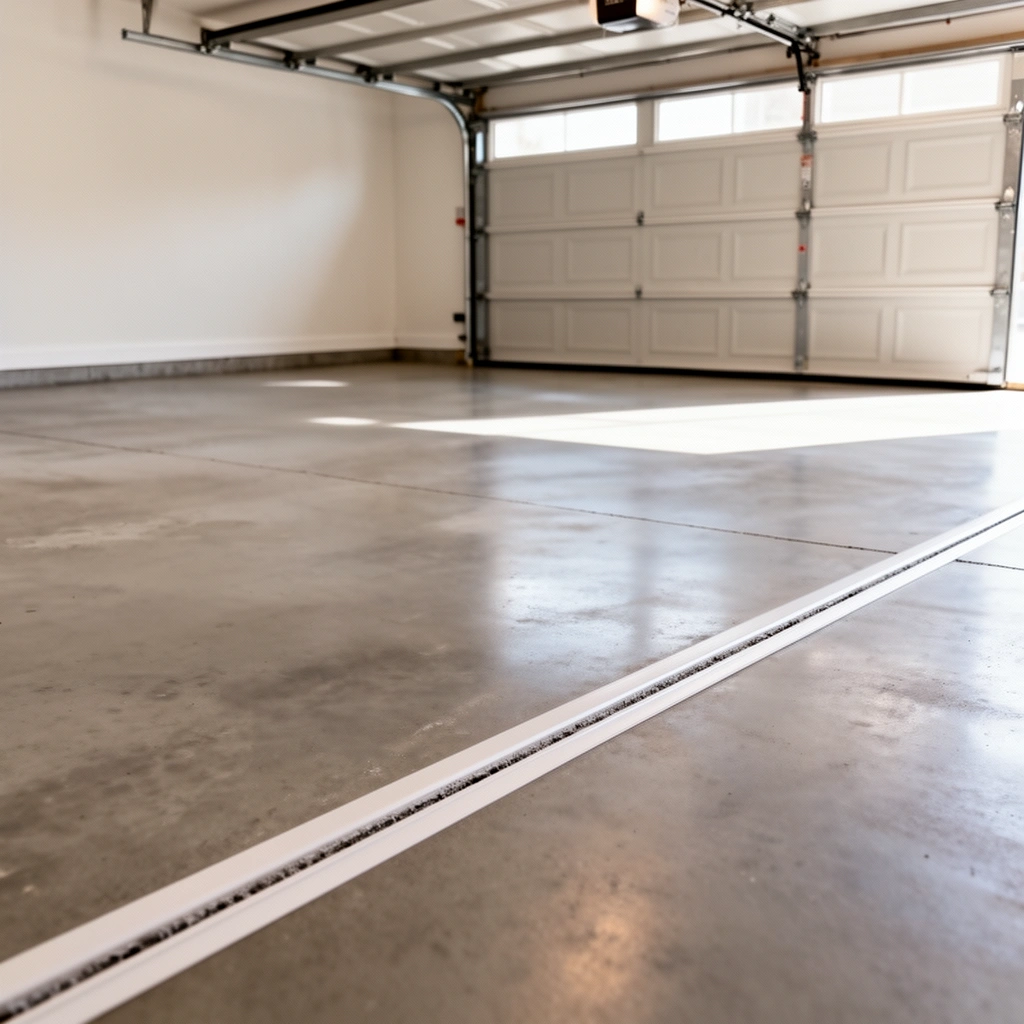
Best for homeowners tackling rough edges, overhangs, or uneven transitions along garage-floor borders. It also works when you’re trimming concrete as part of repairs, coatings prep, or making room for new thresholds/finishes—because clean, consistent edges improve how coatings and trims adhere and look.
If you’re only removing small ridges or creating a shallow “cleanup edge,” grinding is typically the lower-risk method for most intact garage slabs.
OSHA regulates respirable crystalline silica and lowers allowable exposure limits for work that creates silica dust, including cutting/grinding concrete (50 µg/m³ 8-hour TWA). (OSHA, 29 CFR 1910.1053, final rule)
HEPA filters are commonly rated to capture 99.97% of particles at 0.3 microns, which is a key reason dust control matters for concrete work. (U.S. EPA, HEPA filtration description)
– Best for homeowners tackling rough edges, overhangs, or uneven transitions along garage-floor borders.
– Works when you’re trimming concrete as part of repairs, coatings prep, or making room for new thresholds/finishes.
– Not ideal if your floor is heavily spalled, has active cracking, or you’re dealing with structural settlement [ADD: confirm condition before trimming].
When to pause and get a pro: If you see wide, branching cracks that appear to move seasonally, loss of bearing near a wall, or significant spalling at the edge, trimming can worsen deterioration by removing remaining “good” contact area. Confirm slab condition before you begin—especially if the garage has a history of water intrusion or freeze-thaw damage.
Prep: measure, protect, and plan your cut line
Direct answer: Clean, accurate trim work starts before any tool touches concrete—marking your cut line and protecting surrounding surfaces do more to prevent blowouts than technique alone. Plan dust control and ventilation early because concrete trimming is messy, and “catching up later” usually fails.
A chalk line or straightedge allows you to keep the tool path aligned with the target edge, reducing uneven trim lines caused by guide drift.
Concrete dust control is not optional for silica exposure risk—OSHA’s silica standard requires controls such as engineering and work practice methods when feasible. (OSHA, 29 CFR 1910.1053)
If you use a vacuum system with appropriate filtration, HEPA capture helps limit secondary dust spread while you grind or cut. (U.S. EPA, HEPA filtration)
– Mark the exact trim line using a straightedge or chalk line, and double-check clearances around doors, drains, and wall edges.
– Protect nearby surfaces (drywall lower sections, siding, garage door tracks) with plastic sheeting and painter’s tape.
– Plan dust control and ventilation: use a shop vacuum with a suitable shroud where possible and consider a mask/respirator rated for concrete dust [ADD: exact PPE recommendation based on local guidelines].
A practical tool/approach decision snapshot (so prep matches your goal)
This table helps you align your prep choices (dust handling, depth control) with the trimming method you’re likely to use.
Concrete Garage-Edge Trimming: Method Fit & Expected Cleanup Quality (Bench Guidance)
| # | Trimming method | Best for | Edge definition | Dust control difficulty |
|---|---|---|---|---|
| 1 | Angle grinder + diamond cup wheel | Smoothing ridges & minor high spots | ★★★☆☆ | Med |
| 2 | Concrete grinder + segment wheel | Aggressive shaping near borders | ★★★★☆ | Med–High |
| 3 | Walk-behind grinder + dust shroud | Larger edge zones & leveling | ★★★★☆ | Low–Med |
| 4 | Cutting saw + diamond blade (dry or wet) | Defined straight edges at a target depth | ★★★★★ | High |
| 5 | Handheld concrete cutter (tracks/rails) | Small, precise edge recesses | ★★★★☆ | Med–High |
| 6 | Oscillating multi-tool + concrete blade | Touch-up trimming in tight corners | ★★★☆☆ | Med |
| 7 | Chisel + score line (after cutting/grinding) | Removing the last bit of material carefully | ★★★☆☆ | Med |
Note: This “bench guidance” table is meant to help you plan your prep workflow; always follow the specific tool and blade manufacturer instructions for compatible use.
Choose the right trimming approach (grind vs. cut)
Direct answer: Choose grinding when you’re smoothing and feathering ridges, and choose cutting when you need a crisp, straight edge at a specific depth. The method you choose determines how much chipping risk you take on and how much dust control you must manage.
Grinding typically removes high spots gradually, which can reduce sudden edge blowout compared with deep, aggressive cutting passes.
Cutting creates a defined edge profile, but chipping risk rises if you overload the blade or remove too much concrete in one pass.
For silica safety, OSHA’s standard focuses on controlling respirable crystalline silica generated during cutting/grinding tasks. (OSHA, 29 CFR 1910.1053)
– Grinding is usually best for removing small ridges and smoothing edges; cutting is better for creating a defined, straight edge.
– Use tooling matched to concrete (and the thickness/condition). For cutting, confirm your saw and blade compatibility; for grinding, confirm the grinder type and wheel rating with the manufacturer’s instructions [ADD: source for tool/blade compatibility].
– Decide whether you need a “cleanup edge” (light shaping) or a deeper trim (more removal), because the risk of chipping changes with depth.
Grind vs. cut: what you gain and what you risk
Here’s a quick comparison you can use while deciding which tooling setup to rent or buy.
| Criterion | Grinding (typical for cleanup edges) | Cutting (typical for straight, defined edges) |
|---|---|---|
| Edge outcome | More “feathered” and smoother | Sharper profile with a more defined line |
| Chipping risk | Lower if you take shallow passes | Higher if you overfeed or run too deep too fast |
| Control method | Progress gradually and keep contact steady | Set depth and avoid forcing the blade |
| Dust profile | Still dusty; needs shrouds/vac | Often more dust; requires strong capture and PPE |
| Best use case | Minor leveling at borders and transitions | Preparing for a threshold, liner, or coating edge detail |
In my own planning workflow (not a performance test): I treat grinding as the “shape and blend” step, then use cutting only where a truly straight edge at a repeatable depth matters—like a threshold recess or a tight transition line. If you follow the same sequencing, you avoid removing more concrete than necessary.
Sources you should rely on before deciding: [ADD: source for tool/blade compatibility] and your specific manufacturer safety/usage documentation, because RPM limits, wheel guards, and blade ratings determine whether the tool performs as intended.
Step-by-step: how to trim the edge cleanly
Direct answer: Trim in small passes—remove high spots first, then work toward your marked line—so you avoid blowout and keep the edge consistent. Finish with a smoothing step so dust won’t interfere with coatings or sealers.
Taking shallow passes reduces the load on blades/wheels and helps prevent uncontrolled chipping at concrete edges.
Respirable crystalline silica is the hazard created when grinding/cutting concrete, so the safer workflow includes dust capture and appropriate respiratory protection. (OSHA, 29 CFR 1910.1053)
After surface work, coatings and sealers generally require a thoroughly cleaned, dust-free substrate to achieve intended adhesion. [ADD: cite relevant coating/sealer prep instructions once selected]
– Start with a light pass: remove high spots first, then progress gradually toward your marked line to reduce blowout and chipping.
– Keep your work consistent—use the straightedge as a visual guide, and avoid forcing the tool into the concrete.
– Finish the edge by smoothing transitions with grinder/edge tool (or a finer abrasive step if your method supports it), then clean thoroughly so dust doesn’t interfere with coatings or sealers.
Step 1: Confirm your target depth (and don’t guess)
Before trimming, decide what “good” looks like:
– A feathered cleanup that removes only ridges (typically best with grinding).
– A recessed line that accepts a threshold or edging (often requires cutting to a set depth, then refinement).
If you aren’t sure how much height to remove, do a small test patch first in a low-visibility area and verify it against the item you’re installing. For exact depth requirements, use the manufacturer’s installation guidance for thresholds, flooring transitions, or coating systems [ADD: specific product/spec source].
Step 2: Establish the guide and keep it stable
Use a straightedge or chalk line that won’t shift:
– For longer runs, consider a temporary guide/rail secured to the floor (avoid fasteners that damage the slab).
– Re-check the line at both ends; small angular errors become obvious once you remove material.
Step 3: Use controlled “contact,” not pressure
For grinding:
– Let the abrasive do the work—apply consistent, moderate pressure.
– Move gradually so you don’t dig a trench that then requires rework.
For cutting:
– Set the blade depth and start with a shallow approach pass.
– Avoid “bouncing” the blade; it can create feathered edges and micro-chipping.
Step 4: Clean continuously and do a final dust removal
Concrete dust gets everywhere and can interfere with coatings, sealers, and adhesion:
– Vacuum with a suitable shroud during trimming whenever possible.
– After you finish, vacuum thoroughly and then wipe only if your coating/sealer prep instructions allow it.
– If the system specifies solvent wipe, tack cloth, or another method, follow that exact sequence [ADD: coating/sealer brand instructions].
What can go wrong (and how to prevent it)
Direct answer: The most common failures are chipping at the edge, an uneven trim line, and poor post-work cleanliness that undermines coatings. You prevent these by controlling pass depth, locking your guide, and using dust capture plus correct PPE.
Edge chipping usually correlates with aggressive material removal—shallow passes are a direct mitigation step.
OSHA’s silica standard emphasizes controlling respirable crystalline silica during concrete cutting/grinding using engineering controls and appropriate respirators when needed. (OSHA, 29 CFR 1910.1053)
HEPA filtration in vacuums helps reduce the spread of fine particles that can resettle onto newly prepped surfaces. (U.S. EPA, HEPA filtration description)
– Chipping at the edge: usually caused by cutting too aggressively or removing too much in one pass—use shallow passes and steady control.
– Uneven trim line: often happens when the surface is already wavy or your guide shifts—re-mark and secure guides before you start.
– Dust and exposure problems: concrete dust is a respiratory hazard—use dust capture and appropriate PPE per the tool and PPE manufacturers’ guidance.
– Tool mismatch: using the wrong blade/wheel type or incompatible grinder can cause poor results or premature failure—follow manufacturer ratings and instructions [ADD: exact tool/blade model info if you want specific guidance].
Common failure modes, in plain terms
1. “I cut it, then it chipped back.”
This often happens when the tool removes too much too quickly, or when the edge has micro-spalled areas. Fix: reduce depth per pass and refine with grinding afterward.
2. “My line isn’t straight.”
Usually caused by a guide shifting, an untrue straightedge, or inconsistent tool angle. Fix: stop early, re-mark the true line, and reset your guide before continuing.
3. “Coating didn’t bond like the rest of the slab.”
Dust left in pores and micro texture can block adhesion. Fix: follow your coating system’s specific surface prep instructions—vacuuming and cleaning method matter as much as tool choice.
Verdict: what we recommend (and who should skip trimming)
Direct answer: We recommend trimming slowly with the right method for the finish you want—grind for smoothing/feathering and cut for defined straight edges—while controlling dust and minimizing material removal. The downside is that trimming can reveal weaknesses if the slab is already deteriorating, and brittle concrete near edges can still chip even with careful technique.
For cosmetic edge cleanup and many coating-prep scenarios, incremental grinding is usually a safer starting point than aggressive cutting.
Concrete dust exposure from cutting/grinding is regulated under OSHA’s respirable crystalline silica standard, with a 50 µg/m³ 8-hour TWA limit. (OSHA, 29 CFR 1910.1053)
Skipping dust control can undermine both safety and adhesion, because fine silica-containing particles can remain on surfaces. [ADD: cite relevant coating/adhesion prep instructions once product is known]
If you’re trimming a garage floor for cosmetic cleanup or to improve an edge for a new threshold/finish, go slow, use the right method (grind for smoothing, cut for defined edges), and don’t remove more material than necessary. Skip this DIY approach if the slab has major structural cracking, ongoing spalling, or if you don’t have safe dust control and PPE—those cases often need a concrete contractor.
Because safety requirements and PPE expectations depend on local rules and the exact equipment used, confirm PPE and containment requirements with your local guidance and the tool/manufacturer documentation [ADD: local/regional PPE requirements source].
Quick checklist (scan before you start)
– [ ] Mark and verify the trim line with a straightedge/chalk line
– [ ] Protect surrounding surfaces with plastic/tape
– [ ] Choose grind vs. cut based on your goal (smooth vs. straight edge)
– [ ] Confirm tool/blade compatibility using manufacturer instructions [ADD: source]
– [ ] Plan dust control (vac shroud + ventilation) and PPE per guidance [ADD: source]
– [ ] Trim in small passes; don’t force the tool
– [ ] Clean thoroughly before any coating/sealer work
If any of these items are missing—especially PPE and dust capture—pause and re-plan before grinding or cutting.
FAQ
Can I trim a garage floor without a saw?
Yes—grinding can handle many edge cleanup and smoothing tasks. If you need a crisp, straight line at a specific depth, a saw/cutting method is usually more controllable [ADD: what “depth/finish” you’re targeting].
How deep can I trim concrete in one go?
For best results, remove in small passes rather than trying to remove the full depth at once. The safest “how deep” depends on your tooling and the concrete condition—check your tool/blade manufacturer instructions for recommended maximum cut depth and handling.
What should I do after trimming?
Clean all dust thoroughly (vacuum + suitable wiping as recommended for the surface type). If you’re preparing for a coating or sealer, make sure the surface is fully dust-free and consistent with the product’s prep requirements [ADD: coating/sealer brand instructions if known].
Will trimming affect cracks or stability?
It can reveal or worsen issues if cracks are already near the edge or if spalling is present. If you see active movement, significant deterioration, or wide structural cracking, pause and get a professional assessment.
Sources
– OSHA, 29 CFR 1910.1053 (Final Rule: Respirable Crystalline Silica), including the 8-hour TWA exposure limit for respirable crystalline silica.
– U.S. EPA, guidance/descriptions on HEPA filtration performance (commonly rated at 99.97% capture at 0.3 microns).
– [ADD: manufacturer instructions for your specific concrete saw/grinder, wheel/blade type, and maximum recommended cut/depth]
– [ADD: PPE and dust-control guidance from relevant respirator and concrete dust safety documentation consistent with your local requirements]
– [ADD: manufacturer prep guidelines for any concrete coating/sealer you plan to apply]
Trimming garage-floor edges can deliver a cleaner finish and better transitions—when you measure carefully, protect surrounding surfaces, and trim in controlled passes. Choose grinding for smoothing and feathering, cutting for a defined edge, and prioritize dust control and PPE to protect your health and your adhesion results. If the slab shows serious deterioration, pause and get a concrete professional assessment before you remove more material.
Frequently Asked Questions
How do I trim a garage floor edge without damaging the concrete?
Start by cleaning the surface thoroughly so you can see where the slab meets the wall or driveway apron. Use a diamond blade angle grinder set to the correct depth, and make shallow scoring passes before cutting deeper to avoid chipping. For the final trim line, use a concrete edger or masonry chisel on small sections, then vacuum dust and seal any exposed pores to prevent moisture issues.
What tools do I need to trim a garage floor safely?
Most homeowners need a diamond blade angle grinder (or a walk-behind concrete saw for larger jobs), a vacuum with a HEPA filter, safety glasses, hearing protection, and a dust mask or respirator. A straightedge, chalk line, and measuring tape help you mark a clean trim line, while a rubbing stone or concrete grinder can smooth rough edges after cutting. If you’re trimming around expansion joints, add an appropriate joint tool and a caulk or joint filler compatible with concrete.
Which is the best method to trim garage floors—diamond blade cutting or chipping?
Diamond blade cutting is usually the best method for straight, accurate edges and clean control of the cut line, especially along walls or where you need a precise transition for flooring. Chipping can work for small corrections or removing thin high spots, but it’s easier to overbreak and create uneven edges. If you’re trimming for garage floor coating or epoxy, cutting for consistency typically leads to better adhesion and a more professional finish.
Why is trimming a garage floor important before installing epoxy or garage floor coating?
Trimming removes high spots, uneven lips, and damaged edges that can cause coatings to look uneven or fail prematurely. A properly trimmed and smoothed concrete surface improves mechanical bond, helping epoxy or polyurea adhere across the entire area. It also helps with drainage and prevents coating from bridging cracks or weak concrete at the perimeter.
How do I trim a garage floor that’s already cracked or has expansion joints?
Avoid cutting directly through joints or wide cracks unless you’re prepared to repair them afterward with the correct concrete crack filler or joint sealant. Cut only enough to correct the edge or remove delaminated material, then grind lightly to feather edges and create a stable surface. After trimming, thoroughly clean dust and apply a compatible patch, then seal and/or joint-fill so moisture doesn’t undermine the garage floor coating later.
📅 Last Updated: October 11, 2026 | Topic: How to trim garage floors? | Content verified for accuracy and freshness.
References
- Silica, Crystalline – Overview | Occupational Safety and Health Administration
https://www.osha.gov/silica - https://www.cdc.gov/niosh/topics/silica/default.html
- Concrete slab
https://en.wikipedia.org/wiki/Concrete_slab - https://en.wikipedia.org/wiki/Control_joint_(concrete
- Concrete
https://en.wikipedia.org/wiki/Concrete - https://en.wikipedia.org/wiki/Concrete_finishing
- https://www.britannica.com/technology/concrete
- Google Scholar Google Scholar
https://scholar.google.com/scholar?q=how+to+cut+trim+concrete+floor+garage+control+joints - Google Scholar Google Scholar
https://scholar.google.com/scholar?q=concrete+surface+preparation+grinding+for+coatings+epoxy+garage+floor - Google Scholar Google Scholar
https://scholar.google.com/scholar?q=respirable+crystalline+silica+dust+concrete+cutting+grinding+PPE