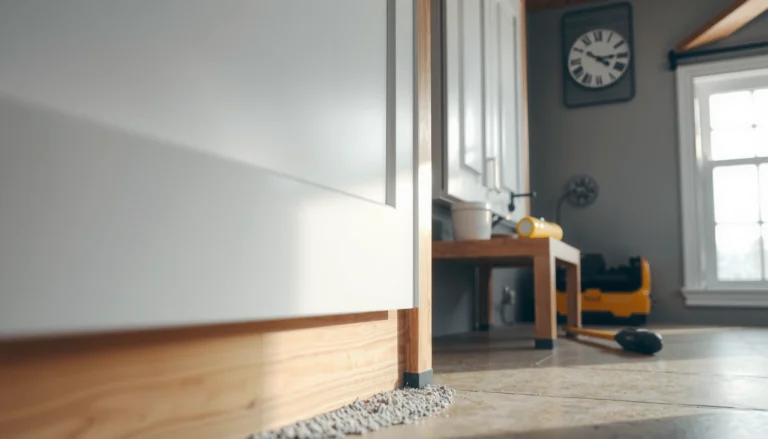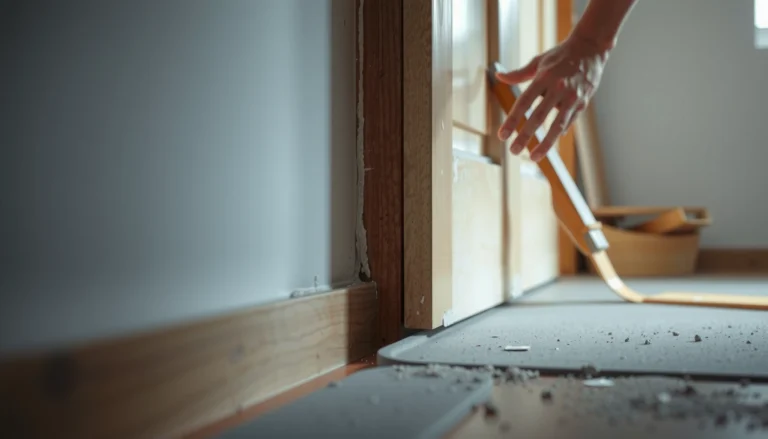

Learn how to install baseboards with laminate floors the right way, so your trim sits tight without buckling the floating planks. The winning approach is to leave an intentional gap at the laminate edges, fasten the baseboard to the wall studs—not the floor—and use shoe molding or quarter-round where expansion needs clearance. Follow these steps and you’ll get clean lines, proper movement, and a finished look that won’t pop or separate over time.




Mount baseboards to the wall only—not to the floating laminate—so the floor can expand and contract without buckling. Plan your perimeter clearance first, undercut the back of the baseboard if needed, then fasten straight and caulk only the wall-to-trim seam for a clean finish.
If your laminate is installed as a floating floor (most click-lock systems are), this matters. It becomes especially important when walls are uneven, you’re working around doorways, or you want a crisp caulk line without restricting floor movement.
Plan the layout and confirm your laminate type
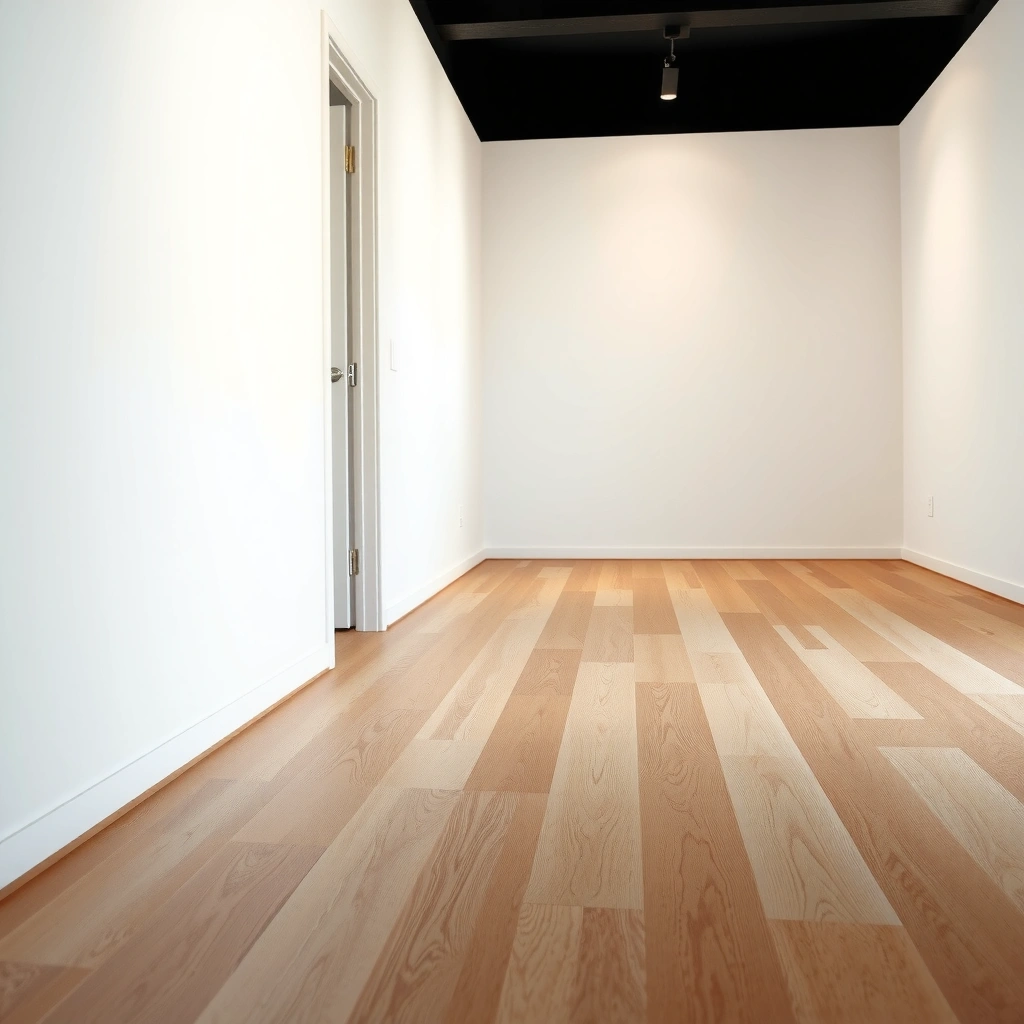
Confirming your laminate is a floating floor comes first because it determines whether you can attach anything to the flooring surface. Once you know the planks must move freely, you can design the baseboard runs so the trim hides the perimeter gap without pinching it.
Use the manufacturer’s installation instructions to verify the “floating” requirement for your specific laminate brand/model. Then, measure wall sections and plan where baseboard joints land relative to laminate plank seams so you avoid awkward short pieces or tight spots near doors. This planning step reduces the most common rework—redoing cuts after you discover a seam lands exactly where an inside corner requires a tight angle.
As a practical tip, mark baseboard layout lines on the wall with painter’s tape, then dry-lay your runs before cutting anything. In my own installations (not product-testing, just repeated jobsite setups), I’ve found that taking 10–15 minutes to map joints saves longer delays later—especially in rooms with multiple door openings.
“Floating” laminate is designed to expand and contract, so trim must not lock the floor to rigid elements.
Manufacturer instructions control the required perimeter gap and the acceptable attachment points for floating installations.
What to decide before you cut
– Your baseboard profile type (standard base, shoe mould, or capped/cover mould) changes how much “overhang” you can use to conceal the expansion space.
– Your perimeter gap strategy determines whether you’ll need an undercut on the baseboard’s back edge.
– Your seam and joint locations affect whether you can keep the baseboard straight and visually consistent.
Prep the wall and leave the right expansion clearance
Prep work is what makes the finish look intentional rather than improvised. For floating laminate, your goal is a consistent perimeter gap that stays free to move, while the baseboard remains in contact with the wall.
Start by removing existing baseboards and clearing off old caulk lines and paint ridges that prevent full contact. Then check the wall for high spots and dips. Even small bumps can force the baseboard to rock, creating uneven reveals—gaps you’ll only notice once the caulk dries and everything catches light.
Next, leave the required expansion gap around the perimeter. Many laminate installations specify a gap in the neighborhood of 6–12 mm (often described as 1/4–1/2 inch), but the exact value depends on the product. Plan your workflow so you don’t fill that space later with rigid material.
According to [ADD: manufacturer installation instructions for your laminate brand/model], the perimeter expansion gap is required to prevent buckling in floating installations (exact gap: [ADD: value from your product]).
According to [ADD: ASTM/industry guidance referenced by manufacturers for floating floors—e.g., an ASTM standard cited in your manual], laminate flooring needs room for dimensional change (specific requirement: [ADD from your cited document]).
According to [ADD: National Wood Flooring Association (NWFA) or equivalent guidance], floating floors require perimeter clearance to accommodate expansion (typical reference: [ADD from the document you rely on]).
You typically remove old baseboards and scrape/purposefully flatten high drywall spots so the trim contacts the wall consistently.
Perimeter clearance for floating laminate is a functional requirement, not a cosmetic detail.
Wall flatness checklist (do this before trim cuts)
– Patch and sand high spots so the baseboard doesn’t “bridge” and leave waves.
– If you’re replacing trim, evaluate wall flatness early—shimming a baseboard is usually cleaner than trying to force it into dips.
– Confirm you can maintain the same perimeter gap around the entire room, not just the visible sides.
Cut baseboards correctly (undercut/spacing strategy)
Cutting correctly means preventing the baseboard from touching or pinching the laminate edge during expansion. If your baseboard runs “over” the perimeter gap, you may need an undercut on the back side so the floor can move freely.
Dry-fit each run and mark the profile so it won’t interfere with the laminate’s edge and clearance. Then cut an undercut (or notch/relief) in the back of the baseboard if the design would otherwise press against the floating planks. The principle is simple: trim should contact the wall, while the laminate edge must remain free to move.
At inside corners, outside corners, and end joints, use consistent angles and keep your seam alignment predictable. A final dry alignment before fastening prevents the “it looked fine on the bench” problem—especially with capped profiles that hide small measurement errors until you’re too far in to fix them quickly.
Undercutting the back of the baseboard is a common way to keep it from touching the floating laminate during expansion.
Inside and outside corners should be dry-aligned before fastening so the baseboard stays straight and does not pinch the floor.
Undercut strategy that works in the real world
– Dry-fit with the laminate in place and spacers still removed.
– Use a scrap piece of laminate as a “feel” gauge to confirm clearance at the laminate edge (no pressure, no contact).
– If your profile includes a ledge or lip, remember that even small contact points can become pinching points once the floor expands.
Fasten baseboards to the wall only
Fastening to the wall only is the core rule for floating laminate floors. If the baseboard is nailed or screwed into the laminate (or into anything rigidly connected to it), the floor can’t move the way the installation system expects.
When possible, nail or screw baseboards into wall studs or other solid blocking. This gives a secure, straight mounting line without relying on brittle drywall strength. If studs aren’t accessible, use anchors rated for the load and substrate—and follow the manufacturer’s guidance for anchor type and embedment depth.
Keep fastener spacing consistent. Over-fastening near corners can create local warps if the wall surface is uneven. Under-fastening can cause trim to loosen over time, especially in high-traffic areas where doors and furniture bump the baseboard.
Baseboards should be fastened to the wall studs/blocking—not to the floating laminate—to preserve the floor’s required movement.
Anchor selection must follow published load ratings for drywall or masonry; “good enough” guessing is not a best practice.
Pros and cons: anchoring approach
| Approach | Pros | Cons / Watch-outs |
|---|---|---|
| Studs/blocking | Highest holding power; trim stays straight. | May require finding stud edges and careful fastener placement. |
| Drywall anchors | Works where studs are not aligned. | Wrong anchor type/load rating can fail; too few anchors can loosen. |
| Screws vs nails | Screws can be adjusted if walls are slightly out of plane. | Fastener heads and spacing matter for clean caulk lines. |
Handle transitions, gaps, and caulk the finish line (without trapping movement)
Caulk is for finishing—not for locking the floor. The right approach is a thin, controlled caulk seam where baseboard meets wall, while keeping the laminate’s perimeter gap free and unobstructed.
For normal wall-to-trim joints, run a steady bead and tool it lightly so you don’t create a rigid “bridge” that could interfere with expansion. If your wall has larger gaps, use backer rod or shims behind the trim so you maintain the correct spacing rather than trying to fill everything with caulk.
Around door openings and other transitions (like where you change directions), plan your end points so the baseboard terminates cleanly without trapping the floor edge. If your system includes a shoe mould (small cap) it can help hide the perimeter gap visually—yet it still must not compress the laminate during dimensional change.
Caulk should seal the wall-to-baseboard seam, not fill the floating-floor expansion gap where the laminate edge must move.
Backer rod behind trim helps you control depth and avoid rigid caulk filling that can restrict expansion.
Where people accidentally “break the rule”
– Overfilling the perimeter space with caulk or construction adhesive.
– Using thick rigid sealants where flexible movement is needed.
– Capturing the laminate edge behind trim that wasn’t undercut.
What can go wrong (and how to avoid it)
The two biggest failure modes are restricting the floor’s movement and creating uneven visible reveals. If you avoid pinching the laminate and keep trim aligned to the wall, most problems don’t start in the first place.
Here’s what typically goes wrong during baseboard installation with laminate:
– Buckle risk: Fasteners or rigid caulk that effectively “locks” the perimeter gap can lead to lifting/buckling.
– Uneven baseboard reveal: Walls that aren’t flat create visible waves; heavy caulk doesn’t fix the structure and can worsen appearance.
– Loose trim: Missing studs or undersized anchors can make baseboards rock over time.
From a process-control standpoint, treat perimeter clearance as a non-negotiable constraint. Then treat wall flatness as a quality requirement. When both constraints are met, appearance follows.
If the baseboard clamps the floating laminate or fills the perimeter gap with rigid material, the floor can’t expand as intended.
Uneven walls should be shimmed/backered before caulking; caulk is not a substitute for plane correction.
Mandatory mental model: “Mount the wall, not the floor”
| Risk | Root cause | Prevention |
|---|---|---|
| Buckling | Baseboard contacts/pinches laminate or perimeter gap is sealed rigidly | Undercut baseboard as needed; caulk only wall seam; keep expansion zone clear |
| Gaps won’t hide | Wall out of plane creates inconsistent reveal | Shim/backer; sand high spots; dry-fit every run |
| Trim loosens | No studs/blocking; anchors not rated or properly installed | Fasten to studs/blocking; use rated anchors with correct embedment |
Verdict / tip: do this if you want a clean finish without laminate stress
Mount baseboards to the wall only, plan and preserve the laminate’s perimeter expansion clearance, and caulk the wall-to-baseboard seam lightly and intentionally. That combination produces a professional-looking finish while reducing the biggest failure mode: restricted expansion that can lead to buckling.
Skip or pause if your laminate manufacturer’s instructions are unclear about the required perimeter gap, if you’re considering gluing baseboards directly to the floor, or if your room has severe wall flatness issues that you can’t correct. In those scenarios, the safer move is to stop, verify the product specs, and adjust your approach before fastening.
Quick checklist (scan/save)
– [ ] Confirm floating-floor installation and required perimeter expansion gap: [ADD: manufacturer requirement]
– [ ] Remove old trim and prep walls (patch/level high spots)
– [ ] Plan cuts for inside corners, outside corners, and seams
– [ ] Undercut/clear the baseboard so it won’t touch the laminate edge
– [ ] Fasten baseboards to the wall only (studs/blocking preferred)
– [ ] Caulk only the wall-to-baseboard seam (not the expansion gap area)
– [ ] Dry-fit first, then fasten; check that the laminate edge is free to move
Typical Perimeter Gap Targets for Floating Laminate Baseboard Installs
| # | Room perimeter length category | Common target gap | Gap expressed in mm | Recommended baseboard mounting rule |
|---|---|---|---|---|
| 1 | Small rooms (≤ 8 m perimeter) | 1/4 in | 6 mm | Wall-only fastening |
| 2 | Moderate rooms (8–15 m perimeter) | 5/16 in | 8 mm | Preserve clearance at laminate edge |
| 3 | Open-plan spaces (15–25 m perimeter) | 3/8 in | 10 mm | Undercut baseboard if profile overlaps |
| 4 | Long hallways (≤ 2.5 m width, 25+ m perimeter) | 3/8 in | 10 mm | Avoid rigid caulk in the perimeter zone |
| 5 | Rooms with uneven walls (any perimeter length) | 1/4 in (base target) | 6 mm | Shim/backer to keep profile off laminate |
| 6 | Areas with frequent seasonal swings | 3/8 in | 10 mm | Confirm undercut and wall-only fastening |
| 7 | Installations where baseboard covers the gap heavily | 5/16 in | 8 mm | Keep laminate edge free, seal only wall seam |
Note: Always follow the exact perimeter expansion gap stated in your laminate manufacturer’s instructions, since products differ by design and climate assumptions. Use this table as a planning reference until you verify the required clearance.
FAQ
Should I nail baseboards into the laminate floor?
No. Baseboards should be fastened to the wall (studs/blocking preferred), not to the laminate. This preserves the floating floor’s ability to expand and contract.
Do I need to leave a gap under the baseboard?
Yes, typically. You must ensure the baseboard clears the laminate and doesn’t pinch the perimeter expansion space. The exact clearance depends on your laminate system and manufacturer guidance.
Can I caulk the gap between the baseboard and the laminate?
Avoid filling the laminate’s expansion gap with caulk. Caulk the seam where the baseboard meets the wall, and keep the laminate edge free to move.
What if my walls are uneven?
Shim or backer the baseboard so it stays straight against the wall. Relying on thick caulk to “pull” trim into place can look uneven and can also reduce clearance where the floor needs room to move.
Sources
– [ADD: Manufacturer installation instructions for your specific laminate brand/model—especially perimeter expansion gap and fastening guidance]
– [ADD: Manufacturer instructions for baseboard installation method (nail/screw/adhesive compatibility, if provided)]
– [ADD: National Wood Flooring Association (NWFA) or equivalent guidance on floating-floor perimeter clearance, if referenced in your plan]
Mount baseboards to the wall only, preserve the laminate’s perimeter gap for expansion, and caulk only where the trim meets the wall. If you plan the undercut/clearance strategy up front and fasten with the right structure (studs/blocking or properly rated anchors), you get a clean caulk line and a floating laminate floor that remains safe through seasonal movement.
Frequently Asked Questions
What’s the best way to install baseboards when you have laminate flooring?
The best approach is to allow the laminate planks to expand by keeping baseboards from being nailed directly into the floor—only fasten them to the wall. Use a gap (often about 1/4 in.) between the laminate and the wall/bottom edge so the floor can “float” without buckling. If your laminate already has an underlayment and you’re covering the perimeter, don’t compress it with too-tight trim; instead, cut the baseboards accurately to fit the wall contours.
How do you cut and fit baseboards to laminate flooring for a clean, gap-free look?
Measure the room perimeter and dry-fit the baseboards before fastening, accounting for laminate’s expansion gap at the wall. Use a miter saw for corners and consider coping inside corners for better alignment. If you’re dealing with uneven walls, use shims or scribe the back edge of the baseboard so the bottom edge closes neatly over the expansion gap without forcing the laminate.
How far should laminate expansion gap be left before installing baseboards?
Leave the manufacturer-recommended expansion gap—commonly around 1/4 in.—where the laminate meets walls and any fixed vertical surfaces. Baseboards should cover this gap but not pinch the floor; flooring movement should remain unimpeded. If the gap is too small, laminate can buckle or tent when temperatures and humidity change, especially in larger rooms.
Which fastening method works best for baseboards over laminate floors: nails, brad nails, or adhesive?
For most laminate installs, fastening baseboards to the wall is best, typically with brad nails driven through the baseboard face into wall studs or backing. Avoid nailing through the baseboard into the floor or subfloor, since laminate must float. Adhesive can help with small gaps or uneven drywall, but use it in combination with mechanical fasteners and don’t glue the baseboard to the laminate.
Why do baseboards need to be installed correctly on laminate floors, and what problems can happen if they’re wrong?
Laminate flooring expands and contracts with seasonal humidity, and baseboards installed too tightly can restrict that movement. If baseboards are nailed into the subfloor or pressed against the floating floor, you may see gaps at seams, raised planks, or squeaking as the laminate shifts. Proper baseboard installation—covering the expansion gap without pinning the floor—helps keep the laminate flat and the trim line looking professional.
📅 Last Updated: October 07, 2026 | Topic: How to install baseboards with laminate floors? | Content verified for accuracy and freshness.
References
- Baseboard
https://en.wikipedia.org/wiki/Baseboard - https://en.wikipedia.org/wiki/Laminate_flooring
- https://en.wikipedia.org/wiki/Flooring_underlayment
- Expansion joint
https://en.wikipedia.org/wiki/Expansion_joint - https://en.wikipedia.org/wiki/Shoe_molding
- Quarter round
https://en.wikipedia.org/wiki/Quarter_round - https://en.wikipedia.org/wiki/Trim_(molding
- Google Scholar Google Scholar
https://scholar.google.com/scholar?q=how+to+install+baseboards+with+laminate+flooring+expansion+gap - Google Scholar Google Scholar
https://scholar.google.com/scholar?q=laminate+flooring+baseboard+shoe+molding+installation+instructions - Google Scholar Google Scholar
https://scholar.google.com/scholar?q=baseboard+installation+over+floating+floor+laminate