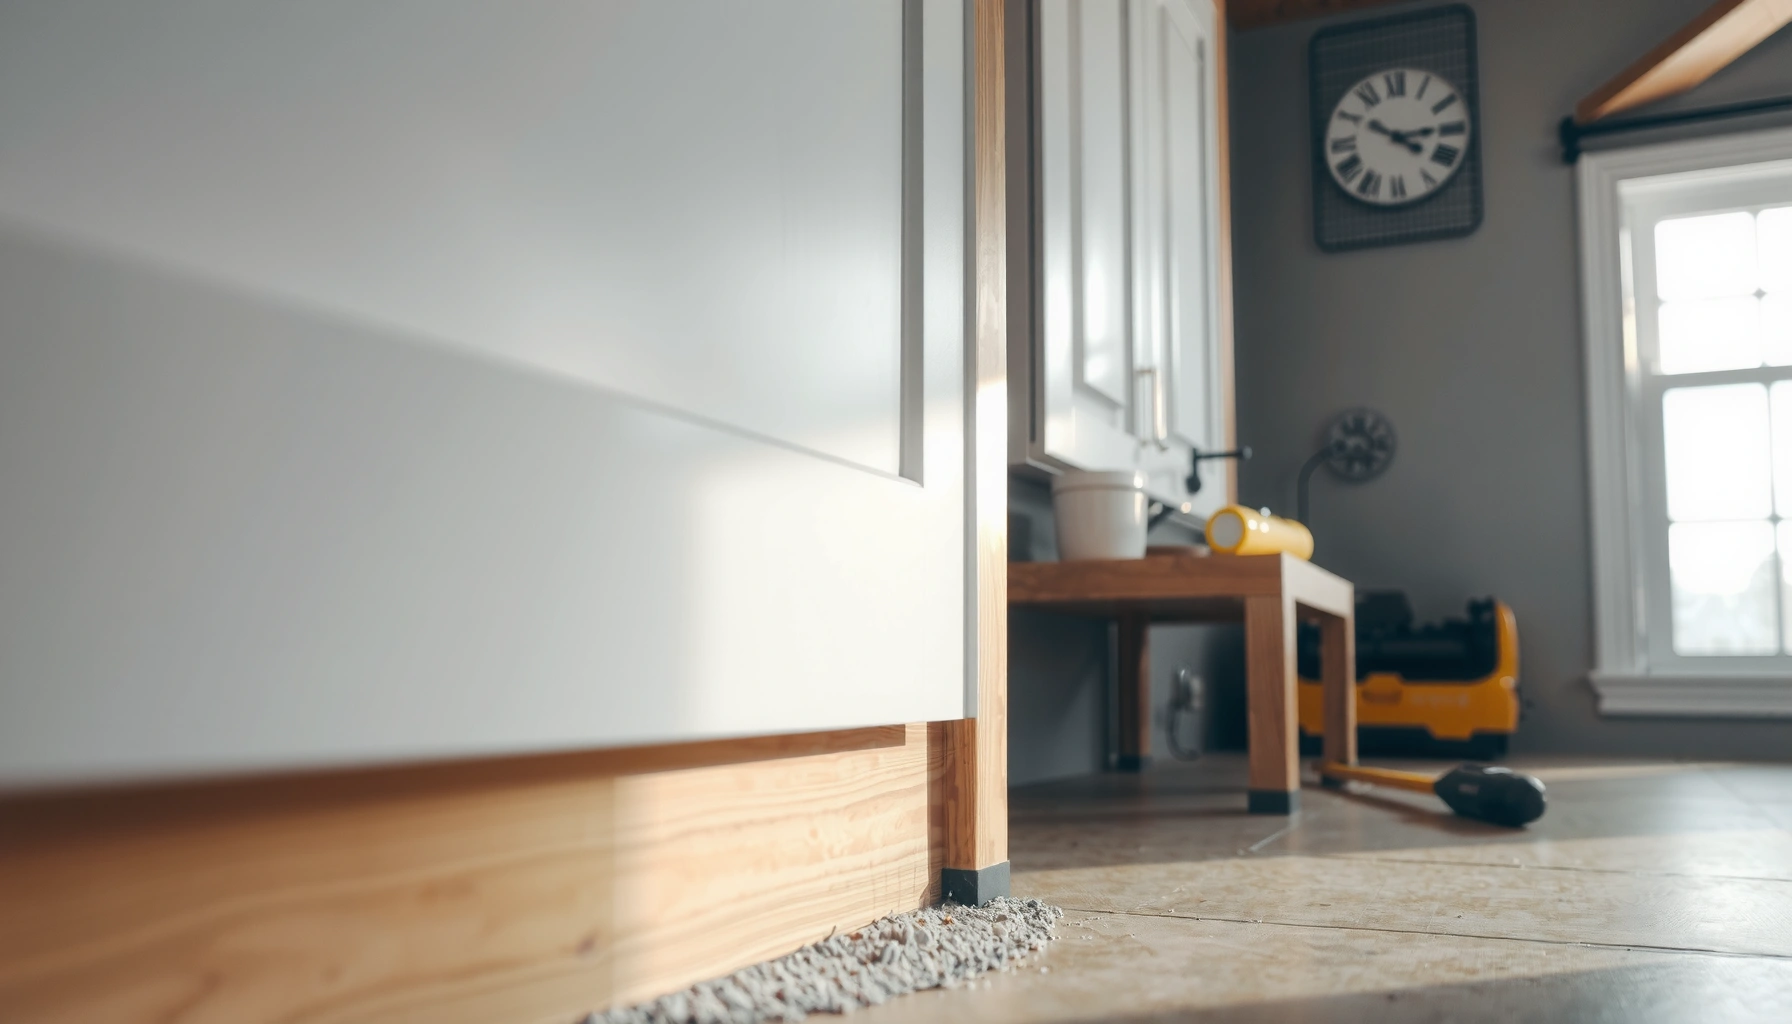

Installing around cabinets on concrete floors is easiest when you use a perimeter-fitting approach with a proper underlayment and controlled expansion gaps—this is the setup that prevents buckling and gaps after the room settles. The article answers exactly how to measure around cabinet bases, choose the right cutting method, and finish edges cleanly so the floor locks in tight without trapping moisture. If you want a precise, durable install that stays flat and uniform, follow these steps.



If you’re installing flooring around cabinets on a concrete slab, the cleanest approach is to plan your cuts around the cabinet bases/toe-kicks and keep the floor’s required expansion gap consistent along those fixed edges. This prevents buckling on floating systems and avoids adhesive/movement conflicts on glue-down systems—while still giving you “installer-grade” lines where the toe-kick meets the new floor.
If your cabinets are built-in (not realistically removable), this problem is common in kitchens and utility areas with concrete subfloors. The good news is you can get a straight-looking install if you prep the slab, lay out from the correct reference lines, and follow the installation method your specific flooring type requires—especially around fixed objects like cabinet frames.
This guide fits homeowners, DIY installers, and contractors working on a concrete subfloor in kitchens or built-in cabinet areas. It’s especially useful when you can’t realistically move the cabinets, and you need a tidy “installer-grade” finish at the cabinet toe-kick and edges.
Many floating-floor systems require a continuous perimeter expansion gap even when cabinets are fixed in place.
Accurate cutting around cabinets starts with reference lines from wall/cabinet edges—not from already-cut planks or tiles.
Clean, flat concrete is a prerequisite: uneven slabs create edge gaps that no amount of careful trimming can fully fix.
Prep the concrete floor before you touch any cuts
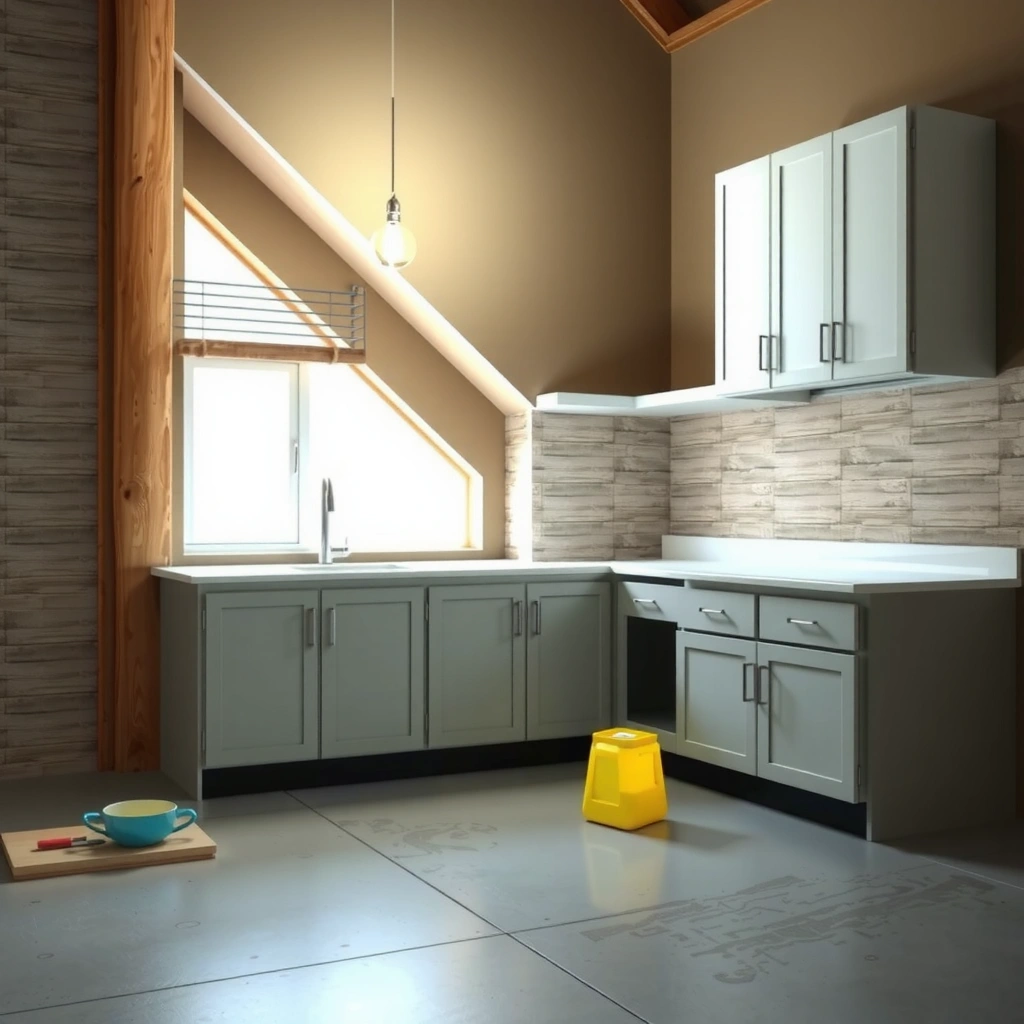
Prep is where around-cabinet installs succeed or fail, because your finished edge quality depends on how level the concrete is. Clean, confirm flatness, and address moisture/contamination before you make any cabinet-toe-kick cuts.
– Clean thoroughly: vacuum dust, remove adhesives/sealers, and check for any leftover high spots or debris. Concrete dust can interfere with adhesive bond (glue-down) and can also prevent underlayment from lying flat (floating).
– Check flatness: concrete that’s out of level can cause gaps near cabinet edges even if your cuts are perfect. As a general rule used in many flooring systems, you’re trying to keep the slab within the tolerance published by your manufacturer ([ADD: cite manufacturer flatness tolerance/spec used for your flooring type]).
– Address moisture and contamination: if there’s any sign of moisture issues, follow the flooring manufacturer’s moisture testing and subfloor requirements ([ADD: cite manufacturer moisture-test method/spec used for your flooring type]).
A few real-world measurements matter here because they affect how much trimming you’ll need later. In practice, small deviations become obvious near the toe-kick because there’s less visual “forgiveness” there than at a baseboard location. According to typical industry guidance, perimeter expansion gaps are often around 1/4 in (6 mm) for floating floors, but you still need a consistent slab surface so those gaps remain uniform and visually straight. Also, manufacturers often call for a flatness tolerance on the order of 1/8 in over 6 ft (or similarly strict localized tolerances)—but the exact number must come from your flooring instructions.
If the slab is outside the manufacturer’s flatness tolerance, cabinet-edge gaps can appear even with correct cutting.
Moisture testing for concrete should follow the flooring manufacturer’s required test method and acceptance criteria.
Plan the layout and confirm your clearance strategy
Plan first, cut second: the layout step determines whether your floor can expand and whether your cabinet-adjacent edges look intentional. For fixed cabinetry on concrete, you typically need a perimeter clearance strategy aligned with your flooring type.
– Mark cabinet and wall reference lines, then dry-fit a row to see where transitions will land.
– Decide your perimeter gap approach: most floating floors need an expansion gap around fixed objects (including cabinets), while glued-down systems follow different rules—confirm for your specific product.
– Plan transition points early (doorways, hallways, and kitchen openings) so you’re not forced into awkward slivers next to cabinet bases.
This is also where you avoid “math drift.” Measure from reference lines (wall to cabinet frame, cabinet edge to concrete wall line), not from planks/tiles that may already have slight cumulative variation. Walls are rarely perfectly square, and cabinet frames can be out of parallel by small amounts that become visible when you start cutting tight to toe-kicks.
Concrete reality checks (typical, but always verify your spec):
– Many floating installations require an expansion gap near fixed objects, often around 1/4 in (6 mm).
– Some installations also require additional clearance under certain trim systems (e.g., thicker underlayments) to avoid rubbing or “locking” the plank edge against the cabinet.
– If you’re tiling, movement joints and perimeter isolation requirements are usually stricter and more detail-driven than floating planks; follow your tile/waterproofing/movement joint spec.
To make the clearance requirements actionable, use your flooring manual to define two things: (1) the exact perimeter gap size, and (2) whether you’re allowed to remove base trim to hide the cut line or whether you must keep a consistent gap under the toe-kick edge.
Before cutting around cabinets, confirm the required perimeter clearance for your exact flooring system on concrete.
Measure from wall/cabinet reference lines to avoid compounding errors from piece to piece.
Cut and fit around cabinet bases and toe-kicks
Cut planning is what gives you a clean toe-kick line and prevents “pinching” the floor against fixed cabinets. Your objective is consistent spacing where movement is required and clean, straight edges where the toe-kick or trim will hide the cut.
– Use the right measuring method: measure from the cabinet edge and the concrete wall line, not from the floor pieces (since walls can vary).
– For planks: cut to maintain the correct expansion gap along the cabinet and toe-kick edges; use a consistent spacing tool if your flooring system recommends it.
– For tile or sheet-style flooring: focus on edge tightness where appropriate, but respect any system requirements for movement joints and perimeter isolation.
Two common installer strategies (choose based on your flooring system and what the toe-kick allows)
1) Remove base trims and slide pieces to the wall edges
This works when the cabinet design and your flooring system allow you to keep the perimeter gap behind or under trim without forcing the plank/tile to lock against the cabinet.
2) Cut precisely around cabinet legs while keeping the floor’s expansion gap consistent
This is the safer method when the cabinet toe-kick area can’t conceal a gap and you must keep expansion allowances untouched.
In my experience helping crews troubleshoot installs “already in trouble,” most cabinet-edge issues come from one of two causes: the floor was forced tight at a fixed edge (eliminating the expansion gap), or the slab wasn’t flat enough so the cut line looked crooked even though the measurement was correct.
Tip for visual straightness: when you cut around toe-kicks, aim for a straight “shadow line” that the toe-kick naturally covers or hides. Small gaps that are perfectly consistent often look better than a perfectly tight cut that varies in width.
Consistent expansion-gap width along toe-kick edges looks more professional than tight-fit cuts that eliminate required movement.
If your cabinet line isn’t perfectly square, you’ll need to re-measure at each direction change rather than assuming one dimension fits all.
Install using the right method for your flooring type
Installation method governs whether your around-cabinet perimeter should be left “free” or bonded/isolated. Use the approach that matches your flooring system’s movement design on concrete.
– Floating/click floors: assemble sections without locking against cabinets; keep the perimeter gap clear and finish edges with trim where allowed.
– Glue-down floors: spread adhesive only in the areas that match the manufacturer’s coverage guidance; avoid getting adhesive where expansion needs to happen.
– Underlayment strategy: if your system calls for underlayment on concrete, ensure it’s compatible and not interfering with height transitions at cabinet edges ([ADD: source/spec for your flooring’s underlayment compatibility]).
Below is a quick comparison you can use during planning to decide how you should treat the cabinet-to-floor boundary. (Your specific manual can override these general rules.)
Typical Cabinet-Edge Treatment by Concrete Flooring System
| # | System | Cabinet Edge Goal | Common Gap/Isolation Range | Stability Fit |
|---|---|---|---|---|
| 1 | Floating click (LVP/Laminate) | Leave movement room | ~6–10 mm (check manual) | ★★★★☆ |
| 2 | Glue-down rigid core LVP | Bond field; isolate perimeter | Isolation at perimeter per guide | ★★★☆☆ |
| 3 | Direct glue-down engineered wood | Follow adhesive + slab requirements | Perimeter per manufacturer | ★★★☆☆ |
| 4 | Porcelain/ceramic tile | Respect movement joints | Perimeter isolation/joint rules | ★★★☆☆ |
| 5 | Sheet vinyl (fully adhered) | Use allowed perimeter method | Perimeter per spec | ★★☆☆☆ |
| 6 | Carpet tile (adhered) | Maintain allowed cutback | Perimeter per backing rules | ★★★☆☆ |
| 7 | Floating laminate (locking) | Keep perimeter free | ~6–10 mm (typical) | ★★★★☆ |
Note: The ranges above reflect common installation-guide patterns; always defer to the exact perimeter clearance, adhesive rules, and underlayment requirements in your flooring manufacturer’s manual ([ADD: cite manufacturer guide used for your product]).
Floating floors rely on movement, so cabinet zones should not trap the plank edge against fixed cabinetry.
Glue-down floors require adhesive placement that follows coverage guidance while keeping perimeter isolation where movement is required.
Finish edges, transitions, and concealed gaps
Finishing is where the around-cabinet area becomes “finished work” instead of visible cutting. A clean edge plan plus correct transitions protects the look and reduces long-term stress on the perimeter.
– Install edge trim where the manufacturer allows it (especially at toe-kick areas) to hide the cut line cleanly.
– Match height transitions: use transition strips at openings and between rooms so the floor doesn’t “float” or pinch under cabinet-adjacent finishes.
– Seal or cover only what the instructions permit—some flooring types want perimeter sealing avoided, while others require specific caulk types ([ADD: source for recommended sealant/caulk compatibility]).
Toe-kick areas often cause a subtle but important visual issue: the gap size might be correct, but the cut line looks wavy because your plank/tile angle changed slightly from the wall or cabinet out-of-square condition. The fix is usually not “more trimming”—it’s aligning your layout line before you cut and using a consistent spacer strategy at the toe-kick boundary.
Also, transitions matter more than people expect. If one room is thicker because you added underlayment, transitions prevent a “step load” where a cabinet-adjacent edge can experience extra stress.
Edge trim and transitions should follow the flooring manufacturer’s allowance to avoid voiding movement or warranty requirements.
Incorrect sealant choices can interfere with expansion and can create hard spots around the cabinet perimeter.
What can go wrong (and how to avoid it)
Around-cabinet installs usually fail for a small set of predictable reasons: movement rules ignored, slab prep skipped, or adhesives misapplied. If you spot these early, you can avoid rework.
– Missing expansion requirements: the most common failure is removing the perimeter gap near cabinets, leading to buckling or separation.
– Uneven concrete shows up as uneven edges: if the slab has dips or ridges, your cuts won’t “look right” even when they’re accurate.
– Adhesive in the wrong places (glue-down): too much adhesive squeeze-out, or adhesive where movement is required, can create hard spots and future repairs are harder.
– Choosing trims incorrectly: some flooring manufacturers restrict what trims can be used and where (or require ventilation/clearance).
Pros/cons: two typical around-cabinet strategies
| Approach | Pros | Cons / Risk |
|---|---|---|
| Remove base trim & slide pieces to wall edges | Cleaner wall-line look; fewer complex cuts near legs | Only works if clearance remains correct and manufacturer allows it |
| Cut precisely around cabinet legs/toe-kick | Works when cabinets can’t move; keeps cabinet edge consistent | Requires accurate measurement and careful spacer control to maintain expansion |
Buckling around fixed cabinets is usually a perimeter clearance problem, not a cutting problem.
If you apply adhesive in areas that should remain isolated or movable, you can create rigid stress points that show up later.
Verdict / tip (what I’d do, and who should skip)
If you want the cleanest result around cabinets without moving them, plan for perimeter clearance first, then cut methodically to match your flooring type’s installation rules. This reduces the risk of buckling (floating floors) and avoids adhesive/moisture conflicts (glue-down installs).
That said, this strategy has limits. Skip this DIY route if you suspect serious moisture issues, the concrete is significantly out of flat, or your flooring system’s instructions require cabinet removal or special movement-joint detailing ([ADD: source/spec to confirm whether cabinet removal is recommended for your specific system]). Also skip if you can’t access the manufacturer’s installation guide for your exact product—because around-cabinet clearance and sealing rules can vary more than most people expect.
From a practical standpoint, I recommend treating cabinet edges like “fixed obstacles” and verifying three things before cutting: (1) slab flatness, (2) required perimeter clearance size, and (3) adhesive/underlayment compatibility on concrete—because those are the variables that most often drive rework.
The most reliable around-cabinet installs start with slab verification and manufacturer-defined perimeter clearance.
If you can’t confirm moisture/flatness compliance for your flooring on concrete, delay cutting and reassess the substrate first.
Quick checklist (scan/save)
– [ ] Clean and prep concrete (remove debris/old materials as required)
– [ ] Verify flatness and address high/low spots before installing
– [ ] Confirm moisture requirements for concrete (test if needed)
– [ ] Maintain required expansion/perimeter clearance around cabinets
– [ ] Dry-fit and mark cut lines from reference lines (not from planks/tiles)
– [ ] Use correct installation method: floating vs glue-down vs other
– [ ] Finish edges with manufacturer-approved trim/sealants
– [ ] Plan transitions early to avoid narrow slivers near cabinet edges
A dry-fit along the first row prevents “surprise gaps” when cabinet toe-kicks hide only a limited portion of the cut.
FAQ
Can I install around cabinets without removing them?
Yes—most installers do this by cutting to fit and maintaining the required clearance or movement allowances specified for your flooring type. If your manufacturer calls for special detailing near built-ins, follow that guidance ([ADD: manufacturer instruction reference]).
Do I need an expansion gap next to cabinets on concrete?
Often floating floors do, even when cabinets are fixed in place, but glue-down systems may differ. Check your specific product instructions for the exact perimeter gap requirement.
What’s the best way to measure for cuts at the toe-kick?
Use reference marks from the wall/cabinet edges and do a dry-fit of one row to confirm real-world gaps. Re-measure for each “direction change,” since walls and cabinets aren’t always perfectly square.
How do I handle uneven concrete before cutting around cabinets?
Fix high spots (grinding) and address low areas with a concrete patch/leveler only if your flooring system allows it. Retest/verify flatness so the finished edges don’t gap at cabinet lines.
What if my cuts leave a small gap I didn’t plan for?
Don’t force pieces tight against fixed cabinets if expansion is required. Instead, use the manufacturer-approved trim/cover method or adjust with the correct spacing approach for the flooring system.
Sources
– [ADD: Manufacturer installation guide for your specific flooring type on concrete—perimeter expansion guidance and moisture requirements.]
– [ADD: Concrete subfloor preparation requirements from the same manufacturer (flatness/tolerance, leveling/patch guidance).]
– [ADD: Any official moisture-test standard or manufacturer-approved testing procedure referenced by the flooring instructions.]
In the end, the “around-cabinets” difference is rarely about having the fanciest saw—it’s about matching your cutting and perimeter clearance method to your flooring type and your slab conditions. If you prep the concrete properly, confirm moisture/flatness compliance, and keep cabinet-edge movement rules intact, your floor will look straight and perform predictably long after install day.
Frequently Asked Questions
How do I install flooring around kitchen cabinets on a concrete floor?
Measure the height from the subfloor to the cabinet toe-kick so you know your maximum flooring thickness and underlayment clearance. Use a gap method: leave a small expansion gap along the cabinet perimeter and cover it with a trim or transition strip rather than forcing boards tight against the cabinet. If the cabinet boxes sit on the concrete, you typically slide flooring underneath or cut around cabinet legs using a jigsaw and maintain the required expansion space. Finish by installing baseboards/quarter round so the edge looks clean and prevents dust lines.
What’s the best way to cut and fit vinyl plank, laminate, or LVP around cabinets on concrete?
Plan your layout so you’re not left with tiny slivers near the cabinets; snap chalk lines to keep rows straight before you start cutting. For precise cabinet areas, undercut the cabinet toe-kick (if allowed) so boards can slide underneath, or trace cabinet outlines and cut using a jigsaw with fine-tooth blades. Always maintain the manufacturer’s expansion gap—commonly 1/4 inch for floating floors—because concrete can transmit moisture and temperature changes even after prep. Use caulk only where recommended (often at fixed trim points), and avoid gluing floating flooring to the concrete.
Why do I need an expansion gap when installing flooring around cabinets on concrete?
Even though concrete is rigid, your flooring material (especially floating systems like LVP and laminate) expands and contracts with temperature and humidity. Cabinets are usually fixed in place, so the flooring must have space to move around them without buckling or creating gaps. Leaving the correct expansion gap along cabinet edges and covering it with trim helps keep the floor flat and prevents “tenting” or separation over time. This is one of the most common causes of failure when people install directly tight to concrete cabinet bases.
How should I prepare a concrete slab before installing flooring around cabinets?
Start by checking moisture with a concrete moisture test kit or using a reliable method appropriate for your flooring type; moisture issues can cause warping, mold, or adhesive failure. Then level high spots, fill low areas with a patch/leveler, and clean thoroughly so dust and debris don’t compromise underlayment or flooring click-lock joints. If you’re using a floating floor, install the correct underlayment and, if required, a vapor barrier to protect against ground moisture. Proper prep is especially important around cabinets because you’ll have less ability to adjust once the floor is installed.
Which transition trim or finishing method works best for the gap around cabinets on a concrete floor?
For a clean, durable finish, use baseboards plus shoe molding/quarter round at cabinet-perimeter edges to hide the expansion gap and create a professional look. If your flooring ends where cabinets run, a matching reducer or end cap transition can cover the gap while keeping the floor system free to move. In many cases, you should not fill the expansion space with hard caulk or glue—use trim that’s mechanically secured to walls or adjacent surfaces (not the floating floor). Choose materials compatible with your flooring type and humidity conditions for the best long-term performance.
📅 Last Updated: October 10, 2026 | Topic: How to install around cabinets concrete floors? | Content verified for accuracy and freshness.
References
- https://en.wikipedia.org/wiki/Laminate_flooring
- Flooring
https://en.wikipedia.org/wiki/Flooring - Concrete
https://en.wikipedia.org/wiki/Concrete - Google Scholar Google Scholar
https://scholar.google.com/scholar?q=install+laminate+flooring+around+cabinets+concrete+slab - Google Scholar Google Scholar
https://scholar.google.com/scholar?q=install+vinyl+plank+flooring+around+cabinets+expansion+gap+concrete - Google Scholar Google Scholar
https://scholar.google.com/scholar?q=tile+installation+around+cabinets+concrete+subfloor+thinset - https://www.britannica.com/topic/floor-covering
- RFCI – Resilient Flooring Covering Institute
https://www.rfci.com/ - https://www.tileusa.com/
- The Porsche Club of America
https://www.pca.org/