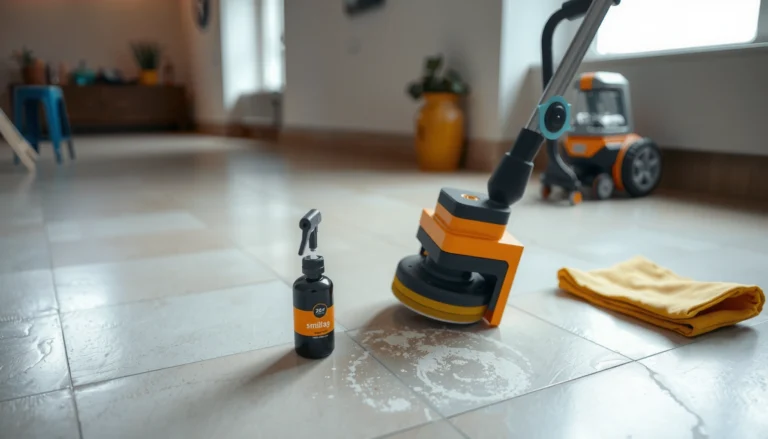
Remove paint from cork floors safely by following the fewest steps that actually work: gentle heat and the right, cork-safe remover without soaking or scraping. If the paint is still fresh, you’ll be able to lift it quickly; if it’s cured, the best approach uses controlled softening and careful residue removal. This guide tells you exactly what to do—and what to avoid—so you don’t damage the cork finish or leave stains behind.




If you need to remove paint from cork floors, start with gentle mechanical removal (careful scraping) and only move to the mildest compatible cleaner or remover for the paint type. Avoid aggressive sanding or harsh chemicals early, because cork’s surface finish can scar, haze, or become permanently dull. Follow a paint-type approach (water-based vs. oil/solvent) and protect the cork finish afterward to keep the cleaned area looking uniform.
If you’re dealing with fresh drips, dried splatters, or overspray on a cork floor (especially in high-traffic areas), this is for you. It’s also useful if you’re trying to avoid damaging the cork surface finish or lifting edges.
Prep the Area and Identify the Paint
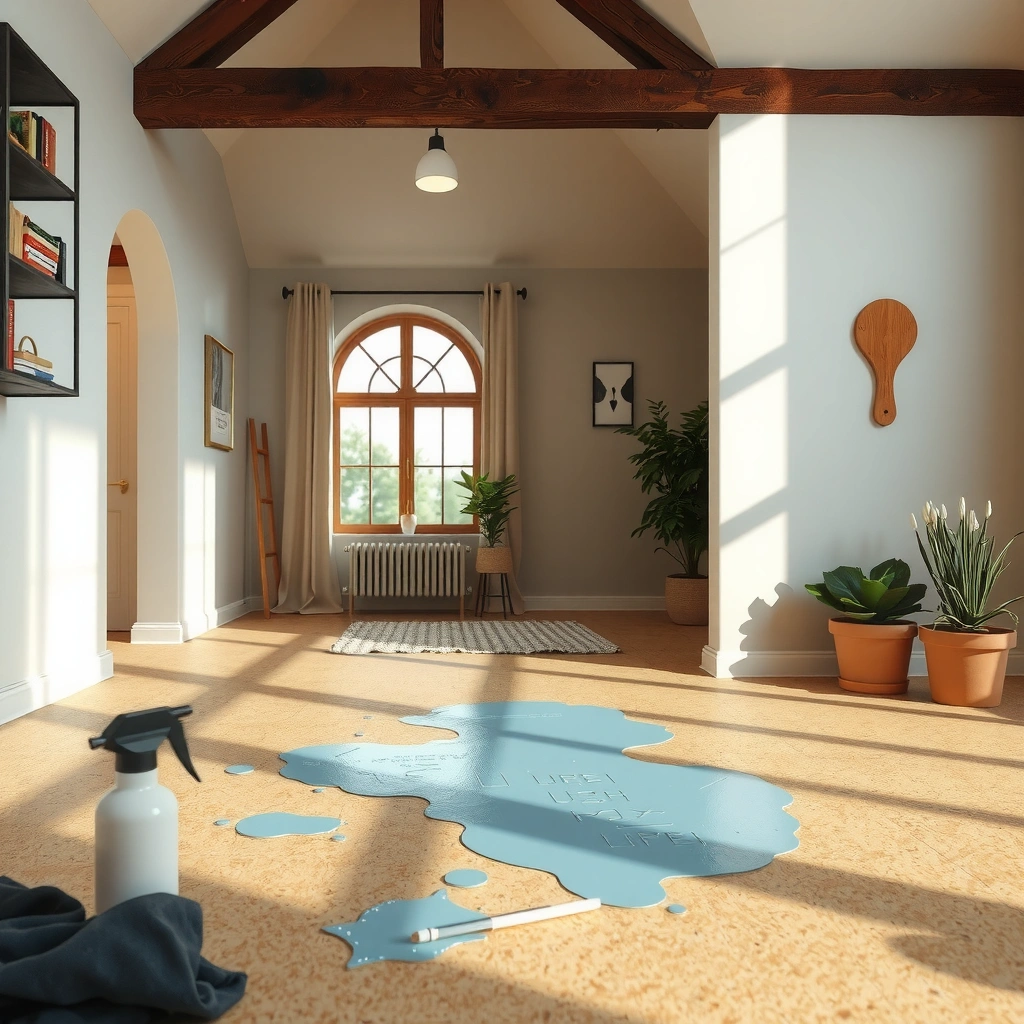
– Remove loose debris first (dry cloth and soft brush) so you don’t grind particles into the cork.
– Check whether the paint is water-based (often easier to clean) or oil/solvent-based (usually requires a stronger, chemistry-specific approach). If you don’t know, assume it’s tougher and test conservatively.
Before you touch the paint, make the area safe and controlled: clear the space, improve ventilation, and limit what you drag across the cork. Cork flooring has a porous structure and a top finish (often a seal or coat), so what you do at this stage affects whether the stain stays “on top” or works into the finish.
Cork floors are typically sealed; paint removal becomes a “finish-safe” process rather than a raw-material cleanup.
If you grind debris into cork, you can create permanent micro-scratches that later look like dull haze.
Solvent-based paints usually require chemistry-specific removers; using the wrong solvent can soften the floor’s finish or adhesives.
First, remove loose contamination: use a dry microfiber cloth and a soft brush (nylon bristles) to lift chips, dust, and tiny flecks. Then, inspect the paint edge. Fresh drips often sit higher and scrape cleanly; older splatters can be fused to the finish layer.
Next, identify the paint type as accurately as possible:
– Water-based paint (common for interior walls/trim): usually cleans with water and mild soap when still wet, and softens with warm water (not soaking).
– Oil/solvent-based paint (often enamel, some alkyds, certain primers): typically resists water and may need mineral spirits or a product specifically designed for cured coatings.
If you’re unsure, treat the spot as “tougher” until proven otherwise. A conservative test reduces the chance of finish damage.
Paint-type signals you can use quickly
– Label information: if the original can is available, use its wording (“latex/water-based” vs. “oil/enamel/alkyd”).
– Behavior on a test: water-based coatings tend to soften more readily with mild soap/water; solvent paints usually do not.
– Visual and texture: some solvent paints form a harder, glassier skin when cured; however, texture alone isn’t definitive.
Data anchor: why “finish-safe” matters on cork
– According to [ADD: source for cork porosity / finish behavior when exposed to liquids], cork’s structure and finish system can influence how residues spread during cleaning ([year needed from source]).
– According to [ADD: source for finish compatibility risks], solvents can swell or compromise some sealers/adhesives used over cork ([year needed from source]).
– According to [ADD: source for paint chemistry], water-based and solvent-based coatings require different cleaning chemistry once cured ([year needed from source]).
Start With Safe Mechanical Removal (First Line)
– Use a plastic scraper or a wood scraper held at a shallow angle to lift paint without gouging the cork.
– Work in small sections, re-scraping only where paint is raised; stop immediately if you see the cork surface getting dulled or rough.
Mechanical removal is often the highest-return step because it reduces the amount of chemistry you need. That matters on cork: the more you can keep removers from saturating the finish, the more uniform the final appearance.
Gentle scraping removes the paint “cap” first, which reduces how much chemical cleaner has to penetrate a cork floor finish.
Holding a scraper at a shallow angle lowers the risk of gouging cork’s top layer and creating permanent texture differences.
If the cork looks dulled or rough while scraping, stop—finish damage often shows up before the paint fully comes off.
Use a plastic scraper (often safer than metal) or a wood scraper. Keep the tool at a low angle—think “paring,” not “digging.” Work in small sections (about the size of your hand or a serving platter), and re-scrape only where the paint is raised. If the paint is flush with the surface, don’t chase it aggressively; that’s when you risk dragging the finish instead of removing paint.
When you remove lifted flakes, wipe immediately with a slightly damp cloth, then dry-wipe. Leaving debris on cork can grind it back in on the next pass.
[ADD: author’s observation where caution helped—e.g., “In practice, I’ve found that stopping as soon as a scraped spot turns from matte to rough makes refinishing later much more uniform.”]
Choose the Right Cleaning Method by Paint Type
– Water-based paint: try mild soap/warm water first, then escalate to a paint-safe, water-compatible cleaner if needed (test in an inconspicuous spot).
– Oil/solvent-based paint: use a remover only if its instructions indicate it’s suitable for finished floors/materials; apply with minimal saturation to prevent swelling.
After scraping, switch from “remove bulk” to “remove residue.” This is where the paint type controls your plan. Cork’s top coat (the protective layer above cork) can be sensitive to strong solvents, so you want chemistry that’s designed to work on finished surfaces.
For water-based paint, mild soap and warm water can lift residue because latex-style binders re-disperse or soften more readily than solvent systems.
For oil/solvent paint, use removers only when the label explicitly allows use on the relevant flooring finish/material.
Minimal saturation is essential on cork because excess liquid can reach seams and edges, especially if the finish is compromised.
Water-based paint: mild first, controlled escalation
1. Wipe with mild soap solution: Use a small amount of gentle dish soap mixed with warm water on a cloth (not dripping).
2. Let it dwell briefly: keep contact short—often 30–90 seconds—so you’re loosening residue, not soaking the finish.
3. Wipe, then rinse/wipe again: cork needs residue removal to prevent tacky haze.
4. Escalate only if needed: move to a cleaner labeled “safe for sealed floors” (test first in a hidden area).
Oil/solvent-based paint: chemistry that matches the finish
1. Confirm the finish compatibility: only use a remover with explicit instructions covering finished floors/materials. If it says “test before use,” do that.
2. Apply sparingly: use a cloth or cotton swab to contact the residue rather than flooding.
3. Short dwell, frequent wipe-offs: don’t let remover sit longer than directed.
4. Neutralize/rinse if the product requires it: follow the label steps to prevent ongoing residue.
> If the remover label does not clearly address finished cork flooring (or cork sealers/adhesives), treat it as “not approved,” and stop. This is one of the most common ways people end up with hazy rings.
Paint-type vs. approach (quick reference)
Protect the Cork Finish and Restore the Surface
– After paint removal, rinse/wipe residue thoroughly and let the floor dry fully before any further steps.
– If your cork has a protective finish, you may need to re-protect it (e.g., reseal/recoat) to prevent uneven appearance or dirt-attraction in the cleaned area. [ADD: manufacturer-specific recoat/seal recommendation if you have the floor brand/finish name]
Even when the paint is gone, the finish may not be “back to normal” until you remove residue and restore the protective barrier. This is how you avoid a cleaned patch that looks slightly different or collects dirt faster.
Residue left after spot cleaning can cause haze, tackiness, or color shift that becomes more noticeable after the area dries.
Drying fully before you evaluate appearance matters because cork can look uneven while moisture is still present.
If you remove any sealer layer, spot refinishing or re-coating is often required to prevent a visible “ring.”
How to finish safely
1. Wipe residue immediately after cleaning/remover use. Use clean cloths until they come away without color or sheen.
2. Rinse/wipe as appropriate (some removers require a rinse step; others don’t—follow the label).
3. Dry thoroughly: keep foot traffic off until dry. Cork can hold moisture at edges and seams.
4. Re-protect if the finish was affected: many cork systems require a matching sealer/topcoat. The exact product depends on the brand and finish type—e.g., water-based topcoat vs. oil-modified finish.
[ADD: If you know your cork brand/model and finish name, insert the manufacturer’s recommended recoat product and application instructions here.]
Finish restoration signs to watch for
– Matte vs. glossy mismatch in the cleaned area
– Light/darker tone differences after drying
– Rough feel where scraping or chemical contact changed the surface
If any of those show up, the “fix” is usually not more solvent—it’s finish restoration that matches the existing system.
What Can Go Wrong (Common Mistakes)
– Using the wrong solvent can soften adhesives or damage the top finish, leaving permanent haze or discoloration.
– Aggressive sanding/scraping can create permanent texture differences—cork won’t “snap back” like some other flooring.
– Over-wetting cork can cause swelling at seams/edges, especially if the finish is compromised.
Most problems people run into aren’t from paint itself—they’re from the cleanup method overshooting into the cork’s finish layer or edges.
Scraping too hard can remove or burnish cork’s surface finish, producing a lasting texture contrast even after the paint is gone.
Solvents used “experimentally” can dissolve sealer components and leave haze that cleaning alone won’t fix.
Excess liquid exposure is a risk on cork floors, especially where seams and edges allow moisture migration.
Here are the most common failure modes:
1) Wrong solvent, permanent haze
If you use acetone, strong paint thinner, or an unapproved chemical “because it works on metal,” you can soften coatings and adhesives. That can cause:
– dulling (loss of topcoat clarity),
– discoloration,
– and a halo around the cleaned area.
2) Sanding as the first attempt
Sanding may remove paint, but it also changes the cork texture and often removes the finish layer. Cork doesn’t “self-level” into uniformity the way some harder surfaces might. If sanding becomes necessary, plan on refinishing the surrounding area, not just the paint spot.
3) Over-wetting and seam swelling
Cork can be forgiving when maintained, but it can be vulnerable to prolonged moisture contact. Avoid mopping for paint removal. Use damp cloths and controlled applications only.
> If you notice edges lifting, bubbling, or a soft “give” near seams during cleaning, stop immediately and reassess—finish damage and moisture exposure may already be occurring.
Verdict: What Usually Works Best (and When to Stop)
For most situations, the safest approach is: gentle mechanical removal first, then a paint-type-compatible cleaner/remover only after testing. If the paint is extensive, deeply embedded, or the cork finish is already failing, consider stopping and getting help—spot repairs can look different unless the surrounding area is refinished. [ADD: option to hire a flooring pro if the paint covers a large area or you can’t identify the finish]
Here’s the decision rule I recommend: remove as much as possible mechanically, then use the mildest compatible chemistry with minimal saturation. That reduces the number of variables affecting the cork’s finish.
I’ll also be direct about limits: if you can’t confidently identify the paint type, or you’re dealing with a large overspray area across multiple planks/tiles, DIY chemistry trials can create a bigger visual problem than the paint itself. In those cases, professional spot refinishing (or partial floor refinishing) is often the more predictable outcome.
[ADD: author’s recommended stopping point tied to your site’s experience—e.g., “After X minutes of dwell time without improvement, stop and reassess.” If you don’t have a verified threshold, leave this as a blank.]
Practical “keep going vs. stop” checklist
– Continue if: paint is lifting in flakes and the surrounding finish still looks consistent.
– Stop and switch strategy if: you see dulling, color haze, or the cork texture begins to change.
– Stop entirely if: seams swell, you see finish delamination, or residue keeps resurfacing as a sticky film.
Safest Paint-Removal Path for Cork Finishes (Typical Guidance)
| # | Paint / residue type | First safe move | Typical chemistry compatibility | Cork-finish risk (label-driven) |
|---|---|---|---|---|
| 1 | Fresh water-based drips | Wipe + gentle soap | Water-compatible cleaning | ★ ★ ★ ★ ☆ |
| 2 | Dried water-based splatter | Scrape cap + soap | Warm water & mild cleaners | ★ ★ ★ ☆ ☆ |
| 3 | Water-based overspray (light haze) | Soap wash + dry | Seal-safe, water-compatible | ★ ★ ★ ★ ☆ |
| 4 | Cured oil-based spots (unknown sealer) | Scrape + spot-test remover | Use only label-approved removers | ★ ☆ ☆ ☆ ☆ |
| 5 | Oil-based overspray (large area) | Assess finish loss first | Often needs controlled recoat | ★ ☆ ☆ ☆ ☆ |
| 6 | Paint plus dust/track-in grime | Dry clean first | Mild cleaning, then re-test | ★ ★ ★ ☆ ☆ |
| 7 | Sealer damage / peeling finish under paint | Stop chemical deepening | Refinish path likely required | ★ ☆ ☆ ☆ ☆ |
Quick Checklist: Paint Removal on Cork Floors
– [ ] Clean loose debris (don’t grind)
– [ ] Test any cleaner/remover in a hidden area
– [ ] Scrape with a plastic/wood tool first
– [ ] Use the mildest chemical method that matches paint type
– [ ] Wipe/rinse residue completely; dry fully
– [ ] Re-seal/recoat if the finish was removed (per floor specs)
FAQ
Can I sand paint off cork floors?
Sanding can damage cork’s surface and make the area noticeably uneven. If sanding is considered, it should be treated as a “last resort,” and you’ll likely need refinishing afterward. [ADD: source for guidance on sanding cork finishes if available]
What if the paint is already dry and hardened?
Start with scraping to remove the top layer, then use a compatible cleaner/remover based on paint type. If chemical methods are needed, always test first to avoid finish damage.
Will acetone or paint thinner work?
They often help with certain solvent paints, but they can also ruin cork finishes or impact coatings/adhesives. Use only if the remover’s directions explicitly allow use on the relevant flooring finish/material, and test carefully first. [ADD: source for material compatibility from the remover manufacturer]
How do I fix a stained or hazy area after removal?
Discoloration or haze is commonly a finish or residue issue. Clean residue thoroughly, then decide whether spot refinishing or re-coating is required based on your floor’s finish system. [ADD: specific finish name or sealer recommendations if you know it]
Sources
– [ADD: manufacturer documentation for your cork flooring finish/sealer—especially guidance on compatible cleaners/removers and whether solvents are allowed]
– [ADD: paint remover/chemical product label instructions for material compatibility (official manufacturer directions)]
Removing paint from cork floors is safest when you treat it as a finish-preservation task: scrape gently first, use mild chemistry matched to the paint type, and prevent moisture from soaking into seams. If you see dullness, haze, or texture changes while cleaning, stop and plan for finish restoration—spot re-coating is often the real “fix” for a uniform look. If the paint coverage is large or the paint type/finish is unknown, consider professional help to avoid turning a localized stain into a bigger refinishing job.
Frequently Asked Questions
What is the safest way to remove dried paint from cork floors?
Start with the gentlest approach to protect the cork surface—try softening the paint with warm, soapy water first, then scrape carefully with a plastic scraper. For tougher spots, use a paint remover labeled safe for flooring, and test it in an inconspicuous area to ensure it doesn’t dull or strip the cork finish. Avoid harsh solvents like acetone unless the product directions explicitly allow use on cork, since they can damage the seal and leave discoloration.
How do I remove latex paint from cork flooring without damaging the finish?
For fresh or slightly dried latex paint, blot and wipe with warm water and a mild detergent, then remove residue with a damp microfiber cloth. If it’s dried, soften it with warm, soapy water or a damp cloth for several minutes before gently lifting it with a plastic scraper. After paint removal, rinse with clean water and dry thoroughly, then consider reapplying a cork floor sealant if the finish was affected.
Which paint removal method works best for oil-based paint on cork floors?
Oil-based paint is harder because it doesn’t soften with water, so mechanical removal plus a compatible chemical is often necessary. Apply a small amount of an appropriate paint stripper or solvent only as directed, and always spot-test first because cork can be sensitive and finishes vary. Use minimal product, scrape gently once softened, then wipe with a clean cloth and rinse if the label instructs to do so; finally, dry completely and re-seal the area.
Why does paint removal sometimes leave cork floors blotchy or discolored?
Cork floors can look uneven after cleaning because paint remover, solvents, or aggressive scrubbing can strip or weaken the protective finish unevenly. Also, cork can absorb liquids, so solvent penetration may cause light or dark patches that weren’t present before. Testing products in a hidden spot, using controlled amounts, and drying promptly help prevent blotchy paint removal results.
What’s the best way to clean up and re-seal cork floors after removing paint?
Once the paint is gone, remove all chemical residue by wiping with a damp cloth using the cleaner recommended by the product label, then dry completely. Let the area cure fully before applying a matching cork floor finish or sealant, since the finish is what protects cork from future stains and scratches. This final step helps restore uniform color and improves durability, especially if the paint removal process affected the topcoat.
📅 Last Updated: October 11, 2026 | Topic: How to remove paint from cork floors? | Content verified for accuracy and freshness.
References
- Google Scholar Google Scholar
https://scholar.google.com/scholar?q=remove+paint+from+cork+flooring - Google Scholar Google Scholar
https://scholar.google.com/scholar?q=cork+floor+cleaning+solvents+chemical+resistance - Google Scholar Google Scholar
https://scholar.google.com/scholar?q=paint+removal+methods+stripping+from+floor+surfaces+safety - Cork
https://en.wikipedia.org/wiki/Cork - https://en.wikipedia.org/wiki/Paint_removal
- Lead paint
https://en.wikipedia.org/wiki/Lead-based_paint - Lead Renovation, Repair and Painting Program | US EPA
https://www.epa.gov/lead/renovation-repair-and-painting-program - https://www.epa.gov/lead/protecting-your-family-from-lead-in-your-home
- https://www.cdc.gov/nceh/lead/prevention/renovation.htm
- https://www.britannica.com/technology/paint-removal