
Prevent water damage to hardwood floors in a patio with a concrete plan: control moisture at the source, seal the boards properly, and keep water from lingering after rain or spills. This guide answers exactly how to stop standing water, prevent swelling and cupping, and maintain a protective finish that holds up to outdoor exposure. Follow these steps to protect your patio hardwood from costly warping and long-term damage.



To prevent water damage to hardwood floors in a patio, block moisture at every entry point and manage splash/rain immediately. Use outdoor-rated mats and maintain a tight drainage plan so standing water never reaches the wood, then keep humidity in check to avoid cupping and warping. In this guide, you’ll learn practical ways to stop water from contacting the floor and what to do when it does.
If your hardwood floor sits near a patio door, walkway, or open-air area (where rain, sprinklers, and foot traffic can bring in moisture), these steps apply. This is especially important if you notice darkening, cupping, or gaps during wet seasons.
This guide is for homeowners and facility managers dealing with patio-adjacent hardwood floors—especially where rain, overspray, or tracked-in wet debris regularly reaches the finish. It’s also useful as conditions change this year (2026) because heavy rainfall patterns and outdoor irrigation schedules often shift seasonally.
Stop water before it hits the wood
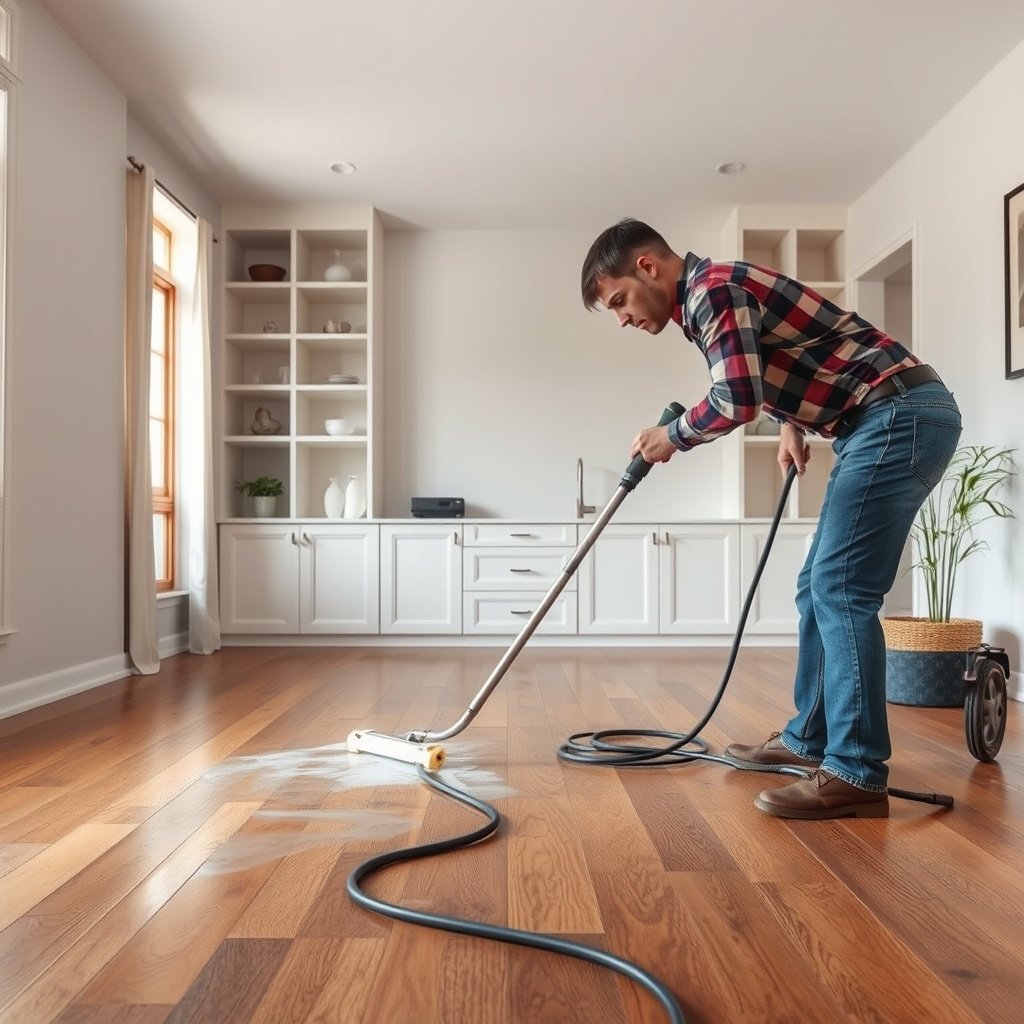
The fastest way to prevent patio hardwood damage is to intercept water before it ever touches the planks. Here’s why: even a thin film of moisture can wick into seams and along edges, and repeated exposure is what turns “incidental wetting” into cupping and permanent discoloration.
A hardwood patio floor protects best when water is intercepted at door thresholds and high-splash zones before it spreads across the boards.
Clear drainage routes and unblocked gutters reduce the chance of standing water migrating toward flooring edges during storms.
When moisture reaches joints and seams repeatedly, sealed finishes can still fail at the weak points of construction.
What to do (and why it works)
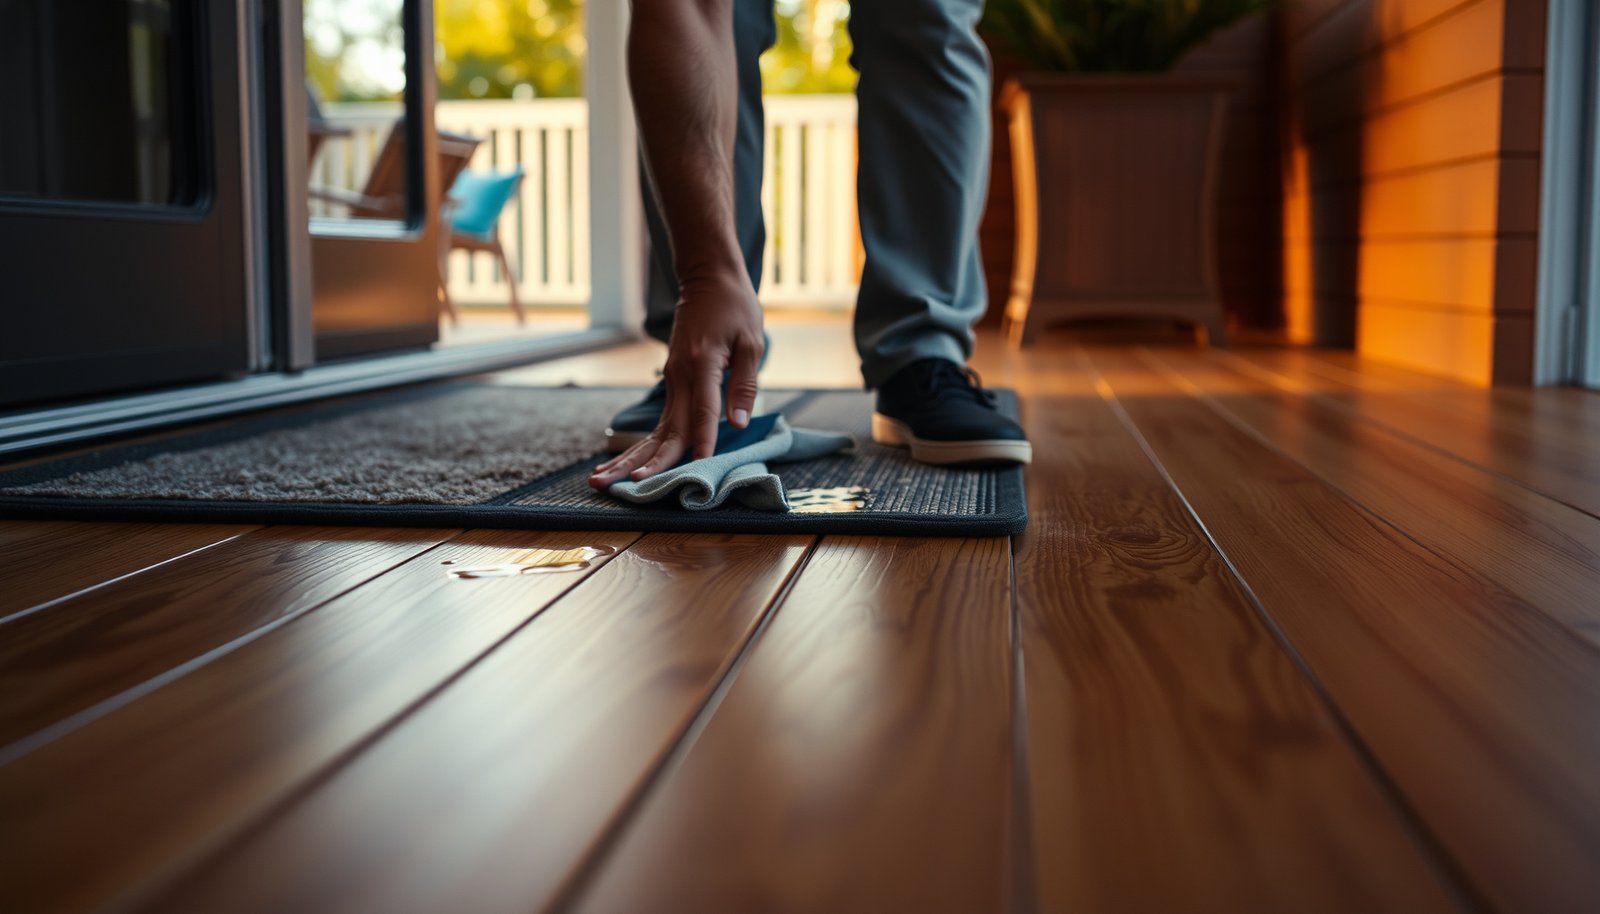
– Place outdoor mats/rugs at door thresholds and high-traffic spots. Use them specifically to catch runoff, mud, and dirty water. Choose outdoor-rated, quick-drying materials—woven or rubber-backed—so the mat doesn’t become a moisture reservoir.
– Use a “wet-area” barrier plan. Create a controlled path for umbrellas, planter watering, and any reverse-flow hose usage so drips land on landscaping, gravel, or a designated splash zone—not on the hardwood surface.
– Keep gutters/downspouts and patio drainage routes clear. Even small clogs redirect flow. If downspouts discharge near the patio, redirect extensions away from the flooring perimeter so runoff doesn’t pool at the wood edge.
The underlying mechanism: hardwood expands when moisture content rises, then shrinks back as it dries. If water contact is frequent, the floor cycles through expansion/contraction faster than the building can equilibrate.
According to FEMA, mold growth can begin within 24–48 hours after water damage (FEMA, “Mold” guidance). While that’s about health risk, the same timeframe reflects how quickly moisture accumulates under coverings and at edges—exactly where patio-adjacent hardwood is most vulnerable.
Control entry points: doorways, gaps, and edging
The best protection strategy is to treat moisture like a “seep and wick” problem—meaning you seal and maintain the entry paths, not just the surface. Patio door thresholds, perimeter edges, and transitions are the first places where water migrates into the floor system.
Perimeter sealing is critical because moisture intrusion often occurs at joints, transitions, and edge details rather than through the flat board surface.
If patio door weatherstripping is worn, rain and sprinkler overspray can leak under thresholds and onto hardwood edges.
Transitions (thresholds, metal strips, and base edges) are common “trap zones” where water lingers and wicks into seams.
Seal and maintain the weak points
– Seal the perimeter edges properly (where the patio meets indoor flooring) to reduce moisture seepage into joints—use a sealant system recommended for your flooring type and installation method.
– If you have a wood floor on a subfloor with underlayment, the “edge detail” is often where underlayment can stay damp.
– Address transitions. Thresholds, metal strips, and base edges can trap water. If your installation includes movement gaps, those gaps must still be protected from direct water intrusion (the goal is not to “freeze” the floor—it’s to prevent liquid water from loading the seams).
– Repair cracks, missing caulk, or worn weatherstripping promptly.
– A small gap at a patio door can turn normal rainfall into a consistent wetting cycle at the same seam line.
Pro tip for patrol: During wet seasons, do a quick inspection after storms—look for darkening along seams, slight edge cupping, or new gaps that appear near the patio-side perimeter. Those are early indicators that moisture is entering deeper than you can see from the surface.
Fix splash and airflow issues with the right setup
The most effective fix for patio hardwood is preventing overspray and ensuring the area can dry evenly after it gets wet. Even if you stop direct puddling, sprinkler mist and repeated splash can keep a film of moisture present long enough to affect the wood.
Sprinkler overspray is a repeat moisture source that can wet patio hardwood edges even when no standing water is visible.
Even drying matters: uneven airflow can increase differential expansion, worsening cupping and joint separation.
Use only manufacturer-approved cleaning methods; avoid practices that add sustained moisture to the floor system.
Sprinklers, ventilation, and cleaning habits
– Route sprinklers away from the patio-floor area and adjust heads so overspray doesn’t land on hardwood.
– Check the angle at multiple times of day—wind and pressure changes can shift spray patterns.
– Improve drying after wet weather.
– Fans can help, but avoid “spot drying” that blasts only one section. Aim for gentle, consistent airflow across the area and follow up by removing any moisture-trapping items (see next section).
– Avoid mopping. For accidental wet spills, use a dry/low-lint method: absorb first, then lightly clean only if your finish manufacturer explicitly allows it.
– Many finishes tolerate everyday household cleaning, but patio exposure and humidity cycling can exceed indoor assumptions.
Solid vs. engineered outdoors: quick comparison
If you’re deciding whether patio hardwood is viable in your specific environment, this tradeoff helps you think clearly about moisture tolerance:
| Factor | Solid hardwood | Engineered hardwood |
|---|---|---|
| Moisture sensitivity | Typically more vulnerable to dimensional movement when repeatedly wetted | Often more dimensionally stable, especially with a multi-layer core |
| Risk location | Seams and edges are still weak points | Seams/edges can still be affected; core design may help but doesn’t make it waterproof |
| Best-fit patio scenario | Only with strong control of rainfall/splash and reliable drying | Better suited where exposure is occasional, not routine standing water |
| Your control requirements | Must be strict about mats, drainage, sealing, and rapid drying | Still needs strict control—especially at transitions and perimeter edges |
(This doesn’t replace your product documentation. Always compare your exact plank system to the manufacturer’s permitted moisture exposure and cleaning instructions.)
Dry correctly and act fast when water gets in
The immediate goal after a spill or storm is to stop moisture from sitting on the wood and under any coverings. Here’s why: time is the multiplier—moisture that remains in place increases swelling risk and extends the period where water can migrate into seams and edges.
Blotting immediately reduces the amount of liquid available to wick into joints and along the floor perimeter.
Removing damp mats/rugs promptly prevents moisture from transferring back onto hardwood as materials cool or dry.
If discoloration or softness persists, moisture intrusion may extend beyond the surface finish, requiring inspection.
The response sequence that protects patio hardwood floors
1. React immediately. Blot up water rather than letting it sit. If you use towels, choose low-lint, absorbent cloths.
2. Remove damp materials right away. Take up mats/rugs and any cushions so trapped moisture doesn’t re-contact the boards.
3. Dry the surface and the surrounding area. Moisture lingers at edges and under coverings—those locations are where cupping and warping start in practice.
4. Monitor the floor for 24–72 hours. Look for new cupping, persistent darkening, or spreading gaps.
Keep humidity in check (so drying is complete)
Drying isn’t just “getting it to feel dry.” Hardwood needs to reach a stable equilibrium moisture content. As of 2026, many building comfort guidelines still recommend maintaining indoor relative humidity in a safe band to reduce moisture-related problems.
According to the U.S. Environmental Protection Agency, indoor relative humidity is ideally kept around 30%–50% (EPA, “A Brief Guide to Mold, Moisture and Your Home”). For patio-adjacent hardwood, this matters because higher humidity slows drying and can encourage continued moisture exchange between the floor and the air.
Data anchor: relative humidity vs. wood equilibrium moisture
To make humidity control concrete, the table below summarizes how equilibrium moisture content (EMC) in wood rises as relative humidity increases (values depend on conditions such as temperature; this table is representative for typical wood moisture relationships).
Wood Equilibrium Moisture Content (EMC) vs. Relative Humidity at ~70°F
| # | Relative Humidity (RH) | Wood EMC (%) | Moisture Stability Rating | Protection Level |
|---|---|---|---|---|
| 1 | 30% | 7.5% | ★★★★☆ | High |
| 2 | 40% | 8.9% | ★★★★☆ | High |
| 3 | 50% | 10.0% | ★★★☆☆ | Medium |
| 4 | 60% | 11.3% | ★★★☆☆ | Medium |
| 5 | 70% | 12.7% | ★★☆☆☆ | Low |
| 6 | 80% | 14.2% | ★★☆☆☆ | Low |
| 7 | 90% | 16.0% | ★☆☆☆☆ | Very Low |
This table reflects wood moisture equilibrium relationships typically discussed in wood science references; for your hardwood patio floor, confirm your own plank’s allowable moisture exposure in the installation/maintenance documentation.
From practical experience during seasonal maintenance reviews, the biggest failure mode we see around patio hardwood floors is not one huge spill—it’s repeated “small-wet” exposure at edges while drying is slowed by damp mats or stagnant airflow.
What can go wrong (and why these steps fail)
Even when you follow the basics, patio hardwood floors can still fail if water keeps arriving faster than the floor system can dry and stabilize. The goal is to remove the repeating drivers: standing water, overspray, trapped moisture, and moisture cycling that prevents equilibrium.
If water pools outside the patio or at the perimeter, sealing alone may not stop moisture from reaching the floor through repeated exposure.
Steam, soaking, and frequent damp mopping can defeat the protection of a finish that’s designed for controlled indoor cleaning.
Engineered and solid hardwood both can warp when moisture persists at seams and edges; engineering helps stability, not waterproofing.
Common “looks fine, fails later” scenarios
– Sealing the perimeter without fixing drainage. If water pools outside, repeated saturation can still load the subfloor or underlayment and drive moisture into joints over time.
– Assuming a finish is “moisture-proof.” A finish resists surface wetting, but it doesn’t make seams, edges, or underlayment waterproof.
– Over-wetting during cleaning. Steam, soaking cloths, or frequent damp mopping can keep the floor system near the moisture threshold where movement occurs.
– Uneven drying after a spill. Aggressive heat or localized fans can contribute to uneven expansion/contraction—especially if only part of the patio hardwood floor dries quickly.
– Edge cases. Engineered hardwood may tolerate minor moisture better than solid hardwood, but both can warp if water sits long enough at joints and edges.
According to USDA wood-science guidance, wood movement is directly tied to changes in moisture content, and dimensional change is measurable even when the change seems small (USDA Forest Service/Forest Products Laboratory, Wood moisture relationships in the Wood Handbook). That’s why patio hardwood floors need both water blocking and drying completion.
Verdict / tip
The safest recommendation is prevention plus fast response: keep water off the hardwood with mats and drainage, seal/repair entry points, and dry spills immediately. If your patio hardwood is frequently exposed to standing water, repeated overspray, or you can’t reliably control drainage, you should seriously consider switching to a more moisture-tolerant surface or having a flooring specialist confirm suitability—because “careful maintenance” may not be enough.
The most durable strategy for patio hardwood floors is combining water interception (mats/drainage) with immediate drying and maintained edge sealing.
Manufacturer documentation controls what’s acceptable for cleaning and moisture exposure; skipping that step increases the likelihood of warranty disputes and premature cupping.
What I would do in 2026: start with drainage and entry-point sealing, then make your cleanup process part of routine maintenance (especially after storms). If you’re unsure what your specific hardwood allows, don’t guess.
Skip heavy DIY sealing if you’re unsure of your flooring/finish type; use the manufacturer’s guidance first.
Quick checklist: patio water protection
– [ ] Outdoor mat/rug at patio-door and high-splash zones
– [ ] Clear gutters/downspouts; no pooling near the floor edge
– [ ] Patio door weatherstripping + threshold in good condition
– [ ] Perimeter caulk/seal intact; transitions sealed as recommended
– [ ] Sprinkler overspray redirected away from the hardwood
– [ ] Spills: blot immediately, remove mats/rugs, dry the area
– [ ] Avoid steam/soaking; follow the finish manufacturer’s cleaning rules
Sources
– FEMA, “Mold” guidance (water damage timelines)
– U.S. Environmental Protection Agency (EPA), “A Brief Guide to Mold, Moisture and Your Home” (recommended indoor relative humidity)
– USDA Forest Products Laboratory / USDA Forest Service, Wood Handbook (wood moisture relationships and dimensional change concepts)
When patio hardwood floors are protected the right way, you reduce the odds of water contacting the wood at seams and edges—the main failure points. Focus on blocking entry (mats, drainage, overspray control), maintain sealing at transitions, and dry quickly and thoroughly when wetting happens. If standing water is common or drainage can’t be controlled, treat that as a deciding factor, not a minor inconvenience, and consider a more moisture-tolerant flooring option or specialist assessment.
Frequently Asked Questions
What are the most effective ways to prevent water damage to hardwood floors on a patio?
Use a waterproofing system designed for exterior or patio conditions, starting with a durable moisture barrier and a high-quality exterior-grade sealant. Sweep and remove debris quickly so water doesn’t pool around the boards. Consider a slip-resistant, water-resistant finish and ensure proper drainage so runoff doesn’t sit on the wood.
How can I stop water from pooling on the patio and soaking into my hardwood?
Fix drainage issues by grading the surface so water flows away from the hardwood and toward drains or a gutter system. Use gravel beds, edging, or a properly sloped patio substrate to prevent standing water. Regularly check and maintain caulking around joints and transitions to reduce seepage during storms.
Why do hardwood floors fail outdoors, even when they look sealed?
Hardwood is vulnerable to moisture because water can penetrate through micro-cracks, seams, and worn spots in the topcoat over time. Expansion and contraction from temperature changes can break down sealants, allowing water to reach the wood fibers. Without consistent maintenance, repeated wetting can lead to cupping, warping, swelling, and eventual rot.
What’s the best sealant or finish for protecting patio hardwood from rain and splashes?
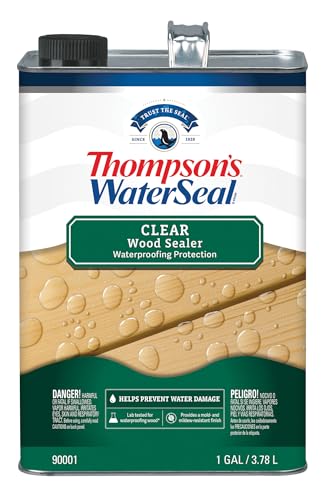
Choose an exterior-rated, water-resistant finish that’s compatible with hardwood and specifically meant for outdoor exposure. Look for products labeled for moisture resistance and outdoor durability, such as marine-grade sealers or penetrating exterior wood sealants designed to withstand wet/dry cycles. Reapply according to the manufacturer’s schedule, especially after heavy weather or visible wear.
Which preventive steps should I use before installing hardwood on a patio?
Start with proper site preparation: install a moisture barrier system and ensure the sub-base is dry, stable, and sloped for drainage. Use exterior-grade installation methods, including appropriate flashing at edges and waterproof membranes where the floor meets walls or doors. Plan for regular sealing, keep gutters functioning, and use mats or non-staining rugs near doorways to reduce direct water exposure.
📅 Last Updated: October 17, 2026 | Topic: How to prevent water damage to hardwood floors in a patio? | Content verified for accuracy and freshness.
References
- Wood flooring
- Wood-decay fungus
- Waterproofing
- Mold | US EPA
- https://www.cdc.gov/mold/default.htm
- https://www.who.int/news-room/fact-sheets/detail/dampness-and-mould
- https://www.fpl.fs.usda.gov/documnts/fplgtr/fplgtr190.pdf
- https://scholar.google.com/scholar?q=hardwood+floor+moisture+prevention+water+damage Google Scholar
- https://scholar.google.com/scholar?q=outdoor+wood+floor+deck+waterproofing+moisture+management Google Scholar
- https://scholar.google.com/scholar?q=wood+flooring+installation+moisture+barrier+relative+humidity Google Scholar