
You can prepare engineered wood floors for a playroom safely and reliably—start with the right underlayment and moisture level, then lock in flatness before any finishing step. This guide lays out the exact prep checklist: acclimate the boards, clean and inspect the subfloor, repair any dips or damage, and choose the proper pad and sealant to handle daily foot traffic. Follow these steps and your playroom floor will stay stable, quiet underfoot, and ready for toys from day one.



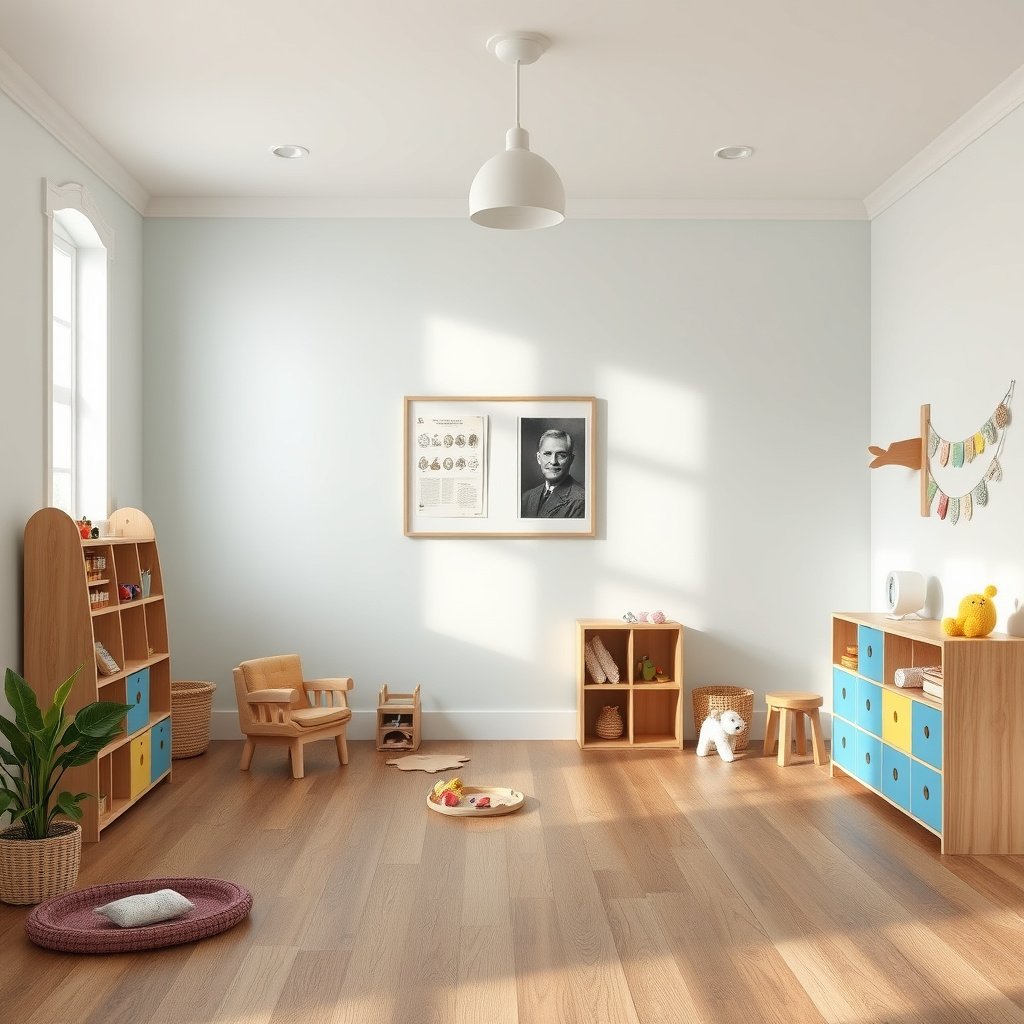
Engineered wood floors are best prepared for a playroom by conditioning the subfloor, protecting the surface, and controlling moisture and movement from day one. Start by confirming the room’s humidity targets and acclimating the flooring as required, then add play-safe protection for rolling toys, impacts, and quick cleanup—because engineered planks still expand and contract with temperature and moisture.
If your playroom will have frequent foot traffic, jumping, wheeled toys, or occasional water from mopping/spills, the prep matters more than you might think. This is especially important if you’re installing engineered wood (new) or getting ready after installation (already down), since engineered planks still react to moisture and temperature changes.
If you’re a homeowner, facility manager, or renovator planning a durable, family-friendly flooring setup in 2026, this guide maps the practical steps that reduce gapping, dulling, and premature wear on engineered wood floors. You’ll also see what to verify in manufacturer documents so your playroom stays compliant with the flooring warranty.
Check moisture levels and room conditions first
Engineered wood floors perform best when the room is stable before you start prep work, because the flooring won’t “hunt” for moisture equilibrium once installation begins. Here’s the shortcut: set and measure the indoor environment, acclimate the planks if required, and keep the room from swinging while you prepare and protect the surface.
Engineered wood floors rely on moisture balance between the planks and the surrounding air, so humidity control directly affects dimensional stability.
According to the National Wood Flooring Association (NWFA) installation guidance, maintaining a consistent indoor relative humidity (RH) range during installation helps reduce gapping and cupping risk. NWFA installation guidance (indoor RH stability)
Engineered wood flooring manufacturers typically publish an acceptable RH/temperature range; exceeding it can put floor joints under stress even when the subfloor is “dry.”
– Measure and aim for a stable indoor environment before and during prep/installation (follow the engineered wood manufacturer’s stated humidity range).
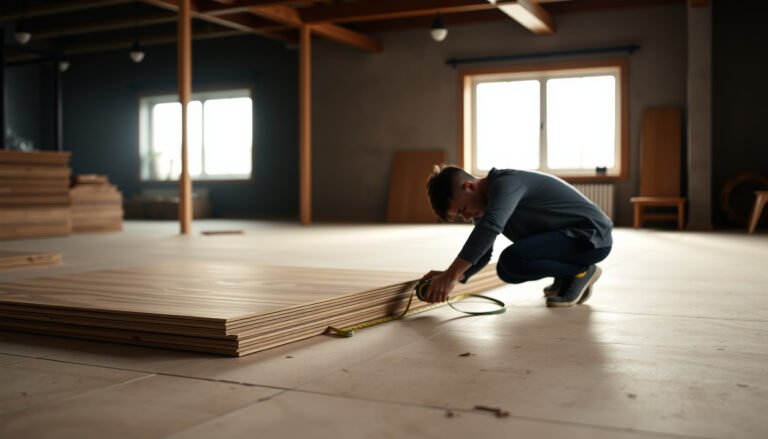
– Let the planks acclimate in the room if your manufacturer requires acclimation (typically “site acclimation” instructions are in the flooring guide).
– Plan your cleanup workflow: keep spills from sitting, and avoid aggressive wet mopping while the floor is still settling or newly installed.
– Put a hygrometer-thermometer in the playroom during prep so you’re not guessing; engineered wood floors respond to the actual conditions, not the weather outside.
– Avoid running space heaters or high-velocity fans that dry localized areas—engineered wood floors can develop uneven movement when microclimates form.
Moisture Checks That Most Affect Engineered Wood Floors in Playrooms
| # | Moisture Check | What You Measure | Target (Common Industry Aim) | Decision Confidence |
|---|---|---|---|---|
| 1 | Indoor RH (playroom air) | % Relative Humidity | 35–55% | High ★★★★★ |
| 2 | Indoor temperature (HVAC stability) | °F | 60–80°F | High ★★★★☆ |
| 3 | Concrete RH (ASTM F2170) | % RH in-situ | ≤75% RH | High ★★★★☆ |
| 4 | MVER (calcium chloride, ASTM F1869) | lbs/1000 sq ft/24h | ≤3.0 | High ★★★★☆ |
| 5 | Surface condition (no standing water) | Visual + tactile | No visible moisture | Moderate ★★★☆☆ |
| 6 | Seasonal swings during prep | % RH change | Minimize fluctuations | Low ★★☆☆☆ |
| 7 | “Dry look” alone on slab | Visual-only check | Not sufficient | Risky ★☆☆☆☆ |
Inspect the subfloor and fix flatness issues
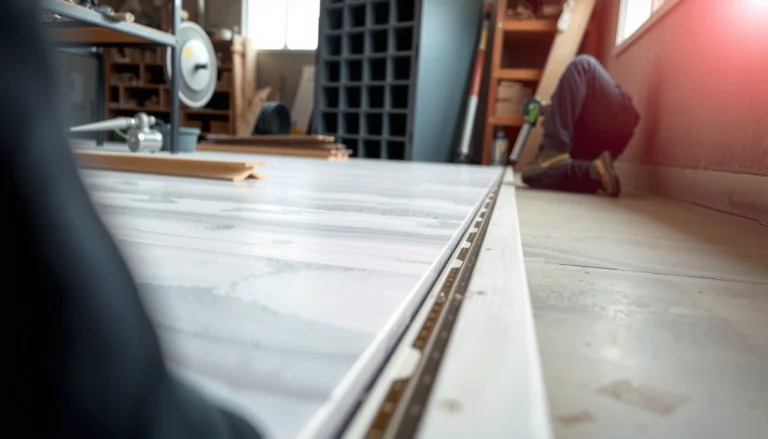
Engineered wood floors require a stable, flat, and sound base; if the subfloor moves or dips, the flooring joints and surface finish take the stress. In other words: engineered wood can’t “heal” a bad foundation, so you inspect early and correct issues before you lay (or fully protect) the floor.
Engineered wood floors are only as dimensionally stable as the subfloor beneath them, so flatness defects show up as joint stress and noise.
Most engineered wood installation guides specify an approved underlayment system or moisture mitigation layer; using an incompatible layer can compromise performance.
When subfloors are uneven, engineered wood floors can develop squeaks because panels flex under load at high/low spots.
– Verify the subfloor is sound and flat; engineered wood is only as good as the base underneath.
– Address high spots, low areas, loose boards, or moisture-related problems before you lay (or protect) the engineered floor.
– Use the manufacturer’s approved underlayment system if your installation method calls for one.
– Remove construction debris thoroughly—grit under engineered wood floors can become an abrasive “sandpaper” during playroom foot traffic.
– Check transitions (doorways, hallways, and playroom thresholds) because engineered wood floors expand and contract at the perimeter and across spans; poor transition planning can increase strain.
A quick “flatness” sanity check you can do
If you’re working on an existing playroom where engineered wood floors are already installed, check for movement points by feeling for flex when you press along suspected low/high spots (with shoes off for accuracy). If you’re installing, correct flatness first; if the base can’t be made flat within the manufacturer’s tolerance, you’ll need a base correction plan before engineered wood flooring goes down.
Underlayment compatibility matters (more than many people expect)
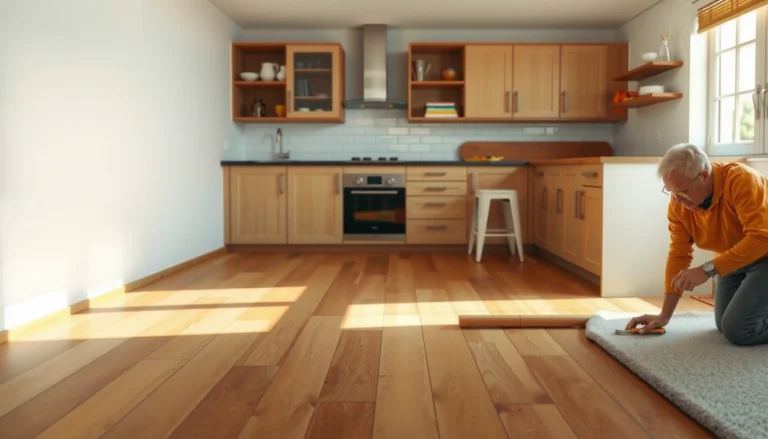
Engineered wood floors can be sensitive to underlayment type—especially in playrooms with active rolling toys and regular vacuuming. Use only the underlayment/membrane system specified for your engineered wood construction (floating vs. direct-glue vs. nail-down), and follow the overlap, fastening, and seam-tape directions exactly.
Protect the floor surface from playroom wear
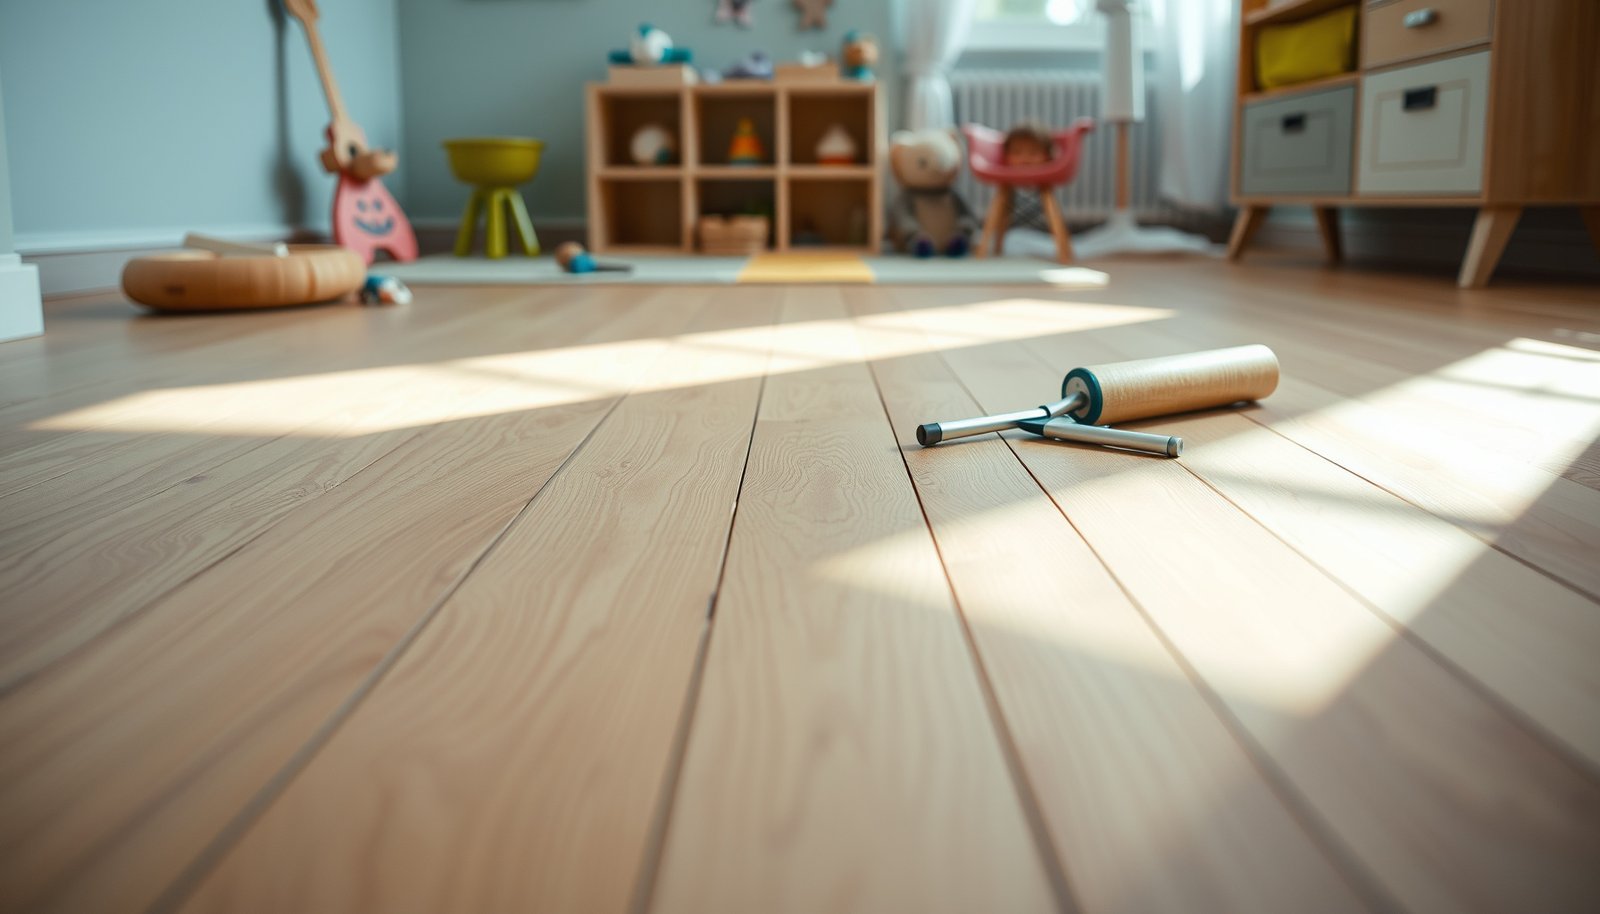
Engineered wood floors hold up well in families, but the surface finish fails faster when toys grind grit into it, when hard wheels scratch it, and when spills soak into edges. Your protection plan should target “hot zones” and reduce friction at the contact points—before the first months of play intensify wear.
Rug and pad placement affects engineered wood floors because trapped grit can abrade the finish and moisture can migrate to seams.
Felt pads and rolling-toy mats reduce micro-scratches by lowering the abrasive and impact forces at the contact surface.
Engineered wood floors are still vulnerable to finish wear from repeated dry particles (sand/dirt), even when you never mop with “puddles.”
– Add floor protection for the “hot zones”: entry/exit paths, under active play areas, and where toys roll (use felt pads and area rugs appropriately).
– Choose non-staining, playroom-safe cleaning and maintenance habits from the start—avoid letting grime grind into the finish.
– Consider rug underlay/material compatibility so you don’t trap moisture or scratch the finish.
– Use felt pads on table legs, toy storage pieces, and chairs; check pads regularly because worn pads can slip and scratch engineered wood floors.
– For wheeled toys, place a designated mat or rug in the wheel path; in my planning sessions for playspaces, this is often the single most visible difference between “survives year one” and “looks tired by year two.”
– Avoid thick, water-permeable rug backing over engineered wood floors unless your manufacturer approves it, since moisture management depends on your full build-up system.
Pros/cons: how to protect engineered wood floors in a playroom
| Protection option | Best for | Trade-offs |
|---|---|---|
| Felt pads on furniture | Impact points and chair/toy furniture legs | Must be replaced when worn to avoid scratching |
| Low-pile rug in wheel paths | Wheeled toy lanes + high-activity play zones | Needs safe underlay so moisture isn’t trapped |
| Hard-surface chair mats (approved) | Dedicated rolling points (if manufacturer approves) | Wrong material can scuff finish if it traps grit |
| No-protection “spot cleaning only” | Light traffic rooms | Highest wear risk in playrooms with wheels and frequent mopping |
Set up safe cleaning and spill handling routines
Engineered wood floors last longer when cleaning is gentle, controlled, and immediate—especially around seams and edges. In a playroom, your routine should assume spills happen and your process should prevent moisture from staying long enough to penetrate.
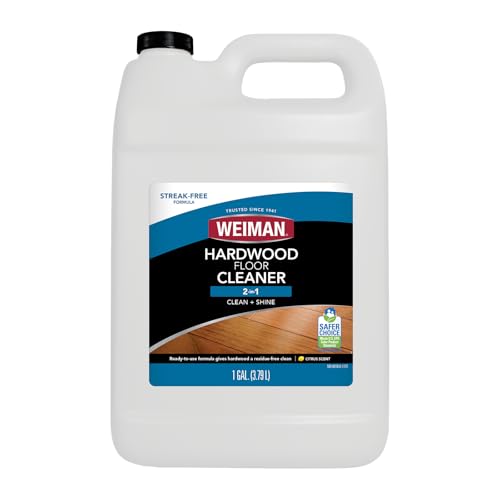
Engineered wood floors should be cleaned only with manufacturer-approved cleaners to avoid finish softening or dulling.
Regular dry cleaning (sweep/vacuum) prevents grit from acting like abrasive particles on engineered wood floors.
Prompt blotting and thorough drying reduce the chance that engineered wood floors absorb moisture at plank seams.
– Use the manufacturer’s recommended cleaner (or “no” list) and avoid harsh chemicals that can dull or damage the finish.
– Sweep/vacuum regularly with tools that won’t scratch (soft brush/wood-friendly attachments as recommended in your flooring care guide).
– For spills: blot promptly, use a lightly damp cloth if needed, and dry the area thoroughly—don’t leave moisture on the seams.
– Use microfiber cloths and wring them thoroughly; “damp” is not the same as “wet,” and engineered wood floors don’t tolerate puddling.
– In 2026, many playrooms benefit from quick-clean kits: a microfiber mop head dedicated to approved products, a blotting towel stash, and a small bucket for controlled damp wiping.
A practical spill sequence for engineered wood floors
When a drink spills, you don’t chase it with water—you stop it. Engineered wood floors respond well to: (1) blot, (2) clean using the approved method only if needed, and (3) dry immediately (fan or airflow aimed at the cleaned area). If the spill is oily (snacks, sauces), follow the cleaner guidance closely; “strong degreasers” can damage certain finishes.
What can go wrong (and how to prevent it)
Engineered wood floors most often fail early when installers or owners skip acclimation, ignore subfloor flatness, or over-wet during maintenance. In a playroom, those mistakes get amplified by wheels, impacts, and repeated cleaning cycles.
Skipping acclimation or ignoring humidity guidance can cause gapping and movement in engineered wood floors.
Installing engineered wood over an unflat base can create squeaks and accelerate finish wear because panels flex under loads.
Over-wetting—especially around seams—raises the risk of swelling-related joint problems, even if the floor looks “dry” on top.
– Skipping acclimation or ignoring humidity guidance can cause gapping or movement; always follow the engineered wood manufacturer’s conditions.
– Installing over an unflat subfloor can lead to squeaks, joint stress, and early wear—check flatness before you commit.
– Using the wrong underlayment, rug backing, or cleaners can damage finishes or trap moisture near seams; verify compatibility in the care/installation instructions.
– Over-wetting during playroom cleanups can be a finishing killer—keep mopping to what the manufacturer allows, and dry quickly.
– If you’re using rugs in engineered wood floors, don’t “forget the underlay” routine—lift and check periodically for dust buildup and moisture-prone edges.
Common edge cases in playrooms
– Wet mopping by habit: Even if you think you’re being careful, repeated damp mopping can compound finish degradation over time on engineered wood floors.
– Toy wheels without a plan: Hard wheels plus grit creates visible scuffs quickly, especially on satin/matte finishes.
– Closed-door HVAC cycles: If the playroom is isolated from the rest of the house, engineered wood floors can see different humidity than the rest of the home—stability matters.
Verdict: the best prep approach for playroom durability
If you want engineered wood floors to handle toy traffic and occasional messes, prioritize (1) moisture/acclimation compliance, (2) a properly prepared, flat subfloor, and (3) finish-safe protection plus strict spill habits. The downside is real: it takes planning, and you may need to correct base issues before you see the “pretty” surface.
Engineered wood floors are durable in playrooms when you control air moisture, verify subfloor flatness, and protect contact points from abrasion.
The fastest path to long-term stability is aligning the engineered wood floor plan with the manufacturer’s installation and care instructions for moisture exposure limits.
If your room’s humidity can’t be stabilized, engineered wood floors are at higher risk for seasonal movement and finish wear.
Skip or pause this prep approach if you can’t access the manufacturer’s installation/care guide or if your playroom environment can’t be maintained within the published temperature/RH range. This is less about “being careful” and more about meeting engineered wood floors where they perform best: stable moisture, a sound base, and immediate spill response.
Quick playroom prep checklist (scan/save)
– [ ] Confirm humidity/temp targets from the engineered wood manufacturer
– [ ] Acclimate planks if required by the flooring guide
– [ ] Inspect subfloor for soundness and flatness; fix issues first
– [ ] Use the approved underlayment system (if applicable)
– [ ] Add felt pads + protective rugs in high-traffic and rolling-toy areas
– [ ] Use floor-safe cleaning tools + approved cleaner
– [ ] Blot spills immediately; dry the area fully
Sources
– Manufacturer installation and acclimation instructions for engineered wood flooring (provide your specific brand/model):
– Manufacturer care/maintenance guide for engineered wood flooring (approved cleaners, wet-cleaning limits, and protection recommendations):
– Underlayment/installation system documentation (only if your product calls for it):
Frequently Asked Questions
What’s the best way to clean engineered wood floors before adding playroom activities?
Sweep or vacuum the engineered wood floors first to remove grit that can scratch the finish during play. Use a slightly damp microfiber mop with a manufacturer-approved cleaner, and avoid soaking—excess moisture can damage the core or seams. Let the floor fully dry before you place rugs, play mats, or furniture so you don’t trap moisture underneath.
How should I protect engineered wood floors from scuffs and scratches in a playroom?
Place soft play mats or rugs in high-traffic zones and under toys, especially where kids push cars, blocks, or strollers. Use felt pads under furniture legs and replace them if they wear down to reduce impact marks. For heavy items like toy storage bins, consider rolling casters with protective pads rather than sliding directly on the engineered wood.
How do I prepare engineered wood floors for humidity changes in a playroom?
Maintain stable indoor humidity (often around 30–50%) and keep the HVAC running to prevent the engineered wood from expanding or contracting. Avoid steam mops, wet cleaning methods, and puddles from spills; wipe immediately with a dry or lightly damp cloth. If your playroom sees frequent water use (snacks, crafts, or messy play), use a waterproof mat or barrier in those zones.
Which flooring accessories work best on engineered wood in a kids’ playroom?
Look for non-slip rugs with a pad designed for hardwood or “no-stain” underlay so airflow and finish protection are maintained. Use clear protective floor film in areas with frequent dragging, and choose felt or rubber protectors that are specifically safe for wood floors. For rolling items, select wheels labeled “soft” or “hardwood-safe” to reduce dents and wear.
Why is proper acclimation and layout planning important when setting up a playroom on engineered wood?
Engineered wood floors should be acclimated to your home’s temperature and humidity before you finalize the room setup, especially if the flooring was recently installed. Plan the layout so heavier play zones sit on rugs or mats to distribute pressure and reduce localized wear. During setup, ensure furniture and toy storage aren’t positioned in a way that traps debris or moisture against the engineered wood seams.
📅 Last Updated: October 19, 2026 | Topic: How to prepare a engineered wood floors for playroom? | Content verified for accuracy and freshness.
References
- https://www.epa.gov/indoor-air-quality-iaq/volatile-organic-compounds-vocs
- https://www.epa.gov/mold
- https://www.epa.gov/indoor-air-quality-iaq/indoor-air-quality-iaq-basics
- https://www.cdc.gov/hygiene/cleaning/disinfecting.html
- https://www.cdc.gov/mold/default.htm
- https://www.armstrongflooring.com/support/install-guides.html
- Wood flooring
- https://scholar.google.com/scholar?q=engineered+wood+floor+installation+subfloor+preparation+moisture+acclimation Google Scholar
- https://scholar.google.com/scholar?q=indoor+air+quality+wood+flooring+VOCs+low+emission+finishes Google Scholar
- https://scholar.google.com/scholar?q=playroom+flooring+safety+cleaning+hardwood+floor+guidelines Google Scholar