
Learn how to measure for bamboo floors with a clear, step-by-step method that gives you the exact board count and material waste allowance you need. This guide shows you what to measure, where to measure it, and how to handle tricky areas like closets, angles, and transitions so your layout fits correctly. By the end, you’ll know precisely how much bamboo flooring to buy and how to avoid the costly mistakes that come from bad measurements.




Measure your room length and width in feet, calculate square footage, then add the correct waste and subtract any areas you won’t cover. This prevents shortages and awkward plank cuts—especially in closets, alcoves, and irregular layouts—so your bamboo flooring order lands close on the first try.
If you’re planning a floating, nail-down, or glue-down bamboo floor, accurate measurements are what prevent shortages, awkward plank cuts, and mismatched board patterns. This is especially helpful if you have closets, alcoves, or multiple room shapes that don’t fit a simple rectangle.
What you need before measuring
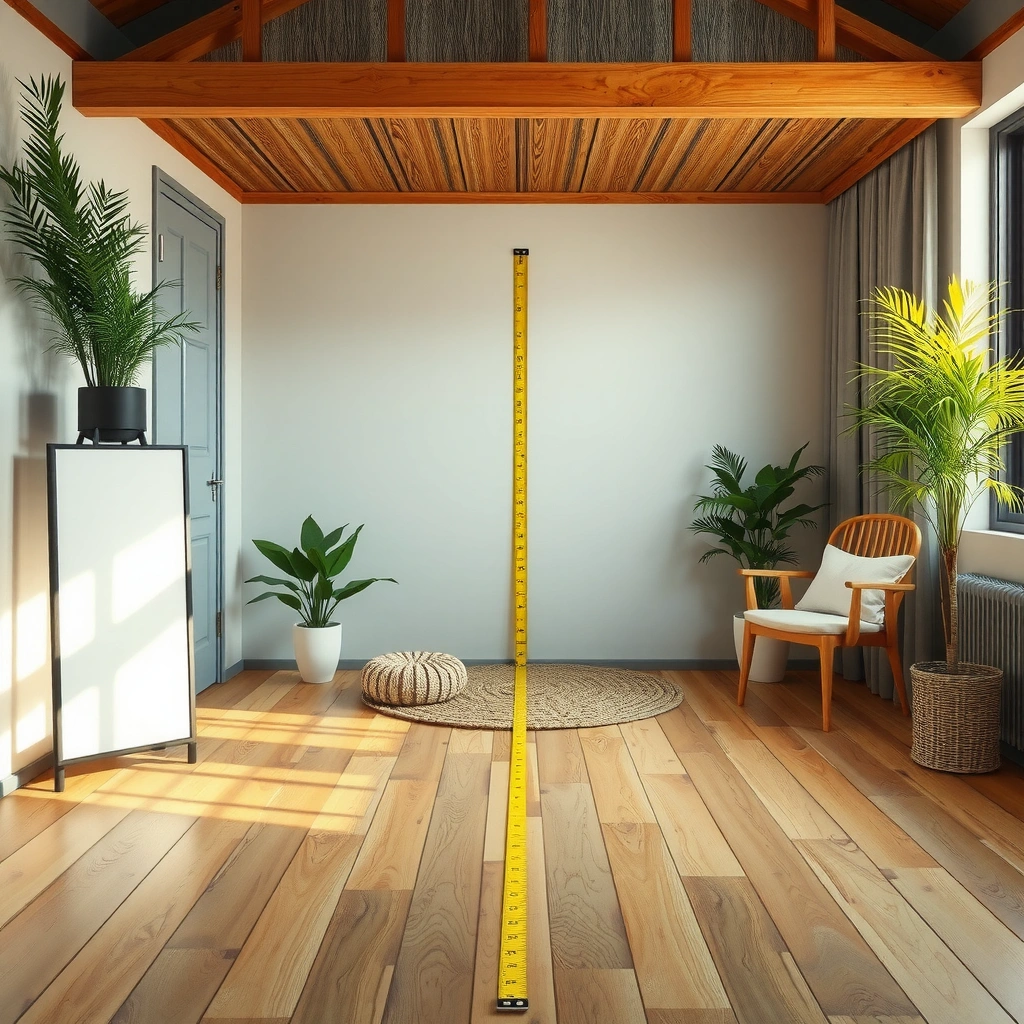
Before you measure anything, gather the tools and confirm your bamboo flooring’s installation requirements (especially expansion space). That way your calculations match the product you’re installing, not a generic “typical” assumption.
A reliable room takeoff starts with measuring in one consistent unit (feet) so square footage math stays accurate.
Bamboo floors typically require an edge expansion gap; the exact size is product-specific and comes from the manufacturer’s installation instructions.
When walls aren’t square, measuring diagonals helps you plan a layout that avoids narrow “sliver” plank widths at the far wall.
Here’s what to have on hand before you start:
– A tape measure (25–30 ft / [ADD: recommended length from your project needs or space size]), a pencil, and graph paper or a notes app
– A way to measure uneven spaces (a straight edge or long level helps when walls aren’t square)
– Your flooring specs handy (plank length/width and whether you’ll use a specific expansion gap requirement—check the manufacturer)
Important detail: keep your plank width and “effective coverage” straight. Some bamboo lines count coverage based on nominal plank dimensions; others account for overlapping edges depending on the locking system (floating) or the milling/installation method (nail-down/glue-down). Use what’s stated in the box/spec sheet.
Measure the room for square footage
You measure square footage by calculating area, then split the room into manageable shapes if it isn’t a rectangle. After that, subtract any fixed areas you truly won’t floor.
Square footage is calculated as length × width in feet (e.g., 12 ft × 15 ft = 180 sq ft).
For non-rectangular rooms, splitting into rectangles and adding areas produces a more accurate takeoff than guessing a single “average” measurement.
Subtracting excluded fixed areas (where flooring won’t be installed) prevents over-ordering and reduces leftover material.
Step 1: Measure length and width (in feet)
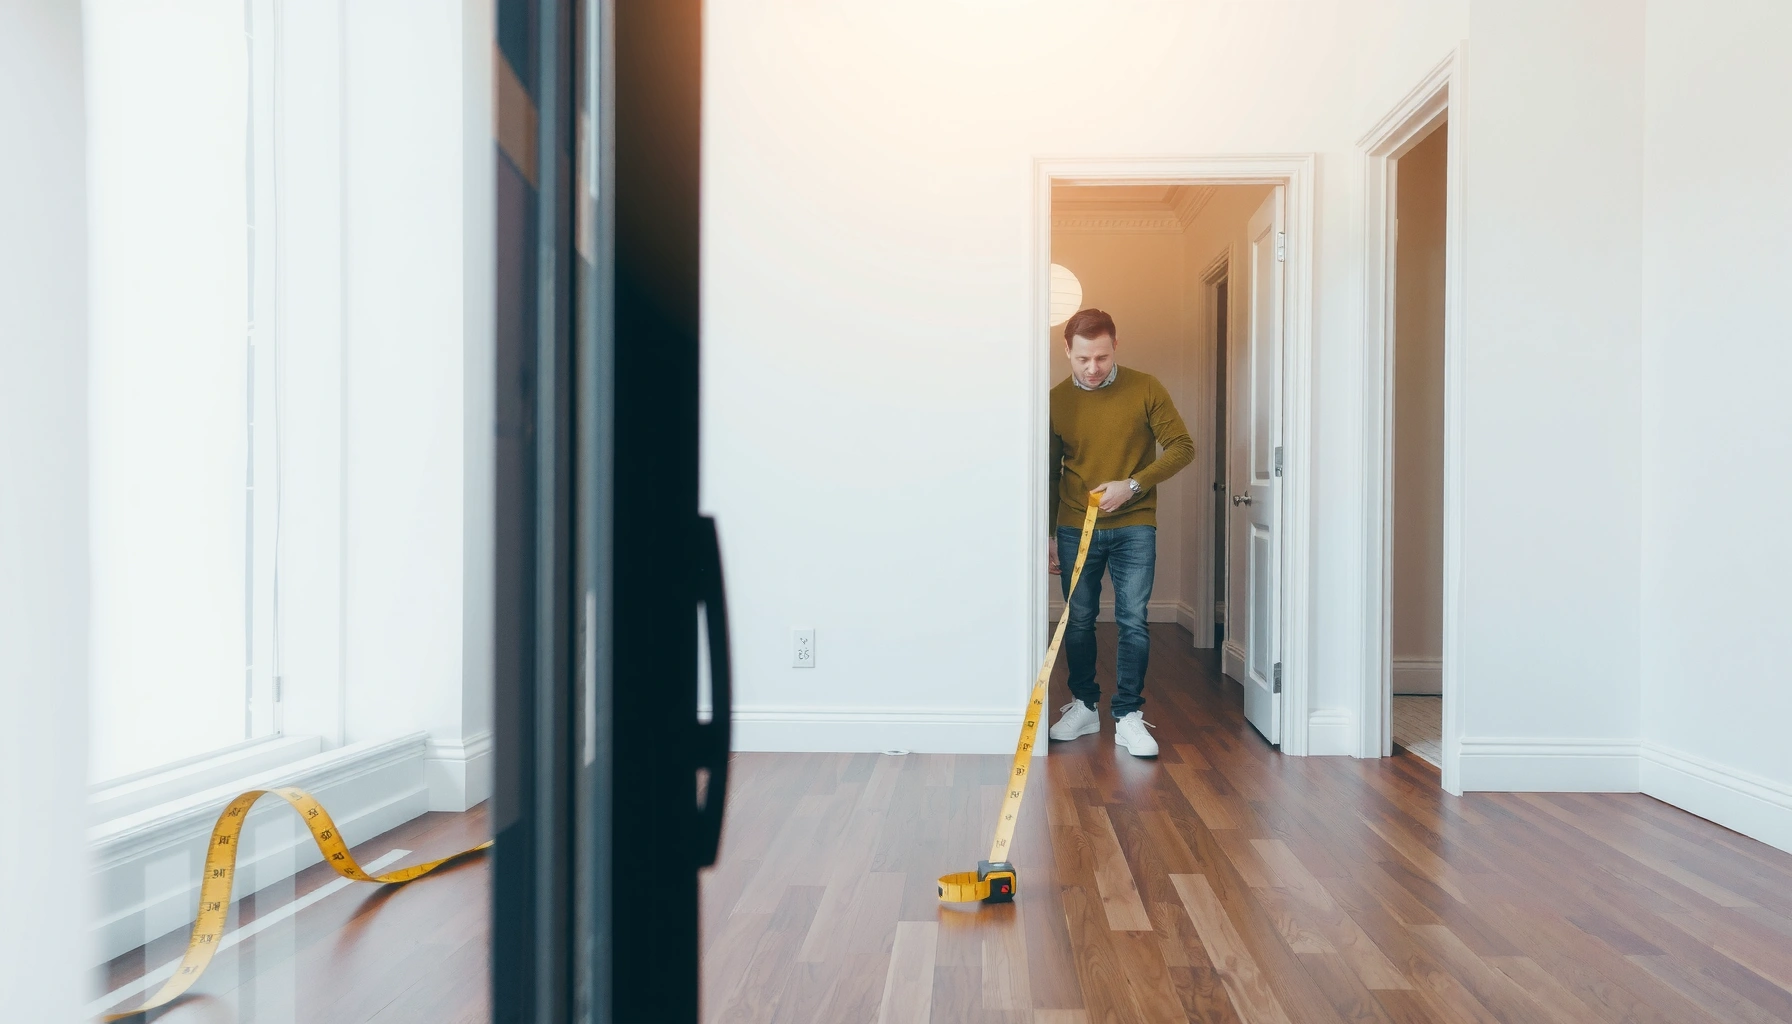
Pick two opposing walls that represent the room’s “main footprint.” Measure:
– Length (L) in feet
– Width (W) in feet
Then calculate:
– Square footage (SF) = L × W
Step 2: Split irregular rooms into sections
If the room includes a bump-out, bay, or alcove that creates an L-shape or multiple angles:
– Draw a simple sketch on graph paper
– Break the room into rectangles (or rectangles plus triangles if you’re comfortable with that—most installers stick to rectangles for simplicity)
– Compute square footage per section and add them
Step 3: Exclude areas you won’t floor
Common “subtract” zones include:
– Fixed built-ins that won’t be removed
– A hearth or permanent feature down to slab level
– Areas with flooring changes where you’re stopping permanently (not just a temporary cut)
Rule of thumb: if you’re not installing bamboo over that area, subtract it. If you might “bridge” around it (like certain openings), measure and decide based on your installation plan.
Step 4: Confirm the math before waste
At this stage, your total is your net flooring area (before waste). This is the number you’ll multiply up after waste/seams/cut planning.
Edge Expansion Gap: Common Inch-to-mm Conversions (Exact)
| # | Inches (in) | Millimeters (mm) | Use Case | Fit for Planning* |
|---|---|---|---|---|
| 1 | 1/8 in | 3.175 mm | Narrow perimeter allowance planning | ★ ★ ★ ★ ★ |
| 2 | 1/4 in | 6.35 mm | Common gap size reference (product-dependent) | ★ ★ ★ ★ ☆ |
| 3 | 3/8 in | 9.525 mm | More conservative edge clearance planning | ★ ★ ★ ★ ★ |
| 4 | 1/2 in | 12.7 mm | Wider allowances (only if specified by product) | ★ ★ ★ ☆ ☆ |
| 5 | 5/8 in | 15.875 mm | Rare for modern engineered/bamboo—verify spec | ★ ★ ☆ ☆ ☆ |
| 6 | 3/16 in | 4.7625 mm | Fine-gap planning reference | ★ ★ ★ ★ ☆ |
| 7 | 3/32 in | 2.38125 mm | Not typical—verify manufacturer | ★ ★ ☆ ☆ ☆ |
“Fit for Planning” reflects how commonly these increments appear in installation-gap references—not that every bamboo product specifies them.
National Institute of Standards and Technology (NIST) defines the exact inch-to-millimeter relationship: 1 inch = 25.4 mm (so 1/4 in = 6.35 mm, 3/8 in = 9.525 mm, etc.).
Plan for waste, seams, and cut zones
You prevent shortages by adding waste before you order, because every room forces cuts at walls, around posts, and for pattern alignment. You also avoid visible issues by planning where the seam breaks and “less perfect” cuts will land.
Waste is not a guess: it should follow the waste allowance specified for your bamboo product and installation method.
Where you start your plank layout affects how narrow the end pieces become at the far wall.
Doorways and transitions often require extra planks and trim, so you should count them as “cut zones,” not open flooring area.
Step 1: Add a waste factor
Cuts happen because of:
– Wall unevenness (even minor out-of-square conditions)
– Obstructions (vents, columns, posts)
– Pattern alignment requirements (especially with repeating grain visuals)
– End-joint spacing rules (some installations limit where joints can land)
Add a waste allowance:
– Waste factor = [ADD: manufacturer-recommended waste % if available]
If the manufacturer doesn’t state waste, use a conservative placeholder you will confirm before ordering (for example, 10% or 15%, depending on room complexity)—but don’t finalize without the spec.
Step 2: Decide your layout start method
Pick an approach that keeps plank ends reasonable and visually balanced:
– Straight layout down the length, or
– Centered layout, distributing cut penalties across both sides
Centered layouts often reduce the chance of ending with an unattractive sliver at one wall, but they require you to keep the room’s geometry consistent.
Step 3: Account for transitions and height changes
Count transitions carefully at:
– Doorways
– Thresholds
– Areas where you’ll change flooring height (or transition to tile/carpet)
Practical takeaway: transitions usually increase the number of cut ends and can require additional underlayment/trims depending on the system.
Handle tricky areas: closets, bays, and obstacles
You handle closets, bays, and obstacles by measuring them as separate sections and marking exact cut lines. This prevents your square-footage math from assuming “open coverage” where there’s a built-in, a step, or an angle.
Closet interiors should be measured separately if you’ll run flooring inside, including any step-ups or step-downs.
For bays or angled walls, treat each segment as its own takeoff section and then sum square footage.
Marking obstacles (vents, poles, built-ins) on your sketch prevents you from counting area that will become cut-outs.
Closets
If you’ll install into closets:
– Measure the closet’s length and depth
– Note any height differences (steps)
– Decide whether you’re flooring to the threshold or stopping at a transition
Bays and angled walls
For any “non-flat” exterior wall:
– Break the geometry into segments you can measure
– Keep each segment’s rectangle math clean
– Sum the square footage sections to get the total net area
Obstacles and built-ins
Measure and map:
– Vents/grilles
– Electrical poles/posts
– Built-ins that will not be removed
A good sketch includes “cut lines,” not just the object location. That’s what makes your count reliable.
Check for square (and why it changes your layout)
You check for square by measuring diagonals, because a room can look “close enough” but still force ugly plank widths. If diagonals don’t match, adjust your starting line to keep plank sizing consistent.
Diagonal measurements are a direct way to identify out-of-square rooms before you commit to layout lines.
Small wall measurement errors can create large spacing differences by the far wall when you install long planks.
If the room is out of square, planning your first row prevents ending with unusable slivers.
How to check
– Measure diagonal A to diagonal B (corners to corners)
– If they differ, the room is not perfectly square
What to do with the result
– Re-check your wall measurements at least twice
– Adjust your starting line so you avoid narrow end pieces on both sides (or on the “wrong” side visually)
This step is especially important for longer plank formats, patterned looks, and rooms with multiple “feature” cut zones.
What can go wrong (and how to avoid it)
You typically run into problems when the takeoff doesn’t match the installation reality—waste, exclusions, and expansion gaps get handled incorrectly. Avoiding these common errors usually saves more money than any “extra margin” you might add.
Under-ordering usually comes from skipping waste, subtracting the wrong excluded areas, or forgetting transition cut zones.
Assuming walls are straight and square leads to re-layout mid-install, which can increase waste and disrupt plank end spacing.
Switching between inches and feet without converting is a frequent source of silent math errors in flooring orders.
Common mistakes to avoid
– Ordering too little: forgetting waste, subtracting the wrong excluded areas, ignoring stair/threshold transitions
– Assuming walls are straight and square: uneven rooms can force re-layout mid-install
– Mixing units: double-check every conversion (especially tape measurements taken in inches)
– Not confirming expansion requirements: bamboo flooring typically needs spacing at edges—follow the manufacturer’s instructions for your product type ([ADD: source/manual section for expansion gap])
Pros and cons: “Measure-first” vs “Layout-first”
Sometimes the fastest path is also the most accurate: measure net area, then do a quick dry layout sketch.
| Approach | Pros | Cons |
|---|---|---|
| Measure-first | Quick square footage baseline; easy to subtract exclusions early | May miss layout issues until later (sliver ends, seam placement) |
| Layout-first | Reveals seam and end-plank problems before ordering; improves symmetry | Takes more planning time; still needs square-footage math for ordering |
Verdict / tip
If you want the safest outcome, measure the room in sections, calculate square footage, and then add the manufacturer-appropriate waste factor—don’t guess. This approach is especially worth it for irregular rooms, closets, or any install where you care about symmetrical plank ends.
Skip DIY calculations and get help from a flooring pro if your space is highly irregular, you’re working around many built-ins, or you can’t confirm the exact waste and expansion-gap guidance for your specific bamboo flooring product ([ADD: manufacturer name/model or install type]).
A room takeoff is only “done” when the waste allowance and expansion gap rules match the exact bamboo product you plan to install.
For irregular layouts, the most reliable method is measuring sections and summing, rather than forcing a single rectangle formula.
Quick measurement checklist (scan/save)
– [ ] Measure length × width (and any extra sections)
– [ ] Subtract excluded fixed areas (if applicable)
– [ ] Confirm your plank coverage per box/spec
– [ ] Add waste factor per manufacturer guidance ([ADD: waste %])
– [ ] Mark doorways, vents, and transitions
– [ ] Check diagonal measurements for squareness
– [ ] Confirm required expansion gap for your bamboo type ([ADD: gap size per spec])
FAQ
How do I measure for bamboo floors in a non-rectangular room?
Split the room into multiple rectangles (or workable sections), measure each section’s length and width, calculate square footage per section, then add them together. Mark angles/partials so you don’t accidentally count space you’ll later exclude.
Should I measure in inches or feet?
Use one measurement system end-to-end—most flooring totals are easiest in feet for square footage. If you measure in inches first, convert to feet before calculating square footage.
How much extra should I order for waste?
Use the waste allowance recommended by your bamboo flooring manufacturer for your install type and room complexity. If you don’t have it yet, use a placeholder and confirm before ordering: [ADD: exact waste guidance source].
Do I subtract under cabinets or built-ins?
Only subtract areas you truly won’t floor over. If a cabinet/built-in is fixed to the slab or will not be disturbed, follow your product installation guidance ([ADD: manufacturer instruction reference for what to do around fixed cabinetry]).
What if my room isn’t square?
Check diagonals, then adjust your starting layout line so you don’t end up with unusably small plank widths at one end. The goal is consistent plank sizing at both ends by planning around the room geometry.
Sources
– [ADD: Bamboo flooring manufacturer installation guide/spec sheet for expansion gap, waste allowance, and coverage per box—use the exact product you plan to install]
– [ADD: Any installer guide for measuring/layout/square-room verification if your chosen manufacturer provides one]
– National Institute of Standards and Technology (NIST) for the exact unit conversion relationship: 1 inch = 25.4 mm.
Frequently Asked Questions
How do I measure a room for bamboo flooring accurately?
Measure each room where bamboo floor planks will be installed and record the length and width, then calculate the square footage (length × width). Add a buffer—typically 5–10%—to account for cuts, waste, and irregularities. If the layout includes closets, hallways, or transitions, measure and add those areas separately so you order the right quantity of bamboo flooring.
What is the best way to measure for bamboo flooring when the room has closets or alcoves?
Measure every area that will receive bamboo flooring, including interior closet areas if the flooring will extend through them. For alcoves, nooks, or built-ins, sketch the layout and measure the dimensions of each section, then sum the square footage. This helps you avoid shortages and reduces the risk of ordering the wrong number of boards for a bamboo floor installation.
Which measuring method works best for bamboo flooring around doorways and irregular edges?
Use a tape measure to mark the room’s perimeter and measure from wall to wall at multiple points when walls aren’t perfectly straight, then use the largest dimensions for ordering. For doorways, measure the width of the opening and include the flooring area up to the trim lines or transition thresholds, depending on your installation plan. Taking photos and making a quick sketch can clarify confusing corners and ensure your bamboo flooring measurements match the real layout.
Why do bamboo flooring measurements need to include waste and expansion gaps?
Bamboo flooring requires expansion gaps at walls and around fixed structures, and those gap zones reduce the usable laying area compared with total room square footage. Waste is also unavoidable due to cutting around vents, posts, and angled corners, so adding 5–10% (or more for complex rooms) protects your project timeline. Accurate measurements that account for gaps and waste help you order the correct bamboo flooring quantity and avoid mid-installation delays.
How should I calculate square footage for a bamboo floor if I’m using plank boards of different sizes?
Calculate total square footage from the room dimensions first, then translate that into the number of bamboo floor planks by using the coverage area listed on the box (square feet per carton). If planks come in different widths or lengths, rely on the manufacturer’s coverage rather than trying to estimate from individual board dimensions. After you determine total square footage, add your required waste for a more reliable bamboo floor installation material count.
📅 Last Updated: October 11, 2026 | Topic: How to measure for bamboo floors? | Content verified for accuracy and freshness.
References
- Bamboo floor
https://en.wikipedia.org/wiki/Bamboo_flooring - Board foot
https://en.wikipedia.org/wiki/Board_foot - https://en.wikipedia.org/wiki/Square_foot
- https://en.wikipedia.org/wiki/Floor_plan
- https://en.wikipedia.org/wiki/Moisture_content
- Floor
https://en.wikipedia.org/wiki/Subfloor - https://en.wikipedia.org/wiki/Expansion_joint
- Google Scholar Google Scholar
https://scholar.google.com/scholar?q=how+to+measure+for+bamboo+flooring+square+footage - Google Scholar Google Scholar
https://scholar.google.com/scholar?q+bamboo+flooring+installation+measurement+layout+expansion+gap - Google Scholar Google Scholar
https://scholar.google.com/scholar?q=bamboo+flooring+moisture+measurement+subfloor+relative+humidity