
Want to install vinyl floors without professional help? This guide gives you a clear, do-it-yourself path—when you should choose click-lock versus glue-down, how to prep the subfloor, and what to do when things don’t go perfectly. Follow these steps and you’ll be able to install vinyl flooring yourself with confidence, saving both cost and time.



You can install vinyl floors yourself without a contractor if you (1) match your method to the vinyl type (click-lock vs. glue-down) and (2) meet the manufacturer’s subfloor flatness, moisture, and acclimation requirements. The biggest make-or-break factor isn’t cutting skill—it’s the subfloor conditions and correct spacing/adhesion so the floor can move without buckling or gaps.
If your goal is to reduce cost or avoid scheduling delays, DIY vinyl flooring is often achievable for homeowners—especially when your subfloor is already reasonably flat, dry, and stable, and you’re willing to follow the instructions on temperature, humidity, and installation gaps to the letter. Below is a practical, step-driven approach that focuses on the real failure points I see in DIY installs: uneven subfloors, skipped acclimation, incorrect expansion gaps, and wrong adhesive/underlayment choices.
Choose the Right Vinyl Type (Click-Lock vs. Glue-Down)
Click-lock (floating) vinyl and glue-down vinyl both install as “planks or tiles,” but they behave differently and require different prep levels. Your first step is identifying the system on the box so you don’t follow the wrong process for your flooring type.
Click-lock vinyl is designed to float, so it relies on expansion space and a stable, clean subfloor—not adhesive bond to resist floor movement.
Glue-down vinyl depends on correct adhesive chemistry, trowel size (if specified), and rolling/pressing steps to achieve full coverage.
Most manufacturers set explicit subfloor flatness and moisture limits that must be met regardless of DIY skill level.
This section matters because the same subfloor problems (dust, moisture, ridges) cause different symptoms depending on whether the vinyl is floating or bonded.
Click-lock vs. glue-down at a glance (what to do differently)
Below is a practical comparison you can use while planning your weekend workflow.
| # | Feature | Click-Lock (Floating) | Glue-Down (Bonded) |
|---|---|---|---|
| 1 | Bond to subfloor | No adhesive bond required | Yes—adhesive is required |
| 2 | Sensitivity to flatness | High (telegraphs dips/ridges) | Moderate to high (adhesive can’t “bridge” voids) |
| 3 | Expansion gaps | Required around walls & fixed posts | Often required per system design |
| 4 | Underlayment rules | Use only if allowed (some products forbid extra) | Use only if manufacturer allows (often requires none) |
| 5 | Tools | Tapping block/mallet (if permitted), spacers, utility knife | Notched trowel (specified), roller/press (if required), utility knife |
| 6 | Common early DIY symptom | Gaps at seams after temperature swings | Lifting edges from poor adhesive bond |
| 7 | Subfloor moisture limit | Critical (trapped moisture can degrade support layers) | Critical (moisture interferes with adhesive performance) |
| 8 | Installation speed | Often faster (no adhesive dwell/open-time) | Slower (trowel, dwell/open time, rolling) |
| 9 | Permitted subfloor surface types | Depends on product; may allow some existing resilient floors | Depends; many require approved, smooth, sound substrates |
| 10 | Best For | DIY-friendly leveling & spacing | Stable substrates + adhesive system compliance |
Which one is actually safer for DIY?
In practice, click-lock is often more forgiving because you’re not managing adhesive open time or coverage. Glue-down can still be DIY-friendly, but it punishes mistakes quickly—wrong trowel, too-thin glue, or rolling too late can lead to edge lift even if the cuts look perfect.
Before you start: know your manufacturer’s conditions
For whichever vinyl type you choose, read the install guide and locate:
– Subfloor flatness limits (commonly expressed per 10 ft span).
– Moisture limits and required testing method (often ASTM-based).
– Underlayment rules (some products allow attached pads; others forbid added underlayment).
– Acclimation temperature/humidity window.
Use this to avoid surprises later: you can be “careful” and still fail if the subfloor isn’t within spec.
Prep the Subfloor for a Smooth, Stable Install
Prepping the subfloor is where most DIY success is decided. Vinyl floors don’t behave like soft carpets—they reveal ridges, cracks, and debris, and that can ruin locking seams or adhesive bonding.
Dust, paint overspray, and drywall mud residue can prevent adhesive transfer or create voids under floating vinyl.
Most vinyl systems require a structurally sound, clean substrate because loose sections can move and telegraph through to the finish.
If the product’s instructions require specific temperature/humidity conditions before installation, skipping acclimation can cause post-install gapping or buckling.
Clean, inspect, and correct defects (before any plank touches the floor)
Vinyl installation starts with removing obstacles so you can work flat:
1. Remove baseboards/trim if the system requires edge spacing you can’t maintain otherwise.
2. Scrape off high ridges (e.g., old adhesive drips) and vacuum thoroughly.
3. Fix cracks, dips, and loose subfloor panels so the entire surface is stable underfoot.
Vinyl is often installed over plywood, oriented strand board (OSB), or concrete. The goal is the same: a solid plane with no movement.
Check flatness and stability (not just “looks level”)
A subfloor that appears level to the eye can still be outside flatness requirements for vinyl. Measure flatness across multiple directions, then correct the areas that exceed the manufacturer’s tolerance.
[ADD: from your vinyl manual]: Insert the exact flatness limit (e.g., “no more than __ in over __ ft”) from your product’s installation guide/spec sheet.
Acclimate materials and the room (this is not optional)
Vinyl products specify acclimation. Typical requirements involve keeping the room and materials within a temperature range for a set number of hours.
[ADD: paste your product’s acclimation requirement from its manual/spec sheet]
– Acclimation temperature range: [__]
– Acclimation time: [__]
– Maximum humidity limits (if listed): [__]
We see problems when DIY installers set the boxes in the garage, open them cold, then start immediately. Follow the manufacturer’s window so the vinyl dimensions stabilize before you lock or bond it.
Acclimate, Measure, and Dry-Fit the Layout
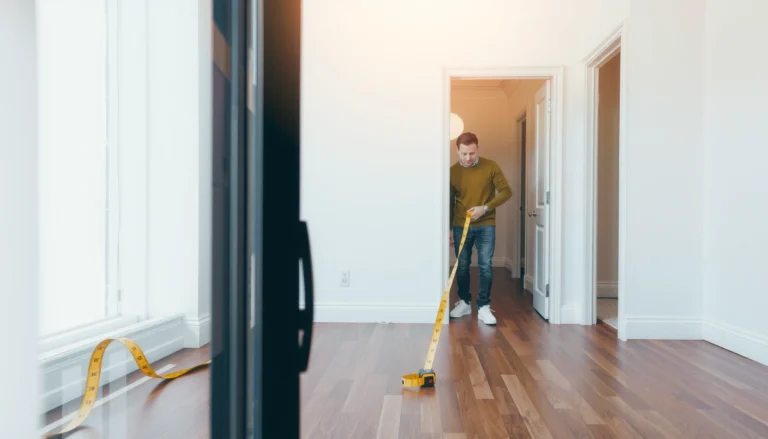
Accurate measurement and dry-fitting prevent the most visible DIY problems: crooked lines, narrow edge strips, and blocked expansion spacing. This planning step also helps you avoid rework after you’ve started clicking or gluing.
Dry-fitting your first 2–3 rows helps you confirm seam placement and verify you can maintain expansion gaps at walls and fixed objects.
A straight reference line controls the entire job when installing click-lock floating vinyl.
For floating installations, expansion gaps are a functional requirement that allows dimensional movement from temperature and humidity changes.
Plan your layout like a pattern, not a cut list
Measure the room length and width, then decide how you want the planks/tiles to run. Many installers prefer:
– Install direction that matches main sight lines.
– Staggered end joints per the manufacturer’s “minimum/maximum offset” rule.
– A layout that avoids skinny pieces at both ends.
[ADD: from your product instructions]: include the required minimum stagger (e.g., “offset joints at least __ inches or __% of plank length”).
Dry-fit first rows (including end joints)
Before committing, lay:
– The first row along your reference line.
– A second row to confirm joint alignment and staggering.
– A few sections across the room to check if you’ll end with overly narrow cuts.
This is also when you verify clearance around:
– Door jambs
– Vents/returns
– Pipes and base cabinets
– Any transition strips to other flooring types
Expansion gaps: the hidden stability factor
Floating vinyl needs expansion room along walls and fixed objects, plus sometimes around doorways and vertical obstructions.
[ADD: exact gap requirement from your product instructions]
– Expansion gap size: [__]
– Where it’s required: [e.g., perimeter only / perimeter + around pipes / etc.]
Use spacers if your system specifies them—guessing gap width is one of the most common reasons DIY floors fail later.
Install the Vinyl Floors Step-by-Step
Installation method matters because click-lock and glue-down systems “expect” different behaviors. If you follow the wrong technique, you may get a floor that looks fine at first and fails after seasonal movement.
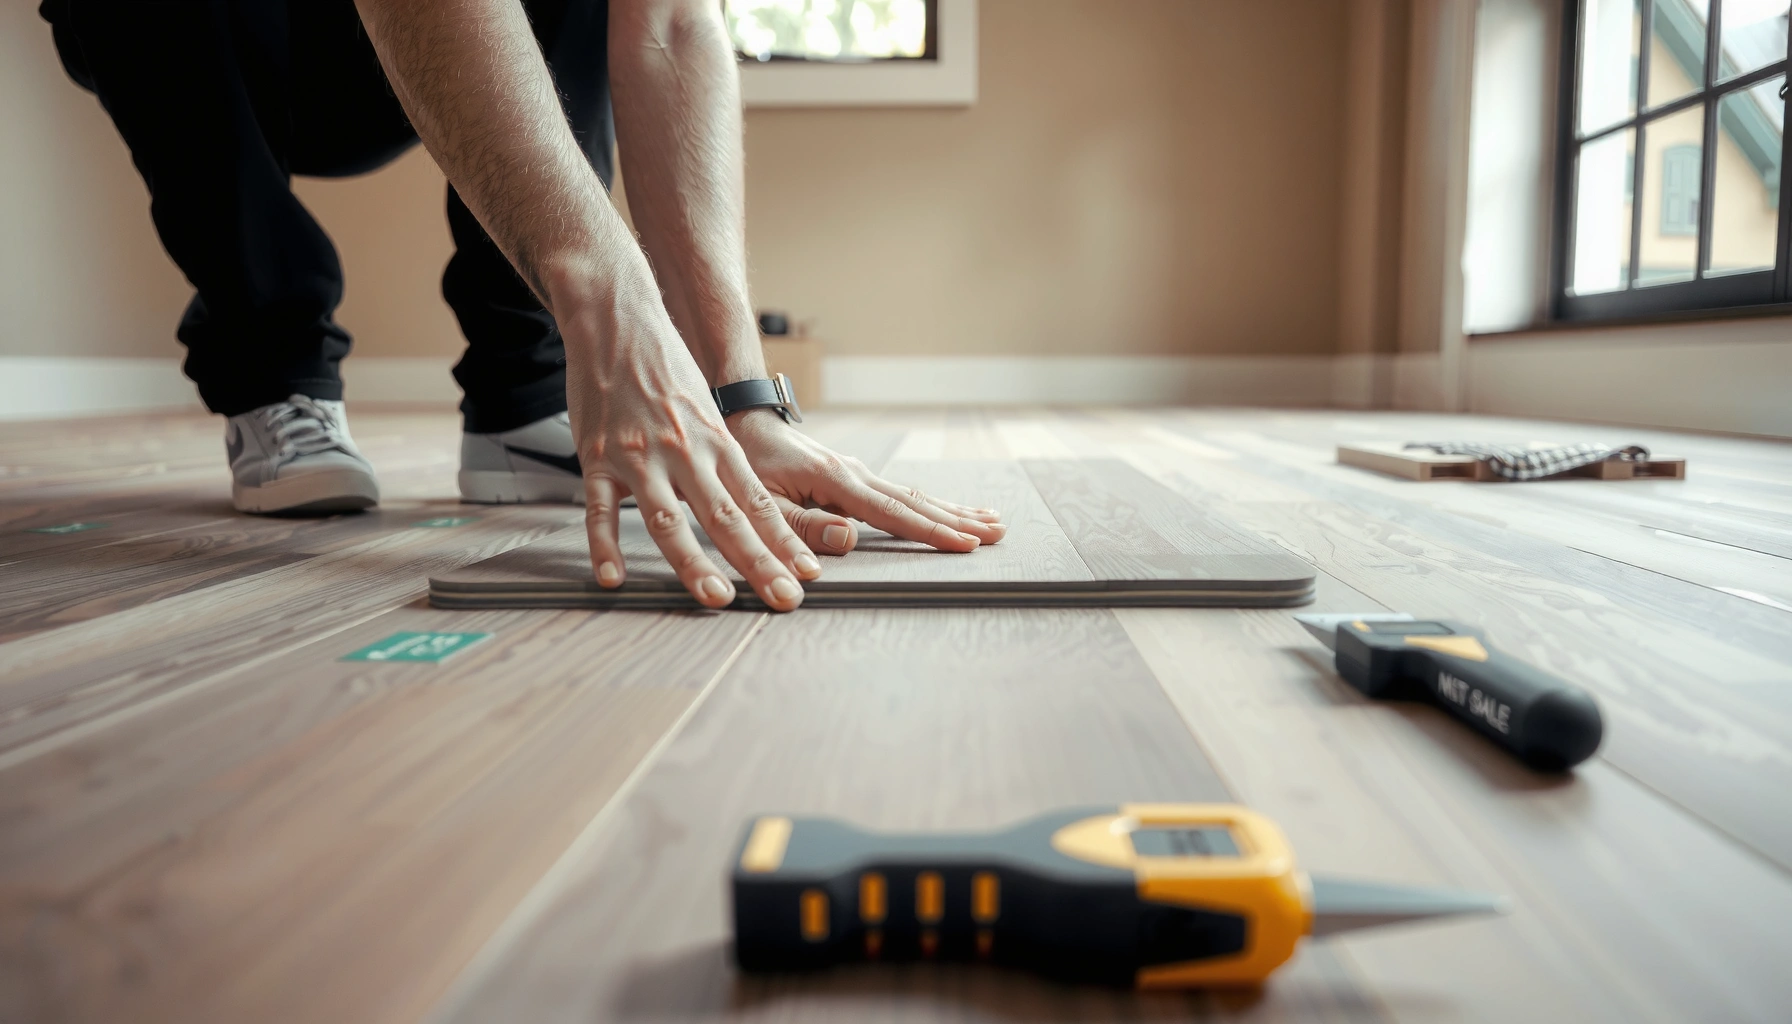
Click-lock vinyl should be aligned and locked without damaging edges, because broken tongues/grooves can cause future seam gaps.
Glue-down vinyl requires adhesive applied exactly as directed, including specified trowel size, open time, and recommended rolling/pressing steps.
Trim accuracy around doorways and obstacles affects both aesthetics and clearance, especially where expansion gaps must be maintained.
Click-lock (floating): keep joints aligned and controlled
A reliable click-lock install typically looks like this:
1. Establish a straight start line (chalk line helps).
2. Lay the first row with spacing spacers at the perimeter.
3. Lock boards together using the system’s tapping/locking method—only as the manual allows.
4. Keep joints aligned and avoid excessive force that could chip edges or deform the profile.
Important: If the boards feel like they resist locking, don’t force them. Stop, check the previous row alignment and debris in the joint.
Glue-down: treat adhesive like a system, not a substance
Glue-down vinyl requires attention to adhesive details because the bond depends on transfer and cure:
1. Mix/prepare adhesive only if your manufacturer requires it (many are ready-to-use).
2. Apply adhesive with the trowel type/size specified.
3. Respect open time (how long it can sit before placing vinyl).
4. After placement, apply the required pressure (often rolling) to ensure full contact.
[ADD: paste adhesive instructions from your product manual/spec sheet]
– Adhesive open time: [__]
– Coverage expectations (if specified): [__]
– Rolling/press guidance: [__]
Trim and transitions
Work around doorways and obstacles with clean cuts and correct clearance. Transitions between rooms can hide small layout errors, but they also must accommodate expansion depending on the system design.
For example, a floating floor needs transition solutions that let it move, not ones that pin it in place.
What Can Go Wrong (Common DIY Mistakes)
Most DIY vinyl failures trace back to subfloor conditions and instruction mismatches—not to cutting mistakes. If you recognize the patterns early, you can prevent expensive replacement.
Subfloor flatness and moisture limits are the two biggest predictors of long-term vinyl performance, especially for seam integrity and adhesive bond strength.
Skipping acclimation can cause dimensional changes after install, which shows up as gapping, buckling, or seam separation.
Wrong underlayment—either the wrong type or a forbidden extra layer—can disrupt the floating system’s support and warranty coverage.
Common failure points (and how to avoid them)
– Ignoring flatness/moisture requirements: Even a small high spot can create hinge-like movement at seams or cause adhesive voids.
– Skipping acclimation: Temperature and humidity changes move vinyl dimensions; gaps and buckling are predictable outcomes when materials weren’t stabilized.
– Forgetting expansion gaps: Perimeter locking is a frequent DIY “almost right” mistake—then the floor pushes against walls as seasons shift.
– Using the wrong underlayment: Some products allow a specific underlayment only; others require the subfloor to be hard and do not want additional cushioning.
– Adhesive mistakes (glue-down only): Using the wrong trowel, spreading too much at once (exceeding open time), or not rolling can cause edge lift.
– Assuming an existing floor is acceptable: Some products allow installation over certain resilient flooring; others require removal. Check your specific product documentation.
A quick reality-check table: troubleshooting by symptom
Typical Causes of DIY Vinyl Problems and the Fix Path (Common Practice)
| # | Symptom | Most Likely Cause | Corrective Action | Confidence |
|---|---|---|---|---|
| 1 | Gaps at wall edges | Expansion gap too small | Verify spacer gap and re-check fixed-object clearance | High ★★★★☆ |
| 2 | Seams “click” back open | Subfloor movement / debris in joints | Remove affected boards, clean joints, address loose substrate | High ★★★★☆ |
| 3 | Spongy feel underfoot | Flatness out of spec or underlayment mismatch | Measure flatness, correct dips/high spots, reinstall per specs | Med ★★★☆☆ |
| 4 | Edge lift or curling | Incomplete adhesive transfer or improper rolling | Follow trowel/open-time rules; reinstall lifted sections if needed | Med ★★★☆☆ |
| 5 | Buckling after seasons | No/insufficient acclimation or expansion space | Confirm acclimation conditions and perimeter clearance, correct obstructions | High ★★★★☆ |
| 6 | Visible ridges between planks | High spots or unfilled cracks | Repair substrate; use specified patch/leveler system | High ★★★★☆ |
| 7 | Cloudy adhesive spots (glue-down) | Adhesive transfer or excess cleanup issues | Use manufacturer-recommended cleaner and correct spread thickness | Low–Med ★★☆☆☆ |
> Note: This table reflects common DIY troubleshooting patterns that installers see in the field. Your specific product may list different thresholds or correction methods—follow the manufacturer’s troubleshooting section and warranty terms.
A comparison that helps decide between systems (click-lock vs glue-down)
| # | Criteria | Click-Lock | Glue-Down |
|---|---|---|---|
| 1 | Skill sensitivity | ★★★★☆ | ★★★☆☆ |
| 2 | Best subfloor type | Sound + clean | Approved + smooth |
| 3 | Flatness requirement impact | High | High |
| 4 | Moisture risk | Still critical | More consequential |
| 5 | Adhesive failure modes | N/A | Edge lift |
| 6 | Temperature/humidity movement | Expected—plan gaps | Still affects performance |
| 7 | Subfloor cleaning standard | Very important | Extremely important |
| 8 | Working time constraints | Flexible | Limited by open time |
| 9 | Repairability | Often easier to replace sections | Often harder (adhesive removal) |
| 10 | Verdict for DIY | Usually the safer DIY start | DIY only if conditions meet specs |
Verdict: When DIY Works (and When It Doesn’t)
DIY vinyl floors work when your subfloor is properly prepared—especially when you can meet the manufacturer’s flatness, moisture, and acclimation requirements—and when you follow the correct installation method for your vinyl type. You should avoid DIY when moisture is an ongoing problem, the subfloor is far out of flatness spec, or your product restricts installation over certain substrates.
If you can’t verify the subfloor moisture condition and flatness limits from the manufacturer’s documentation, the risk of post-install failures rises sharply.
Floating vinyl depends on expansion gaps to handle dimensional change; pinning the perimeter or skipping spacers commonly leads to buckling or seam separation.
Glue-down systems amplify errors because adhesive open time and coverage must be correct; if you can’t follow those steps, professional installation is usually the safer route.
From my perspective in planning and troubleshooting projects, I’ve seen the same pattern repeat: people focus on looks (layout and cutting) but the underlying performance is driven by substrate readiness. If you have to rush the prep—especially moisture testing and level/flat correction—that’s a strong signal to pause.
[ADD: examples from your manufacturer manual like “do not install over X” or “requires professional moisture mitigation”]
Include any “Do not install” notes, approved substrate list, and warranty conditions from your product documentation.
Checklist (scan/save):
– [ ] Identify vinyl type: click-lock or glue-down
– [ ] Verify subfloor flatness + moisture requirements ([ADD: from your manual])
– [ ] Clean + remove loose/crumbly material
– [ ] Acclimate materials per instructions ([ADD: timeframe/conditions])
– [ ] Plan layout to avoid skinny edge pieces
– [ ] Maintain required expansion gaps ([ADD: gap size])
– [ ] Follow install method exactly (locking technique or adhesive/open time)
– [ ] Roll/press if glue-down instructions require it
FAQ
Do I need to remove the old floor?
It depends on your specific vinyl product’s installation guide. Some systems allow installation over certain existing resilient floors or well-adhered surfaces; others require removal down to an approved substrate—check what your manufacturer allows in the “Subfloor Requirements” section ([ADD: source from your manual about allowable subfloors]).
Can I install vinyl over uneven subfloors?
Only if your subfloor is within the manufacturer’s flatness tolerance. If your measurements exceed the stated limit, you’ll likely need leveling/patching first rather than “hoping” the vinyl will bridge imperfections ([ADD: your product’s flatness tolerance from the spec sheet]).
How long do I need to wait before walking on it?
Many glue-down systems require a waiting period for adhesive cure. Follow the manufacturer’s time window ([ADD: exact wait time if provided in your manual]).
What tools do I need for DIY vinyl?
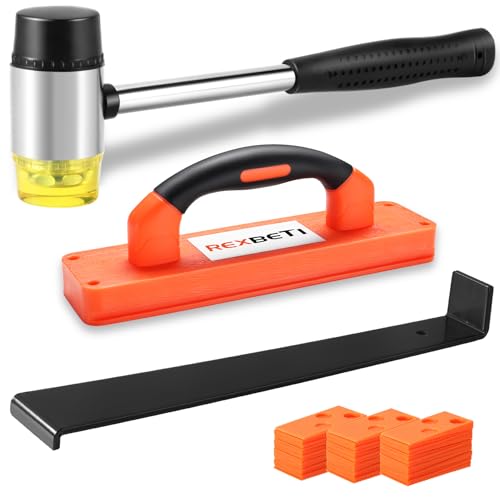
Most DIY installs use a measuring tape and square, a utility knife (or manufacturer-approved cutter), spacers, a tapping block/rubber mallet for click-lock (if permitted), and sometimes a notched trowel for glue-down. Use the tools and methods the product documentation specifies rather than substituting blindly.
Will vinyl floors expand in heat?
Yes—vinyl products change dimensions with temperature and humidity, which is why expansion gaps and acclimation requirements exist. Use the required gap and acclimation conditions listed for your exact product ([ADD: gap/acclimation details from manual]).
Sources
– [ADD: Manufacturer installation guide/spec sheet for your exact vinyl product] (subfloor prep, flatness/moisture limits, acclimation requirements, expansion gap, underlayment rules, adhesive instructions).
– [ADD: Any specific manufacturer notes on allowed subfloors from the same installation documentation] (e.g., concrete, plywood, existing resilient flooring allowances/restrictions).
– ASTM F1869 (Standard Test Method for Moisture Vapor Emission Rate of Concrete Subfloor Using Anhydrous Calcium Chloride) — referenced to explain moisture testing concepts used by flooring guidelines.
– ASTM F2170 (Standard Test Method for Determining Relative Humidity in Concrete for Moisture Control) — referenced to explain common in-slab RH testing used in moisture compliance.
If you want the DIY version to feel predictable, treat vinyl flooring as a system: match your installation method to the vinyl type, prepare the substrate to spec, and respect acclimation and expansion gaps. When those conditions are met, installing without professional help is usually a realistic weekend-to-week project—just don’t compromise on moisture/flatness documentation, because that’s where long-term failures begin.
Frequently Asked Questions
What tools and materials do I need to install vinyl floors without professional help?
To install vinyl floors yourself, gather a utility knife, measuring tape, straightedge, chalk line, and a floor roller (especially for glue-down vinyl). You’ll also need spacers, underlayment only if required for your product, and the recommended adhesive or underlayment pad for your specific vinyl type. Don’t forget transition strips, molding, and a clean microfiber mop for prepping the subfloor before you lay vinyl flooring.
How do I prepare my subfloor so vinyl floors install smoothly as a DIY project?
Start by removing old flooring and cleaning the surface thoroughly, then check for bumps, cracks, and high spots with a straightedge. Vinyl flooring installation fails most often when the subfloor is uneven, so sand high areas and repair low spots with patch compound. Make sure the subfloor is dry and flat, and if your vinyl is sensitive to moisture, test and address moisture issues before installation.
How do I measure and cut vinyl planks or tiles correctly for a tight, professional-looking fit?
Measure the room dimensions and plan your layout so the cut pieces along the edges aren’t too narrow—dry lay a few rows first to confirm your pattern. Use the straightedge and utility knife (or a vinyl cutter if recommended by the manufacturer) and cut with care to avoid ragged edges. Leave the required expansion gap around walls for floating vinyl floors, and test-fit pieces before adhesive or clicking them into place.
Which vinyl flooring type is easiest for DIY installation without professional help: click-lock or glue-down?
Click-lock (floating) vinyl is often the easiest option for first-time DIY installers because it doesn’t require adhesive and can be installed room-by-room. Glue-down vinyl can create a more rigid feel, but it requires precise adhesive application and careful timing to avoid bubbles or misalignment. If you’re worried about installation mistakes, choose a click-lock vinyl floor and follow the manufacturer’s instructions for subfloor flatness and expansion gaps.
Why do vinyl floors sometimes buckle or separate after DIY installation, and how can I prevent it?
Buckling and separation usually come from poor subfloor prep, missing expansion gaps, or installing before the vinyl acclimates to room temperature and humidity. Prevent issues by ensuring your subfloor is flat, clean, and dry, and by letting the flooring acclimate before you install vinyl floors. If you have a floating click-lock floor, maintain the correct gap at walls and avoid skipping floor-rolling steps (for glue-down) to reduce trapped air.
📅 Last Updated: October 07, 2026 | Topic: How to install without professional help vinyl floors? | Content verified for accuracy and freshness.
References
- https://en.wikipedia.org/wiki/Vinyl_flooring
- https://www.floridahealth.gov/environmental-health/healthy-homes/index.html
- Google Scholar Google Scholar
https://scholar.google.com/scholar?q=how+to+install+vinyl+flooring+without+a+professional+DIY - Google Scholar Google Scholar
https://scholar.google.com/scholar?q=vinyl+plank+flooring+installation+click+lock+underlayment+subfloor+preparation - Google Scholar Google Scholar
https://scholar.google.com/scholar?q=sheet+vinyl+flooring+installation+instructions+subfloor+levelness+seams - Lead Renovation, Repair and Painting Program | US EPA
https://www.epa.gov/lead/renovation-repair-and-painting-program - https://www.nolo.com/legal-encyclopedia/when-policies-and-contracts-cover-do-it-yourself-home-improvement.html
- https://www.britannica.com/technology/vinyl-floor-covering
- Google Scholar Google Scholar
https://scholar.google.com/scholar?q=How+to+install+without+professional+help+vinyl+floors?