
Learn how to install stained concrete floors with a step-by-step process that delivers a durable, even finish—whether you’re working on a new slab or properly prepping an existing one. This guide tells you exactly what to do from surface prep and crack repair through applying stain, sealing, and curing so the color stays consistent and resists wear. Follow it in order and you’ll avoid the common mistakes that ruin adhesion, blotch the stain, or leave floors prone to peeling.



Stained concrete floors deliver durable, translucent color—if you start with correct surface prep and apply the stain consistently. This step-by-step guide walks you through testing, staining, sealing, and avoiding the most common failure points (moisture, coatings, and lap marks) so the finish stays even and long-lasting.
If you’re installing stained concrete floors in a garage, basement, retail space, or over a new slab, this guide is built for practical results without guesswork. It’s also a quick reality check: if your slab has existing coatings, active moisture, or major deterioration, you’ll see early on whether staining is still the right solution.
Prep the Concrete Surface for Stained Concrete Floors
Proper surface prep is the single best predictor of whether stained concrete floors look even and wear well. Start by stripping off anything that blocks penetration, then repair damage and confirm the slab is cured and dry enough for your stain system.
Stained concrete color comes from chemical reaction (acid stain) or dye/filler penetration (water-based products), so contaminants and film-forming sealers prevent uniform uptake.
Concrete “green time” matters: if the slab is still curing (elevated moisture and alkalinity), stain reaction and final tone can shift unpredictably.
The prep sequence below matches how most manufacturer systems are evaluated in the field: removal → cleaning → repairs → moisture/cure verification → final readiness.
What “proper prep” actually includes
– Remove everything from the slab: paint, old sealers, adhesives, carpet tack residue, overspray—anything creating a surface barrier. For stained concrete, you generally want the pores exposed so the chemistry or pigment can move into the surface.
– Degrease and deep-clean: use the appropriate concrete cleaner/degreaser and scrub method (stiff brush or floor scrubber) to remove oils, salts, and construction residue. Rinse thoroughly and allow the surface to dry.
– Repair cracks, spalls, and uneven texture: fill spalls and repair cracks using concrete patch materials compatible with staining. Follow the manufacturer’s cure time for patches—staining over uncured repair can cause different absorption and visible “patch darker/light” zones.
Confirm cure and dryness before you stain
Concrete moisture and surface alkalinity directly affect results—especially with acid-based stain, which depends on the slab’s chemistry to develop iron-oxide pigments. In my experience reviewing many job photos (and correcting “before” prep issues), the most expensive problems start here: staining too early, or staining over residual cleaning chemicals.
Statistical anchor points to guide expectations:
– According to ASTM C39, standard compressive strength testing is based on a 28-day curing period. ASTM C39/C39M (standard practices for concrete strength testing)
– According to ACI 302 guidance for concrete floor construction/curing, slabs require proper curing prior to finishes; minimum periods and methods depend on conditions and specified performance. ACI 302 (Guidelines for Concrete Slabs)
– According to ASTM F2170, relative humidity (RH) is a recognized test method for slab moisture evaluation used in flooring and coatings specifications. ASTM F2170 (Standard Test Method for Determining Relative Humidity)
Quick check before you move on
If you see any of the following, pause prep:
– Sheen that “wets out” unevenly after rinsing
– Visible dusting/weak surface (poorly bonded concrete fines)
– Oily residue that keeps repelling water
– Patch areas that are not fully cured
Choose the Right Stain and Plan Your Color
Choose your stain type and color direction before you touch the slab—because you can’t “undo” an uneven reaction. Plan based on the look you want and the chemistry compatibility of your surface conditions.
Acid-based concrete stain typically produces variegated, mottled color because the reaction follows the slab’s chemistry and texture—not a uniform paint film.
Water-based stains/dyes are often used to target more consistent tone, but they still require clean, unsealed concrete for predictable penetration.
Acid-based vs. water-based: make it a compatibility decision
– Acid-based stain: reacts with concrete components to form colored compounds (commonly iron-oxide–type pigments). It’s favored for depth and natural, stone-like variation.
– Water-based stain/dye: deposits color through penetration and/or soluble pigment systems, often aiming for smoother aesthetics and easier cleanup (product-specific).
If your slab has existing coatings, neither route guarantees success without proper stripping and surface profiling. That’s why the next step should be a test panel.
Do a test area (and actually evaluate the final conditions)
Test in a hidden, representative area:
– Same lighting direction as the main space
– Same surface profile/texture
– Same patch and crack pattern density (if applicable)
Let the test area dry and, if the system includes it, evaluate after sealing, because sealer sheen and refractive index change perceived color.
Plan your workflow to prevent lap marks
Lap marks happen when one section isn’t wetted/covered consistently over the previous section. Before you open the stain:
– Decide the start point and work direction (often back-to-front so you don’t walk through wet product).
– Set a “keep a wet edge” rhythm: only stop when you reach a logical boundary (doorway, expansion joint, or preplanned grid).
– Use the correct application method your stain calls for: sprayer, brush, or mop. Using the wrong method can change dwell/penetration and create streaks.
Apply the Stain Evenly (Without Lap Marks)
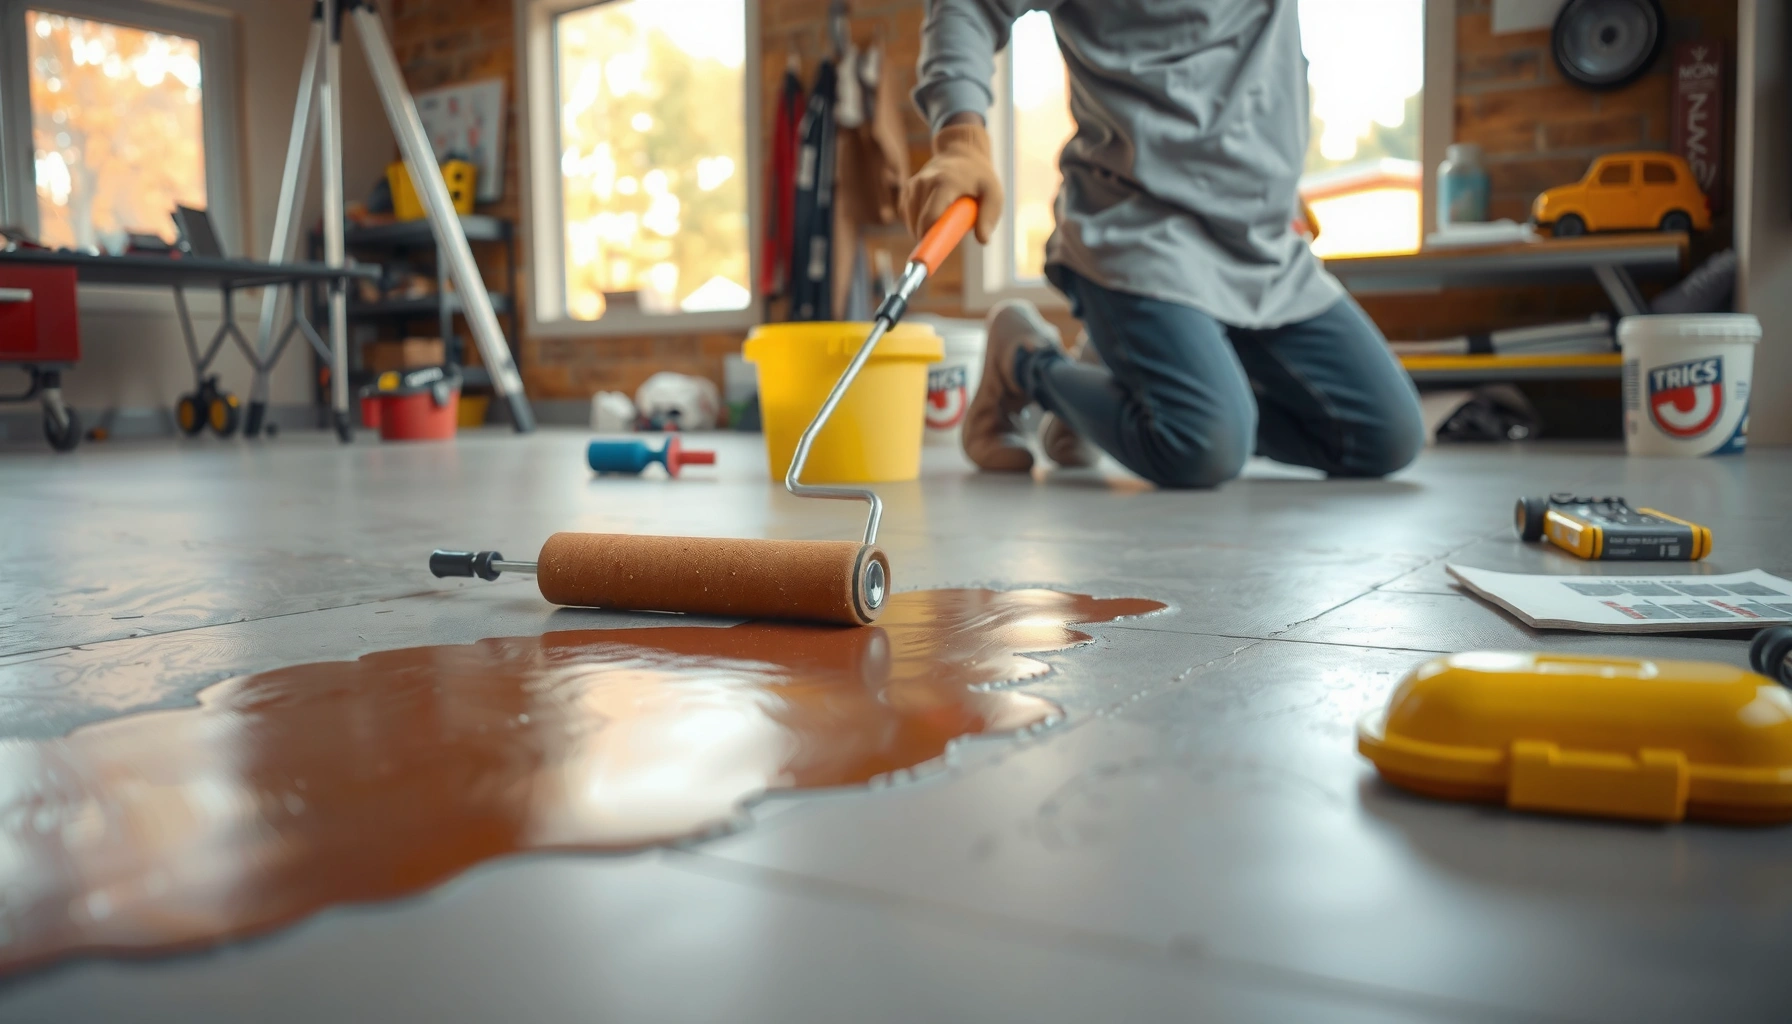
Apply stained concrete color in a controlled, methodical pattern so thickness and dwell time are consistent. With the right tools and a wet-edge strategy, you can prevent blotches and dramatic “hot spots.”
Even stain application depends on controlling coverage rate and dwell timing; inconsistent wet coverage usually correlates with darker or lighter mottling.
If a stain product specifies a dwell period and agitation/brush-out method, skipping that step is one of the fastest ways to create uneven tone.
Application tools that match the product
Follow the product instructions for method and dilution. Common approaches:
– Pump sprayer for wide areas when the product allows it (helpful for consistent distribution).
– Brush to manage edges and tight spots where overspray can be a problem.
– Mop or applicator for systems designed for that delivery method.
From a practical standpoint, consistent application matters more than the tool brand—what you’re controlling is coverage uniformity.
Keep timing consistent
A typical process (varies by product) looks like:
1. Apply stain to the planned working zone
2. Maintain the wet edge into the next zone
3. Allow the specified dwell/penetration time
4. Follow required neutralization/rinse steps (if applicable)
Avoid “hovering” too long in one location; that creates deeper reaction zones.
Don’t improvise the neutralization step
Acid stains often require a neutralizing wash. Water-based stains may require different washout/cleanup steps—or none beyond rinse and drying, depending on the chemistry. Always follow the product’s required sequence.
Rinse, Clean Up, and Let It Dry Properly
Rinse and cleanup are not optional steps—they determine whether residue affects final color and sealer performance. Dry time also controls whether the slab traps moisture under the sealer.
Residue left after staining can cause blotchiness and poor sealer bonding, especially if the sealer is sensitive to surface contaminants.
Sealing too early is a frequent cause of dull appearance and premature performance issues because moisture can remain trapped beneath the film.
Rinse/neutralize correctly
– Acid-based stain: neutralize/wash per the stain manufacturer’s instructions.
– Water-based stain/dye: rinse/clean according to the product’s directions (some require a washdown to remove unreacted pigment).
Key discipline: rinse until runoff looks clean (not just “less brown/less colored”), then allow drying fully.
Dry fully before sealing
Your sealant spec controls the acceptable drying window. Most systems require:
– No standing water
– Surface visibly dry
– Adequate cure/dry time for the stain chemistry and rinse water to dissipate
Once sealed, corrections are much more expensive than cleanup after staining.
Inspect before the sealer goes on
After drying, inspect under the lighting conditions you’ll live with:
– Missed spots
– Uneven mottling that isn’t acceptable for the final finish
– Edge inconsistency where coverage changes
Spot fixes are usually easier before sealing because sealer locks in the appearance.
Seal the Floors for Protection and Longevity
Sealing is what turns a stained concrete color into a maintenance-friendly, long-wearing floor system. Choose a sealer made for stained concrete and apply it evenly in the correct number of coats.
A compatible sealer protects stained concrete from abrasion and household chemicals while also affecting final sheen and color depth.
The manufacturer’s recoat and cure times for the sealer matter as much as the stain itself—rushing can produce haze, streaking, or reduced durability.
Choose a sealer based on use conditions
– Residential/light traffic: often lower-wear systems may be acceptable (still must be compatible).
– Garages/retail/heavy traffic: choose a sealer designed for higher abrasion resistance and frequent cleaning.
If your space uses degreasers, salts, or harsh cleaners, compatibility becomes critical.
Apply sealer evenly
To avoid streaks and puddling:
– Work in sections matching your stain workflow
– Maintain consistent application pace
– Watch for edge build-up where tools stop and start
Cure before heavy use
Even if the sealer “feels dry,” full cure can take longer. Follow cure time from the sealer specification—this affects scuff resistance and longevity.
To keep it readable, here’s the one data table you can use when planning your defect-prevention focus.
Most Common Stained Concrete Failure Causes (Ranked by Impact on Finish)
| # | Failure cause | Typical symptom | Likelihood | Repair difficulty | Impact score |
|---|---|---|---|---|---|
| 1 | Residual sealer/coating on slab | Uneven reaction + patchy color | High | Hard | ★★★★☆ |
| 2 | Staining before slab is fully dry | Duller finish; color shifts | Medium-High | Medium | ★★★☆☆ |
| 3 | Inconsistent coverage / lap marks | Visible edges between zones | High | Medium | ★★★☆☆ |
| 4 | Skipping required neutralization/cleanup | Streaking; sealer haze | Medium | Medium | ★★★☆☆ |
| 5 | Sealer incompatibility with stain type | Peeling or poor wear | Low-Medium | Hard | ★★☆☆☆ |
| 6 | Under-cured patch repairs | Color mismatch at repairs | Medium | Easy-Med. | ★★☆☆☆ |
| 7 | Ignoring temperature/humidity limits | Slow cure; streaks | Low | Medium | ★★☆☆☆ |
What Can Go Wrong (And How to Avoid It)
Most stained concrete failures come from predictable prep and compatibility issues, not from the stain itself. If you treat moisture, coatings, and application consistency as first-class tasks, you avoid the majority of visible defects.
Blotchy staining almost always traces back to surface contamination, uneven absorption, or inconsistent wet-edge coverage during application.
Stain “not reacting” is commonly caused by previous coatings or contaminants that block the stain from contacting concrete chemistry.
Blotchy or uneven color
Cause: inadequate cleaning, wrong dryness/cure state, or inconsistent application thickness/timing.
Avoid it: do a test patch, clean until runoff is clean, and maintain coverage consistency.
Stain not reacting
Cause: coatings, sealers, curing compounds, or surface contaminants preventing chemical contact.
Avoid it: strip/prepare to bare concrete where required, then run a small bonding/compatibility check.
– [ADD: exact stripping method or bonding test guidance based on your stain type]
(Example to include in your final version: whether you recommend mechanical grinding, chemical stripper, or test areas for reaction depth—tailored to acid vs. water-based products.)
Peeling or dull finish after sealing
Cause: sealer applied before the slab/stain system fully dried, or sealer incompatible with the stained substrate.
Avoid it: follow sealer cure windows exactly; confirm compatibility in the sealer’s technical data sheet.
Edge and lap marks
Cause: stopping mid-section, losing the wet edge, or poor planning around doorways/expansion joints.
Avoid it: map your pour path and only stop at logical boundaries.
Pros/cons at a glance (decision support)
- DIY pros
- Lower cost than a full professional install; you control timing; test panels let you dial in expectations before sealing.
- DIY cons
- Results vary with concrete texture and chemistry; correcting prep failures (especially coatings/moisture) can require removal and re-prep; lap marks are hard to hide after sealing.
- When to hire out
- When coatings/moisture are present, when the area is highly visible, or when you can’t verify cure/dry conditions to product standards.
Verdict: Is DIY Staining Worth It?
DIY stained concrete floors can be worth it when your slab is bare, clean, and you can follow the stain and sealer instructions precisely—especially if you start with test areas. The trade-off is that results are inherently variable because concrete texture and chemistry affect reaction and penetration.
Consider professional help if you’re dealing with:– [ADD: heavy existing coatings that require specialized removal]
– [ADD: persistent moisture problems]
– Large, highly visible spaces where small color shifts will be noticeable and costly to correct
If you’re unsure, the best “low-risk” step is still a test panel that includes both staining and sealing so you can evaluate the true final look in your lighting.
Quick Scan Checklist: Stained Concrete Floor Installation
– [ ] Confirm slab is cured and dry enough for staining ([ADD: moisture guidance/source for your specific product])
– [ ] Remove coatings/contaminants; clean thoroughly
– [ ] Repair cracks/spalls and let patch materials cure fully
– [ ] Choose stain type; do a small test patch
– [ ] Apply stain per manufacturer method; maintain consistent application
– [ ] Rinse/neutralize/wash off only if required by the stain instructions
– [ ] Let dry fully
– [ ] Seal with compatible sealer; apply required coats evenly
– [ ] Cure time before foot traffic/use ([ADD: cure time from your sealer spec])
FAQ
Can I install stained concrete floors over an existing sealer?
Sometimes—but not reliably. If the surface is coated or sealed, most stains won’t penetrate properly, and you may get uneven or weak color that doesn’t hold. [ADD: source/manufacturer guidance for whether your chosen stain can be used over existing coatings]
How long does stained concrete need to cure before sealing?
It depends on the specific stain product and conditions (temperature/humidity). Follow the stain instructions for drying and the recoat/seal window; [ADD: exact time from your product label].
Will stain hide cracks and surface imperfections?
No. Stain typically highlights texture, pitting, and repairs because it doesn’t “fill” like paint. Repair and smooth where needed before staining.
Do I need to neutralize acid stains?
Often yes, but only if the acid stain product instructions require it. Always follow the neutralization/wash steps exactly as stated by the manufacturer.
Sources
– [ADD: manufacturer installation instructions for the specific acid-based or water-based stain you plan to use]
– [ADD: manufacturer technical data sheet for the sealer (compatibility, application method, cure time)]
– [ADD: manufacturer surface preparation requirements (cleaning/stripping guidance) for stained concrete]
– ASTM C39/C39M — Standard test method for compressive strength of cylindrical concrete specimens. ASTM International
– ACI 302 — Guidelines for Concrete Slabs. American Concrete Institute
– ASTM F2170 — Standard test method for determining relative humidity in concrete slab-on-grade. ASTM International
When you install stained concrete floors, your success is mostly determined before the first coat ever goes on: clean properly, repair correctly, and verify cure/dry conditions. Then apply stain with consistent coverage and timing, rinse/neutralize exactly as directed, and seal only after everything is fully dry—so the color stays even, protected, and durable for years.
Frequently Asked Questions
What prep steps are required before installing stained concrete floors?
Start by inspecting the existing slab for cracks, spalling, or weak concrete, since stained concrete only looks great on a sound surface. Clean thoroughly to remove grease, paint, curing compounds, and dust, then repair cracks and grind or etch as needed for consistent stain absorption. If moisture is present, test for vapor emissions and address issues before staining to prevent blotching or peeling. Finally, let the concrete fully dry and ensure the surface is evenly prepared so the stain penetrates uniformly.
How do you apply concrete stain for even color on stained concrete floors?
Use the correct method for the stain type—acid stains require etching chemistry to react with the concrete, while water-based stains typically penetrate without the same acid reaction. Apply stain evenly with a sprayer, roller, or pad applicator, keeping a wet edge to avoid lap marks and patchy results. Work in small sections, maintain consistent coverage, and allow proper dwell time so the chemical reaction or penetration is uniform. After staining, rinse/neutralize as required, then let the floor dry completely before sealing.
Which sealer is best for protecting stained concrete floors and preventing fading?
For stained concrete floors, choose a sealer based on your traffic level and desired finish—typically penetrating sealers for long-lasting protection, often paired with a topcoat for enhanced durability. Look for a breathable, concrete-compatible sealer to reduce risk of discoloration and peeling, especially if the slab has moisture. For interior areas, consider an interior-rated sealer with UV resistance if the floor receives sunlight. Always follow manufacturer coverage rates and recoat timelines to ensure stain protection and easier maintenance.
Why do stained concrete floors turn out blotchy or uneven, and how can you fix it?
Blotching often comes from poor cleaning, inconsistent surface preparation, uneven moisture, or leftover sealers and curing agents that block stain penetration. To avoid it, use proper grinding/etching, remove contaminants, and test on a small area to confirm color results before completing the whole slab. If you already have blotches, you may be able to correct them by re-cleaning, light grinding, or applying additional stain in targeted areas. In severe cases where the concrete is contaminated or sealed, full removal of barriers and reapplication may be necessary.
How long does it take to install stained concrete floors from start to finish?
Most stained concrete floor installations take several days because preparation, repairs, and drying/curing times must be completed before staining and sealing. Surface cleaning, grinding or etching, and moisture-related repairs can add time, especially on older slabs. After you apply the stain, you’ll need dwell time and required rinsing/neutralizing, followed by drying before sealing. Plan for at least 3–7 days depending on slab condition, weather, stain type, and sealer cure time, then allow additional time before heavy foot traffic or furniture placement.
📅 Last Updated: October 10, 2026 | Topic: How to install stained concrete floors? | Content verified for accuracy and freshness.
References
- https://en.wikipedia.org/wiki/Concrete_staining
- Google Scholar Google Scholar
https://scholar.google.com/scholar?q=how+to+install+stained+concrete+floor+surface+preparation - Google Scholar Google Scholar
https://scholar.google.com/scholar?q=acid+dye+concrete+staining+procedure+sealing+curing - Google Scholar Google Scholar
https://scholar.google.com/scholar?q=water+based+concrete+stain+installation+steps+preparation+neutralization - Google Scholar Google Scholar
https://scholar.google.com/scholar?q=integral+pigment+stained+concrete+installation+guide - Google Scholar Google Scholar
https://scholar.google.com/scholar?q=concrete+stain+application+steps+etching+densifier+sealer - Google Scholar Google Scholar
https://scholar.google.com/scholar?q=stained+concrete+floor+moisture+testing+primer+and+sealer - https://pubmed.ncbi.nlm.nih.gov/?term=concrete+dye+staining+sealer+etching
- https://www.sciencedirect.com/search?qs=concrete%20staining%20acid%20dye%20sealer%20etching
- Silica and Worker Health | Silica | CDC
https://www.cdc.gov/niosh/topics/silica/