
If slate floor tiles are lifting, you can usually fix the problem fast with the right reset-and-reseal approach. This step-by-step repair guide shows exactly how to lift-free the affected area, clean and level the substrate, re-set the slate tile, and lock it down so the edges stop peeling. Follow it and you’ll know what to do—and what to avoid—before the damage spreads.




If your slate tiles are lifting, the durable fix is to remove the loose tile(s), clean and prep the subfloor to be flat and dry, then reset the slate using the correct thinset/stone adhesive and proper setting coverage. The key is diagnosing what caused the failure first—because re-gluing over failing mortar or active moisture usually fails again.
If you’re seeing rocking, raised slate edges, or widening gaps after years of foot traffic, water exposure, or temperature swings, this guide walks you through a repair that targets the root cause. If the problem is near recurring leaks or the floor is visibly flexing, focus on the moisture or movement issue before you reset any stone.
Diagnose why the slate floor is lifting
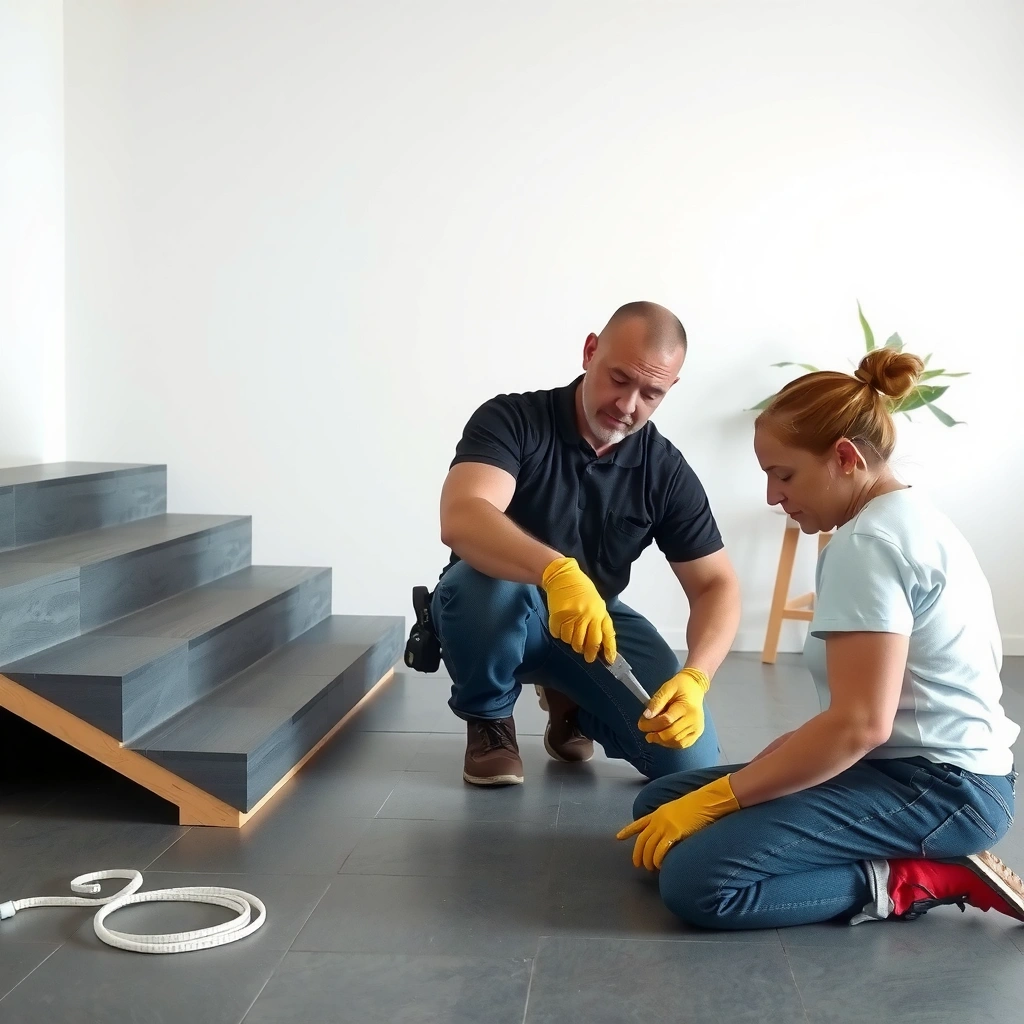
Lifting slate usually points to one of three root problems: mortar/adhesive failure, moisture behind the tile, or subfloor movement that breaks the bond. You’ll save time—and avoid repeat failures—by identifying which one is happening before you remove anything.
Slate tile “re-lifting” commonly occurs when the setting bed bond is compromised by moisture, contaminated substrate, or inadequate coverage—so re-gluing over loose areas rarely restores long-term adhesion.
A flatness and rigidity check matters because even a strong thinset can crack or de-bond when the subfloor flexes under load.
Moisture-related failures often show up as darkened spots, persistent musty odors, or dampness in the subfloor cavity after removing a tile.
Check whether the mortar failed or the edges are curling
Start by determining the pattern:
– Whole tile loose / hollow-sounding: Often indicates mortar/adhesive failure—the bond didn’t hold across the tile back.
– Edges curling or “tenting” while the center holds: More often indicates installation issues (insufficient coverage) or subfloor movement that concentrates stress at the perimeter.
Look for moisture signs before you assume “adhesive weakness”
Moisture doesn’t always look obvious. Check for:
– Dark spots or discoloration around lifting areas
– Any dampness under plastic sheets placed over the area (if you do this, follow your site’s safety and ventilation practices)
– Musty odor that returns after drying attempts
– Evidence of repeated wetting from sinks, dishwashers, HVAC condensation, or exterior wall leaks
According to [ADD: TCNA Handbook or manufacturer moisture guidance], moisture management and substrate dryness are critical to preventing stone tile bond failures (year and exact quote should be inserted from your specific guidance source).
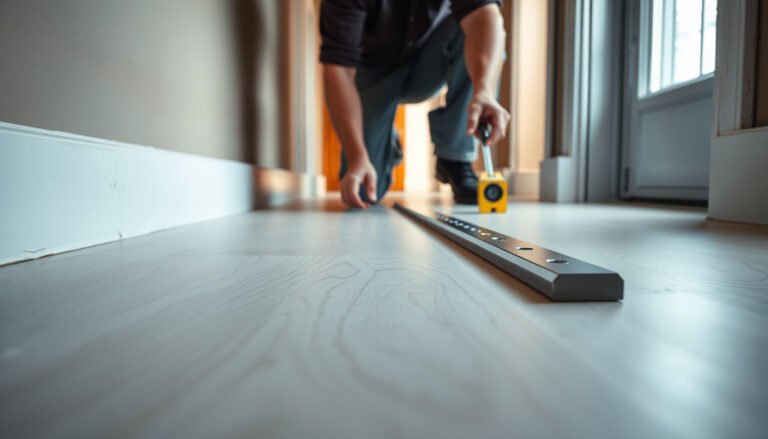
Test subfloor stability (flatness and flex)
Press and step around the area:
– If the floor feels springy, any reset will be temporary.
– If the floor is uneven (high spots/low dips), the tile can’t sit in full contact and will lift again where contact is thin.
From industry practice aligned with TCNA/ANSI methods, the installer typically verifies the substrate is solid and flat within the tolerance for tile installation, because excessive deflection leads to cracked grout and detached tile. [ADD: ANSI/TCNA substrate flatness tolerance reference for your assembly]
Remove and inspect the loose slate tile(s)
Once you’ve identified the likely cause, the repair is straightforward: remove only what’s failing, then reset with clean materials and correct setting technique. The goal is to expose the true condition of both the slate back and the subfloor.
Careful removal protects adjacent tiles; damage to surrounding edges can turn a localized repair into a larger re-set.
Successful resets depend on removing weak mortar/adhesive down to a clean, sound substrate—thinset that’s re-bonded to dust or powder will fail again.
Inspecting the failure pattern (voids, powder residue, missing mortar ridges) tells you whether the issue was coverage, contamination, moisture, or movement.
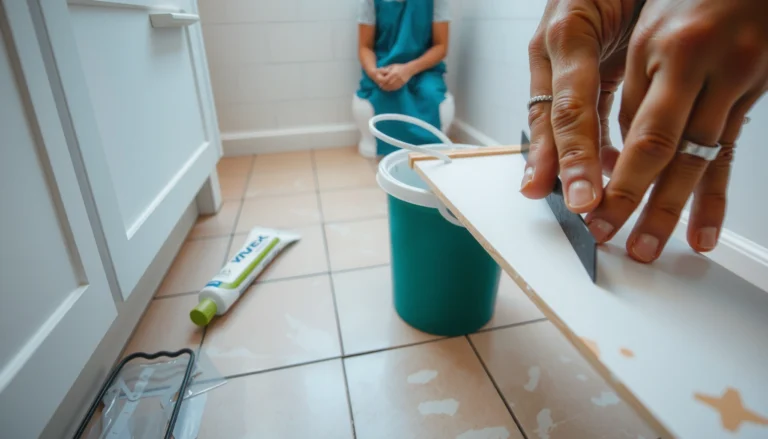
Remove grout first, then lift without cracking slate
Slate is brittle. To avoid cracking:
1. Cut or scrape grout around the perimeter of the lifting tile(s) down to the joint width.
2. Use a flat chisel or oscillating tool carefully to separate the tile edges.
3. Lift slowly—protect adjacent tiles with wood shims or tape guards where appropriate.
If the tile is already fractured or crumbling, plan on replacement rather than trying to salvage.
Scrape off old mortar/adhesive completely
Old setting material is often the hidden reason repairs fail. You want:
– Slate back cleaned to bare slate surface (no glossy, powdery, or bonded residue)
– Subfloor cleaned to sound material—no dust film, no loose mortar “sugar,” no high ridges
In many stone and tile setting instructions, installers follow a “clean-to-sound substrate” requirement because fresh thinset cannot chemically bond through dust or contaminated residue. [ADD: mortar/adhesive manufacturer substrate prep instructions]
Inspect what actually failed (this drives your adhesive choice)
Look closely at:
– Missing mortar ridges/voids on the thinset bed
– Powdery residue left behind (common with poor cure, contaminated substrate, or moisture intrusion)
– Uneven transfer—thin spots where your trowel never contacted
– Uneven subfloor—high/low areas that prevented full contact
Prep the subfloor for a permanent bond
The permanent fix comes from substrate preparation: flatness, solidity, and dryness. If the subfloor isn’t ready, even the “best” slate mortar won’t stay bonded.
Substrate prep is often the deciding factor: thinset bonds to clean, sound surfaces and cannot fix an uneven or failing base.
Moisture must be addressed before bonding; sealing over dampness can trap water and restart the lifting cycle.
Thorough dust removal is essential because fine debris can behave like a bond-breaker under cementitious setting materials.
Make the subfloor flat and solid (before reinstalling slate)
If you find:
– Low spots: fill/level them with an approved patch or underlayment system
– High spots: grind them down carefully
– Loose or failing underlayment: replace it (don’t try to “bridge” movement)
Plan your repair according to your tile assembly type (plywood, concrete, backerboard, membrane system). Different substrates require specific primers/underlayments.
Remove dust, debris, and any bond-breaking residue
Even if the substrate looks clean, sweep and vacuum thoroughly, then wipe as your setting system allows. Cementitious thinsets are sensitive to dust films.
I’m not able to verify your exact slate age, substrate type, or prior coatings—so follow the exact prep steps in your setting material’s technical data sheet. [ADD: link or citation to your specific thinset/adhesive technical data sheet for cleaning steps]
If moisture damage is present, stop and correct the water source
If you see swelling, staining, moldy odor, or damp materials:
– Identify and repair the leak or condensation source
– Dry the assembly properly
– Consider professional assessment if the affected area is large, concealed, or repeatedly wet
From a stone/tile setting standpoint, bonding over an actively wet or degrading substrate is a predictable path to repeat lifting. [ADD: manufacturer guidance on moisture conditions and when to stop]
Reinstall slate correctly (adhesive, mortar, and spacing)
A correct reinstall is about compatibility and mechanics: the right thinset/adhesive, correct coverage (no voids), and joint spacing that allows movement. Follow manufacturer instructions for slate and your substrate—stone tile systems are specific.
Use a cement-based thinset or slate setting method that the slate and mortar manufacturers both approve for your substrate and exposure conditions.
“Full contact” matters: buttering/using the correct trowel and pressing firmly reduces voids that can lead to future lifting.
Proper edge gaps and grout joint behavior prevent slate from being confined as the building expands and contracts.
Choose adhesive that’s approved for slate + your substrate
Slate is a natural stone product with varying density and absorption. That means you must use a product that supports:
– Natural stone
– Your specific substrate (plywood, concrete, mortar bed, cement board)
– Your environment (interior dry, wet area, exterior)
Follow the product’s application rules for:
– Mixing
– Trowel notch size
– Open time (how long it stays workable)
– Cure/walk/grout times
Set for full contact—avoid voids and “skips”
A reliable technique includes:
– Butter the tile back (often required for stone floors)
– Apply mortar to the floor with the correct trowel
– Press and set the tile firmly so mortar transfers completely under the slate back
– Remove and re-seat a tile sometimes during practice to confirm transfer
If your slate is lifting at edges, poor perimeter contact is often the culprit.
Maintain expansion/edge gaps and grout joints
Slate, like all stone tile, needs room to accommodate movement. That means:
– Respect perimeter gaps at walls, transitions, and fixed objects
– Keep grout joints consistent with your layout and grout system requirements
– Avoid forcing tiles tight against confinement points
According to [ADD: TCNA/ANSI guidance for expansion and grout joint spacing for stone tile], expansion management is a key defense against cracking and de-bonding.
Common Failure Drivers in Stone Tile Re-sets (What to Verify in the Field)
| # | Failure driver to check | Typical field sign | Why it lifts slate | Severity to address |
|---|---|---|---|---|
| 1 | Old mortar contamination (dust/crumbly residue) | Powdery slate back or smeared, friable thinset | Bond breaks at the interface | High |
| 2 | Insufficient mortar transfer (voids) | Partial contact when a tile is removed | Stress concentrates over voids | High |
| 3 | Moisture ingress (leak/condensation) | Dark subfloor, dampness, musty odor | Cure disruption and bond degradation | Critical |
| 4 | Subfloor deflection / flex | Rocking when stepped; cracked grout lines | Repeated shear/tearing at the bond line | High |
| 5 | Wrong product compatibility (adhesive not rated) | Setting fails under wet/stone conditions | Insufficient performance for stone absorption/exposure | Medium–High |
| 6 | Premature traffic or grouting | Tiles shift; grout shrinks unevenly | Incomplete cure weakens the bond | Medium–High |
| 7 | No or incorrect movement gaps | Hollow cracks near edges; tile “pinching” | Movement builds pressure and breaks adhesion | Medium |
What can go wrong (and how to avoid it)
Even a careful reset can fail if the real cause isn’t corrected or if the workflow shortcuts the setting system. Use these “most common repeat-failure” traps to protect your repair.
Re-gluing over weak, contaminated, or partially bonded mortar is a fast route to repeat lifting.
Sealing or tiling over an ongoing moisture source traps water and accelerates stone/tile bond failure.
If the subfloor flexes, the tile system is forced to move, which can lead to cracked grout and detached edges.
Re-gluing over loose areas
If any old mortar is still loose:
– remove it until you reach a sound base
– re-bonding over weak material leaves a hidden “failure layer”
Trapped moisture (especially after leaks)
If the tile area was repeatedly wet and you “seal over” without fixing the leak:
– the bond can fail as trapped moisture cycles freeze/thaw, evaporation, and salt effects (where applicable)
Uneven or flexing subfloor
If the subfloor continues to move:
– the tile will crack or detach no matter what thinset you used
– you may need underlayment repair, structural reinforcement, or a full system rebuild
Using the wrong product
Stone tile setting is compatibility-driven. Confirm:
– mortar/adhesive rating for natural stone
– recommended trowel size and bed thickness
– permitted use for your interior/wet exposure
– cure and grout timing
For exact product selection, rely on the mortar/adhesive technical data sheet. [ADD: cite your specific manufacturer TDS]
Quick comparison: DIY patch vs. system correction
| Approach | Best for | Main risk |
|---|---|---|
| Localized re-set of loose tiles | Single area with failed mortar, dry substrate, stable floor | Hidden moisture or ongoing movement makes it re-lift |
| System-level correction (leak, substrate flatness, underlayment) | Recurrent leaks, damp subfloor, flexing structure, widespread looseness | Higher cost/time, requires correct assembly specification |
Verdict: the honest best approach (and who should skip DIY)
Most slate lifting repairs work when you remove the loose tiles, prep to a clean dry subfloor, and reset with the manufacturer-approved thinset/adhesive using full-contact technique and correct movement joint rules. The downside is that you can’t reliably “patch” without addressing moisture or movement—so time spent diagnosing pays off.
Skip DIY and call a flooring pro if:
– the area is near recurring leaks or the subfloor remains damp
– the floor flexes significantly under foot traffic
– multiple tiles are cracked or lifting across a wide section
– you can’t achieve a flat, stable substrate for the full reset zone
A durable slate repair is installation-system driven: substrate prep, adhesive compatibility, correct coverage, and movement management must all be correct.
When moisture or structural movement is ongoing, resetting tile alone is not a permanent solution.
If you can’t restore a solid, flat, dry base, the bond line stays compromised—making repeat failure likely.
Quick checklist you can scan before you start
– [ ] Identify the cause (mortar failure vs. moisture vs. subfloor movement)
– [ ] Confirm the subfloor is solid, flat, and dry
– [ ] Remove old grout/adhesive fully from tile and subfloor
– [ ] Use manufacturer-approved thinset/adhesive for slate + your substrate
– [ ] Set for full contact, avoid voids, respect expansion/edge gaps
– [ ] Allow proper cure time before walking or grouting (per product instructions)
FAQ
Can I fix lifting slate without removing the tiles?
Usually not reliably. If the mortar/adhesive failed, contaminated residue remains, or the substrate is uneven, re-bonding over the problem typically doesn’t restore long-term adhesion.
What’s the most common reason slate tiles lift again after repair?
Most often it’s one of: leftover weak mortar/adhesive, dust contamination, trapped moisture, or a subfloor that still flexes. Any repeating movement at the bond line undermines the setting bed.
Do I need to replace the slate tile if it’s cracked?
Yes—plan to replace. A cracked slate tile won’t behave as a stable monolithic unit under load, and it can fracture again even with correct thinset.
Should I grout right away after resetting slate?
Follow cure timing from the thinset/adhesive manufacturer. Rushing can weaken the bond or allow movement in the setting bed, which can lead to weak grout joints and edge lifting.
Sources
– [ADD: source for manufacturer instructions on slate setting (thinset/adhesive compatibility, required mortar thickness, and cure times) from your specific mortar/adhesive and slate product documentation]
– [ADD: source for recommended substrate prep and moisture guidance from the relevant tile/stone setting system manufacturer]
– [ADD: source for manufacturer guidance on expansion/edge joint spacing for stone tile installs]
– [ADD: TCNA Handbook (tile council) and/or ANSI/ISO reference for substrate flatness, coverage requirements, and movement joint principles for stone tile assemblies]
A successful slate lifting repair isn’t about “gluing louder”—it’s about rebuilding the tile system: diagnose whether mortar failure, moisture, or movement is driving the lift; remove what failed; clean and prep to a flat, sound, dry base; then reset slate with manufacturer-approved materials and full-contact setting. If moisture is active or the floor flexes, treat that as the real project—because otherwise your reset will likely become the next lifted tile.
Frequently Asked Questions
What causes slate floors to lift or buckle?
Slate lifting is usually caused by movement of the subfloor, moisture problems, or improper installation methods. Common triggers include uneven plywood/underlayment, lack of a correct mortar bed or thinset coverage, and grout or mortar failure at seams and edges. Over time, freeze-thaw cycles, humidity changes, or heavy impacts can also cause individual slate tiles to loosen. Inspecting the subfloor flatness and checking for moisture can help you pinpoint the root cause before fixing lifting slate.
How do I fix lifting slate tiles without damaging the surrounding floor?
Start by removing the grout around the loose tile and cutting any caulk or adhesive at the perimeter using a grout saw or oscillating tool. Carefully pry the tile up a little at a time, using a chisel and protective spacer to avoid cracking neighboring slate. Scrape off old thinset or mortar fully from both the back of the tile and the floor using a flat scraper, then re-set with the correct thinset for slate and ensure full coverage. Press the tile into place, check level with straightedges, and let it cure fully before grouting.
How do I re-level a slate floor when multiple tiles are lifting?
First, verify the subfloor is stable and flat—use a long straightedge and measure high/low spots before re-tiling. If the subfloor is flexing, you’ll need to address structural or underlayment issues (like loose boards or inadequate underlayment) before attempting slate floor repair. For minor height differences, you may be able to re-set lifted tiles with a thicker mortar build-up, but if the area is uneven you may need to remove and re-install a larger section. Use spacers and maintain consistent thinset thickness so the slate remains level across the section.
Which thinset or mortar is best for re-installing slate tiles that are lifting?
For re-installing slate, use a high-quality thinset mortar rated for natural stone (often polymer-modified thinset) to reduce moisture-related movement and improve bond strength. Avoid sanded mastic and non-stone-safe adhesives, because they can fail or react differently with slate’s surface and cleft structure. Choose the mortar based on your installation type—thinset over concrete/slab typically differs from work over plywood or existing tile. When in doubt, follow the slate and mortar manufacturer’s compatibility guidelines for best results.
Why does slate lifting keep coming back after repairs, and how can I prevent it?
Slate lifting often returns when the underlying problem—subfloor movement, moisture intrusion, or incomplete thinset coverage—wasn’t corrected. Make sure tiles were set with full mortar contact (no voids under slate), that expansion gaps and perimeter detailing were respected, and that there’s no ongoing water source. For floors in wet-prone areas or basements, confirm proper vapor barriers and consider a suitable waterproofing system before re-installing. Taking time to stabilize the subfloor and verify correct installation practices is the most effective way to stop recurring lifting on slate floors.
📅 Last Updated: October 09, 2026 | Topic: How to fix lifting on slate floors? | Content verified for accuracy and freshness.
References
- Google Scholar Google Scholar
https://scholar.google.com/scholar?q=fix+lifting+floor+tile+slate+loose+tile+repair - Google Scholar Google Scholar
https://scholar.google.com/scholar?q=natural+stone+tile+debonding+adhesion+thinset+mortar+repair - Google Scholar Google Scholar
https://scholar.google.com/scholar?q=ceramic+tile+delamination+failure+mechanisms+cementitious+adhesives - Tile
https://en.wikipedia.org/wiki/Tile - Thinset
https://en.wikipedia.org/wiki/Thinset_mortar - https://www.britannica.com/technology/tile
- https://www.sciencedirect.com/search?qs=ceramic%20tile%20adhesion%20failure%20cementitious%20adhesive
- https://www.sciencedirect.com/search?qs=floor%20tile%20delamination%20repair%20mortars
- https://pubmed.ncbi.nlm.nih.gov/?term=ceramic%20tile%20adhesion%20failure%20mortar
- cementitious tile adhesive debonding failure – Search Results – PMC
https://www.ncbi.nlm.nih.gov/pmc/?term=cementitious%20tile%20adhesive%20debonding%20failure