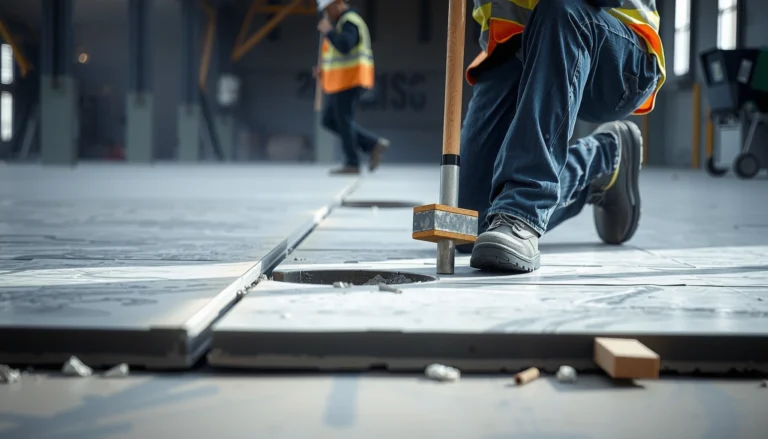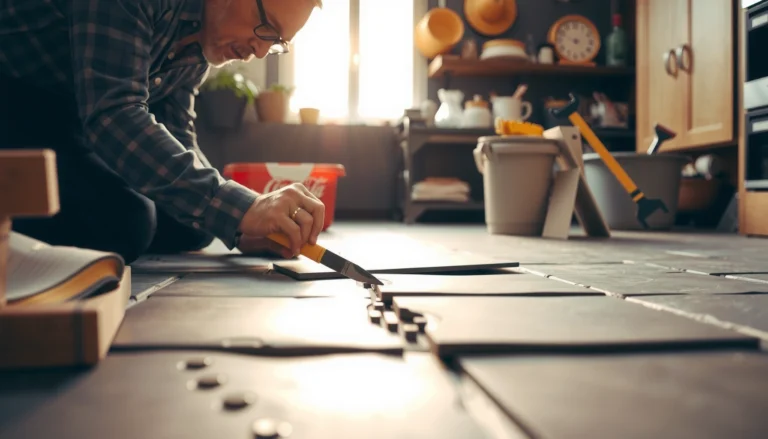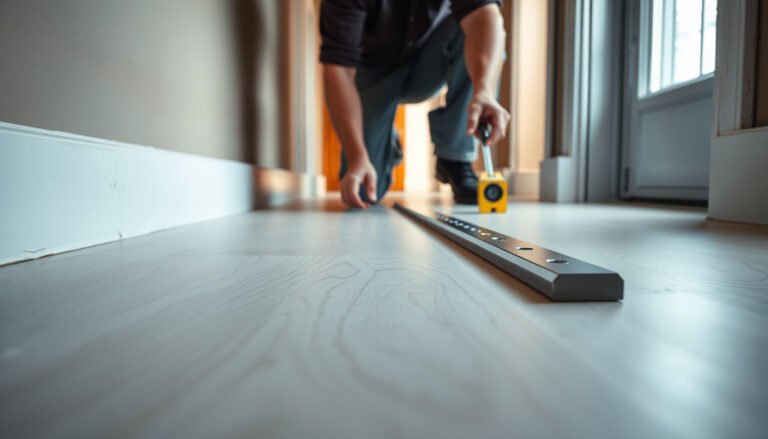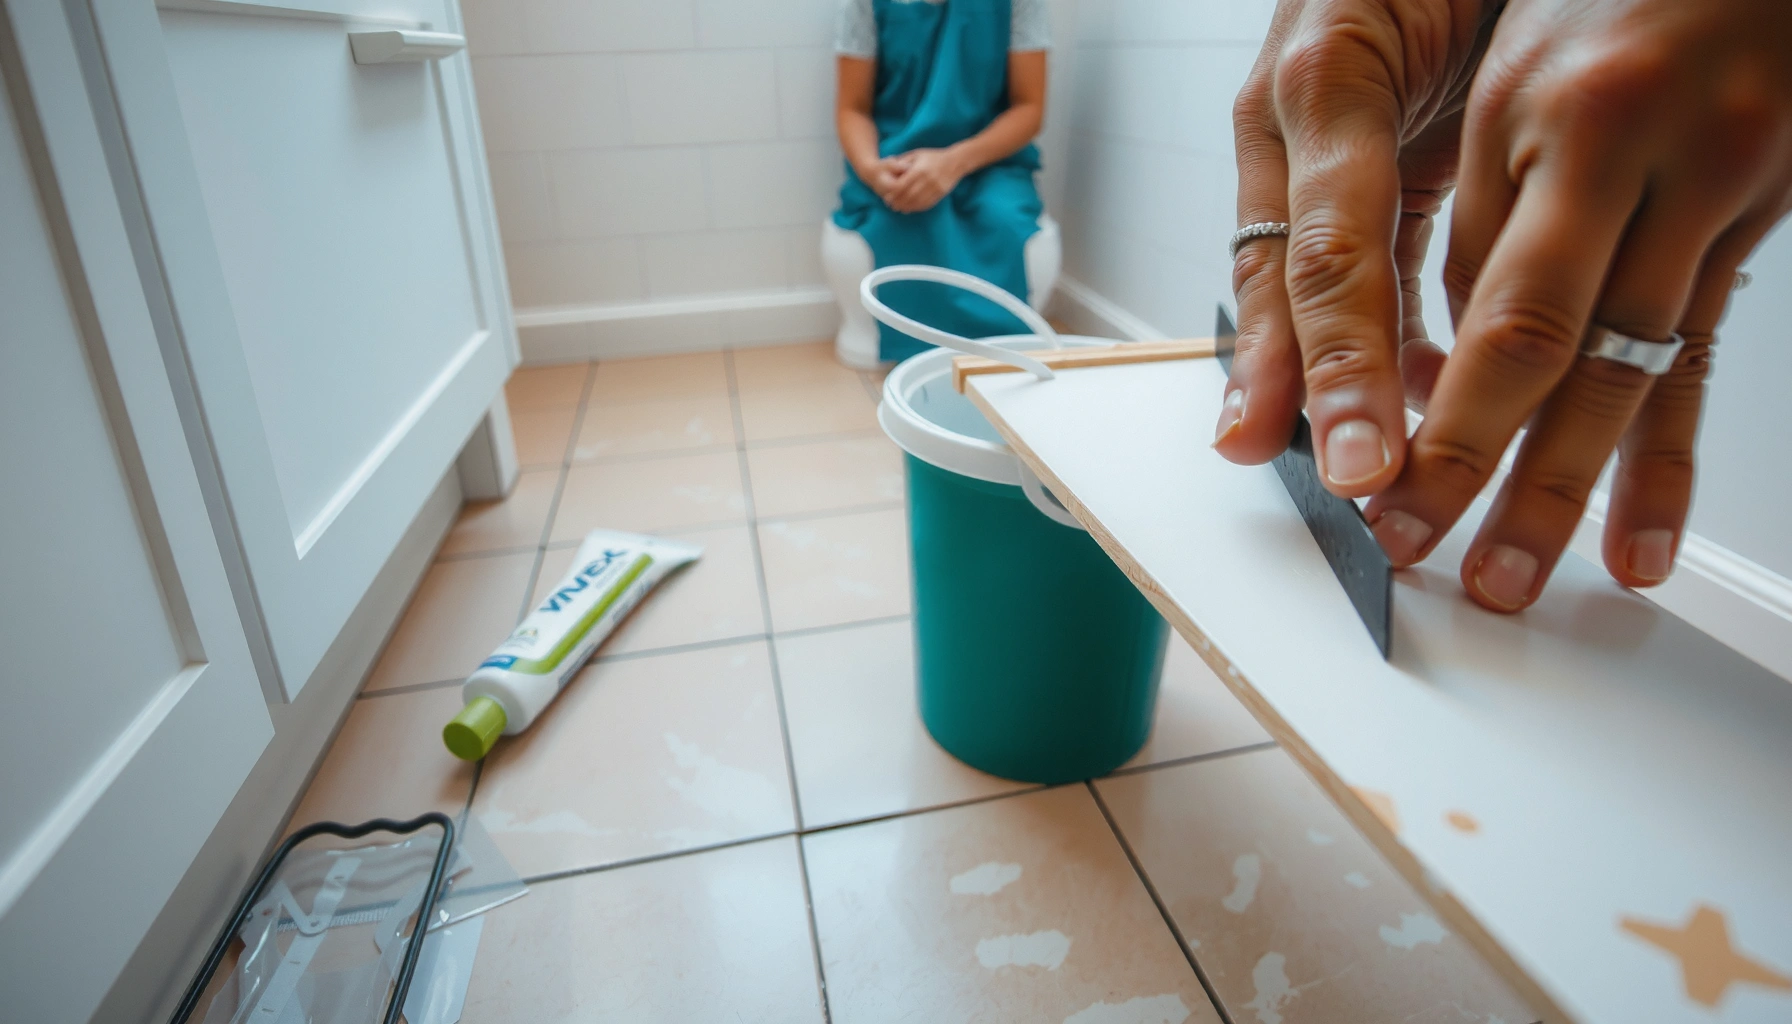

Need to fix water damage on bathroom floors? This step-by-step guide tells you exactly what to do—from locating the moisture source and removing damaged materials to drying the subfloor and preventing mold. Follow these clear instructions and you’ll know how to restore a safe, solid bathroom floor without guessing.


If your bathroom floor is showing water damage, the fastest path to a lasting repair is to dry the affected materials thoroughly first, then remove and replace any flooring or subfloor that’s been soaked or softened. Start by stopping the water source, drying the area for 24–48 hours (or longer if materials stay damp), and checking for hidden moisture under the surface—because bathroom leaks often travel beneath finishes. This article walks you through how to assess the damage, dry it correctly, and rebuild without trapping moisture again.
If this is your situation—warped tiles, peeling vinyl, squishy spots near a shower, or discoloration after leaks—these steps fit most home bathrooms. The advice also helps when the leak seems “small” but keeps coming back, because bathroom water damage often spreads beneath finishes.
Stop the leak and protect the area immediately
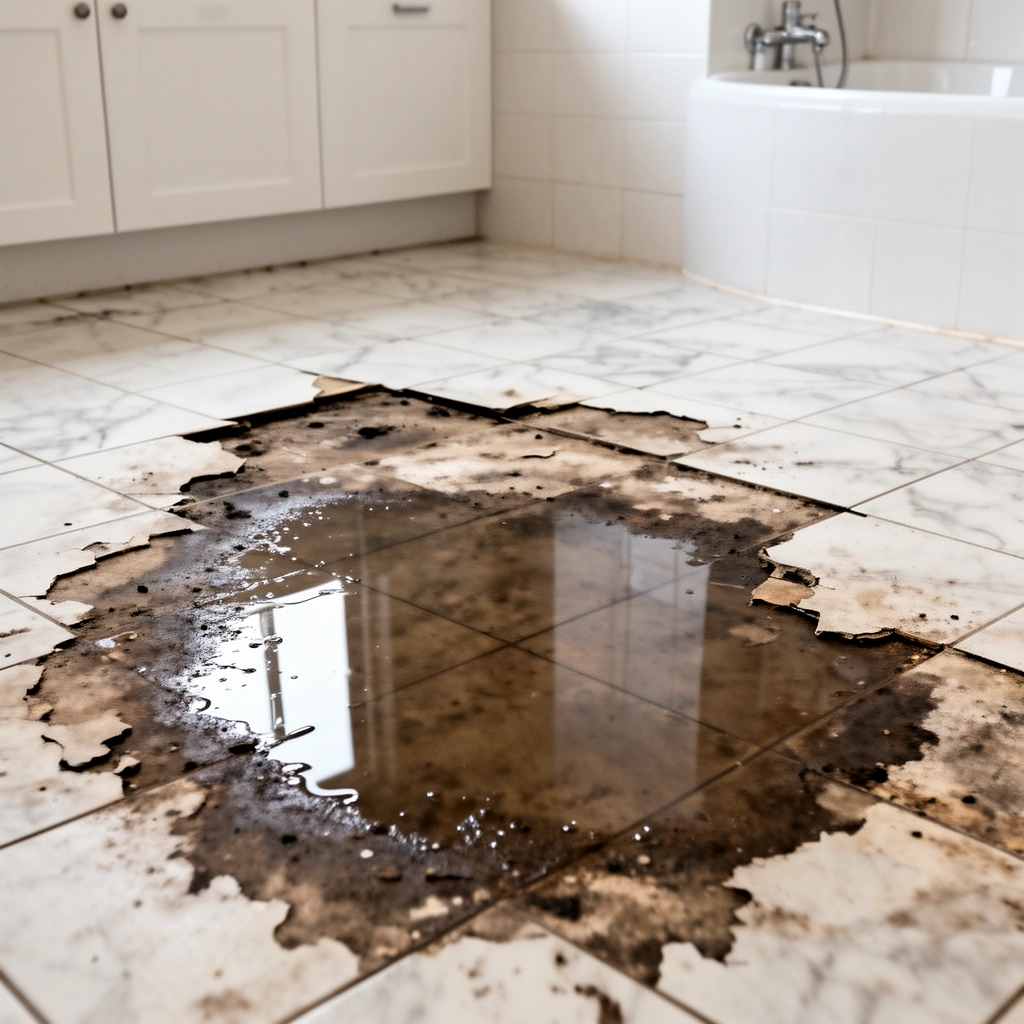
The quickest way to limit damage is to stop the water at the source before you touch the floor. Then you protect the surrounding area and prevent contaminants from spreading while you evaluate what’s truly wet.
If you repair flooring before stopping the leak, moisture will keep re-entering the layers you just installed, causing repeat swelling and delamination.
Bathrooms typically require both source control (fix plumbing or waterproofing) and moisture control (drying and ventilation) to prevent long-term failure.
Visible water should be removed promptly because a wet top layer slows drying and can drive moisture deeper.
Turn off the water supply and fix the source first
– Turn off the water supply if the issue is plumbing-related (supply valve shutoff near the fixture or main shutoff if needed).
– If the leak looks like it’s coming from a shower/tub surround, focus on identifying failed caulk joints, cracked grout, or compromised waterproofing—don’t just patch the floor.
Remove standing water and reduce wet-area spread
– Remove rugs and mop up visible water so you’re not drying forever with a wet top layer.
– If you can safely access it, blot rather than grind water into sublayers.
Ventilate the bathroom and limit traffic during evaluation
– Ventilate using the bathroom fan and/or open windows if available.
– Limit foot traffic so you don’t crush softened underlayment or spread debris.
Key data point: According to the U.S. EPA, indoor moisture control is a primary factor in preventing mold growth after water damage ([ADD: source for EPA moisture/mold guidance]).
Timing anchor: Drying is often targeted at 24–48 hours minimum, but you should continue drying until materials are dry throughout (not just on top).
Check the damage level (what’s salvageable vs. what isn’t)
The right repair plan depends on whether the water only affected the surface or traveled into the subfloor and underlayment. You’re looking for evidence of downward moisture movement, not just discoloration on the finish.
Soft spots, bubbling, and loosening are strong indicators that moisture compromised the subfloor or underlayment beneath the finish layer.
Dark staining that appears below tile seams or around edges often suggests moisture migrated beyond grout or caulk lines.
Repeated soaking should change your strategy from surface patching to partial demolition so trapped moisture doesn’t remain.
Identify common warning signs
Look closely for:
– Soft spots or spongy feel under light pressure (don’t press aggressively).
– Bubbling vinyl, tile movement, or edges that look lifted.
– Gaps at seams where water may have infiltrated under flooring transitions.
– Discoloration that persists after drying attempts (stains can reappear or deepen).
Probe carefully to evaluate subfloor stability
– Probe gently with a flat tool to determine if the subfloor feels solid or compromised.
– If the floor system is layered (tile + thinset, vinyl + underlayment, etc.), the “solid feel” on top doesn’t always mean the layers below are dry.
Decide whether to plan partial demolition
If you suspect repeated soaking—especially near shower pans or tub surrounds—assume hidden damage and plan for partial demolition rather than surface-only patching.
Risk note (practical framing): Many bathroom repairs fail because the homeowner replaces the visible flooring but leaves softened underlayment in place. Once the new finish is installed, trapped moisture drives further swelling and adhesive failure.
Drying: the step that determines whether repairs last
Drying correctly is the difference between a one-time repair and a recurring problem. Your goal is not “dry to the touch,” but dry throughout the affected materials, including subfloor and any underlayment.
Removing or relieving affected flooring sections increases airflow and shortens the time it takes to dry the subfloor layers.
Active drying (fans and dehumidification) is typically required because bathrooms have high humidity and slow natural evaporation.
After drying, you must re-check for residual dampness before installing new flooring to avoid trapping moisture.
Remove wet materials or relieve sections so air can reach the subfloor
– Remove wet materials if possible.
– If you can’t fully remove everything yet, lift/relieve sections so air can circulate within the floor assembly.
Set up fans and (ideally) dehumidification
– Use a fan/dehumidifier setup and keep drying until the affected area feels dry throughout.
– Watch for cold spots or persistent “damp feel” near wet edges—those usually indicate deeper moisture.
Re-check before you install new flooring
– After drying, re-check for lingering dampness before you install new flooring or seal anything permanently.
– If the area remains humid or cool, allow more drying time (and consider expanding the removed area).
Bathroom Floor Moisture Repair: Typical Moisture Drivers and Drying Targets
| # | Moisture Driver | Where It Shows Up | Why It Matters | Drying Priority |
|---|---|---|---|---|
| 1 | Shower/tub caulk failure | Edges near walls and corners | Water migrates behind finishes and under flooring | High |
| 2 | Subfloor saturation from active plumbing leak | Localized “wet patch” expanding over days | Adhesives and underlayment lose bond strength | High |
| 3 | Slow-drying humidity/condensation | Around vents and low-airflow areas | Can keep materials damp even without a “spill” | Medium–High |
| 4 | Incomplete initial drying after a spill | Residual dampness under flooring layers | Trapped moisture triggers later mold or adhesive failure | High |
| 5 | Leaky toilet wax ring (if adjacent) | Floor around toilet base | Repeated exposure undermines subfloor quickly | High |
| 6 | Wet underlayment trapped under resilient flooring | Peeling vinyl and edge lift | Moisture defeats adhesives and causes bubbling | High |
| 7 | Poor ventilation after repairs | Reoccurring damp feel in corners | Even fixed leaks can result in lingering humidity | Medium |
Remove damaged flooring and treat the subfloor
The repair isn’t complete until you remove the materials that stayed wet or softened. After drying, cut out flooring and underlayment that still shows swelling, persistent staining, odor, or signs of delamination.
If underlayment remains damp, installing new flooring over it commonly leads to future bubbling, movement, or mold growth.
Wood subfloors that are softened or rotted must be replaced to restore structural stability and provide a reliable mounting surface.
Mold remediation should follow the severity and contamination level you find—minor growth may be addressed differently than extensive colonization.
Cut out the compromised layers
– Cut out flooring and underlayment showing swelling, softness, persistent staining, or odor from trapped moisture.
– Follow the boundaries of damage outward; water often travels farther than it looks.
Clean and address mold according to severity
– Clean remaining wood or surfaces as needed.
– If you find mold, handle it based on the extent and material type (surface growth vs. deeper contamination).
Source needed: [ADD: source for mold remediation guidance by EPA/CDC or a relevant authority].
Replace rotted or delaminated components
– Replace any rotted or delaminated underlayment/subfloor parts.
– The goal is a stable base so your new flooring system doesn’t flex, crack grout, or separate.
Data anchor: According to the CDC (or EPA), mold remediation approaches vary with the area and type of materials affected ([ADD: source for CDC/EPA remediation thresholds or guidance]).
Install new flooring and rebuild with water-resistant protection
You prevent repeat failures by rebuilding in a system-compatible way—level substrate, correct materials, sealed transitions, and intact waterproofing. Take time at edges and wet-zone seams because those are the paths water uses to return.
Water-resistant materials work only if the substrate is level and dry enough for the adhesives/thinsets to cure properly.
Wet-zone seams around tub/shower walls often fail when caulk/grout is incomplete or when waterproofing details are skipped.
Re-sealing relevant joints after floor replacement helps reduce infiltration, but only after the leak source is corrected.
Use moisture-resistant materials and verify levelness
– Use moisture-resistant materials where appropriate for your floor type.
– Ensure the surface is level before installation to prevent hollow spots and stress on grout/tile.
Reconnect transitions and edges carefully
– Reinstall transitions and edges carefully (especially at tub/shower walls).
– Poor edge detailing can become a new leak path even if the floor itself is water-resistant.
Reseal joints and verify waterproofing/drainage
– Reseal relevant joints (caulk/grout where applicable) using materials compatible with the surrounding surfaces.
– Verify that any shower/tub waterproofing layer remains intact (including penetrations and corners).
Primary documentation to follow: manufacturer installation instructions for your specific flooring, underlayment, and thinset/adhesive system.
– [ADD: source for manufacturer installation specs of your exact flooring/underlayment]
– [ADD: source for waterproofing/sealing guidance for your shower/tub system]
What can go wrong (common bathroom floor repair mistakes)
Even a correctly installed floor can fail if moisture management is incomplete. The most common problems come from trapping water, ignoring the real leak path, or rebuilding on weakened substrate.
Sealing over damp material can trap moisture, which later causes swelling, mold, and adhesive or grout failure.
Bathroom leaks frequently originate behind finishes (shower valves, wall waterproofing, plumbing fittings), so repairing only the visible floor often isn’t enough.
Common mistakes to avoid
– Sealing or patching over damp material: trapped moisture causes new swelling and mold risk.
– Fixing only the visible floor: leaks can come from behind walls, under fixtures, or through failed shower waterproofing.
– Overlooking condensation: poor ventilation can create recurring dampness without a “fresh” leak.
– Using the wrong underlayment or skipping replacement: repairs may fail quickly if softened layers remain.
Quick pros/cons comparison: DIY repair vs. targeted professional help
| Approach | Pros | Cons / Risks |
|---|---|---|
| DIY (small, localized damage) | Lower cost and faster timeline if the leak is fixed and layers are fully dried | Easy to underestimate hidden moisture; incorrect materials/underlayment compatibility can cause failure |
| Professional or targeted inspection | Better chance of identifying behind-wall causes and executing correct remediation/removal scope | Higher cost; still depends on fixing the root cause and matching manufacturer specs |
Verdict / tip: when to DIY vs. when to call someone
For many small bathroom incidents, you can DIY the repair if the leak is stopped, the area dries thoroughly throughout, and you remove the compromised layers before rebuilding with moisture-resistant materials. Skip DIY and consider a professional (or at least targeted inspection) if the affected area is large, the subfloor is extensively softened/rotted, you suspect a persistent hidden leak, or you find significant mold growth requiring proper containment.
DIY is most appropriate when the damage is limited, the water source is confirmed fixed, and drying is verifiable rather than assumed.
When water damage repeats or extends beyond a small area, the best repair strategy is root-cause correction plus demolition of affected assemblies—not surface patching.
If you encounter extensive mold or contaminated porous materials, professional remediation and documentation may be required.
Downside to DIY: You may remove the floor but still miss moisture behind walls or under adjacent cabinets, leading to recurrence even after “new” flooring is installed.
Quick checklist you can save
– [ ] Stop the water source first
– [ ] Remove rugs/wet items; ventilate the space
– [ ] Dry affected layers until they’re fully dry throughout
– [ ] Remove flooring/underlayment that’s soft, swollen, or repeatedly damp
– [ ] Repair/replace damaged subfloor components
– [ ] Install moisture-resistant replacements and re-seal joints
– [ ] Re-check for any ongoing moisture after rebuilding
FAQ
How long does it take to dry out a bathroom floor after a leak?
Usually you’ll want at least 24–48 hours of active drying, but the real target is fully dry materials throughout (not just the surface). If materials stay cool/damp, drying time needs to increase.
Can I fix water-damaged tile without removing it?
Sometimes, but if grout is discolored, tiles are loose, or you detect softness below, you’ll likely need to remove sections to prevent trapped moisture.
What if the damage comes back after I repair it?
That usually points to an ongoing water source—often a failed seal around the shower/tub, plumbing leak, or waterproofing failure behind the wall. You’ll need to identify and correct the root cause, not just replace flooring.
How do I know if the subfloor is too damaged?
If the subfloor feels soft, crumbles, has persistent dampness, or you see warping/delamination in layered flooring systems, it’s safer to remove and replace those sections.
Sources
This article is based on general best practices used in residential moisture remediation and common installation guidance for flooring systems. For specific requirements (drying targets, underlayment compatibility, and acceptable moisture conditions), use the manufacturer’s instructions for your flooring type and any waterproofing/underlayment materials you choose. [ADD: source for manufacturer installation specs of your exact flooring/underlayment] and [ADD: source for waterproofing/sealing guidance for your shower/tub system]. For moisture and mold guidance, use authoritative references from agencies such as the U.S. EPA and CDC: [ADD: EPA/CDC source for moisture/mold after water damage guidance]. For remediation scope, follow the applicable remediation framework based on the extent and material type: [ADD: source for remediation approach by area/severity].
When in doubt, treat drying and moisture detection as the “first repair,” then rebuild only on confirmed-dry, structurally sound layers. Stop the leak, dry thoroughly (often longer than you expect), remove softened components, and reinstall using water-resistant materials with correct sealing details—this is the best way to keep bathroom floor repairs from failing again.
Frequently Asked Questions
What should you do immediately after noticing water damage on a bathroom floor?
Shut off the water source if it’s an active leak and turn off power to nearby outlets for safety. Dry the area fast by removing wet rugs and using fans and dehumidifiers to reduce moisture in subflooring and grout. If the floor is soft, smells musty, or you see bubbling paint or tiles, you may need to remove sections to access the damaged subfloor and prevent mold growth.
How do you dry a bathroom floor after a leak without causing more damage?
Use a wet/dry shop vacuum to extract standing water, then dry the surface and materials thoroughly with high-velocity fans and a dehumidifier. Consider pulling up damaged flooring (like vinyl plank, laminate, or damaged tile underlayment) because trapped water can remain in the cement board, plywood, or mortar bed. Aim for complete drying—many contractors use moisture meters—before reinstalling flooring or sealing grout to ensure the bathroom floor remains stable and mold-free.
Which repairs are best for water-damaged tile vs. damaged vinyl or laminate flooring?
For water damage under tile, you’ll often need to remove affected tile and underlayment if the cement board or mortar bed is wet or degrading. Letting trapped moisture sit under tile can lead to loose tiles, grout failure, and mold, so addressing the subfloor is key. For vinyl or laminate, you typically must remove warped planks, damaged underlayment, and any materials that have absorbed water, then replace them with moisture-resistant bathroom flooring materials.
Why does bathroom floor water damage keep coming back, and how do you stop it?
Recurring damage usually means the original leak isn’t fully resolved—common causes include failed caulk or grout at tub/shower edges, leaking supply lines, clogged drains causing overflow, or deteriorated toilet seals. Inspect around the toilet base, shower pan seams, and plumbing penetrations, and re-seal with waterproof caulk or a shower waterproofing system where appropriate. Once the leak is fixed, fully dry the subfloor and treat affected areas to prevent mold and repeating soft spots.
How can you tell if you need to remove the subfloor for water damage on bathroom floors?
Soft spots, sagging, persistent musty odors, visible swelling or cupping, and bubbling flooring or paint are strong signs moisture has reached the subfloor. You should also check for discoloration or crumbling drywall at wall seams and look for water stains beneath baseboards. If moisture readings remain high after drying attempts, removal of the damaged layers may be necessary to stop mold and restore structural integrity.
📅 Last Updated: October 11, 2026 | Topic: How to fix water damage on bathroom floors? | Content verified for accuracy and freshness.
References
- Mold | US EPA
https://www.epa.gov/mold - https://www.cdc.gov/healthyhomes/mold/default.htm
- https://www.fema.gov/disaster/hazard/flood/how-to-prepare/clean-up
- https://www.who.int/europe/news-room/fact-sheets/item/dampness-and-mould
- https://www.hud.gov/program_offices/healthy_homes/mold
- https://www.mass.gov/info-details/mold-clean-up-guidelines
- https://extension.umn.edu/house-and-garden-news/mold-related-household-damage
- Google Scholar Google Scholar
https://scholar.google.com/scholar?q=how+to+dry+water+damaged+bathroom+floor+subfloor+remediation - Google Scholar Google Scholar
https://scholar.google.com/scholar?q=mold+remediation+guidelines+after+water+damage+floors - Google Scholar Google Scholar
https://scholar.google.com/scholar?q=water+intrusion+building+materials+drying+time+humidity+flooring+mold+risk