
If your hallway needs vinyl flooring, the fastest path to a flat, professional finish is to level the subfloor before you install—using a self-leveling underlayment when the low spots are spread out and a patch-and-sand approach when the unevenness is localized. This guide shows exactly what to measure, which leveling compound to choose, and how to get the surface flat enough for vinyl to lay without gaps, bubbles, or clicks. Answering the core question—how to level vinyl floors before installing a hallway—the steps below tell you what to do first, second, and last.




Level your hallway vinyl floor by first measuring subfloor flatness, then choosing the correct leveling method (patch/skim coat for spot fixes or self-leveling underlayment for broader low areas) until you meet your vinyl’s flatness requirement. Then let the material cure fully and re-check—because even small ridges and dips can cause click-lock seams to separate or telegraph through LVP/LVT.
If you’re installing LVP/LVT planks (click-lock or glue-down) in a hallway, this is for you—especially if you’ve noticed dips, ridges, squeaks, or “wavy” plywood/old flooring. The steps below focus on getting a smooth, stable base for a long, narrow space where small imperfections become obvious—often more than they would in a wider living room.
Check the subfloor flatness (before you buy anything)
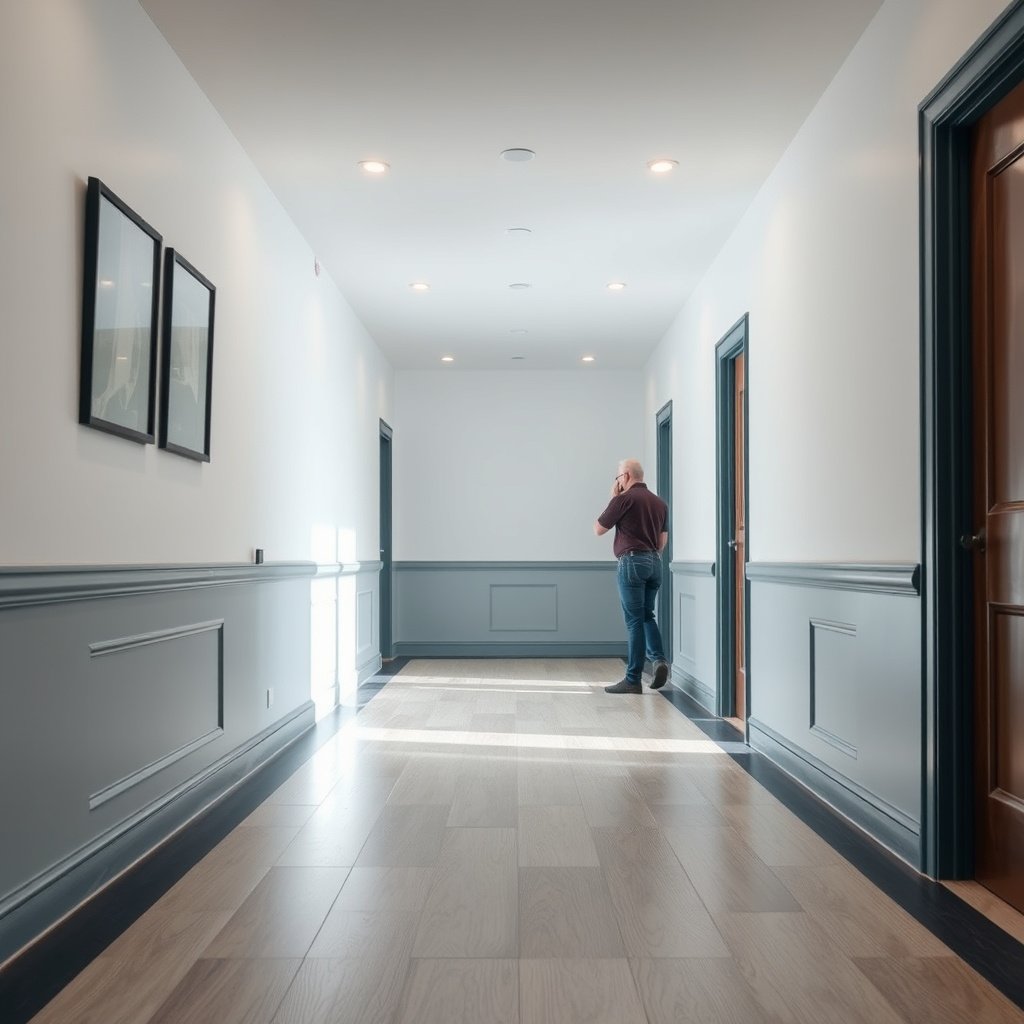
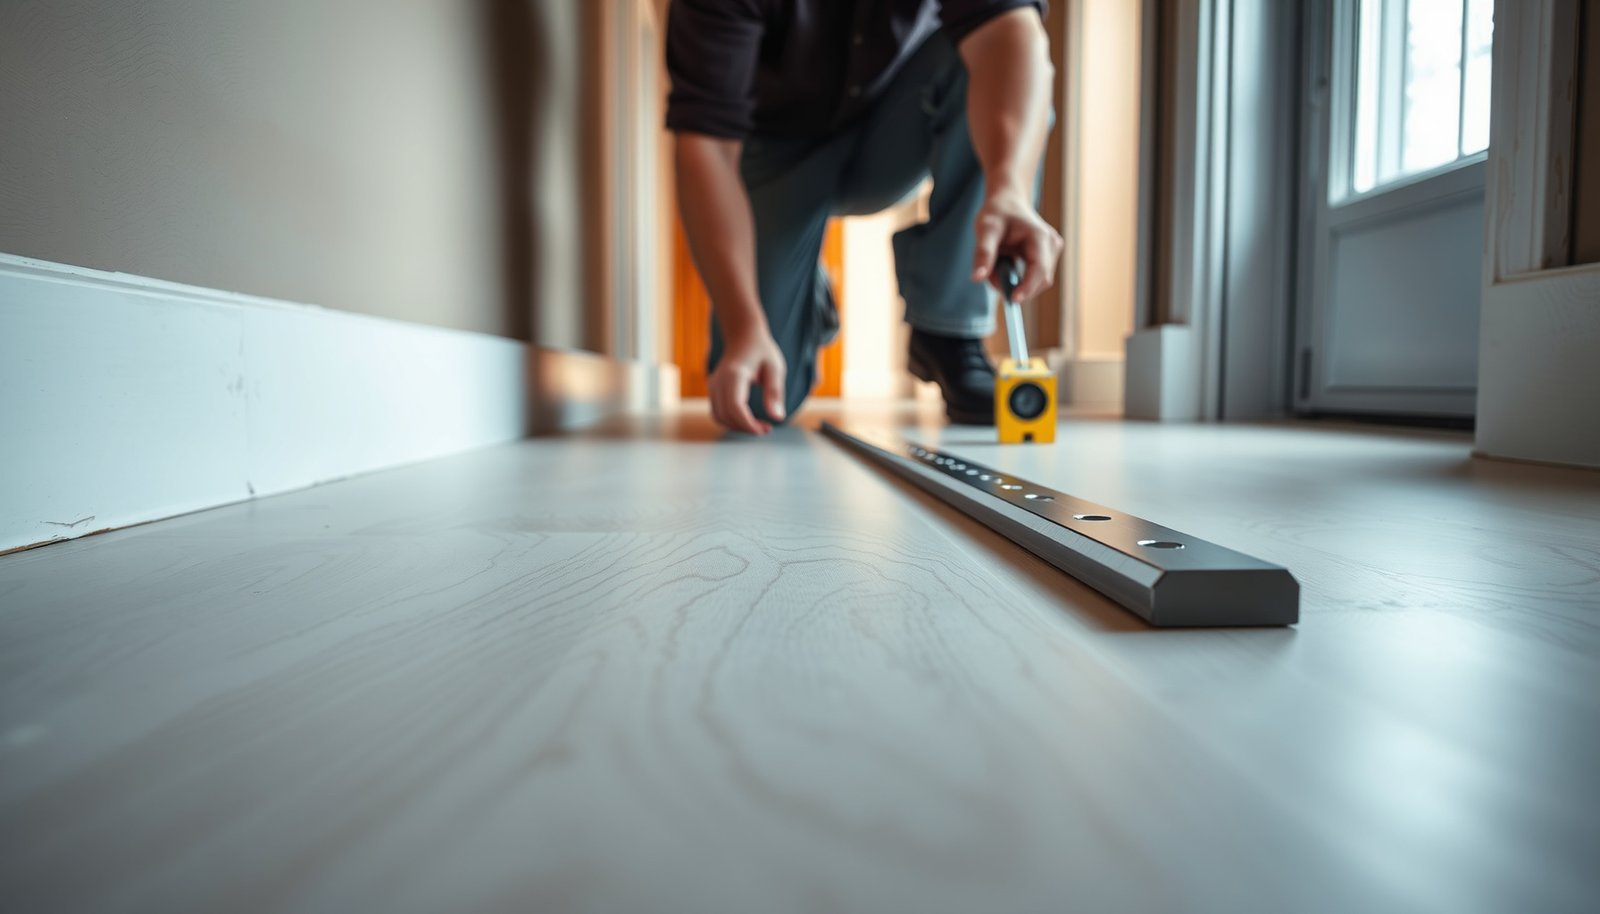
The fastest way to avoid rework is to measure flatness first; “feels mostly level” is not a reliable installation standard for vinyl plank. Use a straightedge to find exact high spots and low dips across the entire hallway so you can select patching vs. self-leveling with confidence.
A vinyl plank installation is only as flat as the surface it’s installed over—flatness deviations can show up as visible waves or stress at joints.
Resilient flooring manufacturers typically require the subfloor to be within a specific flatness tolerance measured with a straightedge.
Leveling compounds can fill low areas, but they can’t compensate for a moving subfloor or loose panels.
– Use a straightedge/level and measure across the hallway in multiple directions (lengthwise and widthwise), not just in one spot.
In practice, hallways often have “directional” issues: joist span can create lengthwise dips, while patchwork seams or tile remnants can create crosswise ridges. Run your straightedge along the length of the hallway, then repeat across the width in several sections, especially near doorways and transitions.
– Mark problem areas: high ridges (often from loose fasteners, old thinset/adhesive, or raised seams) and low spots (gaps, dips, worn subfloor).
Marking matters because you’re not just “leveling”—you’re correcting specific geometry. If you only fill lows, you may trap a high ridge under the vinyl and still end up with plank rocking and joint stress.
– Look for structural issues first (loose subfloor panels, squeaks, water damage). Leveling won’t fix a moving or failing subfloor.
If you can hear movement when you step near a loose panel, fix the cause first: re-fastening, addressing damaged OSB/plywood, or correcting moisture problems. Leveling over movement is a common failure path for click-lock floors, because the locking mechanism depends on consistent support.
Practical measurement data point:
If your straightedge shows a maximum deviation of 3/16 in, that’s 4.8 mm (useful when comparing your measurement to mm-based manufacturer specs). If it shows 1/8 in, that’s 3.2 mm—again, directly comparable to many European/metric flatness requirements.
Flatness Deviation Conversion for Hallway Checks (in ↔ mm)
| # | Straightedge Deviation (in) | Straightedge Deviation (mm) | How Much You’re Correcting | Relative Leveling Effort |
|---|---|---|---|---|
| 1 | 1/32 | 0.8 | Minor micro-waves | ★ ★ |
| 2 | 1/16 | 1.6 | Small depressions/bumps | ★ ★ ★ |
| 3 | 1/8 | 3.2 | Noticeable irregularities | ★ ★ ★ ★ |
| 4 | 3/16 | 4.8 | Moderate low/high correction | ★ ★ ★ ★ ★ |
| 5 | 1/4 | 6.4 | Requires more than spot fixes | ★ ★ ★ ★ ★ |
| 6 | 5/16 | 7.9 | Broad unevenness likely | ★ ★ ★ ★ ★ |
| 7 | 3/8 | 9.5 | Structural correction often needed | ★ ★ ★ ★ ★ |
(Note: the “effort” ratings are a planning heuristic to help you scope the work. Always defer to your specific vinyl and leveling compound installation guides for pass/fail criteria.)
Pick the right leveling approach for your problem
The right method depends on whether you’re correcting localized low spots or an overall “wavy” surface. If you only have shallow dips, patch/skim is often cleaner; if unevenness spans large areas, self-leveling underlayment can reduce labor—when you can meet its prep and containment requirements.
Patch/skim coats are best for localized corrections because you can feather edges and keep material thickness controlled.
Self-leveling underlayment works best on larger, broadly uneven surfaces when the surface is properly primed and sealed to prevent pinholes or bond failure.
If the “unevenness” is actually subfloor movement or panel thickness variation, the long-term fix is usually mechanical subfloor correction—not just compound.
– For shallow dips or minor imperfections, a patch/skim coat is usually the simplest route—especially if you need only localized correction.
Patch/skim is typically easier to manage in a hallway because you can work section-by-section, feather transitions, and avoid covering door thresholds more than necessary.
– For broader unevenness, self-leveling underlayment (SLU) can be easier, but only if you can contain it and prepare the surface correctly.
Hallways create edge challenges: SLU must flow where you intend and stop where you intend. This means careful containment at walls, doorways, and any penetrations—especially if you’re working over plywood seams or older flooring remnants.
– If the floor is uneven because of subfloor thickness/fastener issues, sometimes the “leveling solution” is mechanical (re-fastening, sanding high spots, or adding/substituting subfloor panels), not compound.
If fasteners are sitting proud, sanding or grinding high points (followed by vacuuming and patching lows) may outperform piling on compound.
Patch vs. SLU vs. Subfloor-first—what to choose
| Approach | Best for | Pros | Watch-outs |
|---|---|---|---|
| Patch/skim coat | Spot lows & feathering | More control; less mess; easier around thresholds | Requires good feathering; thin areas can cure unevenly if prep is poor |
| Self-leveling underlayment (SLU) | Broad unevenness | Fast coverage; can smooth whole spans | Strict priming/containment; timing-sensitive mixing/pouring; follow thickness limits |
| Subfloor-first fix | Movement, squeaks, failed panels | Reduces long-term failures; protects warranty outcomes (often) | May cost more up front; compound is not a substitute for structural issues |
Reality check from the field:
Keeping compound as a finishing step (after stability) tends to prevent the “we fixed the surface but not the cause” scenario.
Prep the surface so leveling compound actually sticks
The best-performing leveling compound still fails if the surface is dusty, loose, contaminated, or unprimed where required. Prep is what determines bond strength and consistency—especially for SLU on plywood/OSB or porous subfloors.
Most leveling compounds require strict surface preparation and, when applicable, priming/sealing to achieve proper bonding.
Dust is a bond-killer: vacuuming thoroughly is not optional before either patch/skim or SLU.
Containment matters in hallways because SLU can migrate into unintended gaps, doorways, or low cavities.
– Remove anything that prevents bonding: loose paint, peeling adhesive, high caulk ridges, dust, and debris. The goal is a clean, solid surface.
Work from “big to small”: scrape/knife off ridges, then grind or sand high points if needed, and finally vacuum with a fine particulate filter. If you see shiny film or residue, treat it as a contaminant rather than “just grime.”
– Seal/prime where the manufacturer requires it (especially for SLU). Skipping primer is a common reason leveling fails to bond or cures inconsistently.
Primer isn’t a generic step—it’s part of the chemistry system. If your subfloor is porous (typical for plywood/OSB), the manufacturer may require a specific primer or dilution method. In 2026, crews still skip this step and then fight pinholes, debonding, or crumbling edges.
– Create proper containment and plan the workflow for the hallway area (edges, door thresholds, and any openings), so the material doesn’t spread where it shouldn’t.
In a narrow hallway, you’re balancing speed and precision. Dry-fit transition heights first, protect carpet/tile edges where needed, and plan mixing quantities so you don’t run out mid-pour.
Document your prep: take a quick photo of the straightedge-marked lows/highs and your cleaned/primed surface. That makes troubleshooting far easier if you have to adjust after cure.
Apply the leveling material (patch vs. self-leveling)
Apply patching or SLU in a way that respects both thickness limits and your “feather/flow” strategy. The goal is a surface that stays flat after cure and supports vinyl contact continuously—without weak, sandy, or uneven layers.
Patch/skim work succeeds when edges are feathered; abrupt transitions can create hard ridges under vinyl.
For SLU, mixing accuracy and controlled pouring affect self-leveling performance and final thickness consistency.
Removing debris from the surface right after placement is critical because trapped chunks can imprint through vinyl.
– Patch/skim: Apply only to the marked low areas, feather the edges, and keep thickness within the product’s limits so it cures flat instead of brittle or sandy.
Use a flat trowel/finishing blade to shape your feather edge. If you’re chasing a seam or worn spot, build in thin passes rather than forcing a single thick application.
– Self-leveling underlayment: Mix exactly per the instructions and pour in a controlled way. Work efficiently so you don’t get “cold joints” or uneven thickness.
SLU is timing-sensitive: once it starts to set, it won’t “flow together” the same way. Mix ratios, water temperature (if specified), and pour pacing are all part of getting a truly flat surface.
– After the first pass (and before it fully sets if the product allows), correct obvious issues: drag marks, trapped debris, or thin areas.
If you discover a ridge caused by a tool edge or debris trapped by flow, remove it while the material is still workable. Waiting can turn a fix into grinding and re-patching.
2026 best practice: keep a dedicated “clean mixing zone” and label your buckets. Hallways have tight time windows; minimizing process confusion reduces variability.
Let it cure, then re-check flatness again
Cure fully, then re-check flatness before you install any vinyl plank. This second measurement is where you catch the remaining highs/lows that will otherwise become visible lines, joint stress, or clicking noises.
Cure/drying time is product-specific; installing vinyl before the leveling compound reaches the required cure state can compromise performance.
A straightedge re-check after cure helps you identify remaining high spots that can prevent proper plank contact.
Even if the floor “looks smooth,” flatness tolerances are measured with a straightedge across the install area.
– Allow curing/drying time exactly as stated by the leveling product (and verify it meets moisture expectations for your vinyl type).
Follow the compound label for cure time and conditions (temperature/humidity). If your vinyl manufacturer includes moisture guidance for subfloors, coordinate the SLU moisture timeline with that guidance.
– Re-check with the straightedge and re-sand/patch any high spots so you don’t lock the problem into the vinyl installation.
High spots are usually harder to “forgive” than low spots because vinyl can’t compress them evenly. Sanding high ridges and re-patching small imperfections can prevent lock failure and plank telegraphing.
– Confirm you’re still within your specific vinyl manufacturer’s flatness tolerance across the install area (hallways often need extra attention because the floor is visible end-to-end).
Hallways are visually unforgiving. If your straightedge shows variation near doorways, transitions, or where old flooring was feathered, treat those sections as priority zones.
What can go wrong (common hallway leveling mistakes)
If you want reliable results, treat leveling as a system—surface stability + correct prep + correct compound + correct cure + correct flatness verification. Below are the problems that most often turn a “smooth enough” hallway into joint noise, gaps, or visible waves.
Leveling over a subfloor that flexes or squeaks can still cause vinyl failure even when the surface measures flat.
Skipping primer or using the wrong primer for SLU can lead to bond failure, pinholes, or surface dusting.
Overbuilding compound thickness beyond the product’s limits increases cracking risk and can create brittle, uneven layers.
– Leveling over a moving subfloor: if panels flex or squeak, the vinyl can fail even if the surface looks flat.
Click-lock mechanisms depend on stable geometry. Movement re-introduces stress at seams—even after you’ve corrected dips.
– Skipping prep/primer: SLU and patches often require strict surface preparation to bond reliably.
In hallways, prep issues can hide under a “good-looking” skim until foot traffic and thermal expansion reveal the bond weakness.
– Overbuilding thickness: adding compound beyond the product’s limits can lead to weak layers, cracking, or poor performance under traffic.
When you need more thickness than allowed, the better solution is often to address substrate height with sanding, grinding, re-fastening, or adding/substituting panels.
– Not checking for high spots: low areas are easier to “fill,” but high ridges can prevent proper plank contact and cause gaps.
Measure both lows and highs. A single raised seam can become a repeated stress line down the hallway.
– Ignoring transitions: thresholds, door jambs, and vents can affect expansion gaps and end-of-run fit—leveling still needs to match the installation plan.
If leveling changes the height significantly at transitions, you can end up with improper expansion spacing or difficult trimming that forces contact where the floor should be free to move.
Verdict / tip + quick checklist
Leveling a hallway vinyl floor is all about meeting the flatness spec—not just making it “look smooth.” If you want the best overall approach, do this: measure → determine whether you need patching or SLU → prep/prime correctly → level to your vinyl manufacturer’s flatness tolerance → cure fully → re-check and fix highs before installation.
Downsides to know up front: self-leveling is messier and timing-sensitive, and patch/skim requires careful feathering and spot-correction. Skip DIY leveling if the subfloor is water-damaged, unsupported, or structurally unstable—fix the cause first, because compound won’t make a failing floor “quiet” or “solid.”
Scan/save checklist
| Step | What to do | Done? |
|---|---|---|
| 1 | Straightedge check in multiple directions; mark highs/lows | ☐ |
| 2 | Confirm subfloor stability (no flex/squeaks/water damage) | ☐ |
| 3 | Choose patch vs. SLU based on area size | ☐ |
| 4 | Clean thoroughly; prime/seal if required by product | ☐ |
| 5 | Level within product limits and vinyl flatness tolerance | ☐ |
| 6 | Cure fully per label; re-check flatness; fix highs | ☐ |
| 7 | Proceed with hallway install plan (transitions/expansion gaps) | ☐ |
Sources (use manufacturer requirements for your exact products):
– Your vinyl plank/LVP manufacturer installation guide (flatness tolerance, subfloor prep, moisture guidance, underlayment requirements).
– The leveling compound/SLU manufacturer instructions for surface prep, priming/sealing, mix ratios, thickness limits, and cure/drying times.
– If you’re repairing plywood/OSB: relevant guidance from plywood/structural subfloor manufacturer specs and your floor underlayment/subfloor prep recommendations (where applicable).
Leveling a hallway vinyl floor is a measurement-first job, not a “make it smooth” job. In 2026, the most reliable outcomes still come from the same disciplined workflow: stabilize the subfloor, correct flatness with the right method, follow primer and thickness limits exactly, cure fully, and re-check with a straightedge right before installation.
Frequently Asked Questions
What’s the best way to check if my hallway vinyl floor needs leveling before installation?
Start by removing baseboards and any existing flooring or debris, then use a 6–10 ft straightedge (or a long level) to measure dips and high spots. Mark problem areas with painter’s tape and note the maximum variation you find across the hallway. This helps you choose the right vinyl floor leveling method—whether a self-leveling underlayment, patch compound, or sanding is sufficient—before you install click-lock or glue-down vinyl plank.
How do I level a vinyl floor subfloor in a hallway before installing LVP or LVT?
Begin by cleaning the subfloor thoroughly, then fill low areas with a latex patch or a compatible leveling compound designed for vinyl flooring. For larger dips or uneven concrete, use a self-leveling underlayment, mixed per the manufacturer’s instructions, and apply it to the hallway in a smooth, continuous pour. After it cures, sand any ridges, vacuum again, and confirm the surface is flat and smooth before laying the vinyl flooring.
Why is subfloor leveling so important for vinyl flooring in hallways?
Hallways have frequent foot traffic and tighter transitions, so uneven floors can cause vinyl planks or tiles to flex more than intended. Over time, that can lead to joint separation, clicking noises, gaps around edges, and in glue-down installations, poor bond strength. A properly leveled subfloor also helps the vinyl floor feel uniform underfoot and prevents premature wear.
Which leveling products are best for preparing a hallway subfloor for vinyl?
For small imperfections on wood subfloors, a feather-edge patch or floor leveling compound is typically best because it’s easier to control and blend. For concrete slabs or significant low spots, a self-leveling underlayment is often the most efficient option. Always choose products approved for your subfloor type (plywood, OSB, or concrete) and confirm they’re compatible with vinyl floor underlayments so you get reliable results.
How long should I wait for leveling compound or self-leveling underlayment to cure before installing vinyl?
Follow the cure and dry times on the product label, since temperature, humidity, and thickness strongly affect the schedule. In many cases, you may need to wait 24 hours to several days before installing vinyl flooring, especially for self-leveling underlayment. After curing, re-check flatness with a straightedge and ensure the surface is fully dry and free of dust before you install hallway vinyl.
📅 Last Updated: October 25, 2026 | Topic: How to level a vinyl floors before installing hallway? | Content verified for accuracy and freshness.
References
- https://www.astm.org/f710.html
- F1066 Standard Specification for Vinyl Composition Floor Tile
- Floor
- https://en.wikipedia.org/wiki/Floor_screed
- Self-leveling concrete
- Underlayment
- Screed
- https://scholar.google.com/scholar?q=vinyl+flooring+subfloor+flatness+leveling Google Scholar
- https://scholar.google.com/scholar?q=resilient+floor+installation+subfloor+preparation+ASTM+F710 Google Scholar
- https://scholar.google.com/scholar?q=self-leveling+compound+installation+resilient+flooring+flatness Google Scholar