
Want to know how to remove laminate floors from a home gym without damaging the subfloor? The fastest, lowest-risk method is to lift the planks correctly at the seam, then remove underlayment and tack strips only after you’ve checked for nail or glue-down installation. This guide walks you through the exact tools, prep steps, and pull order that keep your gym ready for the next flooring option.




Removing laminate floors from a home gym is easiest when you treat the planks like a “floating” system: remove trim, start at the edge, and unlock rows/planks without brute-force prying. If your laminate is glued down, expect more scraping and subfloor prep afterward. This guide walks you through identifying your install type and pulling it up as cleanly as possible.
If your gym includes heavy equipment, rubber flooring mats, or rolled weights storage, plan to protect everything first—laminate removal creates dust and can loosen adjacent trim. You’ll also want to match the method to how your laminate was installed (click-lock vs glue-down), since the safe removal steps differ a lot.
Who this is for: This is for homeowners and small contractors removing laminate flooring in a garage-style training room—especially where you’ll reinstall new gym flooring (rubber tiles, LVP, or a thicker underlayment system) and need a clean, stable subfloor. It’s also relevant if you’re dealing with transition pieces, glued underlayment, or hard-to-reach corners behind squat racks.
Prep your home gym before removing laminate

The fastest “clean removal” starts before you touch a plank: protect everything from dust, vibration, and collateral damage from pry tools. Then set up containment and vacuum capture so laminate removal doesn’t turn into a cleanup project that lasts days.
Laminate removal generates fine particulate dust, so a HEPA-filtering shop vacuum significantly reduces airborne dust compared with a standard exhaust bag setup.
OSHA’s silica requirements focus on airborne dust during grinding/sanding activities, and laminate removal can still create hazardous dust that warrants respiratory protection in enclosed gyms.
– Clear the workout area: move racks, benches, and free weights off the floor and set them somewhere stable (laminate removal is messy and vibration can loosen things).
– Protect what you can’t move: cover remaining equipment, vents, and nearby walls with plastic sheeting, then tape edges to reduce dust spread.
– Gather removal tools: pry bar, tapping block/rubber mallet (if you’re working with click-lock), utility knife, floor scraper, pull bar (for stubborn areas), and a shop vacuum with a dust bag/filter.
– Add a few “gym-safe” extras:
– Painter’s tape and cardboard for labeling and temporary protection of exposed door thresholds.
– Drop cloths under the starting edge (you’ll catch chips and underlayment bits).
– Nitrile gloves for adhesive cleanup (glue-down laminate residue is often tacky and grime-heavy).
– Respiratory protection: at minimum, a tight-fitting N95; upgrade to a respirator appropriate for your dust conditions.
A practical note from the field:
Quick planning datapoints to ground your prep
According to US EPA HEPA filter guidance, HEPA media are defined as capturing 99.97% of particles at 0.3 microns (the typical “most penetrating particle size”).
According to OSHA 29 CFR 1926.1153, the respirable crystalline silica permissible exposure limit is 50 µg/m³ as a time-weighted average in relevant construction activities (as enforced under the silica standard).
According to NIOSH/CDC respirator information, N95 filtering facepiece respirators are designed to filter at least 95% of airborne particles (when properly fitted and used).
Identify how your laminate is installed (this changes everything)
The right removal technique depends on whether your laminate is a “floating” click-lock system or glued directly to the subfloor. If you misidentify glue-down laminate as click-lock, you’ll damage tongues/grooves and create unnecessary subfloor repair work.
Click-lock (floating) laminate is designed to release along the locking edge; glue-down laminate is designed to stay bonded, so seams often won’t separate cleanly.
Perimeter expansion gaps are typically covered by baseboards/trim, so trim removal often determines your first accessible row for laminate removal.
– Check for click-lock (“floating”) signs: you may see that planks sit together mechanically, and you may be able to separate rows by releasing the locking edge.
– Look for glue-down clues: if planks feel firmly bonded to the subfloor and can’t be separated along seams, you likely have an adhesive installation.
– Confirm expansion gaps and trim strategy: laminate typically needs a perimeter gap covered by baseboards/trim—if trim is nailed or caulked, you’ll need a careful removal approach.
– Check for mixed installation zones: in home gyms, it’s common to see a “patch” area—glue-down transitions in one zone, click-lock elsewhere after prior projects.
Click-lock vs glue-down: what changes in your removal
Here’s the decision logic I use to prevent wasted effort during laminate removal:
Click-lock (floating) indicators
– The seam “clicks” and can be separated using the lock direction (not the opposite).
– Planks lift slightly when you pry at a seam edge after trim removal.
– Under the perimeter trim, you can often see a small gap or consistent perimeter clearance.
Glue-down indicators
– You can’t separate boards along seams without tearing them.
– When you lift an edge, it stays stuck to the subfloor and adhesive strings stretch.
– There’s often older underlayment glue or residue patterns.
Click-Lock vs Glue-Down Laminate: Removal Impact (Home Gym Context)
| Click-lock (“Floating”) | Glue-down | |
|---|---|---|
| 1 | Primary method | Unlock joints and lift rows |
| 2 | Typical plank damage risk | Lower if you stay in the lock direction |
| 3 | Underlayment removal | Often easier to pull up cleanly |
| 4 | Subfloor cleanup | Usually minimal scraping |
| 5 | Adhesive residue | Low to none |
| 6 | Time profile | Front-loaded (more lifting, less scraping) |
| 7 | Time profile | Back-loaded (more scraping/prep) |
| 8 | Best start point | Perimeter edge after trim removal |
| 9 | Tool leverage strategy | Controlled tapping/unlocking |
| 10 | New floor readiness | Depends mainly on flatness and debris |
| Best For | When you want the least subfloor work and cleaner plank retrieval | When removal is unavoidable and you’re okay investing time in adhesive prep |
Remove molding, transitions, and the first row access point
The quickest way to avoid damaged drywall and broken first-row planks is to remove trim and transitions before you attempt to lift laminate. Once the perimeter is open, you can access the lock edge and keep laminate removal controlled.
Cutting caulk lines before prying reduces drywall paper tearing when removing baseboards for laminate removal.
Doorway/hall transitions often pin the edges of laminate planks, so removing them first prevents mid-row plank fractures.
– Remove baseboards/quarter round first: use a pry bar carefully to avoid gouging drywall—cut caulk lines before prying if needed.
– Take off transitions (doorways/hall transitions): these often pin the last edges of laminate planks.
– Find the starting edge: plan to begin where planks are easiest to separate (usually an exterior wall after trim removal and locating the edge of the locked tongue/groove).
– Work smart with gym layout:
– Start along the longest, least trafficked perimeter so you’re not stepping over tools while unlocking rows.
– If your gym has rubber mats, remove them early so you’re not pushing debris into the seam lines during laminate removal.
Detail that matters: when you remove baseboards, check how they were fastened (nails vs brads vs adhesive). If fastened with nails, pull with a steady angle to reduce trim cracking. If adhesive-held, cut and loosen gradually.
Take up laminate planks safely, row by row
The safest laminate removal strategy is to lift in the intended direction of the locking system (for click-lock) or separate the plank from the subfloor without tearing its joint profile (for glue-down). Row-by-row control prevents tongue/groove breakage that can cascade into a bigger repair mess.
With click-lock laminate, forcing joints in the wrong direction is the main reason for broken tongues and “domino” failure during removal.
For glue-down laminate, adhesive removal is not optional prep work—residue left behind can prevent flat, secure installation of new gym flooring.
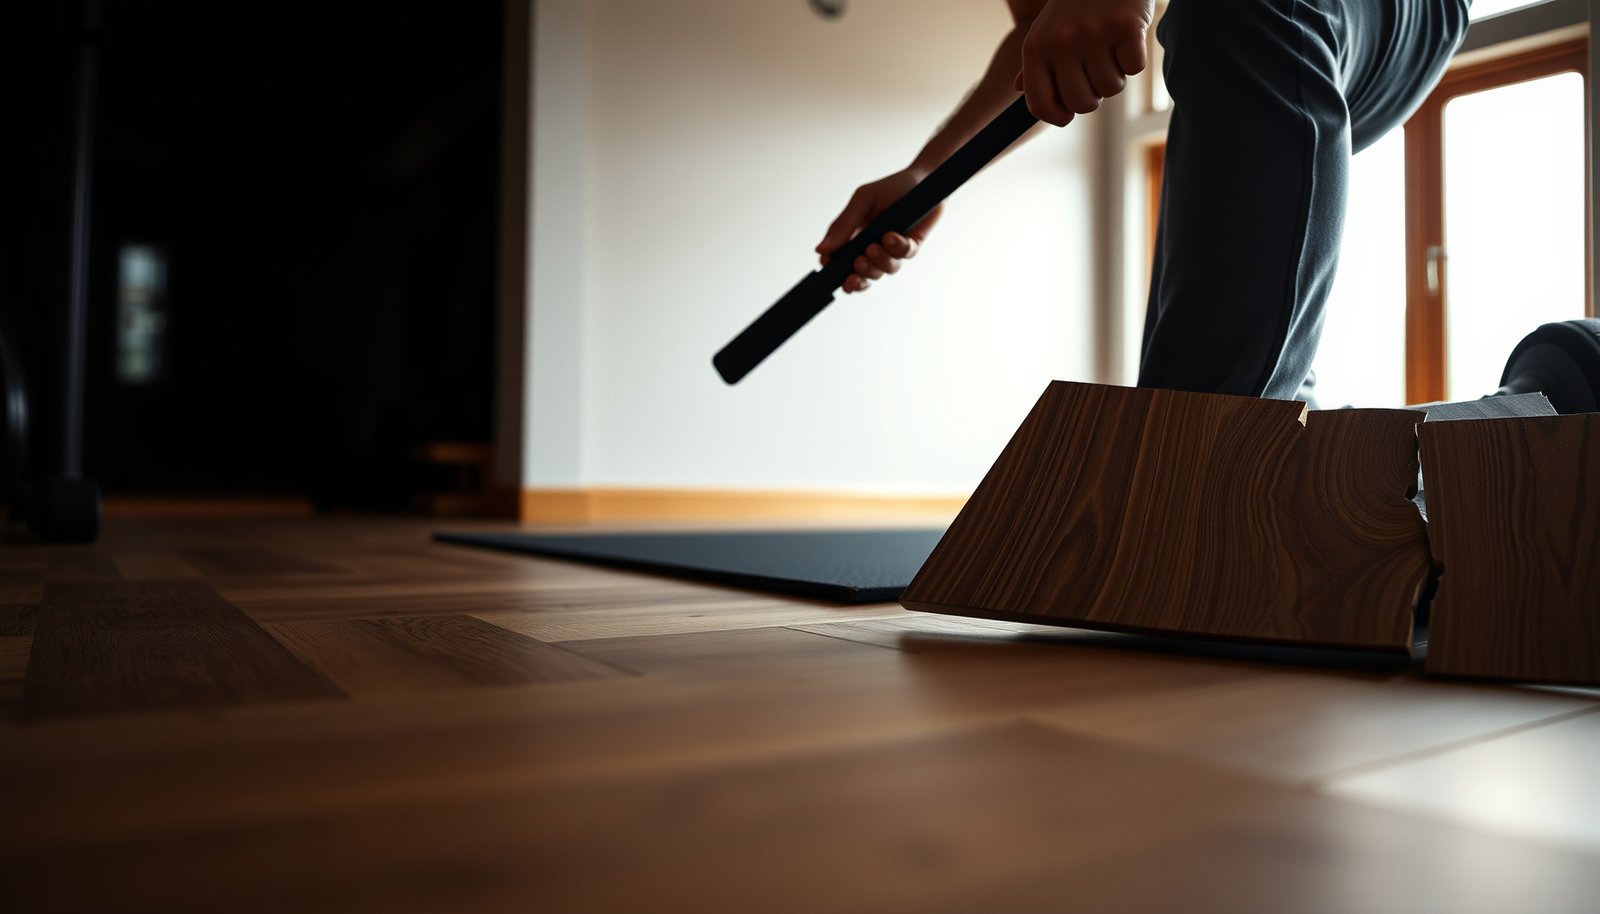
– For click-lock laminate (typical floating installs): work along the edge and separate planks/rows by unlocking the joint as intended by the system—use controlled leverage, not forceful prying that chips tongues.
– For stubborn seams: stop and re-check where the lock is still engaged; forcing one damaged plank can make an entire section harder to lift.
– For glue-down laminate: expect scraping—use a floor scraper to remove adhesive residue as you lift remaining pieces, then clean up thoroughly for whatever comes next.
– Collect pieces properly: stack planks flat and label direction (if you might reuse sections), and bag fragments to keep dust down.
– Maintain “clean breaks”:
– Use a tapping block when needed so you don’t strike the plank edge directly.
– Keep a trash container near your removal line to avoid walking debris across your room, which increases cleanup time.
A practical tool set (and why it matters)
Home Gym Laminate Removal Tools: Typical Use Value (Field-Ready)
| # | Tool | Typical size/fit | Best role in laminate removal | Cleanup impact |
|---|---|---|---|---|
| 1 | Pry bar (flat/crowbar) | 12–18 in | Baseboard/trim release | ★ ★ ★ ★ |
| 2 | Utility knife (18 mm blades) | 18 mm | Caulk line cuts & underlayment scoring | ★ ★ ★ ★ ★ |
| 3 | Tapping block | ~4–6 in | Protect plank edges while unlocking | ★ ★ ★ ★ |
| 4 | Rubber mallet | Medium head | Controlled unlocking for click-lock | ★ ★ ★ ★ |
| 5 | Floor scraper (rigid) | 4–6 in blade | Glue scrape and residue knockdown | ★ ★ ★ |
| 6 | Pull bar (laminate-style) | 10–12 in | Stubborn sections without over-prying | ★ ★ ★ ★ |
| 7 | HEPA shop vacuum | HEPA-rated | Ongoing dust capture during laminate removal | ★ ★ ★ ★ ★ |
Clean up and prep the subfloor after removal
The job isn’t finished when the planks are gone: subfloor flatness and cleanliness determine how well your new gym floor performs. For glue-down laminate, prep often takes longer than the actual teardown.
After laminate removal, underlayment and debris must be fully removed before installing new gym flooring so the new layer doesn’t telegraph ridges.
Glue-down laminate residue left on the subfloor can prevent bonding or create unevenness that leads to flex and premature wear in a gym.
– Remove leftover underlayment: pull up any foam pad or paper backing, then vacuum the surface completely.
– Scrape adhesive residue (glue-down only): remove high spots and loose glue so new flooring won’t telegraph or fail.
– Inspect for damage: check for ridges, nails/screws, and water issues; fix problems now so your next gym floor feels stable and doesn’t flex.
– Verify flatness before you move on: use a straightedge to find high/low spots. If you’re installing thicker cushioning, you still need a stable base—cushioning doesn’t fix major humps.
Why this matters for gym performance
Gym flooring absorbs repeated impact—footwork, sled pushes, and dropped weights (even with careful habits). If subfloor prep is skipped during laminate removal, your new system can develop squeaks, gaps, or localized failure.
What can go wrong (common mistakes and edge cases)
Most laminate removal failures come from skipping the install-type check or forcing planks where locks aren’t accessible. When removal turns into demolition, you usually end up with more subfloor work and more time repairing trim or drywall.
Breaking the locking edge often happens when prying is done perpendicular to the joint instead of following the lock direction.
Trying to remove laminate before baseboards/transitions are off commonly tears trim and traps planks that were still pinned.
– Breaking the locking edge: forcing planks apart with a pry bar can snap tongues/grooves—take smaller steps and work where the lock is accessible.
– Skipping trim/cut caulk: pulling planks before baseboards/transitions come off can tear drywall or bend planks mid-row.
– Ignoring moisture and ventilation: laminate removal can expose subfloor issues; if you see staining/warping, pause and address the cause before installing new flooring.
– Missing a glued section: if only part of the gym was upgraded with glue-down laminate, mixed methods can trap you—re-check installation type in different zones.
– Dust and breathing safety: demolition-style removal creates fine dust; use a proper dust mask/respirator and vacuum filtration.
Pros/cons snapshot for decision-making
- Click-lock removal
- Pros: often lifts in rows with fewer plank breaks; usually less residue cleanup.
- Cons: still needs careful trim removal; hidden glue in patch zones can surprise you.
- Glue-down removal
- Pros: flooring may have been stable—subfloor can be intact if moisture was managed.
- Cons: more adhesive scraping; more time in cleanup; residue can affect new floor adhesion/flatness.
Verdict / tip + quick checklist (and FAQ)
If you have click-lock laminate, this project is usually straightforward: remove trim, unlock rows carefully, and keep leverage gentle to avoid breaking the joints. If it’s glue-down, the job shifts from “uninstalling” to “scraping,” and you should expect more subfloor cleanup—so budget extra time and be prepared for imperfections you can’t fully avoid.
Your best success path for laminate removal is to start at the perimeter edge and remove trim/transitions so the locking joints are accessible.
For glue-down laminate, treat residue cleanup as part of installation prep, not as an optional finishing step.
Removal Outcomes: Click-Lock vs Glue-Down (Gym Reality)
| Click-lock (“floating”) removal | Glue-down removal | |
|---|---|---|
| 1 | Joint access | Good after trim removal |
| 2 | Row removal speed | Typically faster |
| 3 | Plank reusability | Higher if careful; varies |
| 4 | Residue cleanup | Minimal vs glue-down |
| 5 | Subfloor flatness risk | Lower if no scraping needed |
| 6 | Dust profile | Often less from scraping |
| 7 | Damage mode | Lock snap if forced |
| 8 | Best tools | Pull bar, tapping block |
| 9 | Time variability | Lower; glue surprises can occur |
| 10 | Prep after teardown | Depends on debris, but usually simpler |
| Verdict | More predictable laminate removal when joints unlock cleanly | More subfloor prep required; plan extra time for adhesive scraping |
Quick checklist (scan/save)
– [ ] Move gym equipment and cover everything dusty
– [ ] Remove baseboards/quarter round + transitions
– [ ] Determine click-lock vs glue-down in multiple areas
– [ ] Start at the easiest edge and work row by row
– [ ] Vacuum thoroughly after every stage
– [ ] Scrape/clean adhesive residue (if glued)
– [ ] Inspect/repair subfloor before new flooring
Frequently Asked Questions
How do I remove laminate flooring from a home gym without damaging the subfloor?
Start by clearing the gym area and removing baseboards and any transition strips so the laminate panels can be lifted. Find the first row by locating the edge where the planks interlock, then pull up the planks carefully using a pry bar and tapping blocks to avoid gouging the subfloor. If the laminate is glued, use a flooring scraper and adhesive remover as needed, and stop if you see plywood or concrete being scarred. After removal, inspect for nails, staples, uneven adhesive, and moisture issues before installing new flooring.
What tools do I need to take up laminate floors in a home gym?
You’ll typically need a pry bar, flooring puller or tapping block, utility knife, hammer, and a heavy-duty scraper for any underlayment or glue residue. Use a pry bar and puller together to separate the click-lock seams, and bring a dust mask or respirator if you’ll be scraping adhesive. If the gym has an attached mat system or rubber flooring underneath the laminate, plan on additional tools like a floor adhesive solvent and rags. Having a trash bag or tarp ready helps manage debris, especially if you have to work around weights and exercise equipment.
Why is removing laminate flooring from a gym different than removing it in other rooms?
Home gyms often have heavy equipment, thicker underlayments, and sometimes rubber mats or glued coatings that make the laminate removal more complex. The subfloor may also experience higher stress and moisture exposure from cleaning sweat and using ice packs, which can affect how planks release. If you have lots of dents or seam separation from dropped weights, the laminate may lift unpredictably, so you’ll want to remove planks row-by-row with extra care. Planning for dust and debris containment is also important since gyms usually have more stored items to protect.
Which is the best way to remove click-lock laminate flooring in a home gym?
For click-lock laminate, the best approach is to remove the trim, then lift planks from the starting edge where the joint isn’t locked tight—usually near a wall or doorway. Use a tapping block to loosen the interlocks and avoid prying directly on the tongue-and-groove edges. Work in straight rows, pulling each plank free before moving to the next so the seams don’t break. If you encounter stubborn seams, warm the area slightly and use a flooring puller to reduce cracking and prevent damage to the subfloor.
How do I handle underlayment and adhesive when removing laminate floors in a home gym?
If the laminate sits on foam or felt underlayment, remove it in sections and scrape any leftover foam pieces so the subfloor is flat and clean. For glued laminate, use a floor scraper and an adhesive remover suitable for your subfloor type (concrete vs. plywood), then re-scrape until there’s no residue that could interfere with new flooring. After removal, vacuum thoroughly and check for moisture, high spots, and loose areas before installing replacements. Let everything dry fully, and consider repairs like patching or sanding if the gym will be used for impact-heavy training.
📅 Last Updated: October 24, 2026 | Topic: How to remove laminate floors from a home gym? | Content verified for accuracy and freshness.
References
- Laminate flooring
- https://www.cdc.gov/asbestos/consumer.html
- Lead Renovation, Repair and Painting Program | US EPA
- Silica, Crystalline – Overview | Occupational Safety and Health Administration
- https://www.diynetwork.com/how-to/floors-and-wood/laminate-flooring/how-to-remove-laminate-flooring
- How To Remove Laminate Flooring – Bob Vila
- https://scholar.google.com/scholar?q=how+to+remove+laminate+flooring Google Scholar
- https://scholar.google.com/scholar?q=laminate+flooring+disassembly+floating+floor+removal Google Scholar
- https://scholar.google.com/scholar?q=laminate+flooring+removal+safety+lead+asbestos+silica+dust Google Scholar