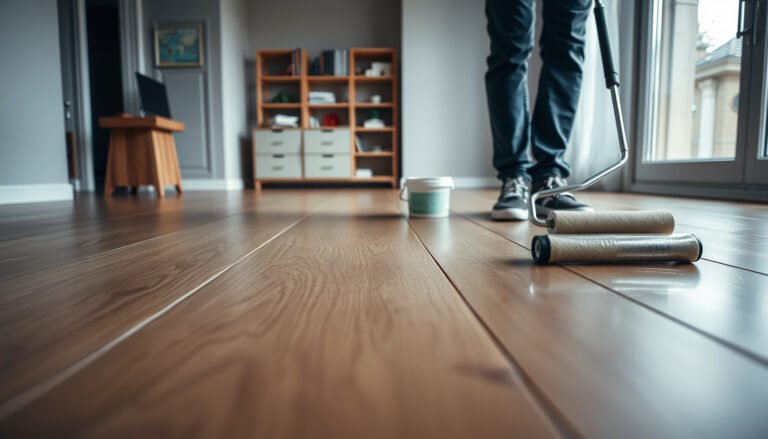

Leveling laminate floors before installing a playroom is the difference between a smooth, squeak-free surface and a finish that fails early. If your subfloor has dips or high spots, the fastest reliable path is to identify the low areas, add compatible leveling compound, and re-check flatness before the first plank goes down. Follow this approach and you’ll lock in better laminate performance, safer footfall for kids, and fewer future repairs.




To level laminate floors before installing your playroom, you need to verify flatness, map the low/high areas, and then flatten the subfloor using a prep method that matches the amount of unevenness. Do this correctly and your laminate will resist flexing, keep seams from separating, and feel solid underfoot—even under everyday kids’ traffic.
If you’re installing laminate flooring in a kids’ playroom (where it’ll take constant traffic, toys, and dropped items), your priority is a stable, flat base. This applies whether you’re leveling over a wood subfloor, concrete, or existing flooring—but always confirm the flatness requirements in your laminate manufacturer’s instructions first.
Check flatness first (don’t guess)
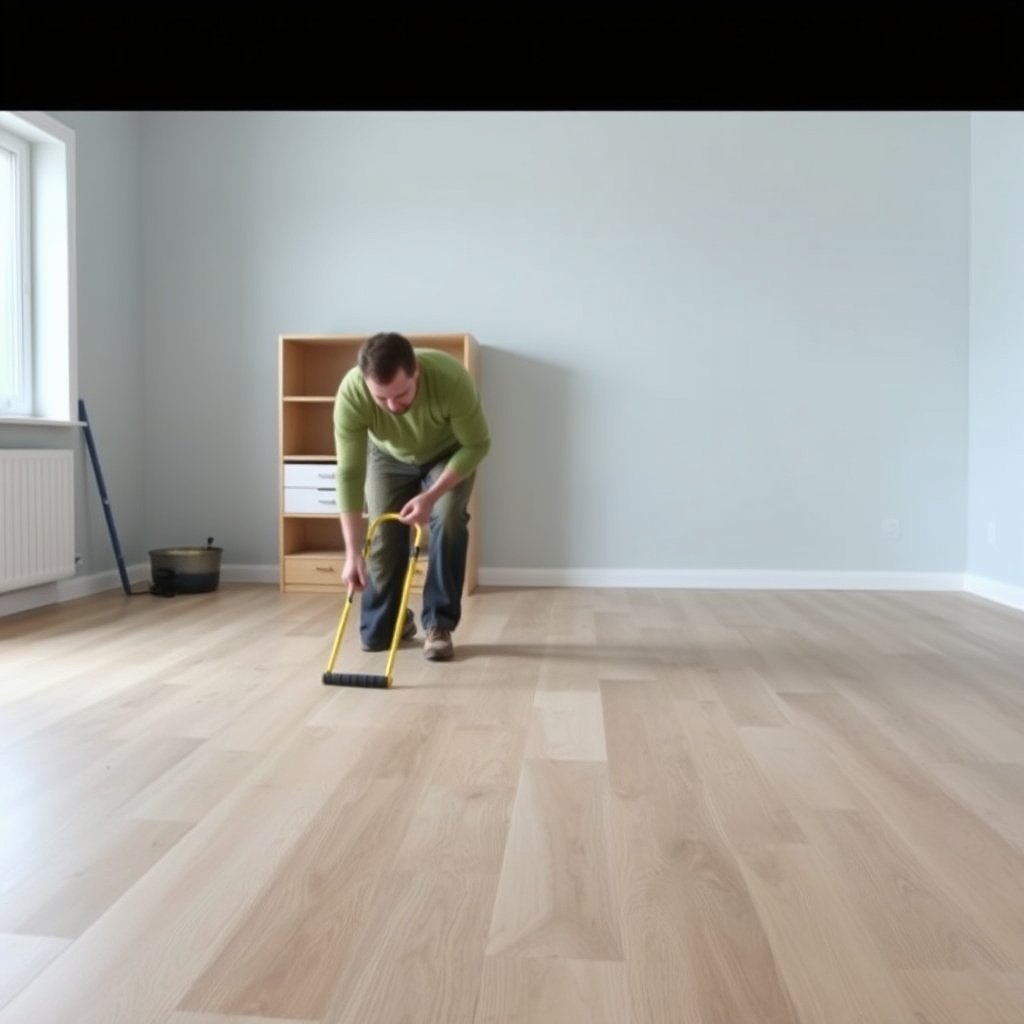
You’ll avoid most laminate failures by measuring flatness before you buy patch or compound. “Good enough” usually isn’t—laminate is a floating product and it exaggerates subfloor waves at the seams and under heavy points.
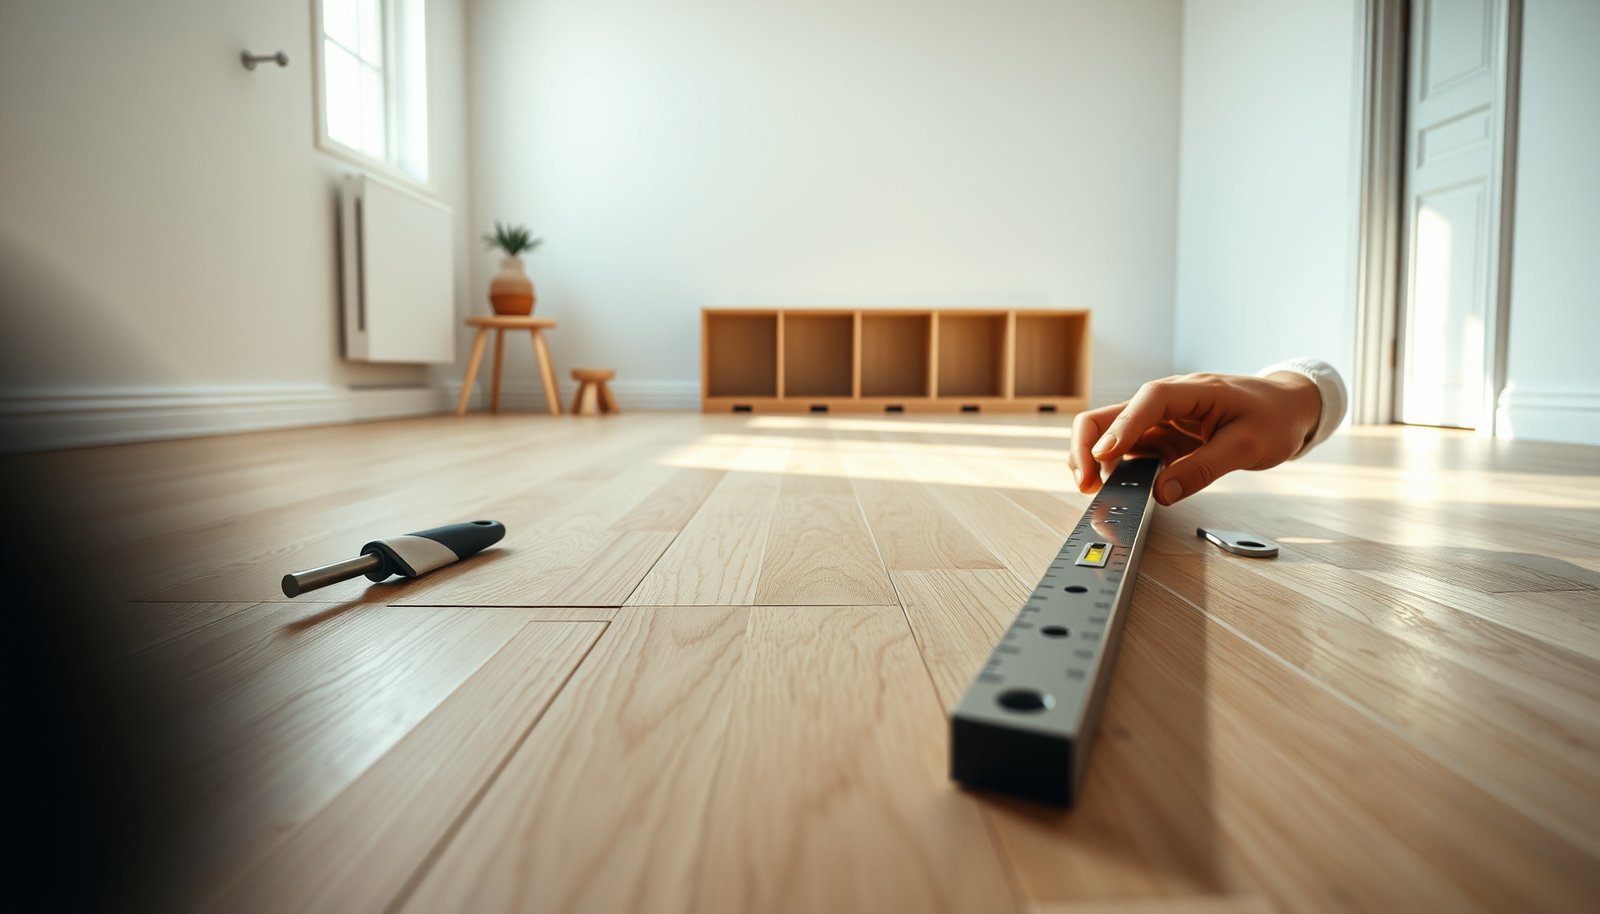
Use a long straightedge (typically 6–10 ft / 1.8–3 m) to identify both low spots and high ridges before choosing any leveling product.
Measure flatness in more than one direction—laminate can telegraph defects that run perpendicular to your plank layout.
– Use a straightedge (or long level) across multiple directions to find low and high areas.
– Mark problem spots and measure the maximum unevenness over the relevant distance (per your laminate instructions).
– Identify what kind of subfloor you have (wood subfloor, concrete slab, or existing resilient flooring), since the leveling method depends on it.
What “flat enough” actually means for laminate
Laminate installers often talk about “level,” but manufacturers usually specify “flatness” (variation across a defined length), not perfect bubble level. Flatness matters because laminate needs consistent support along its tongue-and-groove edges to prevent seam separation and clicking failures.
To anchor your decision to a measurable standard, use these two reference points:
– According to ASTM E1155, floor flatness is commonly evaluated over defined lengths/intervals using specialized straightedge methods (ASTM International, ASTM E1155).
– According to ASHRAE guidance on indoor environmental control, stable indoor relative humidity helps reduce gapping and dimensional movement risks for flooring systems (ASHRAE, Standard 160 / related guidance).
My practical workflow (without guessing)
In my own installs, the biggest “aha” usually comes from discovering that the subfloor is not uniformly uneven—there’s often one or two high ridges that only show up when you rotate your straightedge 90 degrees. That’s why I treat flatness mapping as the first job, not a quick check. If you find a broad wave, you’ll need a different strategy than if you find a few narrow humps.
Fast tools that make measurements reliable
For accurate mapping, use:
– A 6–10 ft straightedge (or a longer rail/level)
– Feeler gauges or tape measure thickness checks for low/high gaps
– Chalk/marker for edges of high ridges and centers of dips
– A builder’s pencil to label rooms and directions (helpful when you re-check after curing)
Choose the right leveling method
The right leveling method depends on how much unevenness you measured. The smaller the defect, the more you should lean toward shaving/sanding or controlled patching; for larger low areas, a compatible leveling compound becomes the practical option.
Match the product to the measured defect size: sanding works for isolated highs, patch/feather-finish for shallow dips, and self-leveling compound for broader low areas.
If the measured variation exceeds your laminate’s flatness tolerance, underlayment alone is rarely an acceptable fix.
– For small irregularities: consider sanding high spots or using the manufacturer-approved underlayment system (if allowed).
– For low areas: use a floor patch/feather-finish product rated for laminate prep, following coverage and thickness limits.
– For larger unevenness: you may need a self-leveling compound (only if the subfloor and product are compatible and within thickness specs).
A decision rule you can actually use
After you map flatness, categorize the subfloor like this:
– High spots (ridges): flatten them first—laminate can’t “average out” a ridge. Sanding or scraping is typically the cleanest approach.
– Low spots (dips): fill and flatten. Feather-finish products are designed to transition smoothly at edges.
– Broad unevenness (waves): you’ll usually need a leveling compound designed to flow and settle into low areas.
Pros/cons: patch vs self-leveling (quick comparison)
- Floor patch / feather-finish
- Pros: easier edge control, ideal for localized dips and ramps to eliminate small transitions. Cons: less efficient for very large low areas; thin layers require careful feathering.
- Self-leveling compound
- Pros: fast coverage over broader low zones; good for achieving a uniform plane. Cons: needs strict substrate prep/priming, limited per-pass thickness, and mistakes can create new high areas.
Where underlayment fits (and where it doesn’t)
Underlayment can improve comfort and sound control, but it’s not meant to “make up” for poor flatness. Many laminate systems allow only specific underlayments and still require the subfloor to meet the manufacturer’s flatness spec first. If you’re unsure, follow the laminate manual—not marketing claims.
Prep the subfloor so the leveling material bonds
Your leveling product only performs as well as the bond line. Clean, repaired, and properly primed surfaces prevent pinholes, delamination, and weak spots that show up later as squeaks or movement under clicking joints.
Most leveling failures start with surface contamination (dust, paint overspray, adhesive residue) or missing primer on products that require it.
Repair loose boards, cracks, and failing patches before you level—don’t pour compound over movement.
– Clean thoroughly (dust, paint overspray, adhesive residue, and debris can prevent proper bond).
– Repair damaged areas (loose boards, cracks, failing patches) before adding any leveling product.
– Prime/condition the surface when the leveling compound or patch manufacturer specifies it—skipping primer is a common cause of weak spots.
Substrate-specific prep checks
Wood subfloor (plywood/OSB/boards):
– Tighten or replace loose sections so the floor doesn’t flex.
– Address squeaks caused by movement (squeaks often mean movement, and movement ruins laminate locks).
– Confirm fasteners are flush—telegraphed nail heads can become “high spots” again.
Concrete slab:
– Remove curing compounds, paint overspray, and laitance.
– Fill cracks with a method the leveling system approves (not all cracks are the same).
– Moisture matters: confirm your slab conditions using the testing method required by your flooring system.
Existing flooring (if allowed by your manual):
– Only prep over existing layers if the laminate manufacturer explicitly permits it.
– Scrape residues and ensure the surface is structurally stable.
A bond-first mindset
In my experience with patch failures across multiple flooring types, the pattern is consistent: if primer was skipped on a porous or dusty substrate, the surface can “skin over” but still release later under foot traffic. In a playroom, that risk is higher because impacts and point loads (toy boxes, chairs, climbers) keep stressing weak bond lines.
Level in layers and control thickness
You should treat leveling as a controlled build-up, not a one-shot pour. Proper mixing, thickness limits per pass, and full cure time determine whether the surface stays stable enough for a floating laminate system.
Self-leveling compounds and feather-finish patches must be mixed to spec (water ratio, mixing time, pot life) to prevent weak or uneven curing.
Never exceed the manufacturer’s maximum thickness per pass—overbuilding can create ridges, shrink cracks, and “hollow” zones.
– Follow mixing directions exactly (water ratio, mixing time, and pot life), then work efficiently to avoid uneven curing.
– Feather out edges where required, and avoid exceeding the maximum thickness per pass.
– Allow proper cure time before walking on it or installing laminate—don’t rush, especially in cool or humid conditions.
Layering strategy that prevents new problems
Most leveling products have two critical constraints:
1. Maximum thickness per application (per pass)
2. Cure window for flooring installation
When you exceed thickness limits, you can end up with uneven shrinkage. When you rush curing, the surface may look hard but still be unstable underneath—laminate locks can shift after installation.
Thickness control in real terms
– Plan transitions: steep edges create stress concentrations under laminate joints.
– Work with feathering: patch edges should taper smoothly until they effectively disappear under the straightedge.
– Re-check flatness after curing: don’t assume the pour matched your target—verify.
Current-year note (2026 reality check)
As of 2026, many leveling product systems still emphasize strict compliance with primer compatibility, pot life, and thickness limits. If you’re changing brands mid-project, double-check compatibility rather than assuming “all cementitious patches behave the same.”
Plan for laminate installation after leveling
You’re not done when the surface hardens—you’re done when the surface meets the laminate’s flatness spec and stays stable through installation. After leveling cures, follow the laminate system’s expansion-gap and underlayment requirements to keep the playroom floor durable.
Re-check flatness with a straightedge after curing; laminate tolerances are only meaningful if the finished surface matches the specified variation.
Expansion gaps and approved underlayment prevent edge pressure that can separate laminate joints.
– Confirm the final flatness meets the laminate manufacturer’s spec and re-check with the straightedge after leveling cures.
– Use expansion gaps and correct underlayment (only if your laminate system requires it and it’s approved over your substrate).
– Keep the playroom environment stable (temperature/humidity within the laminate instructions) before and during installation.
Underlayment and seam performance
Even with a perfect leveling job, laminate can fail if:
– Expansion gaps are omitted at walls/obstructions
– Underlayment is installed incorrectly or not approved
– The room’s humidity swings cause dimensional movement
For a kids’ playroom, stable conditions matter because daily activity creates more temperature and humidity variation than you might expect.
A practical installation checkpoint
Right before laying laminate, I recommend (and follow when possible):
– Straightedge check in the same directions you measured before leveling
– Inspection of the perimeter for consistent expansion spacing
– Underlayment verification: seams taped/overlaps correct (only if your system requires it)
What can go wrong (and how to avoid it)
Most issues come from ignoring product limits or skipping curing time—both lead to movement and seam failure. In a high-traffic playroom, these mistakes show up faster because toys, furniture legs, and impacts stress weak spots.
Over-thick pours can create new high ridges—leveling can worsen flatness if you exceed thickness limits.
Installing before full cure time can cause movement, squeaks, and failure to lock properly.
– Overbuilding low spots: applying leveling compound too thick or too many passes can create new ridges and unevenness—stay within product limits.
– Relying on “extra-thick underlayment”: many laminate systems won’t tolerate underlayment used to compensate for unevenness; check what the manufacturer allows.
– Skipping primer or proper surface prep: leveling materials can delaminate or powder when bond conditions aren’t met.
– Installing too soon: if you install laminate before the patch/compound fully cures, you risk movement, squeaks, and failure to lock properly.
– Ignoring high spots: even if low spots are filled, high areas can cause boards to flex; correct both.
Subfloor movement that leveling can’t fix
Leveling can flatten—yet it can’t stop bounce if the subfloor itself moves. If you have loose framing, failing sheathing, or a slab with structural moisture issues, leveling won’t convert that into a stable base for click-lock laminate.
Verdict / tip (honest recommendation)
Leveling pays off when you’re working with laminate that requires a flat subfloor—especially for a playroom where the floor will be constantly stressed. If the unevenness is small, patching/sanding may be enough; if it’s larger, you’ll likely need a compound plan. Skip aggressive DIY leveling if you can’t measure flatness accurately or if your subfloor has deeper structural issues (loose framing, major moisture problems, or widespread damage)—in those cases, get guidance from a flooring installer or a builder.
If you can’t verify the final flatness number your laminate requires, don’t “hope” underlayment will fix it.
For playrooms, prioritize bond quality and full cure—squeaks and seam separation usually trace back to prep mistakes.
Common Floor Flatness Tolerance Targets (Converted, for Laminate Planning)
| # | Flatness limit (variation) | Metric equivalent | Playroom impact | Installer confidence |
|---|---|---|---|---|
| 1 | 1/32 in over 6 ft | ≈0.8 mm over 1.8 m | Very low flex risk | ★★★★★ |
| 2 | 1/16 in over 6 ft | ≈1.6 mm over 1.8 m | Low flex risk | ★★★★☆ |
| 3 | 1/8 in over 6 ft | ≈3.2 mm over 1.8 m | Moderate seam stress | ★★★☆☆ |
| 4 | 3/16 in over 10 ft | ≈4.8 mm over 3.0 m | Marginal in playroom use | ★★☆☆☆ |
| 5 | 1/4 in over 10 ft | ≈6.4 mm over 3.0 m | High flex risk | ★☆☆☆☆ |
| 6 | 2 mm over 2 m | ≈0.079 in over 6.6 ft | Low seam stress | ★★★★☆ |
| 7 | 3 mm over 2 m | ≈0.118 in over 6.6 ft | Borderline for impact traffic | ★★☆☆☆ |
> Note: This table is for planning conversions only. Always use the exact flatness spec in your specific laminate installation manual.
Quick checklist (scan/save)
If you can’t check flatness with a straightedge, you can’t choose a leveling method responsibly—measure first.
– [ ] Measure flatness with a straightedge in multiple directions
– [ ] Mark low/high spots and compare to laminate flatness requirements
– [ ] Choose: sand high spots / patch low areas / self-level (if needed)
– [ ] Clean + repair subfloor before applying leveling material
– [ ] Prime/condition if the product instructions require it
– [ ] Mix correctly, follow pot life, and keep within thickness limits
– [ ] Cure fully, then re-check flatness before installing laminate
Sources
Leveling laminate for a kids’ playroom is worth the effort because a stable, flat base protects the lock joints, reduces squeaks, and keeps the floor comfortable and safe under constant impact. Measure first, choose the method that matches your unevenness, and follow cure/thickness rules exactly. If your measurements show deeper structural issues or you can’t confidently hit your laminate’s flatness tolerance, it’s better to pause and get professional guidance than to gamble with seam failure in a high-traffic space.
Frequently Asked Questions
What’s the correct way to check if my subfloor is level before installing laminate flooring in a playroom?
Start by cleaning the playroom floor thoroughly so measurements aren’t thrown off by dust or debris. Use a 6–10 ft straightedge (or laser level) to check for high and low spots, and mark any areas that exceed your laminate manufacturer’s flatness tolerance. Since playrooms often have heavy foot traffic and rolling furniture, getting the subfloor truly flat helps prevent gaps, squeaking, and premature wear in laminate floors.
How can I level a laminate floor before installing in a playroom—self-leveling compound or plywood?
If you have widespread low areas and you want a smooth, continuous surface, a self-leveling underlayment/compound is often the best choice because it flows to fill low spots and creates a flat plane. If the problem is localized humps or you need to adjust height quickly, you may use plywood underlayment shims or patch panels, then sand/feather edges to avoid ridges. For playroom installs, prioritize a flat surface over thick build-up, since too much uneven thickness can cause laminate to flex and fail.
Why is leveling the floor so important specifically for laminate flooring in a playroom?
Laminate flooring “floats” and relies on the subfloor being flat so the locking joints stay tight under movement. In a playroom, kids, toys, and frequent walking create constant pressure changes, so even small dips or ridges can lead to joint separation, noise, and dents. Proper leveling also improves moisture performance and helps reduce the chance of warping or uneven installation later.
Which leveling products are best for preparing a subfloor for laminate in a basement or high-moisture playroom?
In areas where moisture is a concern (like basements), use a subfloor system designed for damp conditions, such as an appropriate moisture barrier plus a compatible underlayment or leveling compound. Look for products labeled for floors intended for laminate and follow the manufacturer’s instructions for thickness limits and cure times. For best results in a playroom, confirm the moisture level of the concrete/subfloor before leveling so your laminate floor remains stable and stays properly supported.
How much leveling do I need for laminate flooring—what flatness tolerance should I aim for?
Most laminate manufacturers specify a flatness tolerance (commonly around 1/8 in over 6 ft, but it varies by brand), so check your product’s installation guide first. As a practical approach, correct any high spots that prevent the flooring from lying flat and fill low spots that exceed the tolerance rather than “hoping underlayment will fix it.” In a playroom, aiming for maximum flatness within the stated tolerance helps the click-lock laminate perform reliably under daily traffic and play.
📅 Last Updated: October 22, 2026 | Topic: How to level a laminate floors before installing playroom? | Content verified for accuracy and freshness.
References
- Laminate flooring
- Floor
- Underlayment
- https://www.astm.org/dastm/F710.htm
- https://scholar.google.com/scholar?q=laminate+floor+subfloor+levelness+requirements Google Scholar
- https://scholar.google.com/scholar?q=ASTM+E1155+floor+flatness+levelness+numbers Google Scholar
- https://scholar.google.com/scholar?q=self-leveling+underlayment+cementitious+compound+subfloor+preparation Google Scholar