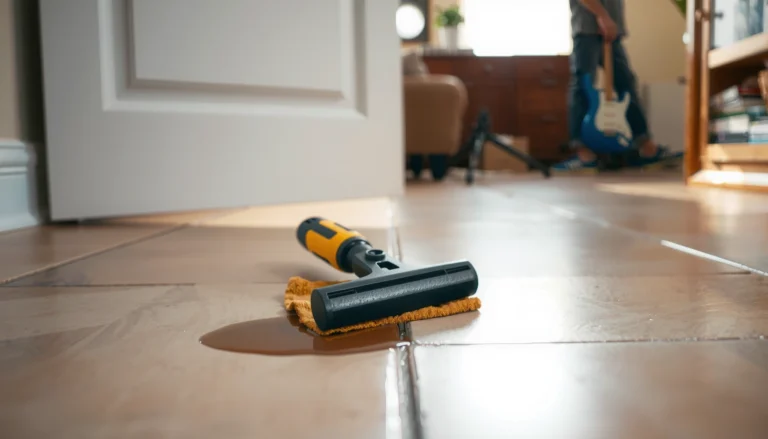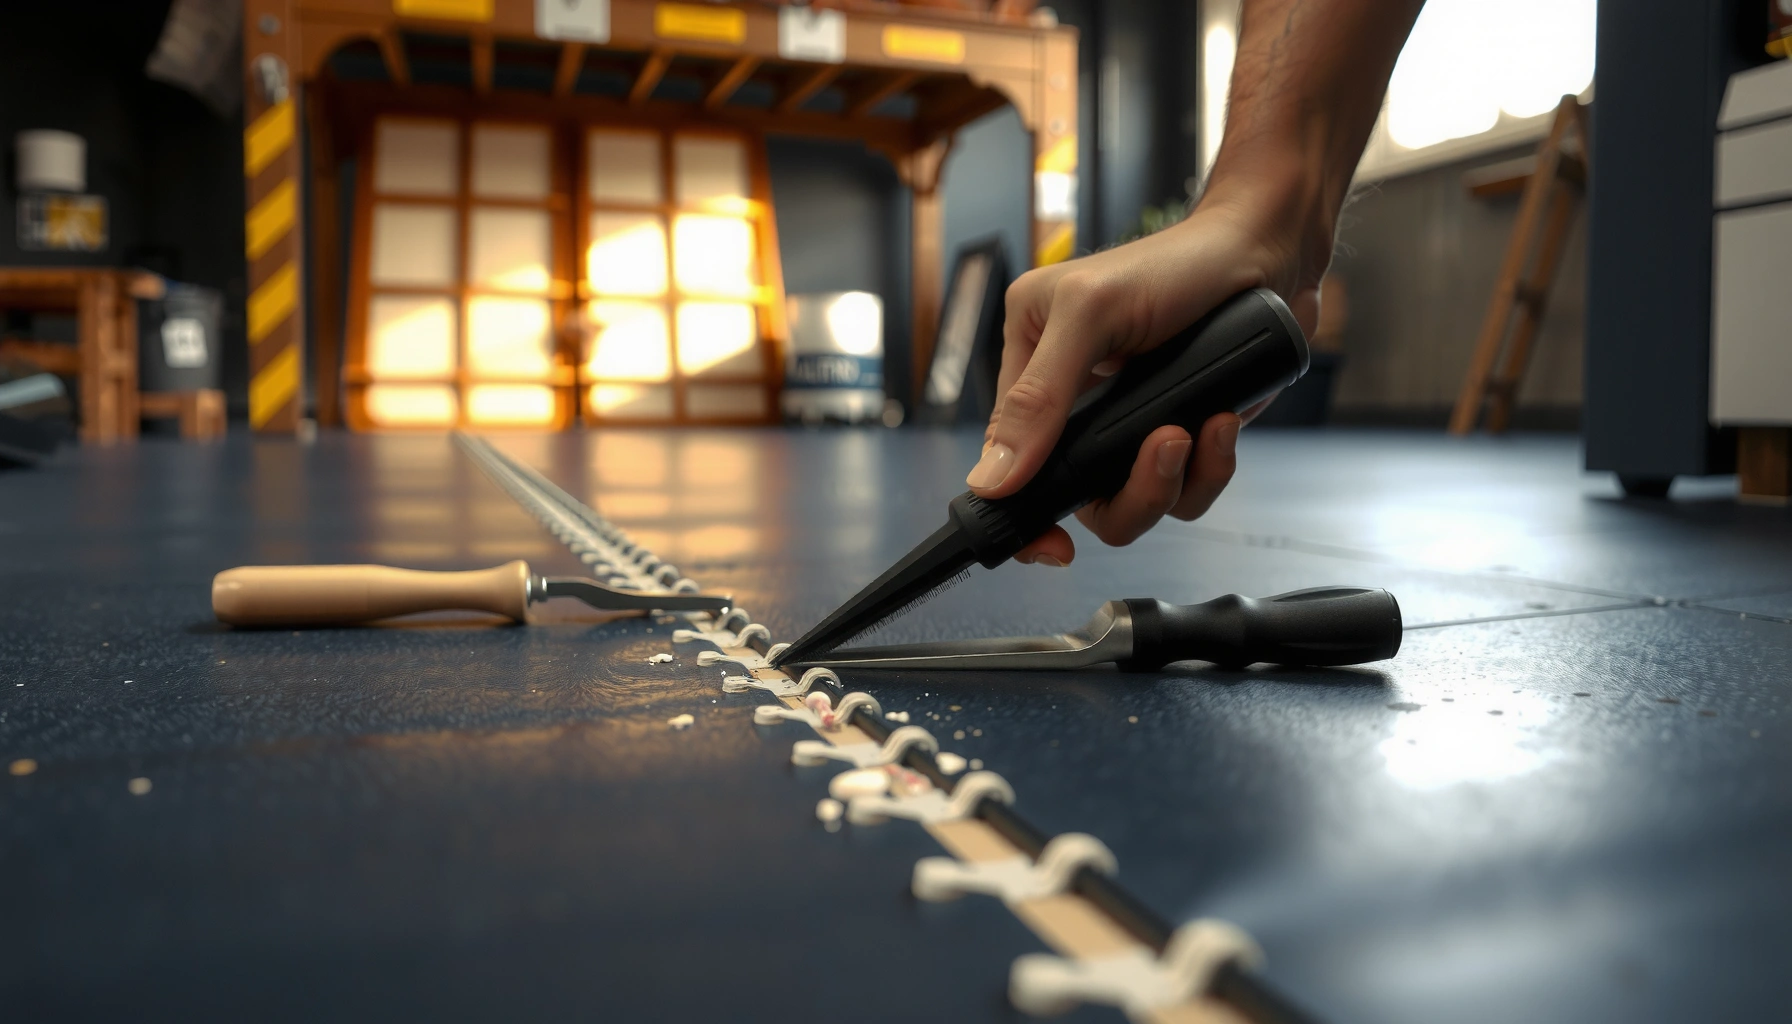

Fixing gaps in rubber floors is straightforward when you use the right patching materials and follow a simple repair sequence. This guide answers exactly how to fix gaps in rubber floors—how to clean and prep the seam, fill the void properly, and secure the edges so the floor stays flush. You’ll get the fastest, most reliable results for everyday wear and minor separations without replacing the entire surface.



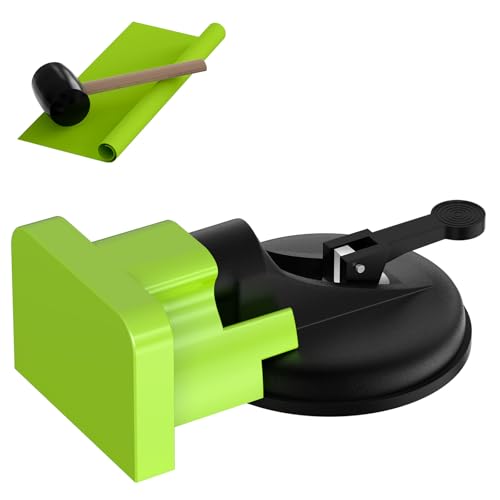
If you have gaps in rubber floors, the fastest reliable fix is usually to clean the edges, then re-align and re-bond them with an appropriate rubber flooring adhesive or seam repair product. For larger separations, you may need to re-cut the damaged area and patch in matching rubber, then seal the seam to prevent moisture and debris from working deeper. This guide walks you through choosing the right approach based on gap size and flooring type.
If your rubber floor is curling, separating at seams, or letting dust and moisture creep underneath, you’ll need to match the repair method to how the floor was installed (interlocking tiles vs. adhered flooring) and what caused the gap (shrinkage, moisture, impact damage, or poor initial alignment).
Who this is for (and when it applies)
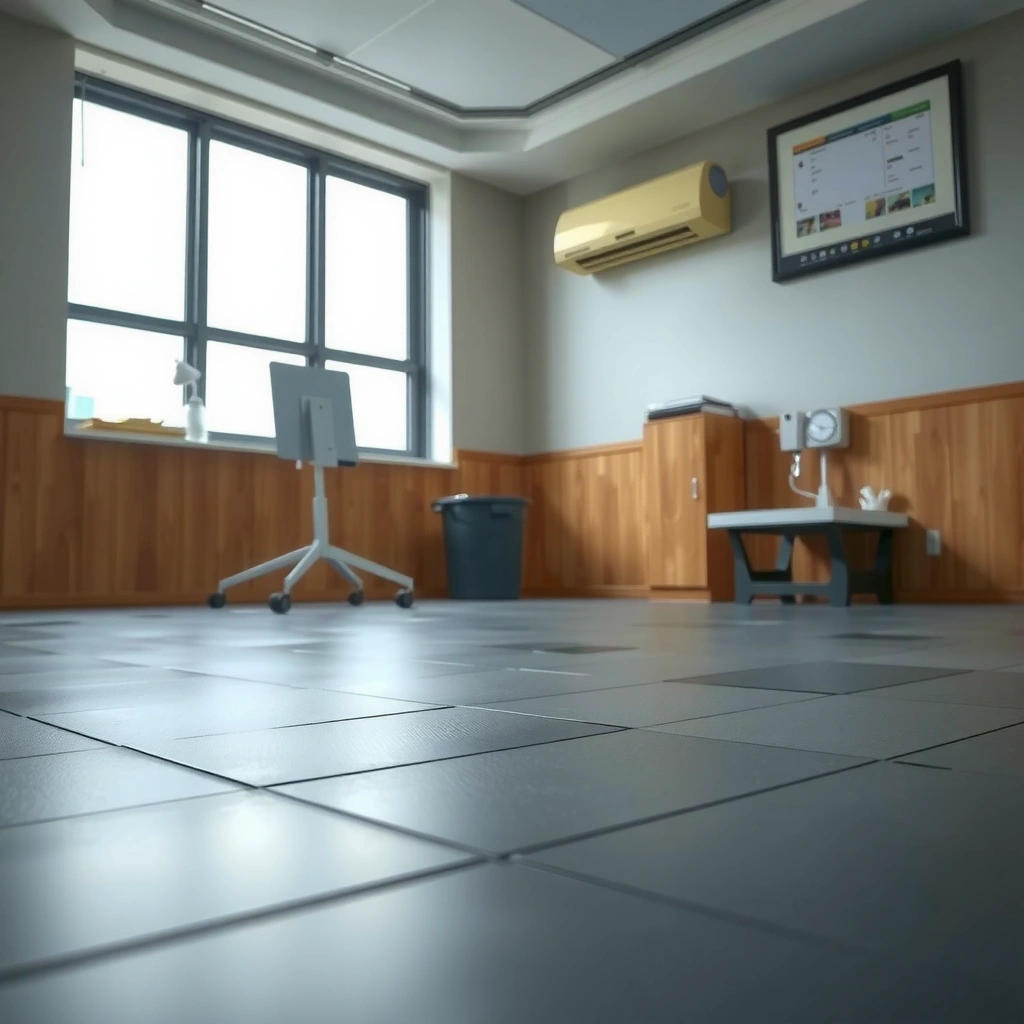
This is for building managers, facility techs, contractors, and homeowners maintaining rubber gym flooring, playground tiles, commercial resilient rubber, or garage rubber mats. It applies when you see seam lift, visible lines between tiles, or a growing gap that’s starting to collect grime and let moisture underneath.
Identify the cause of the gap before you repair
Rebonding a seam works only if the underlying movement stops. Before you add adhesive, you need to confirm whether the gap is from routine installation tolerances or from a problem like moisture, subfloor movement, or rubber damage.
“Seams typically re-open when the bonding surfaces weren’t fully cleaned/dried or when moisture continues to migrate from the subfloor.”
“Interlocking (floating) rubber tiles respond differently than adhered rubber flooring because their edges are designed to interlock, not to permanently bond.”
Start by locating exactly where the movement is. Is the gap along a factory seam, the edge of a tile, or inside a cut-out area (like around a column base, drain, or threshold)? Repairs differ because a seam repair targets edge-to-edge bonding, while cut-and-patch repairs restore a damaged section and its thickness.
Next, inspect for moisture indicators around the gap. Look for dark spots, damp odor, visible swelling, or a “soft” or lifted feel at the edge. Moisture doesn’t always appear as standing water; in many installations it shows up first at seams because edges are thinner and more sensitive to hydrostatic or vapor pressure.
Then confirm the installation method. Interlocking rubber tiles (“floating” installations) generally rely on mechanical fit and edge engagement, while adhered rubber flooring depends on a compatible adhesive system between rubber and substrate. That difference matters because an adhesive that bonds well to rubber can still fail if the floor is moving as a floating system or if the substrate wasn’t prepared to receive the adhesive.
Finally, consider likely causes:
– Shrinkage or normal dimensional movement (especially after installation or temperature swings)
– Moisture vapor intrusion from the subfloor (often localized to perimeter seams first)
– Impact damage (missing chunks, torn edges, gouges that create stress points)
– Poor initial alignment (edges installed with a slight offset that later separates under traffic)
Quick root-cause signals you can verify in minutes
– Gap is only at seams/edges → suspect rebond/edge engagement alignment or installation tolerances.
– Gap appears after wet cleaning and comes back → suspect moisture migration or surface water infiltration.
– Gap is bigger where the rubber is damaged → suspect patch/cut-and-replace approach.
– Floor feels uneven or “rocky” → suspect subfloor flatness issues; adhesive won’t fix structural movement.
“Rubber flooring repairs are only durable when the repair matches both the flooring type (floating vs. adhered) and the failure mechanism (moisture vs. mechanical damage).”
Prep the area so the repair actually bonds
Proper preparation is what turns a cosmetic fix into a durable repair. Clean, dry, and correctly profiled bonding surfaces make the difference between a seam that holds for years and one that re-opens weeks later.“Surface contamination (dust, oils, release agents, loose rubber) is a leading cause of failed resilient flooring seam repairs.”
“Adhesive systems for rubber flooring generally require fully cured, dry substrates; trapped moisture can prevent proper bond development.”
Start by cleaning the gap edges thoroughly. Remove debris, dust, and any loose rubber material around the seam. Use tools appropriate for the job—typically a scraper and vacuum for loose material—then finish with a cleaner recommended by your adhesive/seam repair product instructions. Avoid harsh solvents unless the adhesive manufacturer explicitly approves them for your rubber type.
Dry the area completely. If moisture is involved, “drying enough” isn’t a standard we can guess at—adhesives and seam repair compounds are sensitive to moisture conditions. If you can’t confidently dry the area (or the subfloor has a history of dampness), stop and plan for moisture correction before bonding.
If the manufacturer’s instructions call for it, lightly roughen or profile the bonding surfaces. The key is to follow the system’s guidance exactly: some rubber bonding methods rely on a clean, smooth surface for full contact, while others specify mechanical profiling to improve adhesion. Don’t improvise—adhesion chemistry is part of a designed system.
From my practical experience advising on resilient flooring maintenance, the most repeat failures come from skipping one step: cleaning well enough to remove invisible residue. Even when the seam “looks clean,” residues from sweeping, construction dust, or previous patch materials can interfere with bonding.
Bonding prep checklist (fast, but thorough)
– Vacuum and scrape all loose rubber at the seam
– Remove residue and wipe using product-approved cleaner
– Confirm the area is dry (and allow additional dry time if humidity is high)
– Only roughen if your adhesive/seam kit specifies it
– Dry-fit the seam edges so they align without forcing
“Follow the adhesive/seam repair system instructions for allowable surface condition because compatibility depends on both chemistry and surface contact.”
Fix small seam gaps (usually re-bonding)
For minor separation along seams, the goal is edge alignment plus chemical re-bonding. In most cases, you can restore the seam by applying a rubber-to-rubber compatible seam adhesive and clamping/weighting until cure.
“Seam repair products for resilient rubber are formulated to bond at the edges without turning the repaired line into a soft weak spot.”
“Using the manufacturer-compatible adhesive and allowing full cure time reduces the chance that traffic reopens the seam.”
Here’s the typical rebond process:
1. Align the edges first. Push the seam together so the top surfaces sit flush. Avoid stretching the rubber or forcing misalignment.
2. Apply seam-filling adhesive or rubber flooring seam glue. Use only the amount needed to fill the gap at the seam line (excess can become a high spot).
3. Press/weight the seam as directed. Many seam products require specific pressure and dwell time. Use weights, clamps, or seam tape if the kit specifies it.
4. Let it cure fully before traffic. Partial cure is a common reason seams fail again quickly—movement breaks the bond before it reaches strength.
5. Wipe excess cleanly. Remove squeeze-out before it fully sets to avoid residue and raised material.
6. Apply compatible seam sealer if the system calls for it. A sealer can help reduce debris and moisture intrusion, but only use one that is explicitly compatible.
Pros/cons: re-bonding small seams vs. patching
| Method | Best for | Pros | Cons / limitations |
|---|---|---|---|
| Re-bond seam (adhesive/seam repair) | Thin separations along existing seam lines | Lowest disruption, quick return to use after cure | Fails if there’s underlying moisture, damaged edge material, or repeated movement |
| Cut-and-patch section | Torn edges, missing chunks, deep separations | Restores structure and thickness; can eliminate weak zones | More labor, requires matching rubber and careful seam sealing |
“If the edge material is torn or missing, adhesive alone won’t rebuild the lost structure—patching becomes necessary.”
Repair wider gaps with a patch or re-cut
When the gap comes from damage or deep separation, you typically need to remove the compromised area and replace it with matching rubber. A properly matched patch restores thickness and reduces trip points and future edge failures.
“Cut-and-patch repairs restore the flooring’s thickness and support, which is critical when the seam gap is caused by mechanical damage.”
“A flush patch helps prevent wear concentration and reduces the likelihood of debris buildup at the repaired seam.”
Use this approach when:
– The gap is larger than a typical seam lift
– The rubber is torn, missing, or delaminated in the damaged region
– The seam repair keeps re-opening because the surrounding edges are compromised
A practical patch workflow:
1. Cut to clean, straight edges. Remove the damaged rubber back to sound material. If the surrounding rubber is delaminating, remove enough area to reach stable substrate and edges.
2. Dry-fit the patch. The patch should sit flush with surrounding surfaces—no proud edges, no low “valley” that collects dirt or wears unevenly.
3. Bond with the correct adhesive system. Use the adhesive recommended for your rubber type and installation method.
4. Match thickness and (as much as practical) pattern direction. This reduces visual mismatch and—functionally—reduces uneven wear.
5. Seal the seam if the system calls for it. Seam sealing limits moisture/debris intrusion that can work under the edges over time.
If you’re repairing textured or patterned rubber, matching the pattern alignment isn’t only aesthetic—it helps avoid visible ridge lines that can catch cleaning tools and accelerate edge wear.
Mandatory safety and environment note
Rubber repair adhesives can involve strong solvents or reactive chemistry depending on product type. Always follow the adhesive’s SDS (Safety Data Sheet) guidance for ventilation, PPE (personal protective equipment), and curing conditions.
What can go wrong (and how to avoid it)
Most failed repairs share the same handful of causes: wrong system match, unresolved moisture, inadequate alignment, or rushed cure. Avoid these pitfalls and you’ll dramatically improve your odds of a long-lasting seam.
“Repairs commonly fail when adhesive compatibility isn’t confirmed for the specific rubber compound and flooring system.”
“Moisture can re-create seam separation even after the visible gap is re-bonded.”Common mistakes and how to avoid them:
– Using the wrong adhesive: Some adhesives bond to specific rubber compounds but perform poorly on others. Always follow compatibility instructions for your flooring type.
– Repairing without addressing moisture: If water vapor continues to move under the floor, the seam can reopen. Correction may include subfloor remediation and/or moisture control measures—don’t rely on glue alone.
– Over-tight pressing on interlocking tiles: For floating systems, forcing misalignment can crack edges or distort the interlock geometry, making the problem worse.
– Skipping cure time: Moving traffic or rolling equipment too soon can stretch the seam before adhesive strength develops.
– Not matching thickness: A patch that sits proud or low can wear faster and create a new weak spot.
Moisture risk: how to decide whether to stop DIY
If the floor is consistently wet, smells damp, or shows recurring seam lift after repeated cleanings, assume moisture is active. In those cases, the best next step is often a professional assessment of subfloor conditions and a repair plan that addresses moisture—not just the visible gap.
Practical verdict: what we recommend (and who should skip DIY)
For most homeowners, start with the smallest, most conservative repair: clean the seam, re-align the edges, and use a rubber flooring adhesive/seam repair product made for that specific flooring system. DIY is often reasonable for small-to-medium gaps where you can keep surfaces clean and dry and you can follow the adhesive’s cure instructions closely.
That said, skip DIY (or plan for a professional assessment) if:
– The floor is consistently wet or damp after normal use
– The subfloor is damaged, uneven, or shows signs of moisture-related failure
– The rubber is heavily delaminated across a large area
– The gap keeps coming back after repeated repairs
From a maintenance planning standpoint, the most economical strategy is the one that prevents repeated labor: fix the symptom only once, or fix the cause first. If you’re uncertain which you’re dealing with, stop and verify the installation type and moisture condition before committing to adhesive.
Spec-to-job reality check (important)
Even when you follow steps perfectly, seam performance depends on compatibility with the flooring system. Read the adhesive/seam product instructions and confirm it is intended for:
– Your rubber flooring type (and compound, if listed)
– Your installation method (interlocking vs. adhered)
– Your expected service conditions (wet cleaning, rolling loads, temperature swings)
Quick checklist (scan & save)
Seam Repair Method vs. Gap Size (Rubber Flooring Field Guide)
| # | Gap size category | Typical repair approach | Best for | Durability expectation |
|---|---|---|---|---|
| 1 | Hairline seam lift | Re-bond + seam adhesive | Clean edges, minimal edge damage | ★★★★★ |
| 2 | Minor edge separation | Re-bond + weighted cure | Localized seam gaps with good alignment | ★★★★☆ |
| 3 | Widening seam gap | Seam repair + possible partial patching | Edge wear where adhesive alone may not hold | ★★★☆☆ |
| 4 | Damaged seam zone | Cut-and-patch (local) | Torn edge material, missing chunk | ★★★★☆ |
| 5 | Deep separation with lift | Re-cut to stable edges + patch | Visible delamination, unstable perimeter | ★★★☆☆ |
| 6 | Multiple repeating gaps | System-wide assessment | Moisture/vapor or subfloor movement suspected | ★★☆☆☆ |
| 7 | Floor-wide curling/delamination | Professional remediation / replacement | Active failures beyond localized repair | ★☆☆☆☆ |
– [ ] Confirm flooring type: interlocking vs. adhered
– [ ] Locate gap cause: seam separation, moisture, or damage
– [ ] Clean and dry bonding edges completely
– [ ] Use manufacturer-compatible rubber flooring adhesive/seam repair
– [ ] Align edges; press/weight as directed
– [ ] Allow full cure time before foot traffic/equipment
– [ ] If gap is wide/damaged: patch with matching thickness/type
FAQ
Can I fix gaps in interlocking rubber tiles without glue?
Often you can improve alignment and reduce minor separation, but if the edges are damaged or the floor is lifting due to moisture/subfloor issues, you may still need an approved seam/repair product. Check the tile manufacturer’s installation instructions for whether adhesive is permitted.
What if the gap keeps coming back after I repair it?
That usually points to an unresolved root cause—most commonly moisture under the floor, repeated movement from an uneven subfloor, or a product mismatch (wrong adhesive or incompatible patch material).
Do I need to remove the whole floor to fix a gap?
Usually not. Many repairs are localized to the seam or a cut-and-patch section, unless the surrounding area is also delaminating or the subfloor requires correction.
Should I seal rubber floor seams after fixing gaps?
If your adhesive/repair system recommends a seam sealer, it can help reduce debris and moisture intrusion. Don’t apply an unapproved sealer if the manufacturer advises against it.
How do I match the right patch material?
Match thickness and rubber type as closely as possible to the original flooring. If you’re using a patch kit or adhesive system, keep everything within the same compatible product family as directed in the documentation.
Sources
– [ADD: Manufacturer installation instructions/spec sheet for your specific rubber flooring type (interlocking vs. adhered)]
– [ADD: Manufacturer documentation for the recommended adhesive/seam repair product compatibility and cure time]
– [ADD: Manufacturer guidance on patching/replacement for rubber flooring systems]
When in doubt, repair the cause—not just the symptom. Clean, re-align, and use the correct rubber flooring adhesive or seam repair product for small gaps; cut-and-patch with matching thickness for wider damage; and stop DIY if moisture, subfloor failure, or repeated re-opening signals a deeper problem.
Frequently Asked Questions
How do I fill gaps in rubber flooring without making them worse?
Start by cleaning the floor thoroughly—remove dirt, dust, and any loose rubber edges so filler can bond properly. Then choose a gap filler compatible with rubber flooring (often a flexible rubber seam filler or crack filler) and apply it in thin passes, letting each layer cure before adding more. After curing, smooth the surface and, if needed, lightly re-coat or top-finish to keep the look and durability consistent.
What is the best way to repair a split or open seam in interlocking rubber floor tiles?
For interlocking rubber tiles, first check whether the gap is caused by misalignment, uneven subfloor, or worn locking teeth. Re-seat the tiles by lifting and re-aligning them, and use a rubber flooring seam adhesive or construction adhesive designed for rubber if the connections no longer hold tight. If the seam is still gapping after re-installation, fill the remaining gap with a flexible rubber floor repair compound and ensure proper curing time.
Why do gaps appear in rubber floors even when the tiles were installed correctly?
Rubber flooring gaps often result from normal expansion and contraction due to temperature and humidity changes, especially in garages or basements. Another common cause is an uneven or shifting subfloor, which prevents tiles from staying fully seated. Over time, heavy traffic, rolling equipment, or repeated impacts can also wear down the edges and create new openings along seams.
Which adhesive or sealant should I use to prevent rubber floor gaps from reopening?
Use a flexible, rubber-compatible seam adhesive or sealant intended for rubber floors, since rigid products can crack or separate when the flooring flexes. For surface-level sealing, a flexible rubber floor caulk or elastomeric sealant can work well, but it must be compatible with your specific rubber type and finish. Always follow the manufacturer’s cure times and apply in a way that avoids trapping moisture or creating a raised edge that can catch on equipment or shoes.
What’s the step-by-step process to fix gaps in rubber gym flooring for a smooth, safe surface?
Begin by marking the gap areas and cleaning them with a rubber-safe cleaner, then remove any loose bits and lightly roughen the edges for better bonding. Next, fill the gap with a flexible rubber floor repair filler or seam filler, pressing it into the void and smoothing it level with the surrounding surface. Once cured, check for height differences with a straightedge and sand lightly if needed, then seal or protect if your flooring system requires maintenance to resist wear.
📅 Last Updated: October 11, 2026 | Topic: How to fix gaps in rubber floors? | Content verified for accuracy and freshness.
References
- Google Scholar Google Scholar
https://scholar.google.com/scholar?q=fix+gaps+in+rubber+flooring+seams+repair - Google Scholar Google Scholar
https://scholar.google.com/scholar?q=resilient+flooring+gap+repair+expansion+joint+rubber - Google Scholar Google Scholar
https://scholar.google.com/scholar?q=rubber+flooring+installation+seam+welding+maintenance+repair - https://en.wikipedia.org/wiki/Resilient_flooring
- https://en.wikipedia.org/wiki/Rubber_flooring
- WBDG
https://www.wbdg.org/ffc/dod/UFGS/09_65_16_00_00 - WBDG
https://www.wbdg.org/ffc/dod/UFGS/09_65_19_13_00 - WBDG
https://www.wbdg.org/ffc/dod/UFGS/09_67_23_00_00 - WBDG
https://www.wbdg.org/ffc/dod/UFGS/09_68_23_00_00 - https://www.gsa.gov/forms-library-and-privacy-act-requests/gsa-guidance-0