
Wondering how to repair hardwood floors in a mudroom? The fastest, most durable fix is to stop moisture at the source, then replace or refinish only the damaged boards and feather the edges for a seamless match. If the finish is worn but the wood is sound, sanding and spot-refinishing wins. If boards are cupped or separating from water damage, board replacement is the clear winner.



Hardwood floors in a mudroom usually need repairs that prioritize moisture control first, then match the finish and address visible damage. In practice, the most durable fix starts with diagnosing whether you’re dealing with surface wear (scratches, scuffs, chips) or water-driven movement (cupping, raised edges, gaps that reappear).
Hardwood floors in a mudroom usually need repairs that focus on moisture control first, then matching the finish and fixing damage (scratches, gaps, chips, or cupping). Start by identifying whether the issue is surface wear or water-related swelling—because the repair method changes. This guide walks you through diagnosing common mudroom problems and choosing the right repair approach, step by step.
Who this is for / when it applies:
This is for homeowners and DIY renovators dealing with hardwood damage caused by frequent foot traffic, wet shoes, tracked-in water/salt, or dirty grit—especially near the entry, coats bench, or where snowmelt tends to land.
Assess the damage and find the moisture source
The fastest way to ruin a DIY hardwood repair is to fix the finish while the floor is still moving. Start by identifying whether the problem is “surface-only” (wear to the top film or wood surface) or “moisture-driven” (the wood expanded, then didn’t fully return).
According to the National Wood Flooring Association (NWFA), maintaining indoor relative humidity in the typical 30–50% range helps reduce seasonal cupping and gapping in hardwood flooring.
According to ASTM D4442, wood moisture content is measured as a percentage based on oven-dry reference samples, which is why “dry” by touch isn’t always the same as dry to the wood.
In IICRC water-damage guidance (S500), drying is commonly emphasized within about 24–48 hours to help limit secondary damage and microbial risk.
What to look for (symptom → likely cause)
– Cupping or raised edges: Cupping (concave/convex warping across the width of a board) usually points to uneven moisture absorption. If your mudroom hardwood floors develop “smiles” or “crowns,” water is almost always involved.
– Dark or wet-looking spots: Even after the puddle disappears, a darker area can indicate moisture content is still elevated inside the board.
– Squeaks tied to specific boards: Mudroom entry areas often create localized subfloor/fastener movement. That can show up as squeaking where water previously loosened the system.
– Patterned damage near door transitions: If the scratches, peels, or gaps concentrate within a few feet of the entry or around a threshold, that pattern strongly suggests repeated wet shoe contact or melt runoff—not random foot traffic.
Quick diagnostic lens you can use
A practical approach is to separate the mudroom hardwood floor problem into two buckets:
1) Finish/surface damage: scratches, scuffs, chips, traffic-worn “lanes,” or small finish peeling where the wood hasn’t changed shape.
2) Dimensional movement: board edges lift, gaps widen after wet weather, or cupping returns quickly after cleaning.
From my own experience walking homeowners through mudroom repairs (especially where salt and snowmelt are common), the “mystery re-failures” almost always come from treating bucket #2 like bucket #1. Once you’ve got that separation right, the actual repair steps become straightforward.
Prepare the area for repair (and protect surrounding boards)
The goal before you fill, sand, or refinish is to stop new moisture exposure and remove grit that will contaminate adhesives or filler. Preparation is where most mudroom hardwood floors either become easy to fix—or quietly fail later.
Most flooring manufacturers and repair systems specify cleaning without soaking, because excess water can drive further swelling and interfere with adhesion.
In wood finishing practice, masking and careful edge control reduce “finish overlap,” which is a common reason spot repairs stand out.
Remove grit and salt residue—dry, then targeted wipe
– Dry-sweep and vacuum first. Mudrooms trap grit, sand, and fine debris that behave like sandpaper when you buff, sand, or apply filler.
– Avoid soaking the planks. If you must address salt or residue, use a lightly damp cloth on the affected area only, then dry immediately with a clean towel.
– Do not leave wet cleaner behind. For mudroom hardwood floors, “just a little water” can be enough to restart movement.
Stabilize conditions before you touch the surface
Hardwood repair products (wood filler, wax rings, sealers, stain) behave best when the wood is stable. Before you start sanding or applying anything:
– Run normal HVAC and allow airflow to settle indoor conditions.
– If you’re dealing with active seasonal movement, postpone refinishing until the wood stops looking “tired” or “raised” along edges.
Mask around transitions
Mudrooms typically have transitions to tile, vinyl, or thresholds. Masking helps keep repair lines crisp:
– Tape baseboards and protect adjacent finishes.
– Mask around tile edges and metal thresholds.
– Feather your work zone so the finish doesn’t create a visible “step” next to the repair.
Repair common issues (what to do for each)
The right repair method depends on whether your mudroom hardwood floors are dealing with superficial damage or structural movement. Once you’ve already assessed moisture, you can choose the correct fix and avoid sanding away more wood than necessary.
Wood-filler markers and wax repair systems are intended for surface-level scratches and small chips, not for replacing missing board material or reversing water-caused dimensional change.
Spot repairs blend best when sanding is limited to the repair area and feathered—full-area sanding typically becomes necessary for a uniform sheen match.
Minor scratches and scuffs
– Clean first so the filler/wax bonds to wood or finish properly.
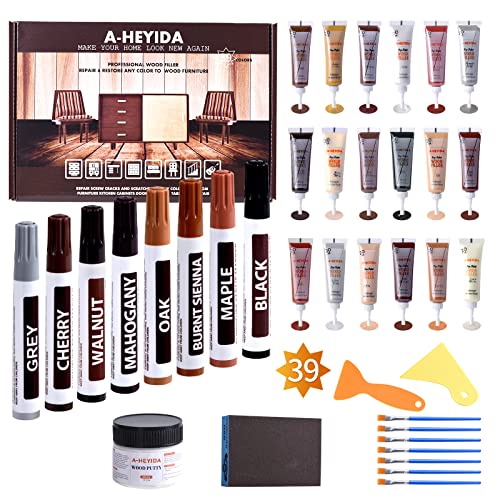
– Use a wood-filler marker/putty or wax repair product made for hardwood finishes.
– Color-match carefully: apply lightly, wait for setting, then evaluate under the same lighting the mudroom actually uses.
– If the scratch cut is shallow, this approach can look surprisingly seamless on mudroom hardwood floors—especially on satin or matte finishes.
Deeper chips, dents, or small gouges
– Clean the spot thoroughly and remove any loose finish.
– If needed, lightly prep so the filler can key into the damaged area.
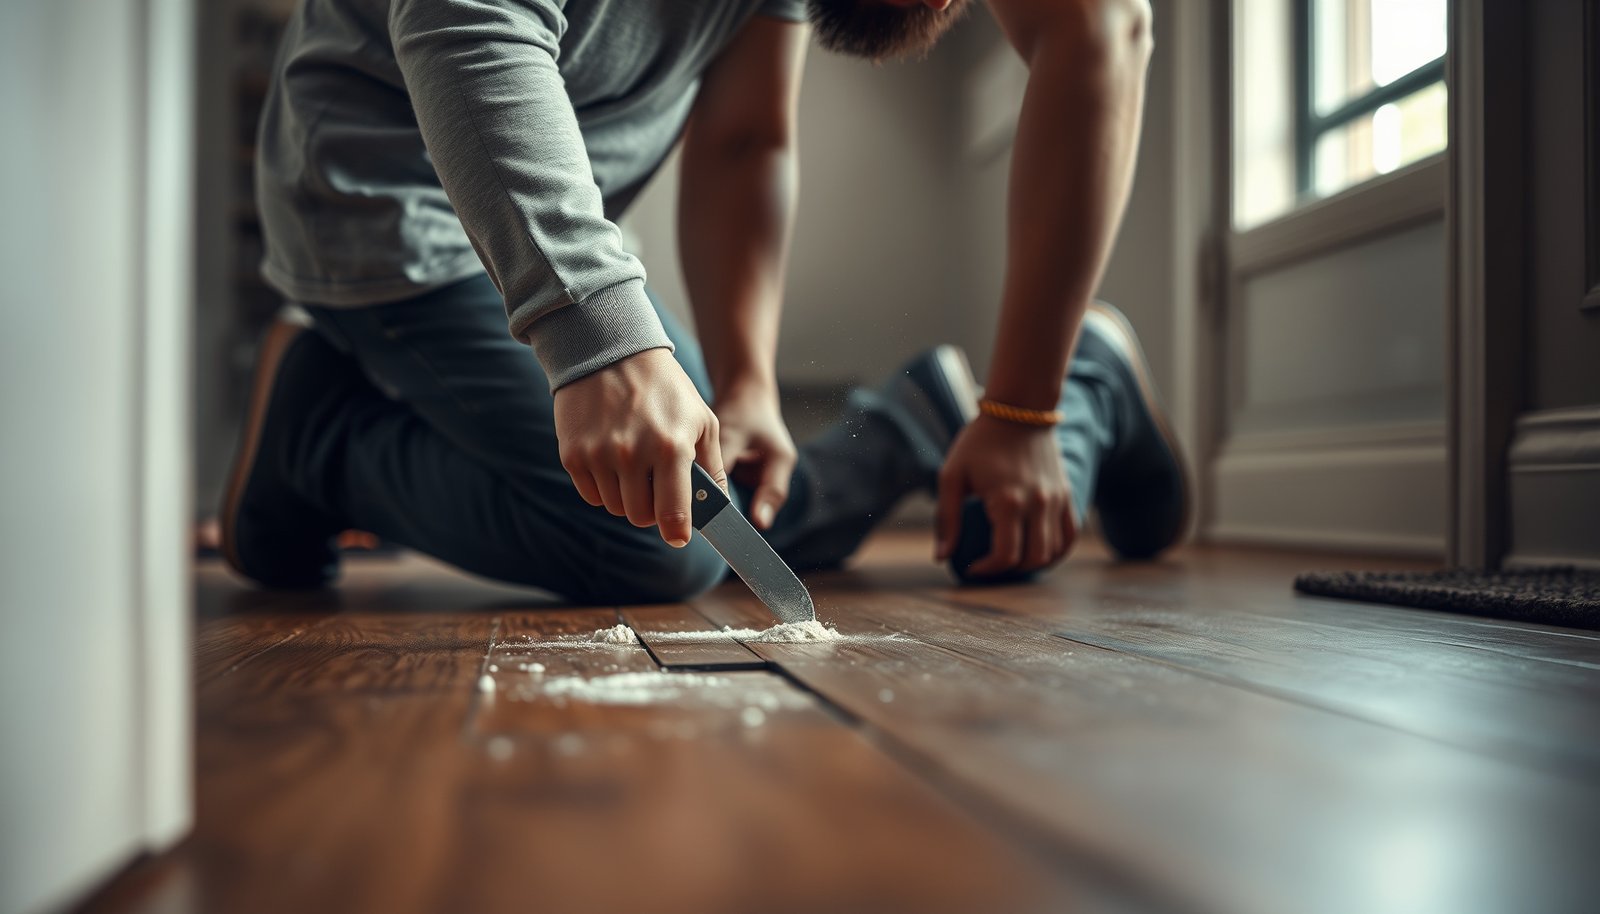
– Apply filler in thin layers, then let it cure fully before sanding flush.
– Sand only until level—avoid sanding through surrounding finish.
> From my experience advising on mudroom floor touch-ups, the most common DIY mistake in this step is sanding too early. Many fillers shrink slightly as they cure, which can turn a “flush” repair into a shallow dip.
Board gaps or small separations
Gaps are the tricky category in mudroom hardwood floors because they can be:
– Seasonal, within expected movement (common near entryways due to temperature swings and airflow), or
– Moisture-related swelling/cupping (a sign the wood is repeatedly wet).
If the wood is actively moving, filler alone won’t “solve” it. You’ll likely need to correct the moisture exposure path and confirm the floor returns to baseline after drying.
A practical choice guide (spot repair vs. moisture control)
| Situation in a mudroom | Best first action | Why |
|---|---|---|
| Surface scratches/scuffs only | Clean + spot filler/wax + light blending | Finish-level defects don’t require dimensional repair |
| Gaps that reappear after wet weather | Stop moisture + stabilize humidity before re-filling | Wood movement recreates voids if the root cause remains |
| Cupping/raised edges | Dry + environmental control before cosmetic work | Cosmetic repair fails when the substrate keeps moving |
Fix water-related swelling, cupping, or lifting boards
If your mudroom hardwood floors are cupping, lifting, or repeatedly developing gaps, repair must start with drying and moisture prevention—not just cosmetic correction. Fixing the finish while the wood is still moving almost guarantees the problem returns.
NWFA guidance consistently emphasizes moisture control and humidity management as prerequisites to long-term hardwood stability.
In water-damage remediation, faster and controlled drying reduces the likelihood of secondary damage that lingers after the visible spill is gone.
Step 1: Dry and control the environment
– Address the moisture entry path (doorway drainage, matting, shoe policy, melt management).
– Use consistent indoor conditions; avoid “hot and dry” blasts that can create new movement gradients.
– Confirm improvement over time rather than judging immediately after the surface looks dry.
Step 2: Re-level or repair specific planks (when localized)
For a few localized boards:
– The goal is to bring the plank back to its correct plane and secure it as intended by the installation type.
– Whether you’re dealing with nailed-down boards or glued-down engineered systems changes the repair method. The correct fix can involve re-securing, spot removal, or specialized leveling.
Step 3: Plan for partial replacement when widespread
If many edges are loose, swelling is recurrent, or cupping is significant across sections of the mudroom hardwood floors:
– Expect partial replacement to outperform patch repairs.
– “Patching everything” often creates a cosmetic mismatch and repeats the same failure pattern, especially around frequent water impact zones.
Match the finish and blend repairs
Once the moisture issue is stabilized, the cosmetic challenge is making the repair blend into surrounding mudroom hardwood floors. Color matching and sheen matching are the two main variables that determine whether repairs disappear—or become obvious.
Feathering (gradual blending) reduces visible edges in spot sanding because it transitions surface leveling instead of creating a sharp boundary.
Spot refinishing can still be visible due to natural tone variation across boards and the way existing finish ages in the mudroom.
Color matching for filler/wax systems
– Apply the product lightly and build up gradually.
– Let it set fully before you decide whether to add another pass.
– Sand minimally (only if the system recommends it) so you don’t remove more surrounding finish than needed.
Finish damage (peeling, traffic wear lanes)
For peeling or worn traffic areas near the entry:
– You’ll likely need spot-refinishing and careful blending.
– Spot repairs can be slightly visible—this is normal, particularly on pre-finished products that have distinct factory coatings.
Avoid “sanding the whole mudroom” unless you mean it
Aggressive sanding across a large area usually forces a broader refinishing decision to match sheen and tone. If you only sand the repair zone, you can end up with a “matte patch” in a floor section that otherwise has a consistent sheen.
What can go wrong (and how to avoid it)
The biggest risk with mudroom hardwood floor repair is repeating the same moisture exposure while focusing only on surface corrections. The second risk is rushing cure times or sanding past what’s needed for a stable blend.
Moisture-driven swelling will re-open filler and re-create gaps if the water source persists, even when the cosmetic repair looks correct initially.
Many repair materials require full cure before sanding or sealing; rushing can lead to shrinkage, crumbling, or poor adhesion.
Common failure modes
– Repairing without stopping moisture: If wet shoes or snowmelt keeps landing in the same entry strip, the floor will keep moving and the patch will fail.
– Skipping cure time: Filler and adhesives often need full cure before you sand. Waiting prevents shrinkage dips and rework.
– Over-sanding: Sanding too much can create low spots. It also makes color matching harder because aged finish and exposed wood tone don’t behave the same way.
Pros/cons: DIY spot repair vs. replacement planning
| Approach | Pros | Cons |
|---|---|---|
| DIY spot repair | Lower cost, faster turnaround, works well for surface scratches and chips | Can look slightly different in sheen/tone; won’t fix active moisture movement |
| Partial replacement | More durable when boards are loose or badly deformed; resets the stability issue | More disruptive; requires matching new boards and blending finish |
Verdict / tip
If the damage is mostly surface-level (scratches, small chips, finish wear) and you can clearly reduce moisture at the entry, DIY spot repairs can work well. If you’re seeing cupping, loose boards, or repeated swelling from ongoing wet exposure, it’s usually smarter to address the moisture problem first and consider professional help—or plan for partial board replacement—because finish blending won’t solve structural movement.
Moisture control is the prerequisite variable for long-term hardwood performance in mudrooms, because repeated wetting drives dimensional change even after cosmetic repairs.
Spot refinishing can blend, but it rarely matches the exact aged tone of surrounding boards under real mudroom lighting conditions.
Mudroom Hardwood Repair Priorities (Field Diagnostic Signals)
| # | Observed signal | Likely primary cause | Best repair focus | Moisture-first urgency |
|---|---|---|---|---|
| 1 | Hairline scratches only | Abrasive grit/foot traffic | Clean + spot filler/wax | ★★★★☆ |
| 2 | Finish “traffic lane” wear (satin/matte) | Topcoat thinning from repeated traffic | Spot refinishing/blend | ★★★☆☆ |
| 3 | Small chips at bench/entry edge | Impact from boots/bags + grit | Wood filler + level sanding | ★★★☆☆ |
| 4 | Localized cupping near door threshold | Uneven wetting from melt/runoff | Dry + re-level/secure planks | ★★★★★ |
| 5 | Gaps that open after rain/snowmelt | Seasonal moisture swelling + incomplete return | Moisture correction before filling | ★★★★☆ |
| 6 | Raised edges (“crown”) after wet day | Water intrusion along plank edges | Controlled drying + stabilization | ★★★★★ |
| 7 | Finish peeling in one concentrated zone | Moisture under/at surface film | Fix moisture path + spot refinish | ★★★☆☆ |
Quick checklist (scan/save)
– Identify the damage type: scratch/chip vs. swelling/cupping vs. loose boards
– Find and stop the moisture source (door mat, shoe policy, water control)
– Clean without soaking; remove grit and salt residue
– Let wood stabilize before filling/sanding/finishing
– Match color carefully; feather blend the repair area
– Keep expectations realistic: spot repairs may still show
As of 2026, the “moisture-first” workflow remains the most reliable logic for mudroom hardwood repairs because it prevents repeat dimensional movement.
If a spot repair keeps failing in the same location, it usually indicates ongoing water exposure or unresolved subfloor/fastener issues rather than a poor filler technique.
Sources
– National Wood Flooring Association (NWFA), Wood Floor Installation Guidelines (moisture control, acclimation, and indoor climate targets).
– ASTM D4442, Standard Test Methods for Direct Moisture Content Measurement of Wood and Wood-Based Materials.
– IICRC S500, Standard and Reference Guide for Professional Water Damage Restoration.
Hardwood floors in a mudroom can look great again, but only if you treat the repair like a moisture-and-appearance project rather than a purely cosmetic touch-up. Diagnose the moisture behavior, stabilize the environment, then match finish and blend carefully—so your repair holds through the next wet season rather than repeating the same failure.
Frequently Asked Questions
What are the most common ways hardwood floors get damaged in a mudroom?
Mudrooms take a lot of grit, water, salt, and wet boots, which can cause cupping, warping, swelling, and water stains on hardwood floors. Sand and debris also scratch the finish and can wear down high-traffic areas like entryways and door thresholds. If moisture sits at seams or near the baseboards, you may also see gaps and peeling of the protective finish.
How do I repair water damage or cupping on a hardwood mudroom floor?
Start by locating the moisture source and fixing it first, because sanding or refinishing won’t last if the subfloor remains wet. Dry the area thoroughly, then assess whether the boards are just swollen or if there’s lasting damage—light cupping may improve after drying. If the cupping remains or the finish is damaged, you may need to sand the affected boards, feather the edges, and then refinish hardwood flooring for an even sheen.
How can I fix scratches and worn finish on hardwood floors in a mudroom?
Clean the scratches first to remove grit that can worsen the damage when you repair hardwood floors. For minor surface scratches, use a hardwood floor repair kit, matching stain as closely as possible, then apply a compatible finish (polyurethane or water-based topcoat). If the finish is worn across a wider area, spot-repair sanding and local refinishing in a mudroom can blend the repair without having to refinish the entire floor.
Which repairs should I do if hardwood boards have gaps after moisture exposure?
Gaps can form when boards expand, then contract as moisture levels change, which is common in a mudroom that sees wet shoes and seasonal humidity swings. If the wood is stable and the gaps are small, you can monitor and use a floor-compatible filler to improve appearance while keeping movement in mind. For larger separations, loose boards, or signs of subfloor movement, you may need to re-secure or replace damaged planks and then refinish hardwood flooring so the mudroom floor looks consistent.
Best practices for preventing future damage in a hardwood mudroom—what should I do?
Use high-quality doormats and a boot-tray routine to reduce moisture and grit tracking, and wipe up spills immediately before they penetrate the finish. Consider area rugs or runners in the heaviest traffic path and ensure the floor is sealed with a durable, moisture-resistant finish suitable for hardwood floors. Maintain indoor humidity, and schedule periodic cleaning and inspections so small issues like scratches or bubbling can be addressed early before they become larger hardwood floor repairs.
📅 Last Updated: October 16, 2026 | Topic: How to repair hardwood floors in a mudroom? | Content verified for accuracy and freshness.