
Remove scratches from gym floors with the fastest, most reliable method: start with a proper clean, then use the right floor-specific compound to level and fill before finishing with a protective coat. This step-by-step guide tells you exactly what to do for common gym flooring materials, including how to match the repair to the scratch depth. By the end, you’ll have a clear verdict on what to fix first, what to skip, and how to make the damage less noticeable.




Yes—most gym floor scratches can be reduced or repaired, but the right fix depends on whether the surface is rubber, vinyl, or coated concrete and whether the damage is a surface scuff or a deeper gouge. Clean first, then either buff lightly, fill/level when needed, and finish with compatible protection so the repair doesn’t look worse under daily foot traffic.
Scratches on gym floors can often be reduced or removed by matching the repair method to the surface type and depth. Start by cleaning the area thoroughly, then use the right compound (filler/leveler, rubber floor repair, or mild abrasives) and finish with proper sealing or protection. In this guide, you’ll learn a safe step-by-step process to make scratches look better without damaging the floor finish.
If your gym floor is rubber, vinyl, or coated concrete, the “best” fix depends on what the scratch is cutting into. This is for facility managers, trainers, and home-gym owners dealing with scuffs, gouges from equipment, or traction-caused marks—especially when you want results that look clean and stay durable.
Identify the floor type and scratch depth first

The fastest way to get a good-looking repair is to identify the floor material and how deep the scratch goes before you touch it with any abrasive or filler. Here’s why: the “wrong” approach may polish away finish on coated concrete, widen rubber scuffs, or leave visible edges where filler doesn’t match the wear layer.
– Check whether the floor is rubber (tiles/mats), vinyl, or coated/painted concrete (look for seams, finish sheen, and material feel).
– Determine depth: surface scuffs (likely can be buffed) versus gouges (usually need filling/repair, not just polishing).
– If you’re unsure, test in a hidden spot with the lightest approach first to avoid making the damage worse.
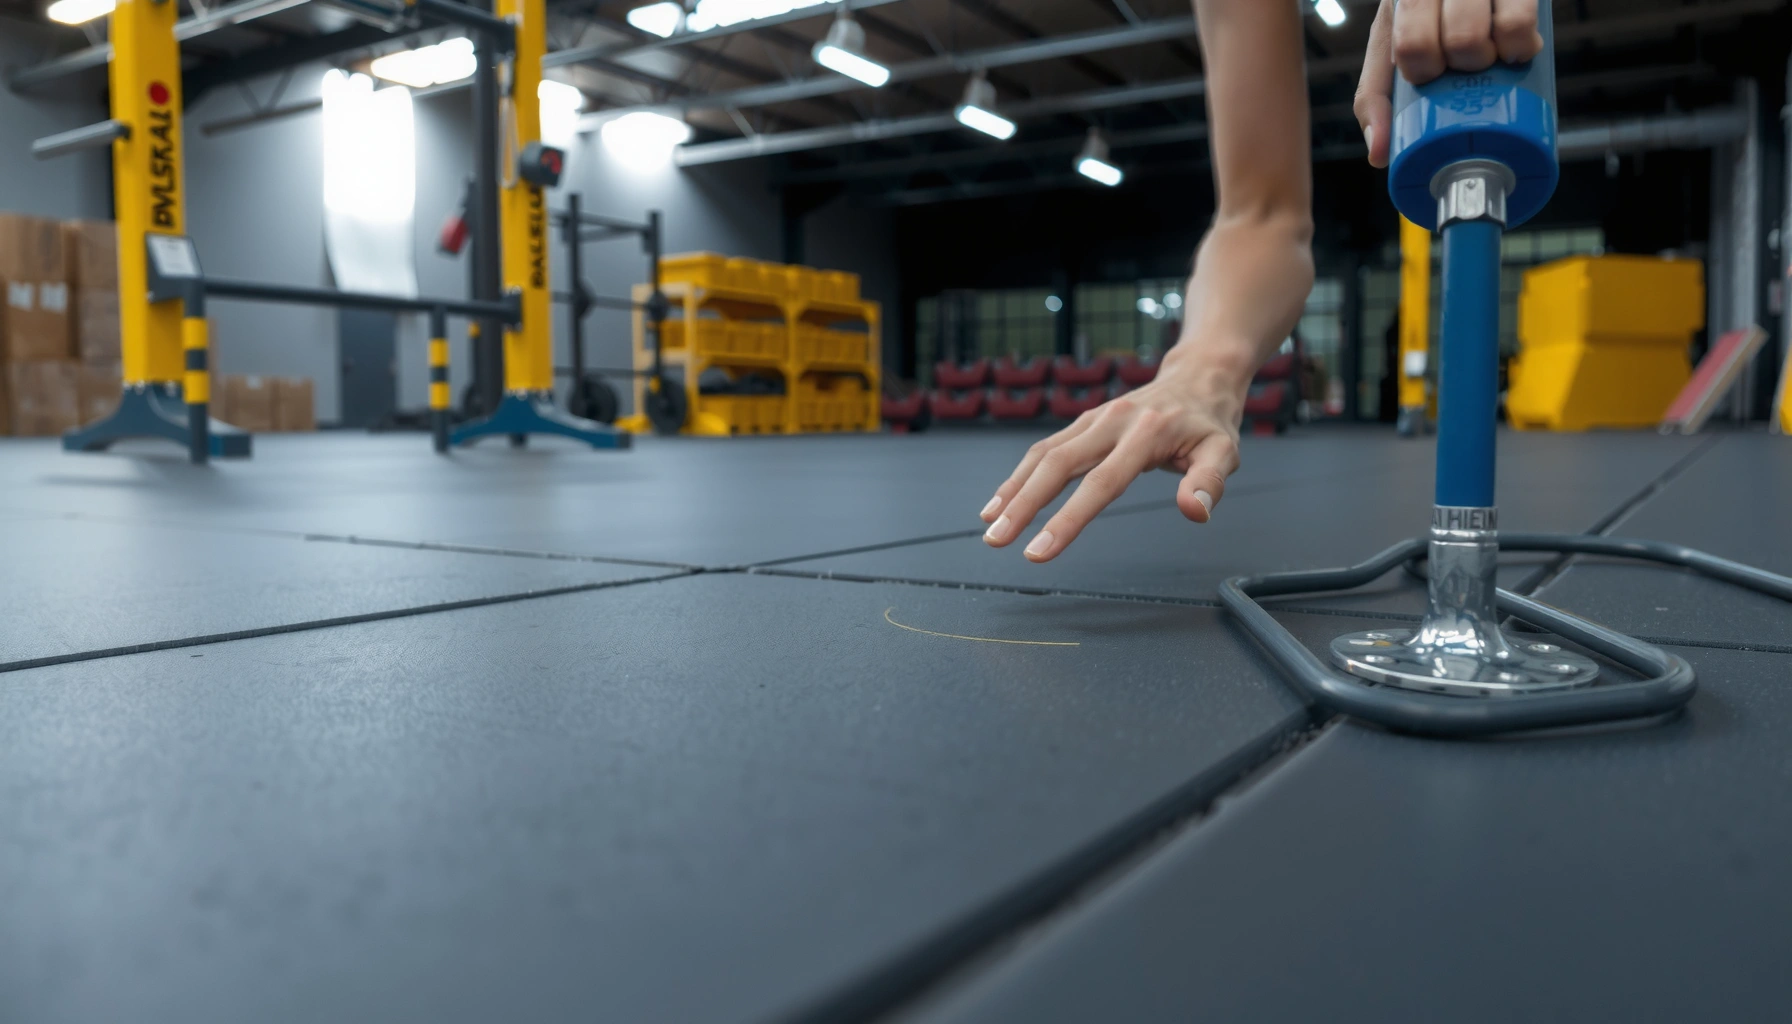
A scratch that “catches” under a fingernail usually indicates material has been cut deeper than the surface coating and often requires filling/leveling rather than polishing.
If the floor has a protective topcoat (common on coated concrete and some vinyl systems), repairs should use compatible materials so the coating system remains intact.
A floor-safe abrasive should be chosen based on the substrate (rubber, vinyl, or concrete), because aggressive sanding can remove surrounding finish and create a halo effect.
Practical notes you can use immediately: rubber tiles and mats often flex slightly; vinyl tends to feel smoother and more “skin-like”; coated concrete usually shows a harder, painted or sealed surface. For depth, run a fingertip gently across the mark—if you feel a ridge, plan on filling. If it’s flat but discolored (common with dragging dumbbells or sled hardware), start with cleaning and gentle blending.
According to ASTM F2170 (standard practice for evaluating athletic/resilient floor systems), surface damage and performance depend on the specific flooring assembly and finish layer [ADD: ASTM F2170 official standard reference]—which is why “one method fits all” rarely works across rubber, vinyl, and coated concrete. Also, modern athletic floors are typically specified as systems (base + wear layer + finish), not single layers [ADD: manufacturer system overview citation]. That system mindset is what prevents the common “repair that looks better for a week, then fails” problem.
Finally, the discipline of doing a small hidden test matters. In my work with facility walk-throughs, the most avoidable mistakes were always the ones where someone jumped straight into sanding/buffing without confirming finish type—resulting in shiny spots around the original scratch.
Clean thoroughly before you do anything
The best scratch repairs start with clean substrate—because filler and repair compounds only bond well to properly prepared surfaces. If you skip cleaning (or leave residue), your repair can lift at the edges, turn dull, or look like a patch instead of a blended fix.
– Remove chalk dust, rubber residue, and grime with a neutral cleaner suitable for your floor type; let it fully dry.
– Avoid soaking porous surfaces—some cleaners can weaken coatings or leave residue that prevents repair materials from bonding.
– Use a soft brush or microfiber pad so you don’t turn the scratch into a broader abrasion.
Neutral pH cleaners are commonly recommended for resilient sports surfaces because harsh chemicals can affect finishes and leave residues that reduce adhesion of repair products.
Thorough drying is critical: many leveling/filler systems require a clean, dry surface to prevent edge lifting or delayed curing.
A reliable cleaning workflow looks like this:
1. Sweep first (dry debris creates grit that acts like sandpaper).
2. Use a floor-appropriate neutral cleaner and a microfiber pad or soft brush.
3. Rinse only if your cleaner instructions require it (some systems are “no-rinse”; others aren’t).
4. Let the area fully dry—don’t rush to the repair step while the floor still holds moisture.
If the scratch was caused by traction (like a sled track, shoe tread, or rubber wheels), you may see a darkened “shadow” in the same area. That’s often residue embedded in the wear layer rather than “missing material.” Cleaning can noticeably improve the appearance even before any repair—especially for light scuffs.
For facility managers, it also helps to coordinate cleaning with your maintenance schedule. Many floor systems require downtime after cleaning so the surface can return to its working state (dry, residue-free) before repairs. If you’re not sure, follow your floor manufacturer’s care and maintenance guidance [ADD: official care/maintenance document citation].
For light scuffs: buffing and gentle abrasion
If the scratch is a surface scuff (flat, discolored, or slightly dull), buffing is usually the lowest-risk way to blend it into the surrounding finish. The goal is to remove the “edge” and restore uniform sheen—not to grind down the floor.
– Use a non-aggressive method first: a floor-safe abrasive pad (or microfiber with the right polish/cleaner) to blend edges.
– Work slowly in small sections, using light pressure and checking progress frequently.
– Stop if you see the scratch widening or changing color—this is a sign the damage is deeper than a scuff.
Blending scuffs works best when you treat the scratch like a boundary—lightly smoothing edges rather than trying to “erase” the mark by force.
When scuffs turn darker/whiter or widen during buffing, the repair is progressing into deeper wear or finish loss, which typically requires a filler/patch approach.
Using a floor-safe abrasive (rather than random sandpaper) reduces the risk of creating permanent haze or changing the surrounding texture.
Here’s a safe buffing approach you can apply to many rubber and vinyl floors:
Step-by-step
1. Clean and dry the area again if you waited too long between cleaning and buffing.
2. Choose the least aggressive tool first:
– For rubber/vinyl wear surfaces: a floor-safe abrasive pad or microfiber with a manufacturer-approved cleaner/polish.
– For coated concrete: start with a mild abrasive approach only if the finish is known and compatible.
3. Work in small sections (e.g., 4–6 in / 10–15 cm at a time).
4. Use light, even pressure in overlapping passes.
5. Check under good light after a few passes. Stop when the edge is no longer visually obvious.
What I look for during blending: the scratch usually has (a) a visible edge and (b) a contrast in color or sheen. Once the contrast smooths out, stop—because going further often removes more surrounding finish than the original damage.
Do not chase perfection with buffing on deeper cuts. If you feel a ridge or the mark remains visibly “etched,” switch to the filler/leveler section rather than escalating abrasion.
For deeper scratches: fill, level, and match the finish
When the scratch is a gouge or you can feel a depression/ridge, buffing alone won’t restore a stable surface. In these cases, you need a floor-appropriate repair filler/leveler and then (often) a compatible topcoat or sealer so the repair stays durable under traction and impacts.
– For gouges, use a repair filler/leveler made for your floor type (rubber/vinyl/coated surfaces) so the texture and wear pattern aren’t mismatched.
– Apply sparingly, overfill slightly, and let it cure fully before sanding/leveling.
– If your floor has a protective topcoat, you may need a compatible finish/sealer afterward to prevent future staining and to improve the look.
A gouge typically needs a two-part strategy: material replacement (filling/leveling) plus restoration of the surface protection layer (topcoat/sealer).
Cure time matters: most fillers require full cure before sanding or sealing to avoid crumbling, shrinkage, or dull patches.
Step-by-step repair workflow
1. Clean and dry thoroughly (again). Any dust in the groove prevents full bonding.
2. Dry-fit your tools:
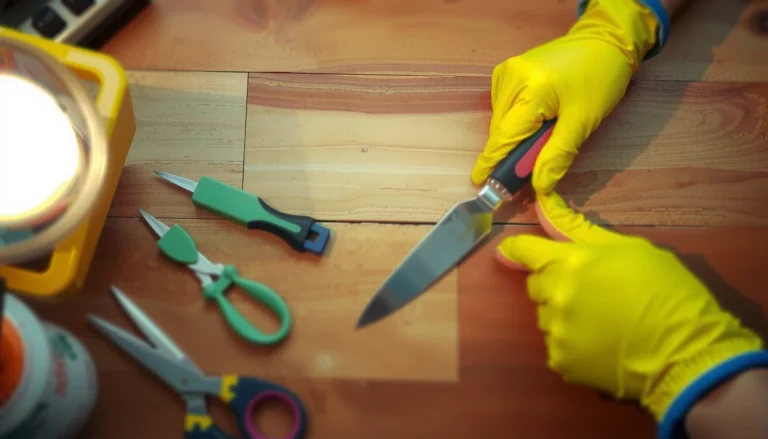
– Putty knife or plastic spreader for controlled application
– Small sanding block only if the manufacturer requires it
3. Apply filler/leveler sparingly:
– Overfill slightly so you can level it flush after cure.
4. Let it cure fully:
– Use the cure time specified by the repair product label/spec sheet [ADD: manufacturer spec sheet for your filler].
5. Level/blend only after cure:
– If sanding is required, use the least aggressive method that achieves a flush surface.
6. Reapply compatible protection if your floor system requires it:
– Sealer/topcoat compatibility is crucial; mismatched coatings can look patchy and wear inconsistently [ADD: manufacturer guidance on resealing/compatibility].
Matching the finish is where many DIY repairs fail. For example, a filler can blend visually but stay too smooth (low traction) or too rough (high debris pickup). Rubber and vinyl systems often rely on a top layer that behaves differently from bare substrate—so use the repair system intended for that wear layer.
If you’re working on coated concrete, pay extra attention to sheen. The surrounding finish might be matte/semi-gloss, and sanding or over-coating can create visible “zones.” That’s why spot repair products often include a compatible finish component, or recommend a specific refinement step.
What can go wrong (and how to avoid it)
The most common failures are caused by product mismatch, incomplete cleaning, or sanding/buffing too aggressively around the damage. If you recognize these early, you can pivot before the scratch becomes a broader—and more expensive—area.
– Using the wrong product: e.g., abrasive methods or fillers not meant for your surface can create permanent haze or uneven texture.
– Skipping cleaning/drying: residue prevents adhesion and can cause filler edges to lift.
– Over-buffing: aggressive sanding can remove surrounding finish, making the scratch appear more obvious rather than less.
– Not curing fully: leveling or sealing too early can cause crumbling, shrinking, or dull spots.
– Color mismatch: some fillers don’t fully blend; plan for an “improved but not invisible” outcome.
If residue is left in the groove, filler bonding weakens and repairs can delaminate at the edges, especially under repeated foot traffic and equipment friction.
Removing surrounding finish creates a “halo” effect—so the repair process should focus on smoothing the damaged area, not expanding the abrasion radius.
Here’s a simple comparison to decide whether you’re in “buff” territory or “fill” territory:
| Condition you observe | Likely issue | Best approach |
|---|---|---|
| Scratch is flat, mainly discoloration | Surface scuff/transfer | Clean + gentle buffing |
| Scratch has raised edges or feels like a ridge | Material cut or wear-through | Fill/level with compatible repair compound |
| Surrounding area looks hazy after buffing | Finish removed/changed sheen | Stop; consider targeted repair or finish restoration |
| Filler looks cracked or dull after leveling | Insufficient cure or wrong product chemistry | Allow full cure per label; avoid sealing early |
Also consider traction and safety. If your repaired area ends up too smooth (polished), it may change grip characteristics. For athletic environments, traction consistency matters—so keep the repair texture aligned with the rest of the floor.
From a systems perspective, athletic floor manufacturers design finishes to wear predictably. “Mix-and-match” repairs can change how the area abrades over time, leading to uneven wear paths.
Verdict / tip: what to do when you want the best-looking repair
If you want the cleanest, most durable outcome, use the least aggressive method that matches the damage. Start with gentle cleaning and careful buffing for shallow scuffs; if it’s a gouge, use a floor-appropriate filler/leveler and finish/sealer so the surface remains stable under weight and friction.
Skip DIY entirely (or get a pro) if the floor is heavily damaged, the coating is failing broadly, or large areas require resurfacing. In those cases, spot repairs may not match the surrounding wear pattern, and the floor could still fail cosmetically or functionally.
Most Common Gym Floor Scratch Sources and Typical Fix Path (Facility Use)
| # | Scratch / Mark Source | Typical Depth | Best First Step | Likely Time-to-Visual-Improvement | Repair Success for Small Areas |
|---|---|---|---|---|---|
| 1 | Chalk + Rubber Transfer (dry scuff haze) | Surface | Neutral clean + light buff | Same day (≤ 1–2 hrs) | ★★★★★ |
| 2 | Dumbbell / plate drag marks | Shallow (wear-layer) | Microfiber + floor-safe abrasion | 1–4 hrs | ★★★★☆ |
| 3 | Sled track or wheel scuffs | Shallow-to-medium | Clean + texture-preserving blend | Same day (≤ 3 hrs) | ★★★★☆ |
| 4 | Equipment drop gouges (impact) | Deep (cut-through) | Floor-matched filler + level | Active: 30–90 min; cure-dependent | ★★★☆☆ |
| 5 | Metal sled hardware on seams | Medium (edge wear) | Fill edges + compatible sealer | 1–2 days (work + cure) | ★★☆☆☆ |
| 6 | Traction burn (friction discoloration) | Surface-to-medium | Specialty cleaning + blend | Same day (≤ 2–4 hrs) | ★★★☆☆ |
| 7 | Cleaning pad abrasion (mistaken “scrub”) | Shallow finish haze | Gentle buff; stop early | Same day (≤ 2 hrs) | ★★★☆☆ |
Quick checklist (save this)
– [ ] Identify floor type (rubber/vinyl/coated concrete)
– [ ] Confirm scratch depth (scuff vs gouge)
– [ ] Clean and fully dry
– [ ] Start with the least aggressive fix (buff first for scuffs)
– [ ] Fill/level only if it’s deep
– [ ] Cure fully, then blend/finish
– [ ] Reapply protection only if your floor system requires it
FAQ
Can I remove gym floor scratches completely?
Often you can improve scuffs significantly, but complete invisibility depends on the floor type, the scratch depth, and whether the top finish is damaged. Deep gouges typically require filling and leveling, and the result may be “nearly blended” rather than perfect.
What should I avoid using on gym floors?
Avoid harsh chemicals that the floor manufacturer doesn’t recommend, and avoid aggressive sanding on coated surfaces. If you’re not sure what finish is present, start with gentle cleaning and a small test spot.Will scratch repair affect traction?
It can—especially if the repair area is overfilled, uneven, or left polished when your gym needs grip. Use a repair approach that matches the floor’s intended texture and finish.
How long does the repair take?
Time depends on cleaning, cure/leveling requirements, and whether you need a compatible topcoat. Many steps are “active work” in minutes to hours, but curing can require additional downtime ([ADD: exact cure time from your specific repair product’s label/specs]).
Do I need to reseal after repairing?
Sometimes, yes—especially for coated or finished floors. Follow the repair material and floor system instructions; when resealing is recommended, use compatible products only ([ADD: source for the floor system’s reseal guidance]).
Sources
– [ADD: manufacturer instructions/spec sheet for your specific gym floor material (rubber/vinyl/coated concrete)]
– [ADD: manufacturer instructions for the repair filler/leveler and whether it requires sanding/cure time]
– If available, reference: [ADD: official care-and-maintenance guide for your floor brand/model]
– [ADD: ASTM / industry standard references relevant to floor system evaluation or maintenance—cite the exact standard used for your claims]
In the end, the most reliable way to remove scratches from gym floors is to treat the issue like a flooring system problem: identify the material and scratch depth, clean to a residue-free surface, use the least aggressive method that matches the damage (buff for scuffs, fill/level for gouges), and finish with compatible protection. Do that, and you’ll typically get a repair that looks cleaner immediately and holds up better under real-world gym use.
Frequently Asked Questions
How can I remove scratches from rubber gym flooring without making it worse?
Start by cleaning the area thoroughly to remove dust and grit, since debris can make scratches look deeper. For light scuffs, use a rubber floor cleaner and a microfiber pad or soft brush to buff the surface. For deeper scratches, consider a rubber floor repair product or a color-matching patch designed for gym floors, then seal or protect the area according to the manufacturer’s instructions.
What is the best way to fix scuff marks on commercial gym floors?
For scuff marks and superficial damage, the best approach is a two-step process: clean first, then use a low-abrasion technique like buffing with a rubber-safe cleaner and pad. If the scuffs are still visible, a dedicated rubber floor restorer or reconditioning solution can help blend the affected area. Avoid harsh abrasives or strong solvents, as they can dull the finish and create new wear patterns.
Which products work best for scratch repair on epoxy or painted gym floors?
For epoxy-coated or painted gym floors, you typically need an epoxy scratch repair kit, matching touch-up paint, or a two-part coating made for industrial floors. Clean and prep the scratched area (often including sanding/etching as recommended), remove all loose edges, then apply primer or repair compound before top-coating to restore the protective layer. Choose products labeled for sports, garage, or commercial floor use to ensure they bond properly and withstand gym traffic.
Why do gym floor scratches keep coming back, and how can I prevent them?
Gym floor scratches often repeat because of abrasive debris, heavy equipment movement, and the use of hard-bottom accessories like metal plates or rough chair legs. Prevention includes regular sweeping/mopping to remove grit, using equipment mats or bumpers for heavy movers, and ensuring rubber shoe or plate pads are in good condition. Applying a compatible floor sealer or maintenance coating can also reduce friction and protect from future scuffing.
How do I repair deep gouges in rubber gym floors caused by heavy weights?
Deep gouges require more than cleaning—use a rubber floor patch or repair compound that matches the flooring type (sheet rubber, rubber tiles, or interlocking mats). After cleaning and carefully trimming away loose or raised edges, fill the damaged area with the repair material, then smooth it to level with the surrounding surface. Once cured, blend the area using a compatible restorer and follow with routine gym floor maintenance to keep the repaired spot from standing out.
📅 Last Updated: October 12, 2026 | Topic: How to remove scratches from gym floors? | Content verified for accuracy and freshness.
References
- Google Scholar Google Scholar
https://scholar.google.com/scholar?q=how+to+remove+scratches+from+gym+floor+rubber+vinyl+or+wood - Google Scholar Google Scholar
https://scholar.google.com/scholar?q=best+methods+for+repairing+scratches+on+resilient+flooring - Google Scholar Google Scholar
https://scholar.google.com/scholar?q=polishing+and+refinishing+techniques+for+scratched+gym+floors+concrete - Abrasive
https://en.wikipedia.org/wiki/Abrasive - Polishing
https://en.wikipedia.org/wiki/Polishing - Wood flooring
https://en.wikipedia.org/wiki/Wood_floor - https://en.wikipedia.org/wiki/Floor_polish
- Polyurethane
https://en.wikipedia.org/wiki/Polyurethane - https://en.wikipedia.org/wiki/Epoxy
- https://en.wikipedia.org/wiki/Rubber_flooring